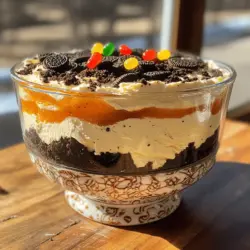
Are you ready to impress at your next gathering with a sweet masterpiece? Oreo Dirt Cake is a fun and easy dessert perfect for any occasion. This layered treat is not just delicious; it’s also a crowd-pleaser that makes baking a breeze. In this article, I’ll walk you through simple steps, ingredient tips, and creative serving ideas to ensure your Oreo Dirt Cake stands out. Let’s dig in and discover the joy of making this delightful dessert!
Ingredients
Detailed List of Ingredients
To make Oreo Dirt Cake, you need the following ingredients:
- 1 package (15.25 oz) Oreo cookies
- 8 oz cream cheese, softened
- 1 cup powdered sugar
- 1 tsp vanilla extract
- 1 cup heavy whipping cream
- 1 cup milk
- 1 package (3.4 oz) instant vanilla pudding mix
- Gummy worms (for decoration)
- Potted plant or a decorative bowl (for serving)
For the best flavor, use name-brand Oreo cookies. They have the right texture and taste. For cream cheese, choose a full-fat version for a rich texture.
Possible Substitutions
You can swap cream cheese with Greek yogurt for a lighter option. If you need a dairy-free version, use vegan cream cheese. For heavy cream, coconut cream works great. It adds a nice flavor and keeps it creamy.
If you want gluten-free, make sure to use gluten-free Oreos. They taste just as good as regular ones.
Key Cooking Tools Needed
To make this dessert, gather these tools:
- Mixing bowls
- Food processor or rolling pin
- Whisk
- Rubber spatula
- Serving container (like a potted plant or decorative bowl)
- Plastic wrap
Having these tools ready will make your baking easy and fun! Enjoy making this simple and playful dessert.
Step-by-Step Instructions
Detailed Preparation Steps
1. Prep the Oreos: Start by crushing 12 Oreo cookies. You can use a food processor or place them in a zipper bag. Roll a rolling pin over the bag until you have fine crumbs. Set these aside for topping later.
2. Cream Cheese Mixture: In a large mixing bowl, beat 8 oz of softened cream cheese. Mix until it’s smooth. Gradually add 1 cup of powdered sugar and 1 tsp of vanilla extract. Keep mixing until everything is fully combined.
3. Whipped Cream: In another bowl, pour in 1 cup of heavy cream. Use a hand mixer to whip it until stiff peaks form. This means when you lift the mixer, the cream holds its shape. Gently fold the whipped cream into the cream cheese mixture. This makes it light and fluffy.
4. Pudding Mix: In a separate bowl, combine 1 cup of milk and 1 package of instant vanilla pudding mix. Whisk it until it thickens and becomes smooth. Now, fold this pudding mixture into the cream cheese mixture as well.
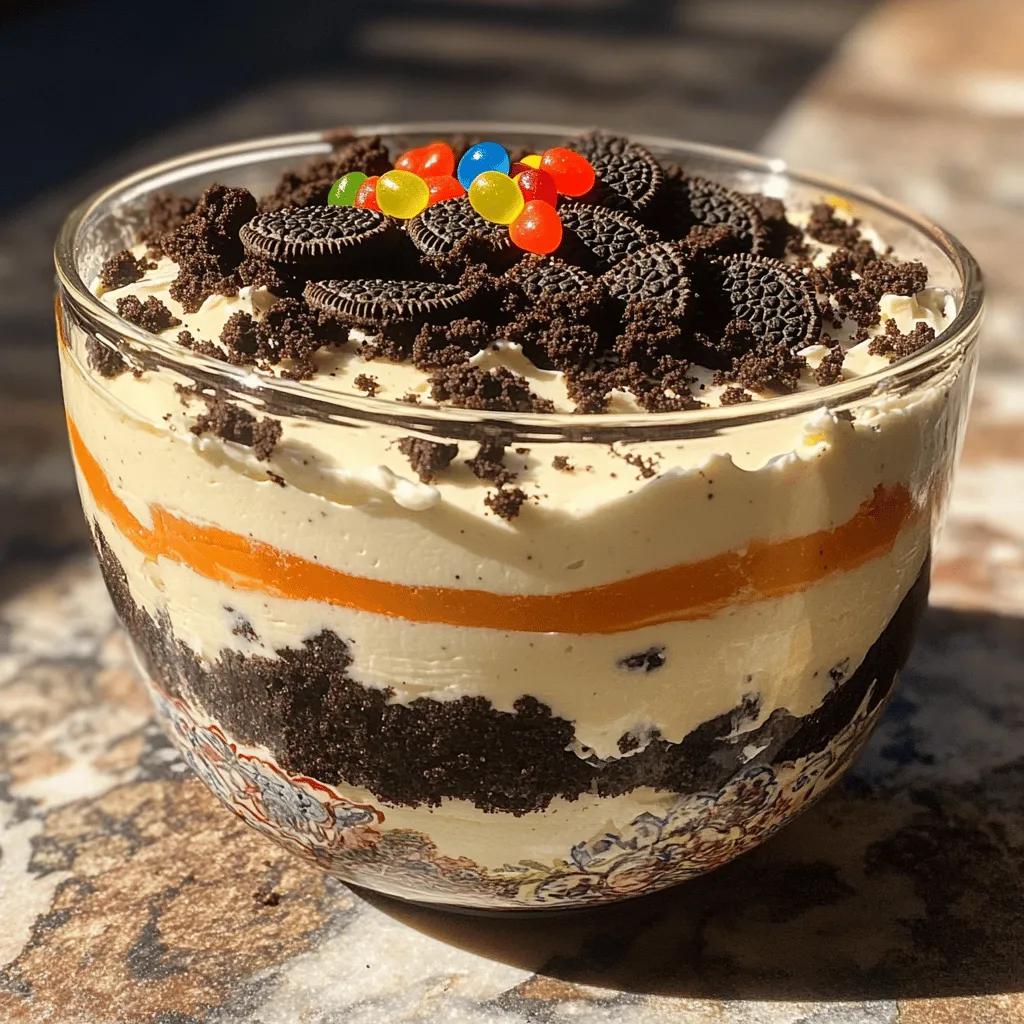
5. Layer the Cake: Choose a potted plant or decorative bowl as your serving container. Start layering by adding a layer of Oreo crumbs at the bottom. Spread a third of the cream cheese mixture over the crumbs. Repeat this process, finishing with a layer of the cream cheese mix on top.
6. Top it Off: Use the reserved crushed Oreos to sprinkle on top. This adds a nice crunch.
7. Chill: Cover your container with plastic wrap. Refrigerate for at least 4 hours. For even better flavor, chill it overnight.
8. Decorate: Just before serving, add gummy worms on top. This gives it that fun “dirt” look. You can also add small edible flowers or mint for a special touch.
Visual Guide Suggestions
For great photos or videos, show each step. Capture the crushing of Oreos, mixing the cream cheese, and layering the cake. You can even film the fun moment when you add gummy worms on top. Share your visuals on social media with the hashtag #OreoDirtCake. This makes it easy for others to find your delicious creation.
Timing and Tips for Each Step
- Prep the Oreos: Takes about 5 minutes.
- Cream Cheese Mixture: Allow 5-7 minutes to mix it well.
- Whipped Cream: Whipping should take 3-5 minutes.
- Pudding Mix: Whisking takes about 2-3 minutes.
- Layering: Expect to spend around 10 minutes on this step.
- Chilling: Remember, the longer it chills, the better it tastes. Aim for at least 4 hours.
Common Pitfalls:
- Don’t over-whip the cream. It should be fluffy, not grainy.
- Make sure to let each layer settle a bit before adding the next.
- If layers mix, try not to stir too much when folding mixtures together.
Tips & Tricks
Serving Suggestions
You can get creative with how you serve Oreo Dirt Cake. Using a clean potted plant adds a fun touch. Make sure it’s safe for food. If you prefer, serve it in clear cups for individual portions. This way, everyone can see those lovely layers!
Pair your cake with a cold glass of milk or a scoop of vanilla ice cream. Both choices balance the rich taste of the cake. For a fun twist, try a fruity drink like lemonade. It cuts through the creaminess and adds freshness.
Best Practices for Layering
Layering is key to a beautiful Oreo Dirt Cake. Start with a layer of crushed Oreos. This forms a solid base. Next, spread a layer of the cream cheese mixture smoothly. Make sure to use a spatula for even layers. Repeat this process until you reach the top.
For the best texture, let each layer sit for a moment before adding the next. This helps the layers stay neat. Aim for a mix of creamy and crunchy in every bite.
Managing Consistency and Flavor
Adjusting sweetness is easy. If you want a sweeter cake, add more powdered sugar. If you prefer it less sweet, cut back a little. Keep an eye on the creaminess too. If your mixture feels too thick, add a splash of milk.
To prevent layers from mixing, layer carefully. Spoon the cream cheese mixture gently over the Oreos. Don’t spread too hard. Also, chilling the cake for several hours helps set the layers. This gives you that perfect look and taste.
Variations
Flavor Variations
You can switch up the flavor of your Oreo Dirt Cake easily. Try using chocolate pudding instead of vanilla for a rich twist. You can also mix in mint extract to give it a cool flavor. If you want a crunch, add crushed candy bars or nuts. Snickers or peanut butter cups work great. Just fold these into the cream cheese mixture for added fun.
Thematic Decor Ideas
Decorating your Oreo Dirt Cake can make it special for any event. For Halloween, use gummy worms and add spooky decorations. You can place plastic spiders on top or use chocolate graves. For birthdays, use colorful sprinkles or candles. You can even make it festive by adding a layer of whipped cream on top, then placing fun decorations around.
Alternative Serving Styles
Serving style can change the experience of your Oreo Dirt Cake. Instead of a large bowl, try individual cups. This makes it easy to serve and fun to eat. You can layer the cake in clear cups for a pretty view. For a unique touch, use edible flowers or sprigs of mint on top. This not only looks good but adds a fresh flavor, too.
Try out these variations and let your creativity shine in the kitchen!
Storage Info
Best Practices for Refrigeration
To store Oreo Dirt Cake in the fridge, cover it tightly with plastic wrap. This prevents air from drying it out. You can also use a sealed container for extra protection. Choose a container that fits your cake snugly. This helps keep the cake fresh and tasty.
Freezing Guidance
If you want to freeze Oreo Dirt Cake, follow these steps. First, let the cake chill in the fridge for at least 4 hours. Then, cut it into individual portions. Wrap each piece tightly in plastic wrap. Place the wrapped pieces in a freezer-safe bag or container. When ready to eat, take it out and thaw it in the fridge overnight. Avoid thawing at room temperature to keep the texture smooth.
Shelf Life
Oreo Dirt Cake lasts about 3 to 5 days in the fridge. If frozen, it can last up to 2 months. Check for signs of spoilage, like an off smell or a change in texture. If you notice any of these signs, it’s best to throw it away. Always trust your senses when it comes to food safety. Enjoy this sweet treat while it’s fresh!
FAQs
How long does Oreo Dirt Cake last in the fridge?
Oreo Dirt Cake lasts about 3 to 5 days in the fridge. Many think it stays fresh longer, but this is not true. The cream cheese and whipped cream can spoil after a few days. Store it in an airtight container to keep it fresh. If it starts to smell sour or looks off, it’s best to toss it.
Can I use other types of cookies instead of Oreos?
Yes, you can use other cookies like chocolate wafers or graham crackers. They can add a different taste and texture. However, Oreos have a unique flavor that many love. If you try other cookies, keep the flavor profile in mind. You want something that still tastes great with the cream cheese and pudding mix.
Is it safe to make Oreo Dirt Cake a day in advance?
Yes, making Oreo Dirt Cake a day ahead is a smart move. It gives the flavors time to blend and taste even better. Just remember to chill it well. This dessert actually gets better after sitting in the fridge. It makes for easy serving and less stress on the day of your event.
How do I prevent my layers from mixing?
To keep layers from mixing, layer slowly and carefully. Start with a solid base of crumbs. Each layer should be spread gently. When adding the cream cheese mixture, use a spatula to avoid pushing down hard. Chilling the cake also helps set the layers. If you follow these steps, your layers will stay neat and pretty.
This blog post covered everything you need for the perfect Oreo Dirt Cake. We discussed ingredients, substitutions, and key tools to help you get started. I shared step-by-step instructions and helpful visual guide suggestions. We also explored tips for serving and layering, plus variations and storage info to keep your cake fresh. Remember, with these tips, you can create a fun and tasty dessert. Now, go and impress your friends and family with your delicious creation!