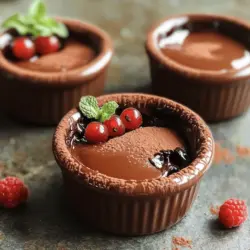
If you’re craving a dessert that is as impressive as it is easy to make, look no further! This Chocolate Lava Cake recipe will delight your taste buds with its rich, molten center. You can create this decadence at home with just a few simple ingredients and steps. Get ready to wow your friends and family with a treat they won’t forget! Let’s dive into the delightful world of chocolate!
Ingredients
Main Ingredients
- 1/2 cup (1 stick) unsalted butter
- 1 cup semi-sweet chocolate chips
- 2 large eggs
- 2 large egg yolks
- 1/4 cup granulated sugar
- 1 teaspoon vanilla extract
- 3 tablespoons all-purpose flour
- Pinch of salt
- 1/2 teaspoon instant coffee granules (optional)
- Cocoa powder (for dusting)
To make a great chocolate lava cake, you need the right ingredients. First, unsalted butter gives a rich flavor. Semi-sweet chocolate chips create that ooey-gooey center. You’ll need eggs and egg yolks for structure and creaminess. Granulated sugar adds sweetness. A splash of vanilla extract enhances the chocolate flavor. All-purpose flour provides the cake’s body. A pinch of salt balances the taste, while instant coffee can deepen the flavor if you choose to add it.
Equipment Needed
- Ramekins (6 oz capacity)
- Microwave-safe bowl
- Mixing bowls
- Whisk and spatula
Using the right tools makes this process smooth. Ramekins hold the batter and help shape the cakes. A microwave-safe bowl is perfect for melting your chocolate and butter. Mixing bowls are essential for combining ingredients. A whisk helps blend eggs and sugar well, while a spatula is great for folding in flour without overmixing.
Measurements
- Precise ingredient quantities
- Importance of accuracy in baking
Measurements matter in baking. Each ingredient works together to create the perfect texture. Too much flour or sugar can ruin your cake. Use measuring cups and spoons for accuracy. Always level off dry ingredients. This ensures you get the best results. Following the recipe closely leads to that delightful molten center we all love.
Step-by-Step Instructions
Preheat and Prepare
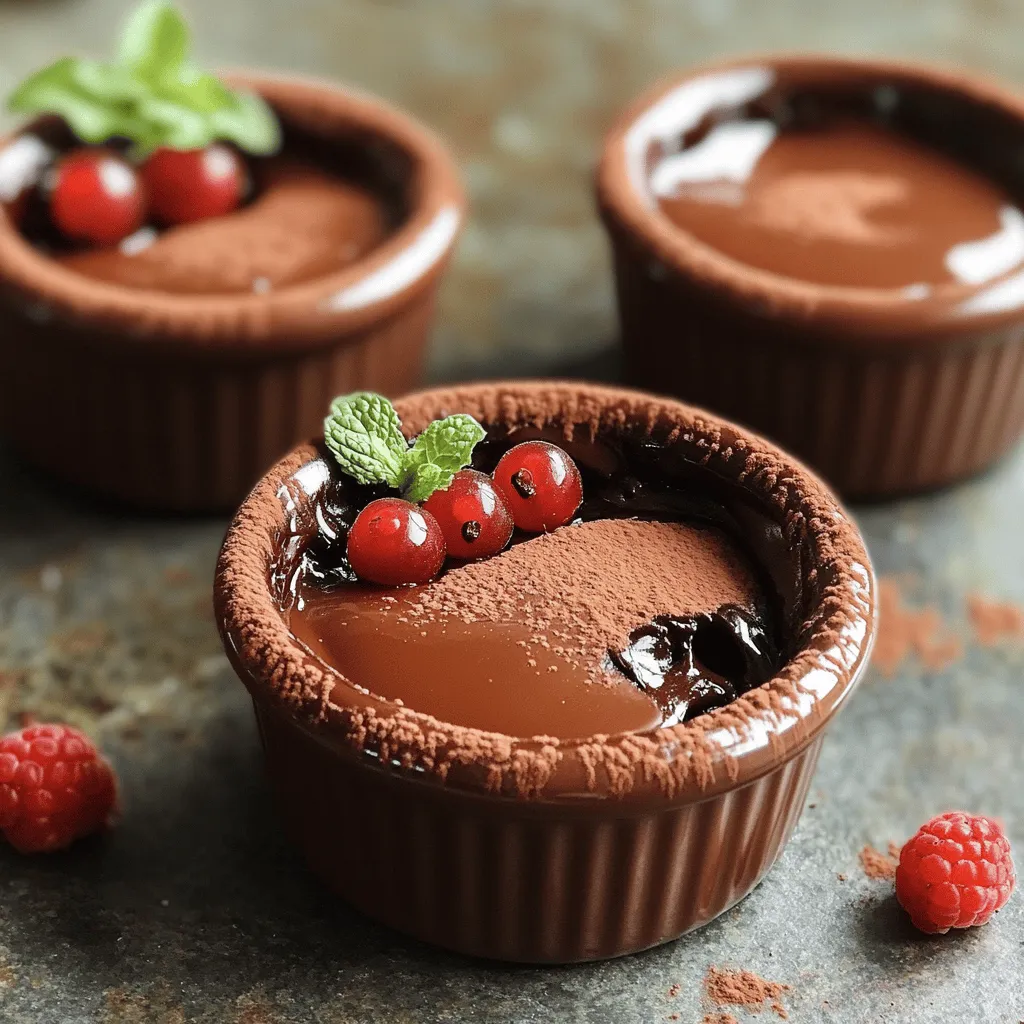
First, you need to preheat your oven to 425°F (220°C). This high temperature helps achieve that perfect gooey center. While the oven heats, grab four ramekins. They should hold about 6 ounces each. Grease them with a bit of unsalted butter. This will help the cakes slide out easily. Next, dust the inside with cocoa powder. This step adds flavor and keeps the cakes from sticking.
Melt the Chocolate
Now, let’s melt the chocolate and butter. In a medium microwave-safe bowl, combine 1/2 cup of unsalted butter and 1 cup of semi-sweet chocolate chips. Microwave this mixture in 30-second intervals. Stir after each interval until it’s smooth and melted. Be careful not to overheat; you don’t want it to burn.
Combine and Mix
In a separate bowl, whisk together 2 large eggs, 2 large egg yolks, and 1/4 cup of granulated sugar. Do this for about 3-4 minutes until the mix is pale and thick. Now, pour the melted chocolate mixture into the egg mix. Whisk until it’s well combined. Add in 1 teaspoon of vanilla extract and, if you like, 1/2 teaspoon of instant coffee granules for depth. Sift in 3 tablespoons of all-purpose flour and a pinch of salt. Gently fold the mixture until just combined. Avoid overmixing to keep the cakes light.
Bake the Cakes
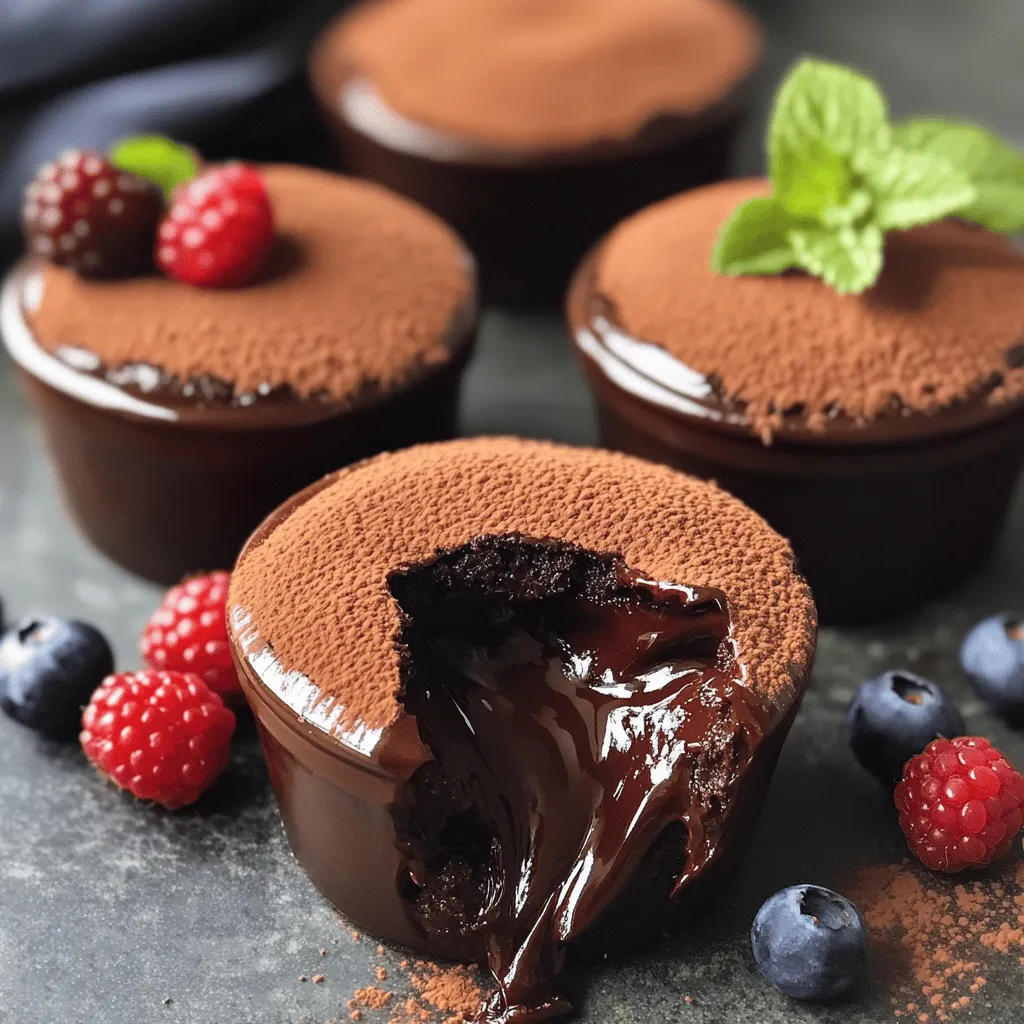
Divide the batter evenly among the prepared ramekins. Fill each about 2/3 full. Place them in the oven and bake for 12-14 minutes. The edges should be set, but the centers must remain soft. To check for doneness, you can gently shake the ramekin. If the center jiggles slightly, it’s perfect. Once done, remove them from the oven and let them cool for 1-2 minutes. Run a knife around the edges to loosen them, then invert onto plates. Serve right away for the best gooey experience.
Tips & Tricks
Achieving the Perfect Molten Center
To get that gooey center, follow these key tips:
- Oven Temperature: Set your oven to 425°F (220°C). This high heat cooks the outside fast while keeping the inside soft.
- Baking Time: Bake for 12-14 minutes. Watch closely. The edges should set, but the center must be soft.
- Ramekin Prep: Grease and dust your ramekins with cocoa powder. This step helps the cakes slide out easily.
If you bake too long, the center becomes solid. If underbaked, it might collapse. Aim for that perfect balance!
Serving Suggestions
Lava cake is best served warm. Here are some great ideas:
- Ice Cream: A scoop of vanilla ice cream pairs nicely. The cold creaminess contrasts the warm chocolate.
- Whipped Cream: A dollop of whipped cream adds lightness and richness.
- Garnishes: Dust with powdered sugar. Add fresh berries or mint leaves for color and flavor.
For an extra touch, drizzle melted chocolate on top. It makes your dessert look professional!
Common Mistakes to Avoid
Avoid these pitfalls when making your lava cake:
- Overmixing: Be gentle when folding in the flour. Overmixing can lead to dense cakes.
- Skipping the Rest: Let the cakes cool for a couple of minutes before serving. This step helps them hold their shape.
- Wrong Ramekin Size: Use 6 oz ramekins. Bigger sizes may require longer baking times.
If your cake is not gooey, it may be overbaked. Next time, reduce the baking time. Follow these tips, and you’ll have a perfect chocolate lava cake!
Variations
Flavor Variations
You can add new flavors to your chocolate lava cake. Here are some ideas:
- Spices or extracts: A dash of cinnamon or nutmeg can warm up the flavor. You can also try peppermint or orange extract for a fresh twist.
- Liqueurs or coffee: Adding a splash of coffee liqueur, like Kahlúa, gives your cake a rich depth. Instant coffee granules can enhance the chocolate flavor too.
Dietary Adjustments
You can easily adjust this recipe for different diets:
- Gluten-free: Use a gluten-free flour blend instead of all-purpose flour. Make sure all other ingredients are also gluten-free.
- Vegan: Swap eggs for flax eggs. Use vegan butter and dairy-free chocolate chips. This keeps the cake rich and tasty.
- Dairy-free: Replace butter with coconut oil or a dairy-free margarine. Ensure your chocolate chips are dairy-free as well.
Serving Style
How you serve your cake can change the vibe:
- Individual ramekins: Baking in ramekins is classic. Each person gets their own cake, which feels special.
- Larger dish: You can also bake it in a larger dish. Just adjust the baking time and serve slices. Either way, the molten center is a treat!
Storage Info
Storing Leftovers
After enjoying your rich chocolate lava cake, you might have some leftovers. To keep them fresh, place the ramekins in the fridge. Cover the cakes with plastic wrap or foil. This helps keep them moist and prevents them from absorbing other smells. If you want to keep them longer, you can freeze them. Wrap each ramekin tightly in plastic wrap, then place them in a freezer bag. This way, you can enjoy a quick dessert later.
Reheating Instructions
To reheat your chocolate lava cake, preheat your oven to 350°F (175°C). Remove the plastic wrap and place the ramekins on a baking sheet. Heat them for about 10 minutes or until warm. You want to ensure the center stays molten, so check them after 8 minutes. If you have extra time, you can also warm them in the microwave. Heat each ramekin for about 30 seconds. This method works well but may not keep the center as gooey.
Shelf Life
When stored properly in the fridge, chocolate lava cakes last about 2 to 3 days. If you freeze them, they can last for up to 2 months. Just remember to label the bags with the date. This helps you keep track of how long they have been in the freezer. Enjoying your decadent molten cakes fresh is best, but knowing how to store and reheat them makes it easy to savor the pleasure later!
FAQs
What is the best way to prevent the cakes from sticking?
To stop your cakes from sticking, properly grease and dust your ramekins. Use unsalted butter to grease the insides. Apply a thin layer, covering the entire surface. After greasing, dust the ramekins with cocoa powder. This step is key. It also adds a bit of extra chocolate flavor. Make sure to tap out any excess cocoa powder. Following these steps will help your cakes release easily after baking.
Can I make Chocolate Lava Cake in advance?
Yes, you can prepare Chocolate Lava Cake in advance. Mix your batter and fill the ramekins. Cover them with plastic wrap and chill in the fridge. This way, you can bake them fresh later. When you are ready to bake, just remove them from the fridge. Bake straight from the fridge for about 1-2 extra minutes. This method helps save time when you have guests.
Why is my lava cake not gooey in the center?
If your lava cake is not gooey, it may be overbaked. The perfect lava cake needs a soft center. Keep a close eye on the baking time. Check at the 12-minute mark. The edges should be set, but the middle should jiggle slightly. If it looks firm, it’s likely overdone. Also, make sure to follow the recipe closely. Accurate measurements and timing are crucial for success.
Where can I find good chocolate lava cake in restaurants?
Many restaurants serve delicious chocolate lava cake. Look for local bakeries or dessert shops. They often have their own twist on this classic. If you’re in a bigger city, try fine dining spots. Many Michelin-starred restaurants offer gourmet versions. You can also find great lava cakes at popular chain restaurants. Check reviews online to find the best options near you.
This post covered how to make the perfect chocolate lava cake. We explored essential ingredients, precise measurements, and necessary tools. Step-by-step, you learned to melt chocolate, mix the batter, and bake it just right. I shared tips on achieving that gooey center and serving suggestions to elevate your dish. Remember, even small mistakes can be adjusted. Enjoy this delightful treat and have fun with the variations. Baking is both an art and a science, so keep experimenting and enjoy the sweet rewards.