Beat the heat this summer with my amazing Strawberry Coconut Popsicles! Packed with fresh strawberries, creamy coconut milk, and just the right hint of sweetness, these popsicles are a delightful treat that anyone can make. Whether you need a cool snack for the kids or a refreshing dessert for yourself, I’ll guide you through easy steps to create this fun and healthy treat. Let’s dive in and enjoy summer one popsicle at a time!
Ingredients
List of Ingredients
- 2 cups fresh strawberries, hulled and chopped
- 1 cup coconut milk (full-fat for creaminess)
- 2 tablespoons honey or maple syrup
- 1 teaspoon vanilla extract
- 1/2 cup shredded coconut (unsweetened)
- Pinch of salt
Ingredient Substitutions
You can change some ingredients if you need to. For milk, try almond or oat milk. They work well and taste good too. For sweeteners, agave or stevia are great options. They can add sweetness without extra sugar.
Fresh vs. Frozen Ingredients
Using fresh strawberries gives the best flavor. They taste sweet and juicy. Fresh fruits make your popsicles bright and fresh. However, if you can’t find fresh strawberries, frozen ones can work too. Just let them thaw a bit before blending. This helps them mix better.
Step-by-Step Instructions
Preparation Overview
First, prepare the strawberries. Remove the green tops and chop them into small pieces. This helps them blend well. You want about 2 cups of fresh strawberries.
Next, blend the popsicle mixture. In a blender, add the chopped strawberries, 1 cup of coconut milk, 2 tablespoons of honey or maple syrup, 1 teaspoon of vanilla extract, and a pinch of salt. Blend everything until it is smooth.
Taste the mixture. If you want it sweeter, add more honey or maple syrup. If you prefer some chunks, save a few strawberry pieces to mix in later. Stir in 1/2 cup of shredded coconut and any leftover strawberry chunks. This adds texture.
Filling the Molds
Now, it’s time to fill the molds. Carefully pour the mixture into the popsicle molds. Leave a little space at the top. This way, the popsicles can expand as they freeze.
To avoid spillage, use a funnel if you have one. If you don’t, pour slowly and steadily. This helps keep your kitchen clean.
Freezing Process
The next step is freezing. Place the molds in your freezer and let them freeze for at least 4 to 6 hours. This ensures they are fully set.
To check if they are ready, gently press on the popsicle. If it feels firm, they are good to go. Make sure they freeze evenly. Avoid opening the freezer too often.
When you’re ready to enjoy, run the molds under warm water. This helps release the popsicles easily. Enjoy your refreshing treat!
Tips & Tricks
Achieving the Perfect Texture
To keep your popsicles smooth, avoid ice crystals. Use full-fat coconut milk. It gives a creamy feel. Blend the mixture well until it is smooth. This step is key for a great texture. If you want bites of fruit, hold back some strawberry pieces. Stir them in after blending. This adds fun and flavor!
Storage Tips
Store your popsicles in an airtight container. This keeps them fresh for a longer time. Make sure they are fully frozen before storing. To avoid freezer burn, wrap them tightly in plastic wrap. This extra step helps maintain their taste and texture.
Serving Suggestions
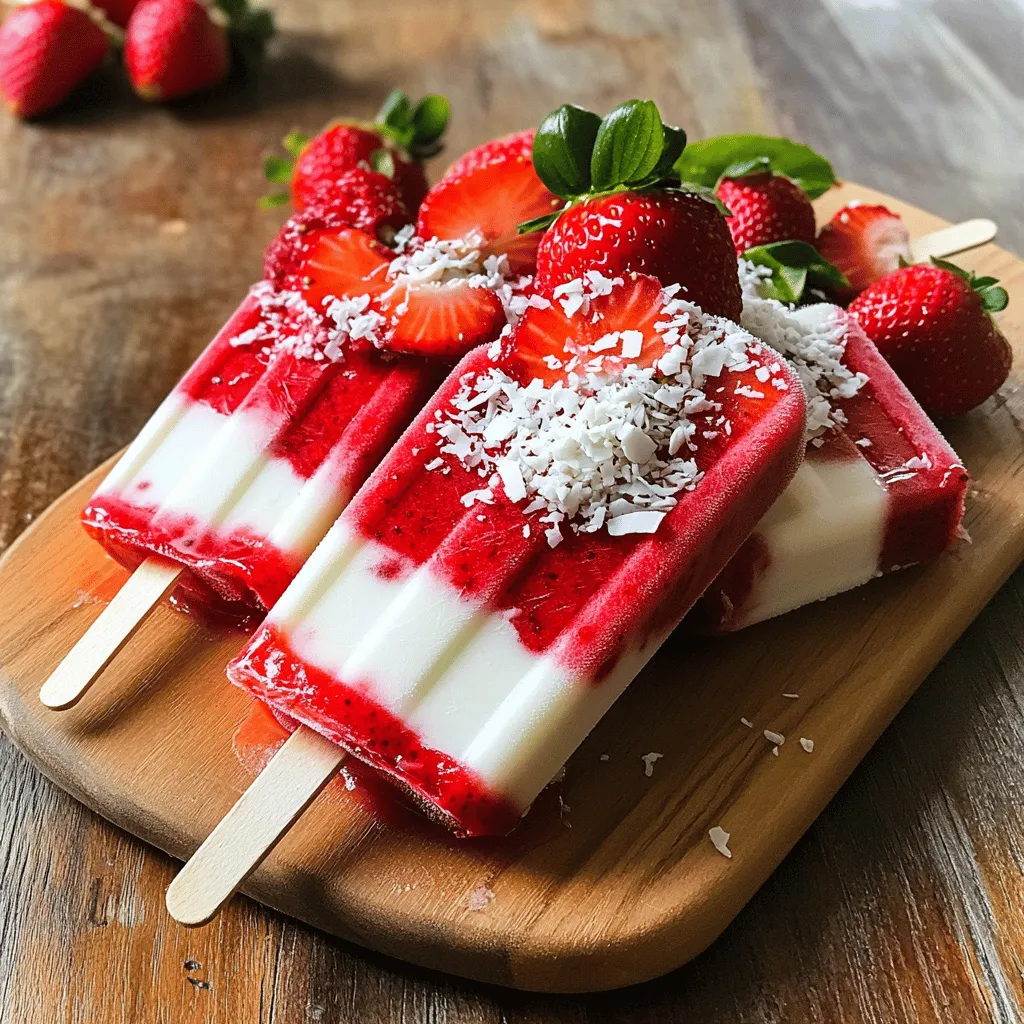
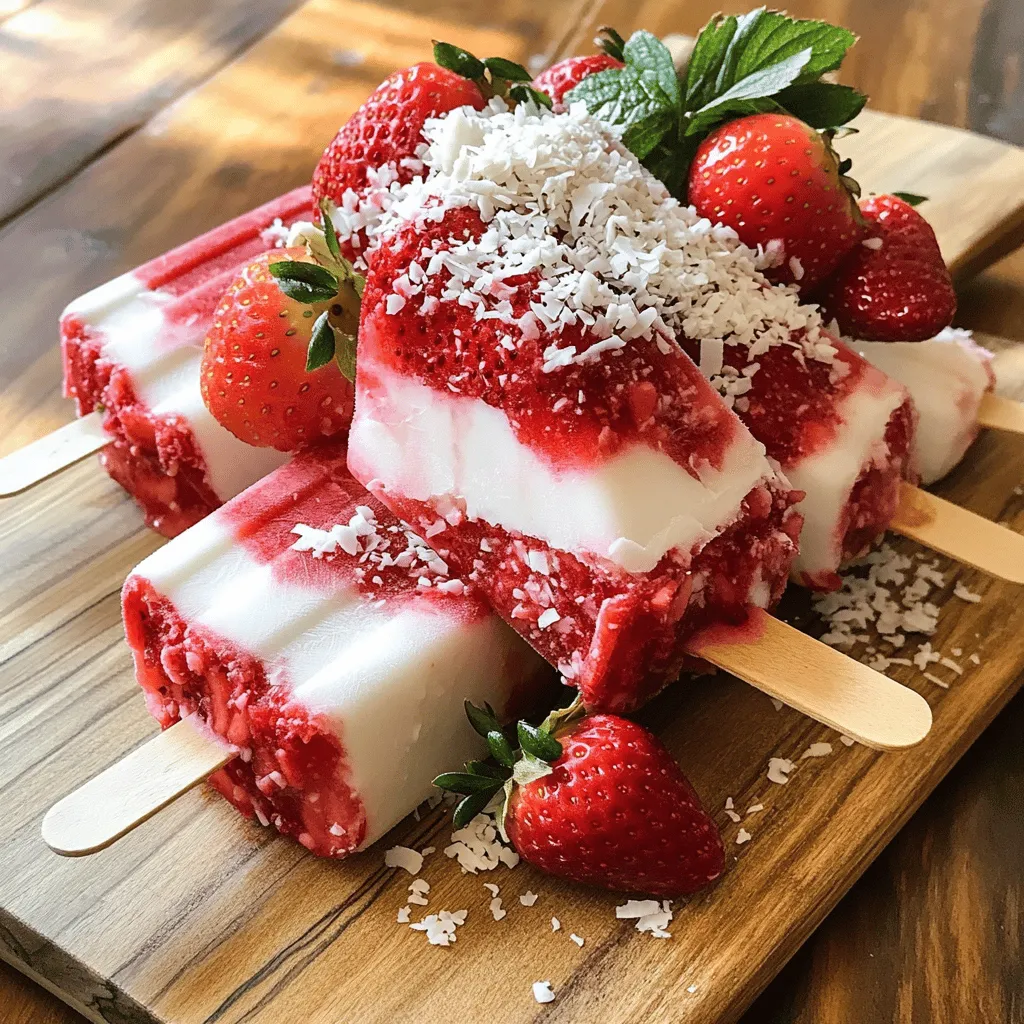
Serve your strawberry coconut popsicles on a wooden board. This looks nice and rustic. Add a few fresh strawberries on the side for color. A sprinkle of shredded coconut also adds charm. For extra fun, pair them with a scoop of vanilla ice cream. This creates a delicious combo that everyone will love!
Variations
Flavor Combinations
You can make these strawberry coconut popsicles even more fun. Add other fruits like mango or pineapple. They bring a new taste and color. You can also use flavored coconut milk. Vanilla or chocolate coconut milk can add a nice twist.
Dietary Adjustments
If you want a vegan option, just use maple syrup instead of honey. It still tastes great and keeps it plant-based. You can also lower the sugar. Try using sugar-free sweeteners like stevia or erythritol. This way, you can enjoy a treat with less guilt.
Different Mold Ideas
You have choices when it comes to molds. Silicone molds are easy to use. They let you pop out the popsicles without breaking them. Plastic molds work too, but they might stick a bit more. Want mini popsicles? You can use small ice cube trays. These are perfect for little hands and snacks.
Storage Info
Freezing and Storage Duration
Strawberry coconut popsicles last about 3 months in the freezer. For best taste and texture, eat them within this time. To know if they are expired, check for ice crystals or a strange smell. If they look dry or have freezer burn, toss them out.
Thawing & Serving
The best way to thaw popsicles is to run warm water over the molds for a few seconds. This helps them slide out easily. To keep popsicles from melting too quickly, serve them on a chilled plate. You can also place them back in the freezer for a bit before serving.
Reusing Popsicle Molds
Cleaning molds is simple. Just wash them with warm, soapy water after use. Make sure to rinse well to avoid soap taste. For leftover mixtures, get creative! You can pour them into ice cube trays for fun ice cubes or mix them into smoothies for extra flavor.
FAQs
How to make Strawberry Coconut Popsicles without molds?
You can make popsicles even if you don’t have molds. Here are some easy methods:
- Alternative freezing methods: Use small cups or bowls. Just pour the mixture into them.
- Using ice cube trays: Fill each section of the tray with the popsicle mix. Add toothpicks for easy holding.
These methods work great and still give you tasty treats.
Can I use canned coconut milk?
Yes, you can use canned coconut milk. Here are some pros and cons:
- Pros: Canned coconut milk is rich and creamy. It adds a great taste to your popsicles.
- Cons: Some canned coconut milk has preservatives. This can change the flavor. Fresh coconut milk often tastes better and is healthier.
What’s the best way to release the popsicles from molds?
Releasing popsicles can be tricky. Here are some easy techniques:
- Run under warm water: Hold the molds under warm water for a few seconds. This helps loosen the popsicles.
- Twist the molds: Gently twist the molds while pulling the popsicles out. This can help them slide out easier.
These tips make it simple to enjoy your treats.
Are Strawberry Coconut Popsicles healthy?
Yes, Strawberry Coconut Popsicles are healthy and tasty. Here’s a breakdown:
- Nutritional benefits of ingredients: Strawberries are full of vitamins. Coconut milk has healthy fats. Honey or maple syrup adds natural sweetness.
- Caloric breakdown per popsicle: Each popsicle has about 80-100 calories. This can vary based on your ingredients.
These popsicles are a fun treat that you can feel good about!
You learned how to make easy, tasty Strawberry Coconut Popsicles. Fresh ingredients bring the best flavor, but frozen ones work too. I shared tips for creating creamy popsicles and avoiding ice crystals. You also discovered fun variations and storage tips. These popsicles are not just delicious; they’re healthy treats you can enjoy anytime. I hope you feel inspired to make your own popsicles, explore flavors, and have fun in the kitchen. Enjoy each bite on a hot day!
