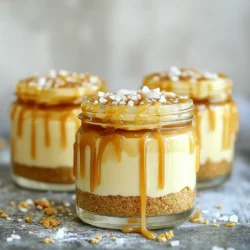
Ready to impress your taste buds? These No Bake Salted Caramel Cheesecake Jars are a delightful treat you can whip up quickly. With simple ingredients like cream cheese, graham crackers, and rich salted caramel, you’ll create a dessert that wows everyone. Follow this easy guide for step-by-step instructions, tips, and fun variations. Whether you’re a beginner or a pro, get ready to savor this luscious dessert without turning on the oven!
Ingredients
To make No Bake Salted Caramel Cheesecake Jars, you need simple ingredients that blend well. Here’s what you will use:
- 1 cup graham cracker crumbs
- 1/4 cup unsalted butter, melted
- 16 oz cream cheese, softened
- 1 cup powdered sugar
- 1 teaspoon vanilla extract
- 1 cup heavy whipping cream
- 1/2 cup salted caramel sauce (store-bought or homemade)
- Sea salt flakes, for garnish
These ingredients create a delightful treat. The graham cracker crumbs and melted butter form a crunchy crust. The cream cheese, powdered sugar, and vanilla combine for a smooth filling. The heavy whipping cream adds lightness, making it creamy. The salted caramel sauce gives a sweet and salty flavor that everyone loves. Finally, the sea salt flakes on top make each bite special.
Gather these ingredients for a fun and tasty dessert. With just a few steps, you can create a jar full of joy!
Step-by-Step Instructions
Make the Crust
To start, combine 1 cup of graham cracker crumbs with 1/4 cup of melted butter in a medium bowl. Mix until the crumbs are coated well. Then, spoon about 2 tablespoons of this mixture into the bottom of your serving jars. Press down gently to form a solid base.
Prepare the Cheesecake Filling
In a large mixing bowl, beat 16 ounces of softened cream cheese until smooth. Gradually add in 1 cup of powdered sugar and 1 teaspoon of vanilla extract. Mix until everything is fluffy and fully combined.
Incorporate Whipped Cream
In a separate bowl, whip 1 cup of heavy cream until stiff peaks form. This step is key for a light texture. Gently fold the whipped cream into the cream cheese mixture. Be careful not to deflate the whipped cream, as it adds airiness to the filling.
Layer the Desserts
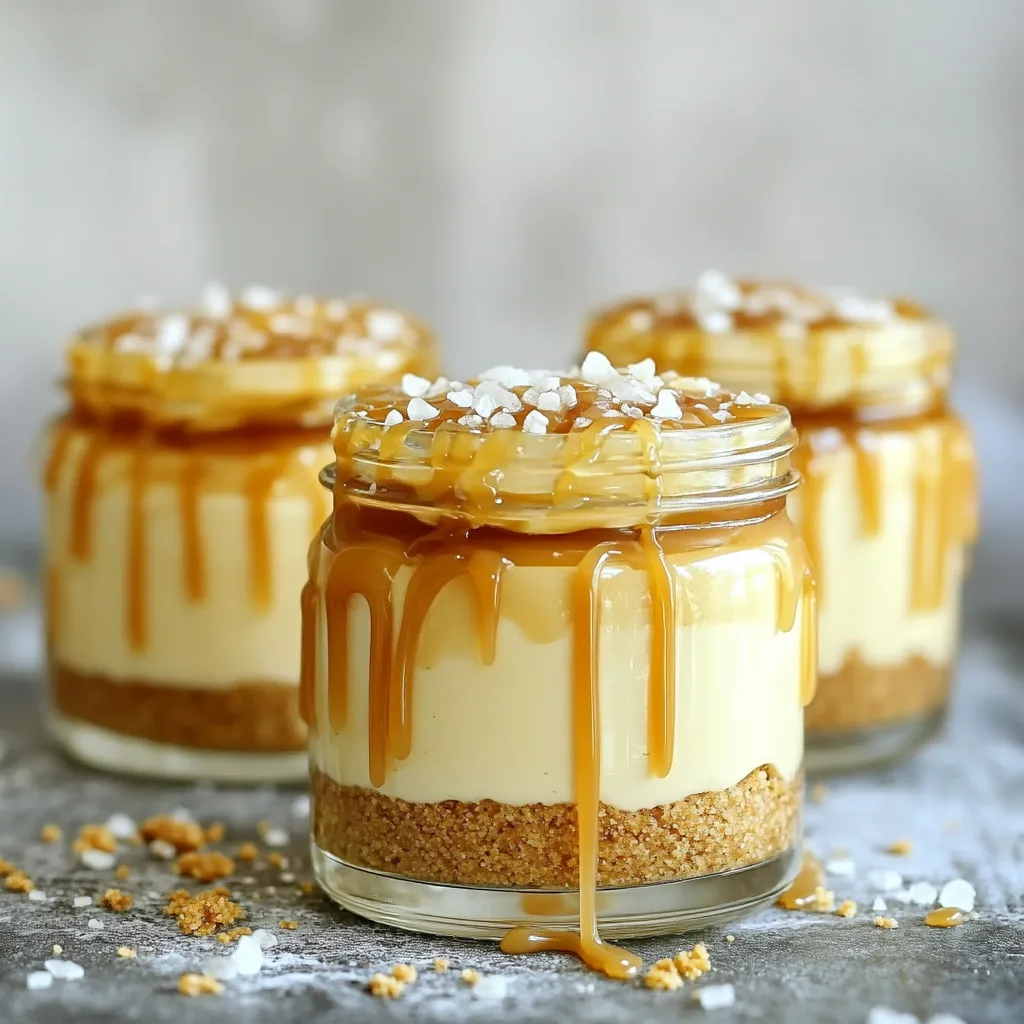
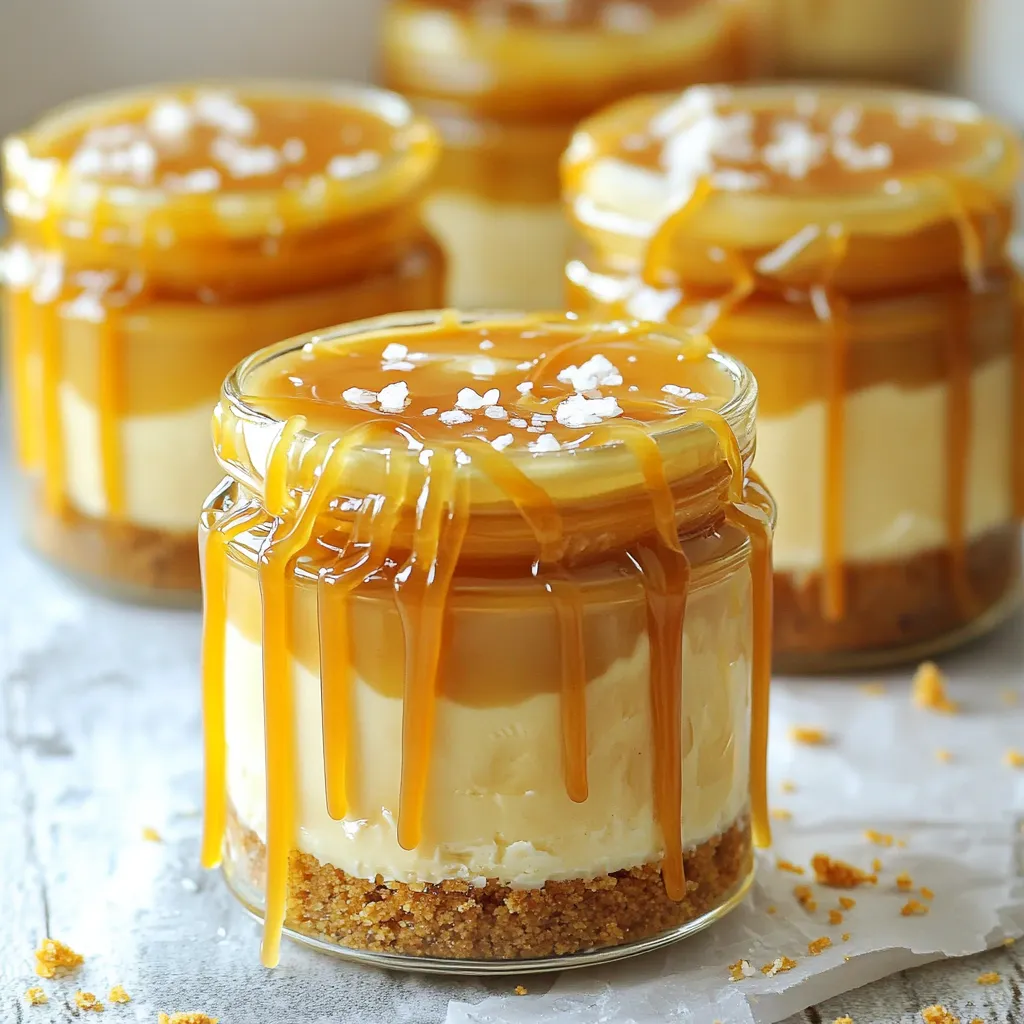
Now, spoon a generous layer of the cheesecake filling into each jar. Smooth it out with the back of a spoon for a nice finish. Drizzle about 1/2 cup of salted caramel sauce over the cheesecake filling in each jar, letting it trickle down the sides to create a lovely look. If you want extra flavor, feel free to repeat the layers with the remaining crust, filling, and caramel.
Chill and Serve
Refrigerate the jars for at least 4 hours, or overnight if you can wait. This chill time helps the flavors meld together and lets the cheesecake set perfectly. Before serving, sprinkle a few sea salt flakes on top of each jar. This adds a delightful salty kick that pairs well with the sweet caramel. Enjoy your delicious creation!
Tips & Tricks
Tips for Perfecting the Cheesecake
- Make sure your cream cheese is soft. This helps it mix well.
- Choose a high-quality caramel sauce. It adds depth and rich flavor.
Softened cream cheese is key. If it’s cold, your mixture may stay lumpy. Leave it at room temperature for about 30 minutes before you start.
Using a good caramel sauce makes a big difference. A rich, buttery sauce can elevate your dessert. You can use store-bought or make your own if you prefer.
Tricks for Layering
- Use a piping bag for neat layers. It helps keep everything tidy.
- Chill layers briefly. This makes assembly easier and cleaner.
A piping bag lets you layer the filling and caramel with precision. If you don’t have one, a zip-top bag with the corner cut works too.
Chilling the layers for about 10 minutes makes the jars easier to fill. It keeps the layers from mixing together.
Serving Suggestions
- Pair the jars with fresh fruit or whipped cream. It adds color and flavor.
- Use different jar sizes for variety. Smaller jars make cute individual servings.
Fresh fruit like strawberries or raspberries adds a nice tartness. It balances the sweetness of the caramel.
Using various jar sizes can make your dessert table look fun and inviting. Plus, it lets your guests choose their portion size.
Variations
Flavor Variations
You can mix things up with this cheesecake. Add chocolate for a rich taste. Espresso gives it a nice coffee kick. These flavors boost the cheesecake’s depth. Fresh fruit is fun too! Strawberries or bananas can brighten each bite. Just chop them small and fold them in. You’ll love how fresh fruit pairs with caramel.
Alternate Crust Options
The crust is just as important as the filling. Use different cookie crumbs for a twist. Oreos or Digestives make a great base. If you want something healthy, try a nut-based crust. Just blend nuts with a bit of butter. Press it into the jars for a crunchy bottom.
Different Toppings
Toppings can take your cheesecake to the next level. Try toasted nuts for some crunch. A drizzle of chocolate adds a sweet finish. You can also use flavored whipped cream. Try vanilla or hazelnut for a new flavor. Fruit compote is another great choice. It adds sweetness and color to your jars.
Storage Info
How to Store Cheesecake Jars
To keep your no-bake salted caramel cheesecake jars fresh, store them in the refrigerator. Make sure to cover each jar tightly. This helps maintain the creamy texture and rich flavor of the cheesecake. If you skip this step, your dessert may dry out or absorb other smells from the fridge.
Freezing Instructions
You can freeze cheesecake jars if you want to save them for later. Just place the jars in the freezer after they are fully set. When you’re ready to enjoy them, thaw the jars in the fridge overnight. This method keeps the flavor and texture intact. Avoid microwaving, as this can change the creaminess.
Shelf Life
In the fridge, these cheesecake jars last about 3 to 5 days. Look for signs of spoilage, like an off smell or discoloration. If you see any liquid pooling, it’s best to discard the jar. Always check before serving to ensure your dessert is safe to eat.
FAQs
Can I use low-fat cream cheese?
You can use low-fat cream cheese. It will change the texture a bit. The cheesecake may be less rich and creamy. It might also be a little firmer. If you want a lighter dessert, this is a good option.
How long does the no-bake cheesecake last?
The no-bake cheesecake lasts about 4 to 5 days in the fridge. Store the jars covered to keep them fresh. If you notice any off smells, it’s best to throw them out.
Is it possible to use homemade caramel sauce?
Yes, you can use homemade caramel sauce. Just make sure it is thick enough. A runny sauce may not layer well. Use a recipe that includes butter, sugar, and cream for the best flavor.
Can this recipe be doubled?
You can easily double this recipe. Just use twice the ingredients. Make sure you have enough jars to hold the extra cheesecake. Adjust the chilling time if you use larger jars.
What can I substitute for heavy whipping cream?
You can use coconut cream or evaporated milk as substitutes. These options will make the cheesecake lighter. However, the texture will be different. Be sure to whip them well to achieve a good consistency.
Making cheesecake jars is fun and easy. Use simple ingredients like cream cheese and graham crackers. Follow the steps to create a tasty dessert. Remember to chill the jars for the best flavor. You can also explore different flavors and toppings. Store them well to enjoy later. This no-bake cheesecake is great for any occasion. Trust me, these jars will impress your friends and family. Get ready to dig in!