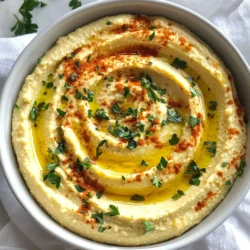
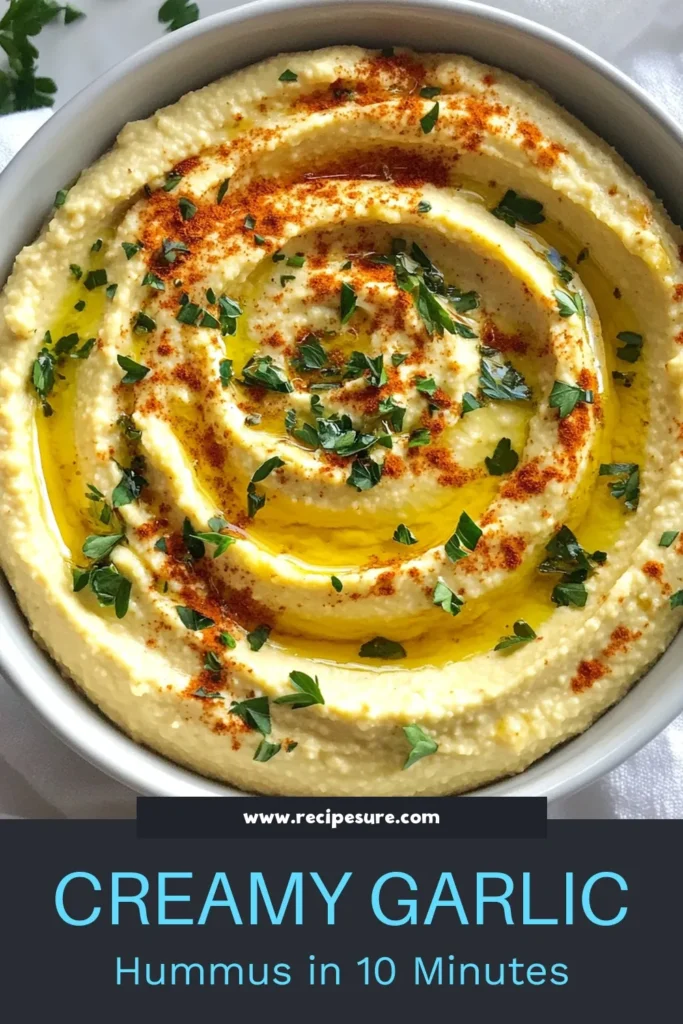
Are you ready to elevate your snack game? This creamy roasted garlic hummus is a simple yet flavorful dip that you can whip up in no time. Packed with rich flavor, it’s perfect for gatherings or a cozy night in. In this post, I’ll guide you through easy steps, ingredient tips, and delicious variations. Let’s get started on creating a dip that everyone will love!
Why I Love This Recipe
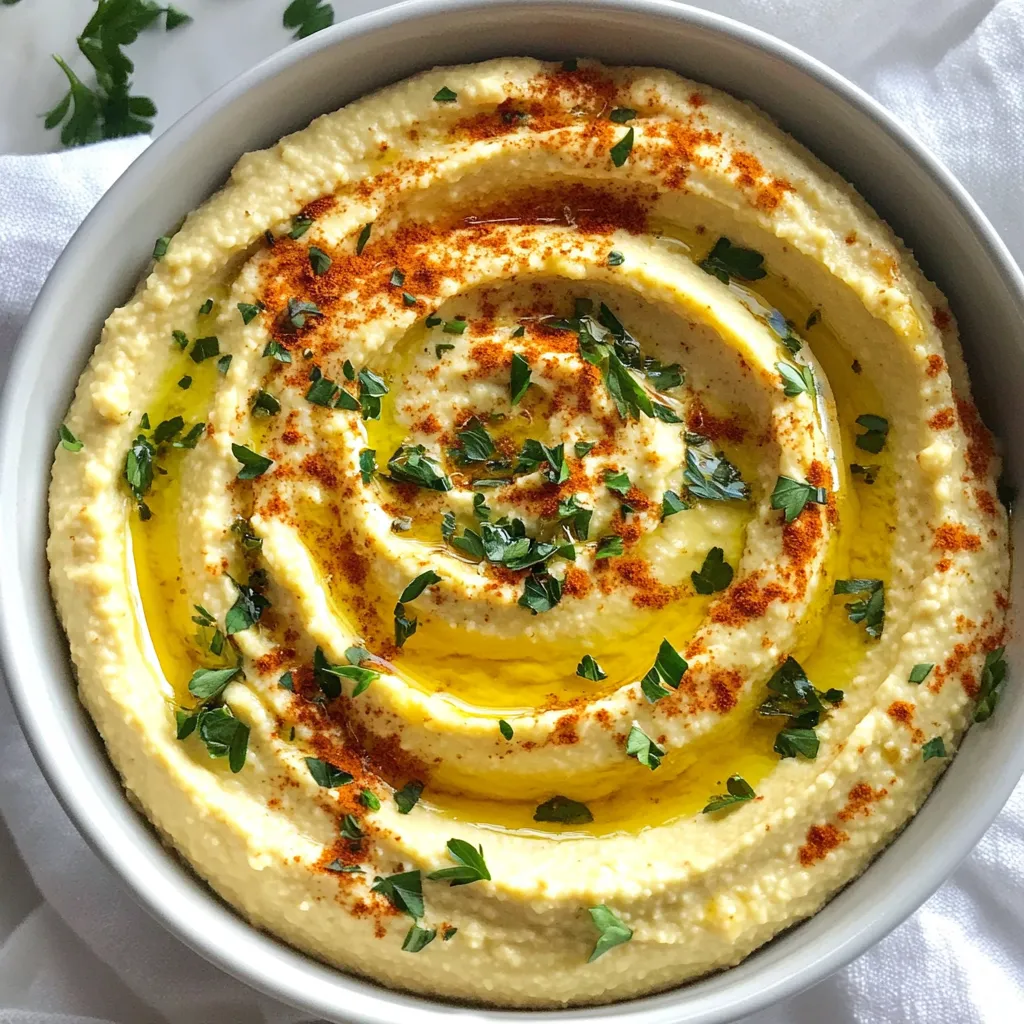
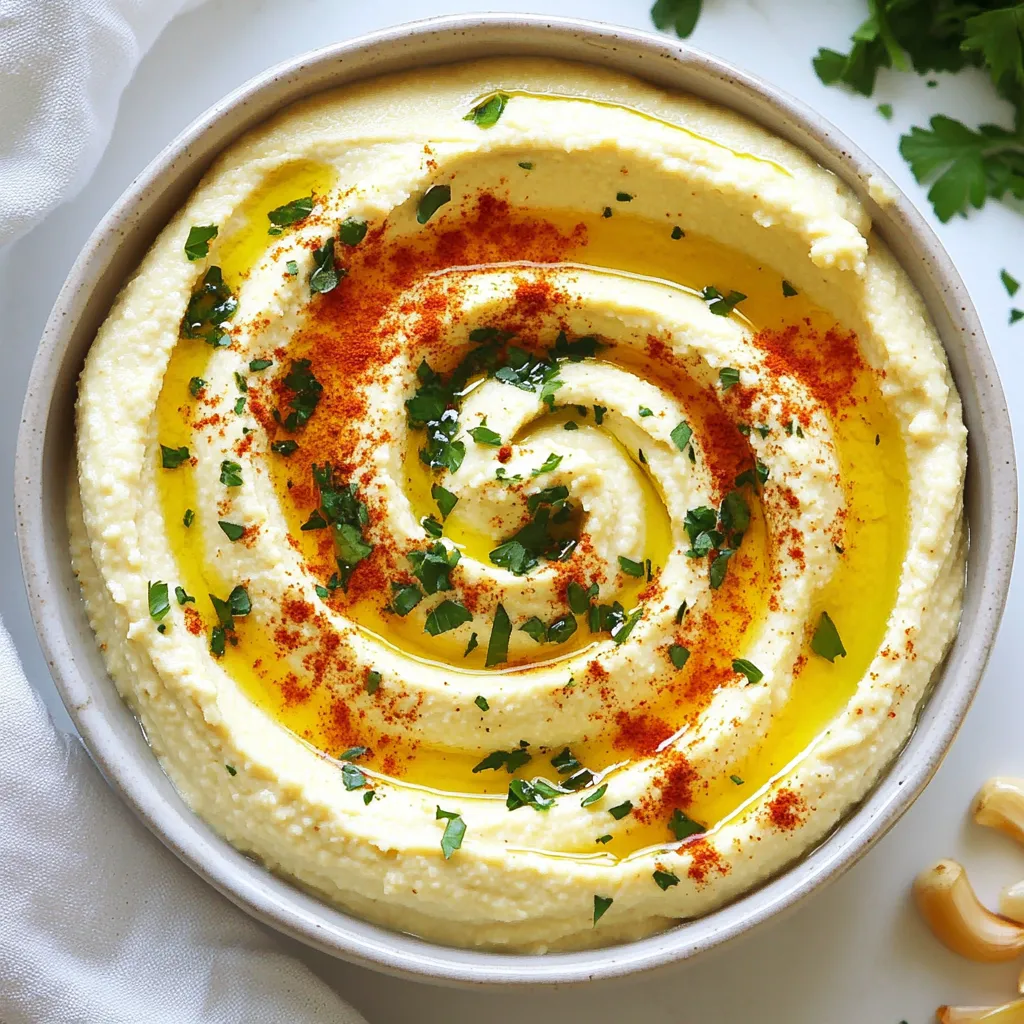
- Rich and Creamy Texture: This hummus is exceptionally smooth and creamy, thanks to the roasted garlic and tahini, making every bite a delight.
- Flavorful Roasted Garlic: The roasted garlic adds a unique depth of flavor that elevates traditional hummus to a whole new level.
- Quick and Easy to Make: With just a few simple ingredients and minimal prep time, this recipe is perfect for a quick snack or appetizer.
- Versatile Serving Options: This hummus pairs beautifully with various dippers, from pita bread to fresh veggies, making it a versatile addition to any spread.
Ingredients
List of Ingredients
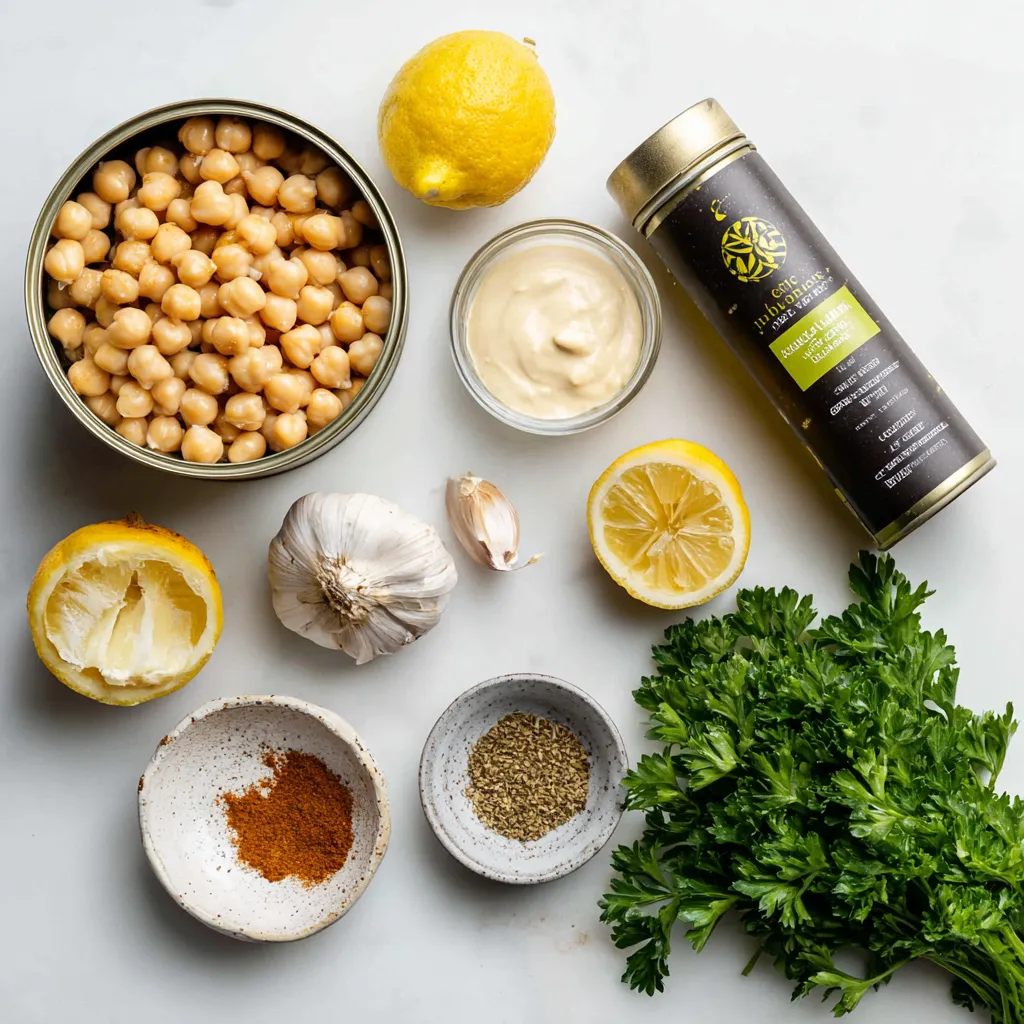
- 1 can (15 oz) chickpeas, drained and rinsed
- 1/4 cup tahini
- 1/4 cup olive oil
- 4 cloves roasted garlic
- 2 tablespoons lemon juice
- 1 teaspoon ground cumin
- 1/2 teaspoon salt (adjust to taste)
- 1/4 cup water (more if needed)
- Fresh parsley, for garnish
- Paprika, for garnish
Notes on Ingredient Quality
Using high-quality ingredients makes a big difference. I recommend using fresh garlic. Roasting it brings out a sweet flavor. Choose a good tahini for a smooth texture. Extra virgin olive oil adds richness. For chickpeas, canned is fine, but dried is even better if you soak them overnight. Fresh parsley gives a pop of color and flavor. Don’t skip the paprika; it enhances the look and taste.
Substitutions for Dietary Preferences
This recipe is quite flexible. If you need a nut-free option, use sunflower seed butter instead of tahini. You can swap olive oil for avocado oil if you prefer. For a lower-sodium version, reduce the salt or use a salt substitute. If you want a spicy kick, add a pinch of cayenne pepper or red pepper flakes. For a vegan option, this recipe is already vegan-friendly!
Step-by-Step Instructions
Preparing the Roasted Garlic
To start, preheat your oven to 400°F (200°C). Grab a whole head of garlic. Cut the top off so the cloves show. Drizzle a little olive oil on top. Wrap the garlic in aluminum foil. Roast it for 30 to 35 minutes. You want the cloves to be soft and caramelized. Once it’s done, let it cool before you handle it. This step adds a sweet and rich flavor to the hummus.
Blending the Hummus
Now, it’s time to blend. In your food processor, add the drained chickpeas. Next, squeeze the roasted garlic out of its skin and add it to the mix. Then, pour in the tahini, olive oil, lemon juice, ground cumin, and salt. Blend everything until it is well mixed. This creates a base full of flavor and texture.
Achieving the Perfect Consistency
To get that creamy hummus, you will need to add water. Start blending and add water slowly. Add just a little at a time until you reach your desired consistency. If it feels too thick, keep adding water one tablespoon at a time. Taste your hummus and adjust the seasoning. If it needs more salt or lemon juice, go ahead and add it. Once you have the right flavor and texture, your hummus is ready to serve!
Tips & Tricks
Tips for Creaminess
To make your hummus extra creamy, start with warm chickpeas. Warm chickpeas blend better than cold ones. If you use canned chickpeas, rinse and drain them well. For a silkier texture, remove the skins from the chickpeas. It takes time but makes a big difference. Adding enough water is key. Start with 1/4 cup and add more if needed. Blend until smooth.
Flavor Enhancements
Roasted garlic gives a rich taste. You can also add other flavors. Try adding a pinch of cayenne for heat. Fresh herbs like basil or cilantro can brighten the flavor. A splash of extra lemon juice will add zing, too. If you enjoy a nutty taste, use toasted sesame oil instead of olive oil.
Common Mistakes to Avoid
One common mistake is not blending long enough. Blend until the mixture is very smooth. Another mistake is adding too much salt at once. Start with less and adjust later. If the hummus is too thick, don’t be afraid to add more water. Lastly, remember to taste as you go. This will help you create the best flavor.
Pro Tips
- Choosing Chickpeas: For a creamier texture, you can use dried chickpeas that have been soaked and cooked, as they tend to be softer than canned ones.
- Roasting Garlic: Feel free to roast extra garlic cloves and use them in other dishes or store them in the fridge for an easy flavor boost in future meals.
- Adjusting Consistency: If you prefer a lighter hummus, try using ice-cold water instead of room temperature water while blending for a fluffier texture.
- Flavor Variations: Experiment with adding roasted red peppers, sun-dried tomatoes, or fresh herbs to the hummus for a unique twist on this classic recipe.
Variations
Flavor Variations (Spicy, Herbed, etc.)
You can change the taste of this hummus easily. To make it spicy, add a pinch of cayenne pepper or red pepper flakes. If you love fresh herbs, add chopped basil or dill. For a smoky flavor, mix in smoked paprika. Each option brings a unique twist.
Alternative Legumes
While chickpeas are the classic base, you can use other legumes. Black beans give a rich flavor. White beans such as cannellini create a creamy texture. Lentils can work too, but make sure they are cooked well. Each legume will change the taste and texture.
Dietary-Specific Options (Vegan, Gluten-Free)
This hummus is naturally vegan and gluten-free. It fits many diets easily. To make it nut-free, ensure your tahini is free from nuts. If you want a lower-fat option, use less olive oil and add more water. You can enjoy this dip without worry about dietary needs.
Storage Info
Best Practices for Storing Hummus
To keep your creamy roasted garlic hummus fresh, store it in an airtight container. Make sure to cover the surface with a thin layer of olive oil. This helps seal in flavor and keeps it moist. Place it in the fridge right away. Hummus stays best when it is cold.
Freezing Instructions
You can freeze hummus for longer storage. First, pack it in a freezer-safe container. Leave some space at the top, as it may expand. You can also freeze it in ice cube trays. Once frozen, pop the cubes into a bag. This makes it easy to use later.
Shelf Life Guidance
Homemade hummus lasts about five to seven days in the fridge. After that, it may lose its flavor and texture. If you freeze it, hummus is good for up to three months. Always check for any changes in smell or color before eating.
FAQs
How to make hummus creamier?
To make hummus creamier, use more olive oil. This adds richness and smoothness. You can also blend longer to fully incorporate the ingredients. Adding more water, one tablespoon at a time, helps reach the right texture. Try adding a bit more tahini, too. This will enhance the creaminess and flavor.
Can I use dried chickpeas instead of canned?
Yes, you can use dried chickpeas. Soak them overnight in water. Cook them until soft, which takes about one to two hours. Canned chickpeas save time, but dried ones can taste fresher. Just remember to drain and rinse them well after cooking.
What can I serve with hummus?
You can serve hummus with many tasty options. Fresh veggies like carrot sticks and cucumber slices work well. Pita bread or chips are also great for dipping. Try using it as a spread on sandwiches or wraps for added flavor.
How long does homemade hummus last?
Homemade hummus lasts about four to five days in the fridge. Store it in an airtight container to keep it fresh. You can also freeze hummus for up to three months. Just thaw it in the fridge before serving.
In this guide, we explored essential ingredients, preparation steps, and tips for perfect hummus. I shared ways to enhance flavor, avoid common mistakes, and even offered substitutions for diets. Remember, choosing quality ingredients makes a big difference. Experiment with variations to find your favorite. Store your hummus properly to enjoy its rich taste longer. With these insights, you can make delicious hummus at home. Now, go cook and enjoy your creatio