

Are you ready to indulge in a sweet treat that’s perfect for any occasion? This Chocolate Strawberry Icebox Cake is a delightful dessert, combining rich chocolate and fresh strawberries in a luscious, easy-to-make treat. In this post, I’ll guide you through simple steps and tips to create this layered delight. Let’s make a dessert your friends and family will love, one bite at a time!
Why I Love This Recipe
- Decadent Flavor: This cake combines the rich taste of chocolate with the freshness of strawberries, creating a dessert that’s both indulgent and refreshing.
- No-Bake Convenience: Perfect for warm days, this icebox cake requires no baking, making it easy to prepare and serve.
- Customizable Layers: You can easily adjust the layers with different fruits or add more chocolate, allowing for a personal touch in every bite.
- Make-Ahead Perfection: This dessert can be made ahead of time, giving you more time to enjoy your gathering without worrying about last-minute preparations.
Ingredients
Detailed List of Ingredients
- 1 box of chocolate graham crackers
- 2 cups heavy whipping cream
- 1/2 cup powdered sugar
- 1 teaspoon vanilla extract
- 2 cups fresh strawberries, hulled and sliced
- 1 cup dark chocolate shavings
- Fresh mint leaves for garnish
To make a Chocolate Strawberry Icebox Cake, you need some key ingredients. First, grab a box of chocolate graham crackers. These will give the cake its rich base. Next, you’ll need heavy whipping cream. It whips up light and fluffy. Powdered sugar adds sweetness to the cream. A touch of vanilla extract gives a warm flavor.
Fresh strawberries are a must. They add brightness and a juicy bite. Dark chocolate shavings bring a deeper taste that pairs well with strawberries. For a nice touch, you can add fresh mint leaves as a garnish. They add color and a hint of freshness.
When you gather these ingredients, you’re ready to create a delightful dessert. Each component plays a role in making this cake tasty and fun to eat. So, ensure you pick the best strawberries and quality chocolate. Happy baking!

Step-by-Step Instructions
Preparation Overview
First, let’s make the whipped cream. In a large bowl, whip the heavy cream. Use an electric mixer for this task. Beat until soft peaks form. Then, slowly add the powdered sugar and vanilla extract. Keep whipping until stiff peaks form. This will be our creamy layer.
Next, grab a 9×13 inch baking dish. Start building the layers of your cake. Place a single layer of chocolate graham crackers on the bottom. This will create the base for our dessert.
Layering Process
Now, spread a generous layer of whipped cream over the graham crackers. Smooth it out evenly so every bite has cream.
Then, add a layer of sliced strawberries on top of the cream. Scatter some dark chocolate shavings over the strawberries. This adds rich flavor and texture.
Repeat this layering process. Alternate between graham crackers, whipped cream, strawberries, and chocolate shavings until all ingredients are used. Finish with a layer of whipped cream on top.
Cover the dish with plastic wrap. Refrigerate for at least 4 hours, or overnight for the best results. Chilling allows the flavors to meld and the graham crackers to soften.
Optimization Tips for Best Results
Chilling time is crucial. It helps the layers set and enhances the overall taste. If you can wait overnight, do it!
For tools, use a good electric mixer for whipping. A spatula helps in spreading the cream evenly. A sharp knife is great for cutting the cake into neat squares when serving. Enjoy your delicious creation!
Tips & Tricks
Achieving Perfect Whipped Cream
To get great whipped cream, you need stiff peaks. Start with cold heavy cream. Chill your mixing bowl for best results. Whip the cream until soft peaks form. Then, slowly add powdered sugar and vanilla extract. Keep whipping until you see stiff peaks. This means your cream can hold its shape well.
Flavor Enhancements
You can make your cake even tastier. Try adding flavored extracts, like almond or mint. Just a few drops can change the taste. You can also swap strawberries for other fruits. Ripe peaches or raspberries work well. Use what’s fresh and in season for the best flavors.
Serving Suggestions
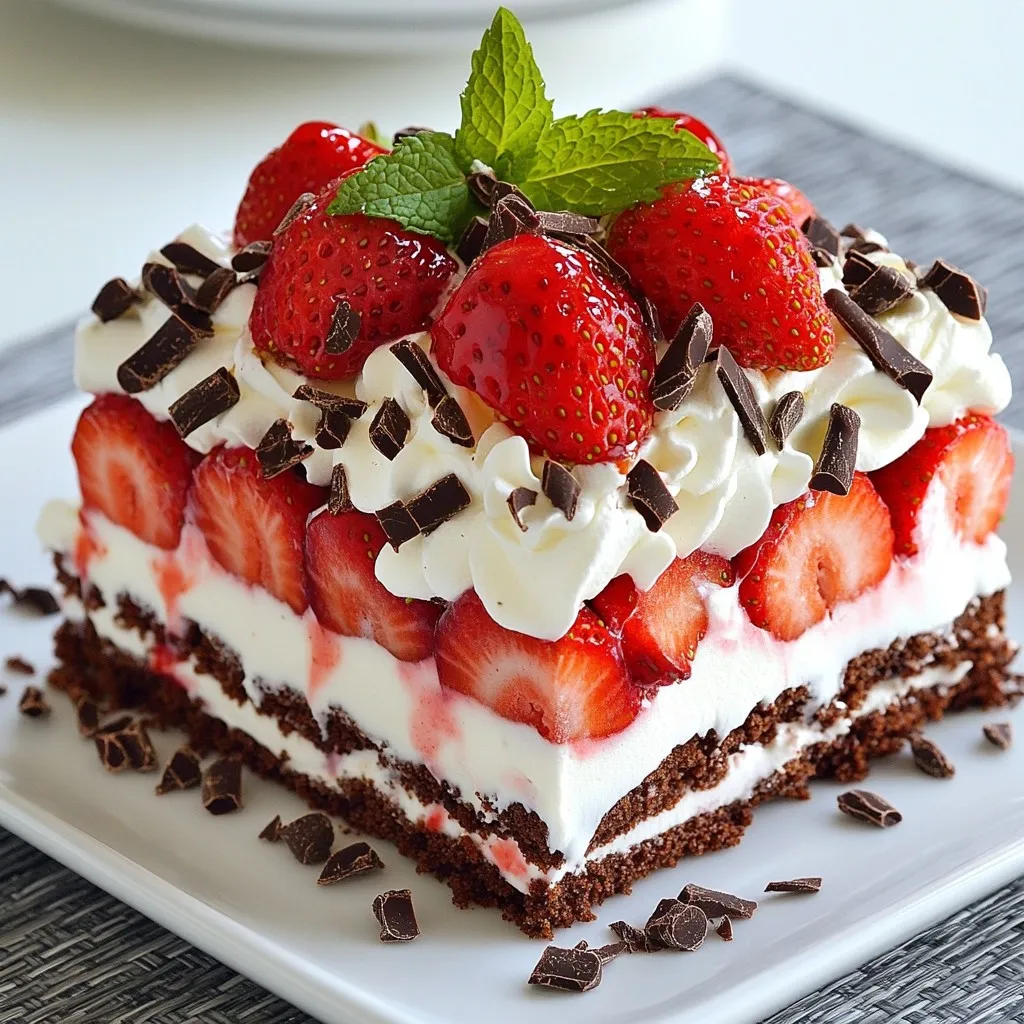
Presentation matters! Cut your cake into neat squares. Place each piece on a colorful plate. Add a few chocolate shavings on top. Fresh mint leaves add a nice touch too. Pair your cake with coffee or sweet tea. These drinks balance the rich flavors of the cake. Enjoy sharing this delight with friends and family!
Pro Tips
- Chill Your Tools: For extra fluffy whipped cream, chill your mixing bowl and beaters in the fridge for about 15 minutes before whipping.
- Layering Technique: Ensure each layer is even and spread it all the way to the edges to create a visually appealing dessert.
- Strawberry Selection: Choose ripe, fresh strawberries for the best flavor. Look for bright red berries without any blemishes.
- Make-Ahead Magic: This icebox cake is perfect for making ahead of time; the flavors improve as it sits in the fridge!
Variations
Ingredient Swaps
You can easily make this cake to fit your needs.
- Gluten-free alternatives: Use gluten-free chocolate graham crackers. They work just as well.
- Dairy-free substitutes: Swap heavy cream for coconut cream. It whips nicely and adds a hint of flavor.
Different Flavor Profiles
This cake is fun to customize with different flavors.
- Alternative fruit options: Try using raspberries or blueberries instead of strawberries. They add a new twist.
- Incorporating different chocolate types: Mix in milk chocolate or white chocolate shavings. Each brings its own sweet touch.
Themed Variations
Make your icebox cake stand out with fun themes.
- Holiday adaptations: For Christmas, add peppermint extract to the whipped cream. It’s festive and refreshing.
- Layering suggestions for parties: Create a rainbow effect by using different colored fruits. It makes the cake a showstopper!
Storage Info
Refrigeration Guidelines
The Chocolate Strawberry Icebox Cake lasts up to five days in the fridge. To keep it fresh, cover the dish tightly with plastic wrap. This helps prevent air from drying out the cake. If you have leftovers, try to keep the layers intact. This way, they will stay moist and delicious.
Freezing Instructions
You can freeze this cake for up to one month. To freeze, wrap individual slices in plastic wrap, then place them in a freezer-safe bag. This protects them from freezer burn. When you’re ready to enjoy, take a slice out and let it thaw in the fridge overnight. It will taste fresh and yummy!
Reheating Techniques
If your cake feels too firm after freezing, you can soften it. Let it sit at room temperature for about 15 minutes. This helps it regain some of its creamy texture. To avoid sogginess, don’t microwave the cake. Instead, slice it and let it sit on the plate for a few minutes before serving. This way, you keep the layers nice and firm!
FAQs
What is an icebox cake?
An icebox cake is a no-bake dessert. It uses layers of cookies or crackers and cream. The name comes from the old iceboxes where people stored food before fridges. This cake is soft and creamy because it chills for hours. The layers soak up moisture, making the crackers tender. Icebox cakes can have many flavors, but chocolate and strawberries are popular.
Can I make this cake ahead of time?
Yes, you can make this cake ahead of time. I recommend preparing it the day before you plan to serve it. This gives the flavors time to blend. Chilling it for at least four hours helps the layers soften. For the best texture, let it sit overnight. This way, your cake will be ready when you need it.
What can I substitute for heavy cream?
If you don’t have heavy cream, you have options. You can use whole milk mixed with butter. For each cup of cream, mix 3/4 cup of milk with 1/4 cup of melted butter. Another option is coconut cream for a dairy-free choice. Whipped topping can also work, but it won’t have the same rich flavor. Each substitute will change the taste and texture a bit.
This blog post covered how to make a delicious icebox cake. We explored key ingredients like chocolate graham crackers, fresh strawberries, and whipped cream. I guided you through the step-by-step process from preparation to presentation. Remember to chill the cake for best results. You can also play with flavor by using different fruits or extracts. Whether for a holiday or a casual gathering, this cake is a crowd-pleaser. Try these tips, and you’ll impress everyone without stress. Enjoy your baking adventur

Chocolate Strawberry Icebox Cake
Ingredients
- 1 box chocolate graham crackers
- 2 cups heavy whipping cream
- 0.5 cup powdered sugar
- 1 teaspoon vanilla extract
- 2 cups fresh strawberries, hulled and sliced
- 1 cup dark chocolate shavings
- optional fresh mint leaves for garnish
Instructions
- In a large mixing bowl, whip the heavy cream until soft peaks form. Gradually add in the powdered sugar and vanilla extract, continuing to whip until stiff peaks form.
- Prepare a 9x13 inch baking dish. Begin layering by placing a single layer of chocolate graham crackers on the bottom of the dish.
- Spread a generous layer of the whipped cream mixture over the graham crackers, smoothing it out evenly.
- Add a layer of sliced strawberries on top of the cream. Sprinkle a portion of the dark chocolate shavings over the strawberries.
- Repeat the layering process: graham crackers, whipped cream, strawberries, and chocolate shavings until all ingredients are used, finishing with a layer of whipped cream on top.
- Cover the dish with plastic wrap and refrigerate for at least 4 hours, or overnight for the best results. This allows the flavors to meld and the graham crackers to soften.
- When ready to serve, remove from the fridge and optionally garnish with fresh mint leaves for a pop of color. Cut into squares and enjoy!