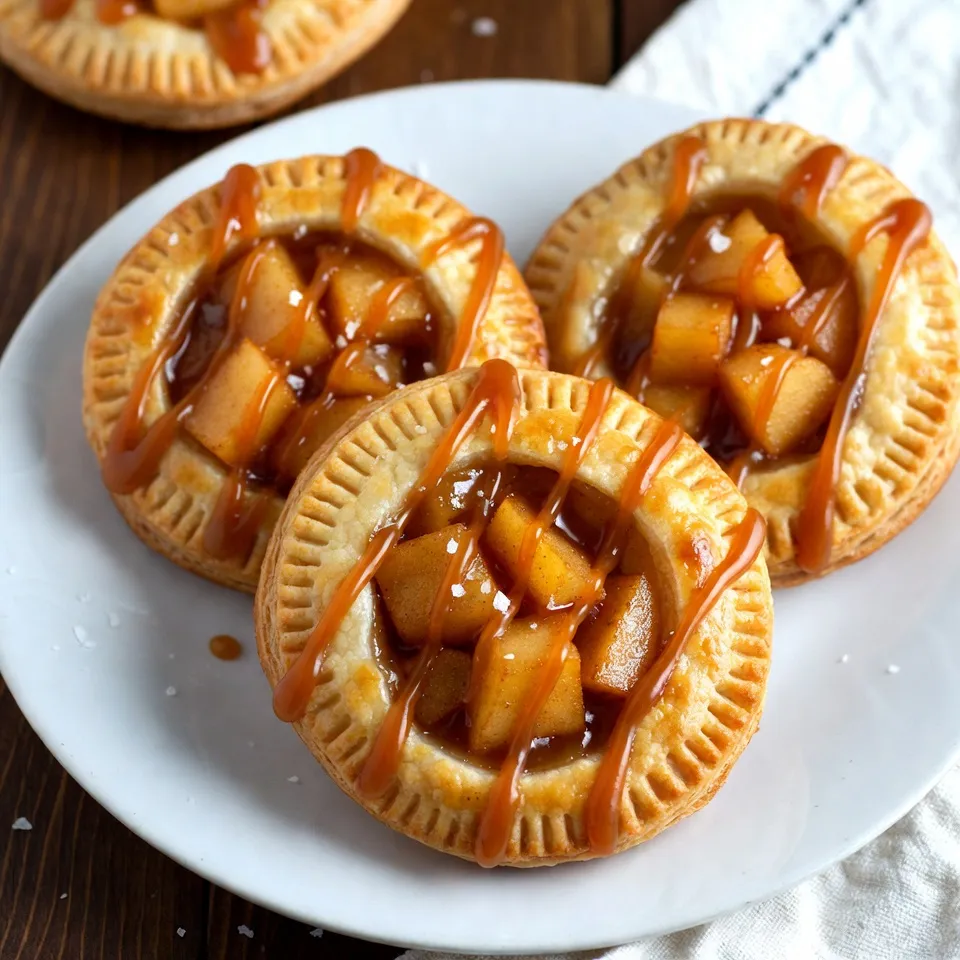

Are you ready to make the perfect fall dessert? Salted Caramel Apple Hand Pies are a tasty treat you can’t resist! These sweet pies combine warm apples, caramel, and spices, all wrapped in a flaky crust. In this guide, I’ll show you how to create these delicious hand pies step by step. Whether you’re a novice or an expert, you’ll impress everyone with this easy recipe. Let’s dive in!
Why I Love This Recipe
- Delicious Flavor Combination: The tartness of Granny Smith apples perfectly balances the sweetness of the caramel, creating a delightful bite.
- Perfect for Any Occasion: These hand pies are great for parties, picnics, or as a cozy dessert at home.
- Easy to Make: The step-by-step instructions make it simple for bakers of any skill level to create these tasty treats.
- Customizable Filling: You can easily switch out the apples for other fruits or add nuts and spices to suit your taste!
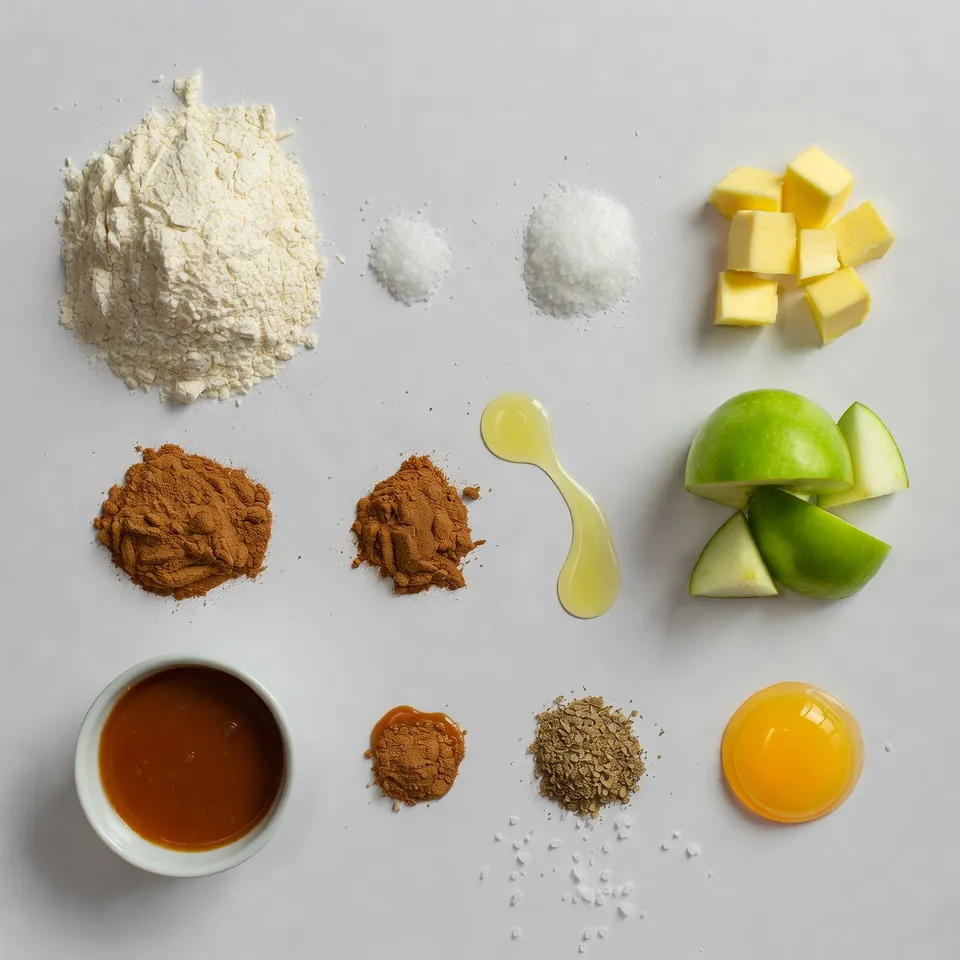
Ingredients
Main Ingredients
- 2 cups all-purpose flour
- 1/2 cup unsalted butter, chilled and diced
- 3 medium apples, peeled, cored, and diced
The base of our hand pies starts with all-purpose flour. It gives the crust a nice, flaky texture. Next, we need unsalted butter. This butter adds richness and helps create a tender crust. For the filling, I love using three medium apples, preferably Granny Smith. They are tart and provide a great contrast to the sweet caramel.
Sweeteners and Spices
- 1/2 cup brown sugar
- 1 teaspoon cinnamon
- 1/4 teaspoon nutmeg
For sweetness, brown sugar does the trick. It brings a deep flavor to the filling. I also add cinnamon and nutmeg to give it that warm, cozy fall vibe. These spices enhance the apple flavor and make the pies smell amazing while baking.
Additional Ingredients
- 1/2 cup store-bought salted caramel sauce
- 1 egg (for egg wash)
No hand pie is complete without salted caramel sauce. This ingredient adds a rich, sweet touch that pairs perfectly with the apples. Finally, we use one egg for an egg wash. This gives the crust a lovely golden color when baked.
Step-by-Step Instructions
Preparing the Dough
To begin, mix the dry ingredients. In a large bowl, combine 2 cups of all-purpose flour, 1/2 teaspoon of salt, and 1 tablespoon of sugar. This simple blend creates a base for a flaky crust.
Now, incorporate the butter. Add 1/2 cup of chilled, diced unsalted butter to the dry mix. Use a pastry cutter or your fingers to blend until it looks like coarse crumbs. This is key for a tender crust.
Next, form the dough and chill it. Slowly pour in 6 tablespoons of ice water, one tablespoon at a time. Mix until the dough starts to hold together. Shape it into a disc, wrap it tightly in plastic wrap, and chill it in the fridge for at least 30 minutes. Chilling helps the dough relax and stay tender.
Making the Apple Filling
While the dough chills, it’s time to make the apple filling. In a large bowl, combine 3 medium apples, peeled, cored, and diced. Add 1/2 cup of brown sugar, 1 teaspoon of cinnamon, 1/4 teaspoon of nutmeg, and 1 tablespoon of lemon juice. Mix well until the apples are coated. This step lets the flavors blend nicely. Set the bowl aside to allow the apples to absorb the flavors.
Assembling the Hand Pies
Now, let’s assemble the hand pies. Roll out the chilled dough on a floured surface to about 1/8-inch thick. Use a 4-inch cookie cutter or a bowl to cut circles from the dough.
For each pie, place about 2 tablespoons of the apple mixture in the center of half the dough circles. Drizzle 1 teaspoon of salted caramel sauce on top of the filling. This adds a rich, sweet touch.
Moisten the edges of the circles with water. Place a second circle over the filling and carefully press the edges to seal. Use a fork to crimp the edges for a fun, decorative finish.
Baking the Pies
Next, preheat your oven to 400°F (200°C). Line a baking sheet with parchment paper to prevent sticking.
Before baking, apply the egg wash. In a small bowl, beat 1 egg and brush it over the top of each pie. This gives them a nice golden color. Don’t forget to sprinkle coarse sea salt on top for that perfect salted caramel flavor.
Finally, bake the pies for 20 to 25 minutes or until they turn golden brown. Enjoy the delightful aroma filling your kitchen as they bake. Let them cool slightly before serving.
Tips & Tricks
Perfecting the Dough
Chilling the dough is key. It keeps the butter cold and helps the dough hold its shape. If the dough is warm, it can shrink when baking. After mixing, wrap it tightly and chill for at least 30 minutes.
To avoid shrinkage, roll the dough gently. Use a light touch to keep it from stretching too much. When you cut it, use a sharp knife or a round cutter. This helps keep the edges clean and neat.
Enhancing the Filling
Choosing the right apples makes a big difference. I always go for Granny Smith apples. They are tart and hold their shape well when cooked. You can mix them with sweeter apples, like Fuji, for a nice balance.
Balancing sweetness and tartness is important. Use brown sugar for a deep flavor. Add a touch of lemon juice to brighten the apples. A sprinkle of cinnamon and nutmeg adds warmth and depth to your filling.
Baking Techniques
To achieve a golden crust, preheat your oven to 400°F (200°C). Brush the tops of the pies with egg wash; this gives them a nice shiny finish. Sprinkle coarse sea salt on top for a savory touch.
Baking time may vary by oven. Start with 20 minutes, but keep an eye on them. The pies should be golden brown and bubbly. If your oven runs hot, check them a few minutes earlier. Adjust as needed for best results.
Pro Tips
- Chill Your Dough: Ensure your dough is well-chilled before rolling it out. This helps maintain the flakiness of the crust and makes it easier to handle.
- Use Tart Apples: Opt for tart apples like Granny Smith for a balanced flavor against the sweetness of the caramel.
- Seal It Well: Make sure to crimp the edges securely to prevent the filling from leaking out during baking.
- Extra Caramel Drizzle: For a decadent touch, drizzle additional salted caramel over the baked hand pies just before serving.

Variations
Dietary Substitutions
You can easily adapt this recipe to fit your diet.
- Gluten-free flour alternatives: Use a gluten-free flour blend. Brands like Bob’s Red Mill work well. This keeps the taste rich while making it safe for gluten-free diets.
- Vegan modifications: Replace the butter with coconut oil or vegan butter. Use a flax egg instead of a regular egg for the wash. This way, you can enjoy hand pies without animal products.
Flavor Enhancements
Adding new flavors can make your hand pies even more exciting.
- Adding nuts or dried fruits: Chopped walnuts or pecans add crunch. Dried cranberries or raisins can bring in a sweet twist. Just mix them into the apple filling for extra texture.
- Different spices for unique flavor profiles: Try cardamom or ginger for a different taste. These spices can give your hand pies a fun and warm flavor, perfect for fall.
Serving Suggestions
How you serve these hand pies can enhance the experience.
- Pairing with ice cream: Serve warm hand pies with a scoop of vanilla ice cream. The cool ice cream melts into the warm pie, creating a tasty mix.
- Drizzling with extra caramel or chocolate sauce: A drizzle of more salted caramel or rich chocolate sauce makes them even sweeter. This small touch adds a pop of flavor and looks great on a plate!
Storage Info
Refrigeration
How long do the hand pies last in the fridge?
The hand pies stay fresh in the fridge for about 3 days. You can enjoy them warm or cold.
Best way to store leftovers
Store the hand pies in an airtight container. This keeps them from drying out. You can also wrap each pie in plastic wrap for extra freshness.
Freezing Hand Pies
Instructions for freezing before or after baking
You can freeze the hand pies before baking. Just place them on a baking sheet and freeze until solid. Then, wrap them in plastic wrap and foil. If you freeze them after baking, let them cool first. Then, store them in an airtight container.
How to reheat frozen hand pies
To reheat, bake the frozen hand pies at 375°F (190°C) for 20-25 minutes. This will make them crispy again. You can also microwave them for a quick snack, but they won’t be as crisp.
FAQs
Can I make the dough ahead of time?
Yes, you can make the dough ahead. Just follow these steps:
- Mix the dry ingredients: Combine the flour, salt, and sugar in a bowl.
- Cut in the butter: Add the chilled, diced butter. Mix until it looks like coarse crumbs.
- Add ice water: Gradually mix in ice water, one tablespoon at a time, until the dough forms.
- Chill the dough: Shape it into a disc, wrap it in plastic, and refrigerate for at least 30 minutes.
You can keep the dough in the fridge for up to two days. Just make sure to let it sit at room temperature for a few minutes before rolling it out.
What type of apples are best for hand pies?
I recommend using Granny Smith apples for hand pies. They are tart, which balances the sweet caramel. Other good options include:
- Honeycrisp: They add sweetness and crunch.
- Fuji: These are sweet and juicy.
- Jonagold: A mix of sweet and tart flavors.
Each type brings its unique taste and texture, so feel free to mix them!
How can I ensure my pies don’t leak during baking?
To prevent leaks, follow these tips:
- Seal the edges well: After filling, moisten the edges and press them tightly.
- Use a fork: Crimp the edges with a fork for a strong seal.
- Avoid overfilling: Use about 2 tablespoons of filling per pie. Too much can cause leaks.
- Cut vents: Make small cuts on top of each pie to allow steam to escape.
These steps help keep your filling inside, ensuring a perfect pie every time!
You learned about making delicious hand pies from scratch. We covered key ingredients like apples, butter, and spices. I shared step-by-step instructions to guide you from dough to bake. Tips on perfecting your pastry were also included. Explore variations to suit your taste or dietary needs. With smart storage techniques, your hand pies can last longer. Enjoy baking and savoring every bite. These delightful treats are sure to impress anyone you share them with. Get ready to enjoy your homemade goodnes

Salted Caramel Apple Hand Pies
Ingredients
- 2 cups all-purpose flour
- 0.5 teaspoon salt
- 1 tablespoon sugar
- 0.5 cup unsalted butter, chilled and diced
- 6 tablespoons ice water
- 3 medium apples, peeled, cored, and diced (preferably Granny Smith)
- 0.5 cup brown sugar
- 1 teaspoon cinnamon
- 0.25 teaspoon nutmeg
- 1 tablespoon lemon juice
- 0.5 cup store-bought salted caramel sauce
- 1 egg for egg wash
- 1 pinch coarse sea salt for sprinkling
Instructions
- In a mixing bowl, combine the flour, salt, and sugar. Add diced butter and mix with a pastry cutter or your fingers until the mixture resembles coarse crumbs.
- Slowly add the ice water, one tablespoon at a time, mixing until the dough begins to form. Shape the dough into a disc, wrap in plastic wrap, and refrigerate for at least 30 minutes.
- While the dough chills, prepare the filling: In a large bowl, combine diced apples, brown sugar, cinnamon, nutmeg, and lemon juice. Mix until the apples are well coated. Set aside.
- Preheat your oven to 400°F (200°C). Line a baking sheet with parchment paper.
- Roll out the chilled dough on a floured surface to about 1/8-inch thick. Cut out circles using a 4-inch cookie cutter or a bowl.
- Place about 2 tablespoons of the apple mixture in the center of half the circles. Drizzle 1 teaspoon of salted caramel on top of the apple filling.
- Moisten the edges of the dough circles with water and place a second circle over the filling, pressing the edges to seal. Use a fork to crimp the edges for a decorative finish.
- In a small bowl, beat the egg and brush it on top of each pie for a golden finish. Sprinkle coarse sea salt on top.
- Bake in the preheated oven for 20-25 minutes, or until golden brown. Allow to cool slightly before serving.