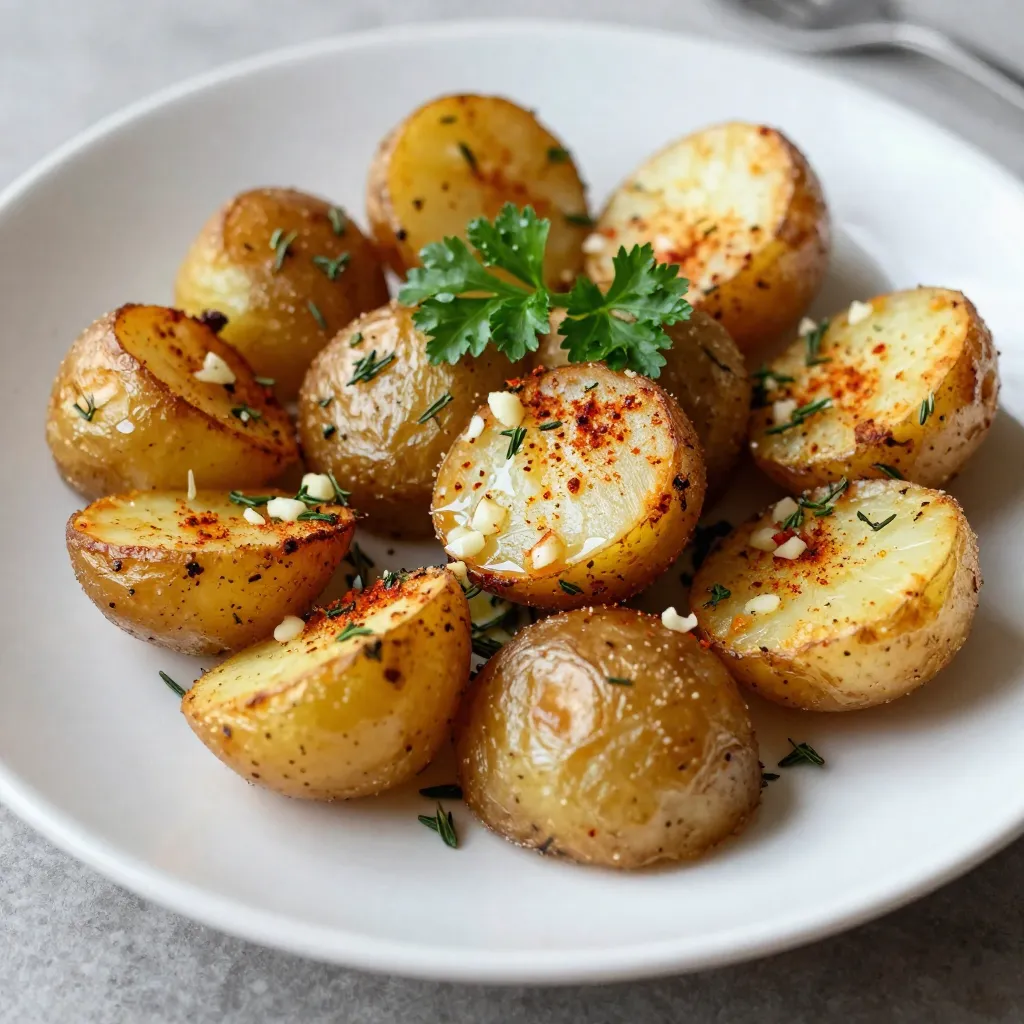
Herb Garlic Roasted Potatoes Savory and Simple Delight
Are you ready for a delicious side dish that’s easy to make? Herb Garlic Roasted Potatoes are here to impress

Are you ready for a delicious side dish that’s easy to make? Herb Garlic Roasted Potatoes are here to impress
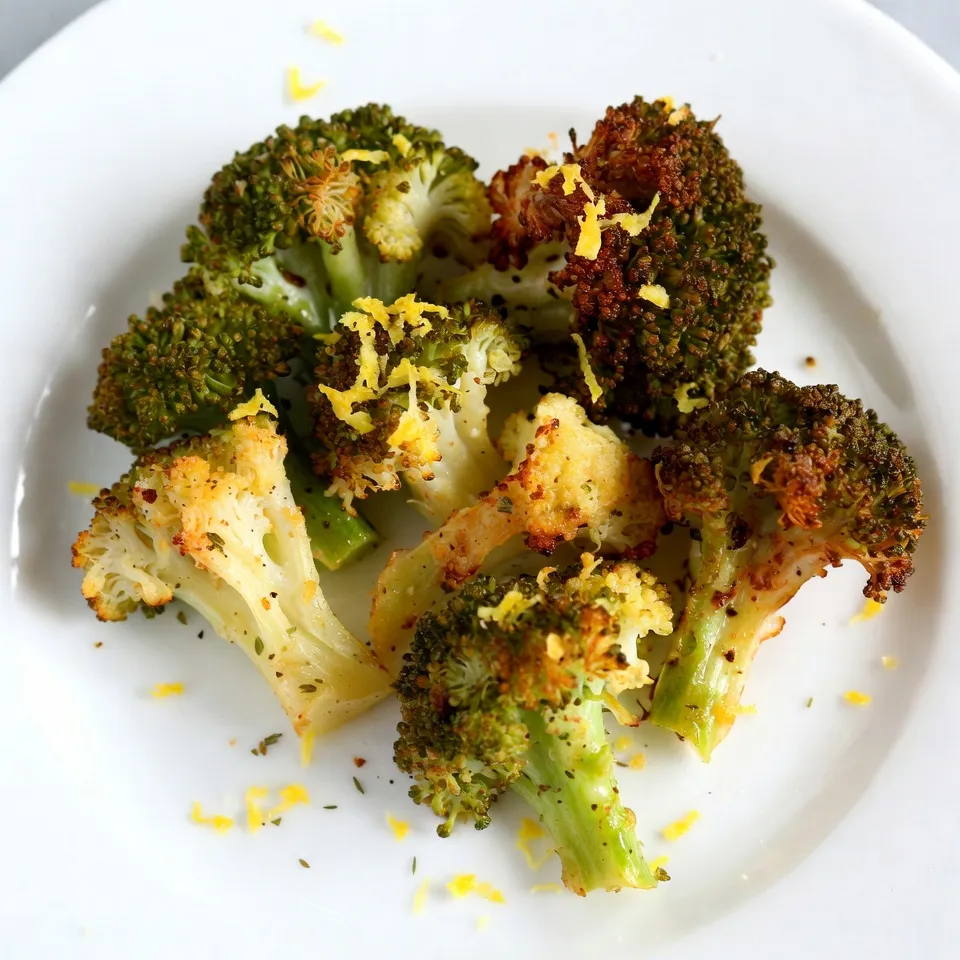
Looking for a tasty way to enjoy your greens? You’re in the right place! My Parmesan Herb Roasted Broccoli is
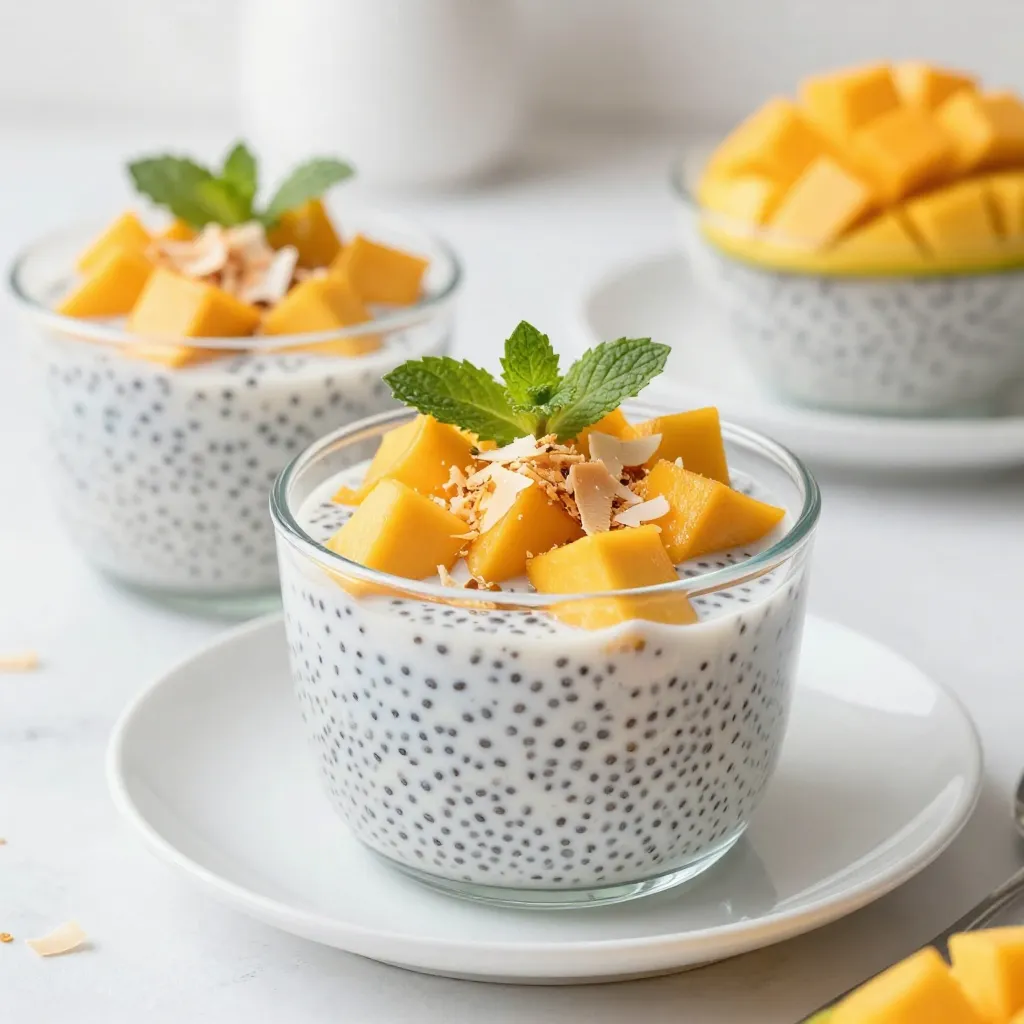
Are you ready to whip up a tasty treat? My Mango Coconut Chia Pudding is both delicious and easy to

Get ready to indulge in a sweet and zesty treat with my Lemon Curd Thumbprint Cookies! These cookies combine buttery

Are you ready to fill your kitchen with the warm scents of gingerbread? In this blog post, I’ll guide you

Looking for a quick and tasty snack? Try my Lemon Garlic Roasted Chickpeas! These crispy bites are packed with flavor
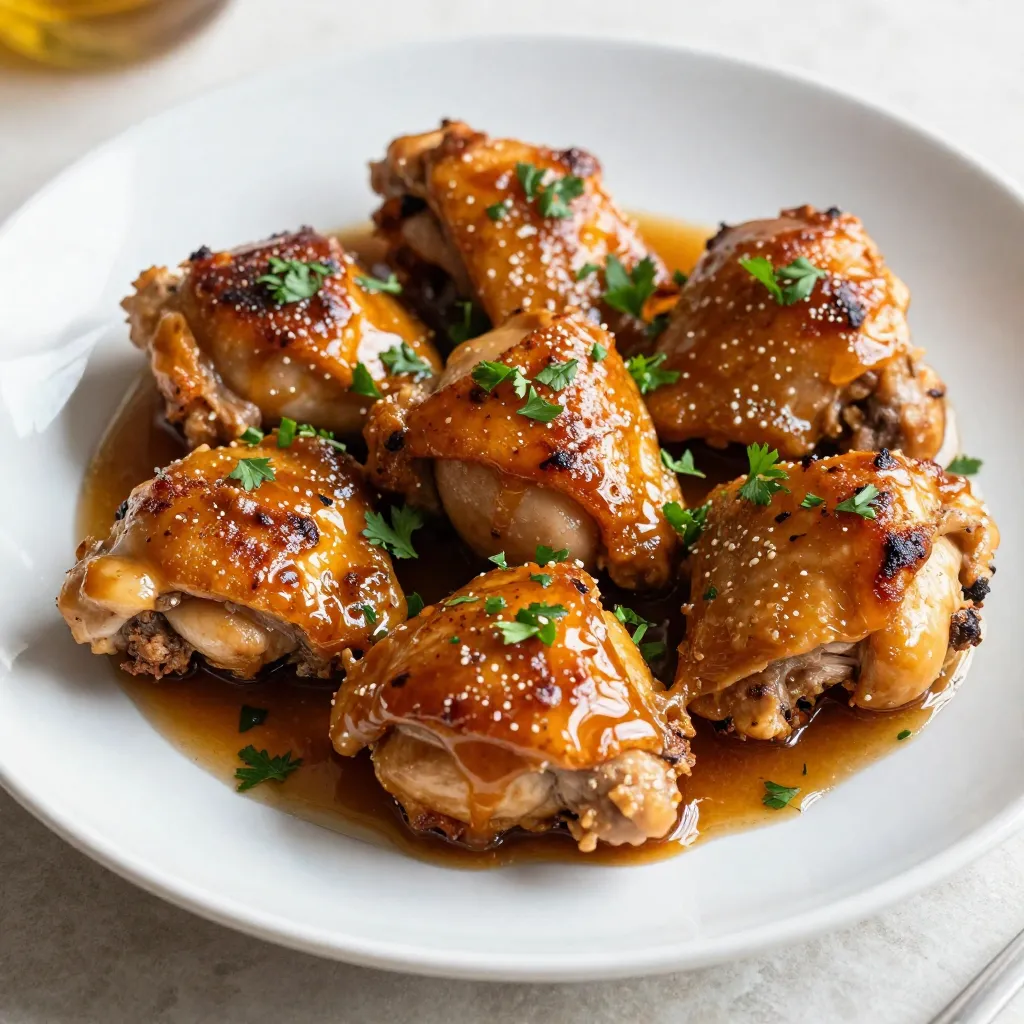
Looking for a dish that is both tasty and simple? Honey Mustard Chicken Thighs bring that perfect blend of sweet
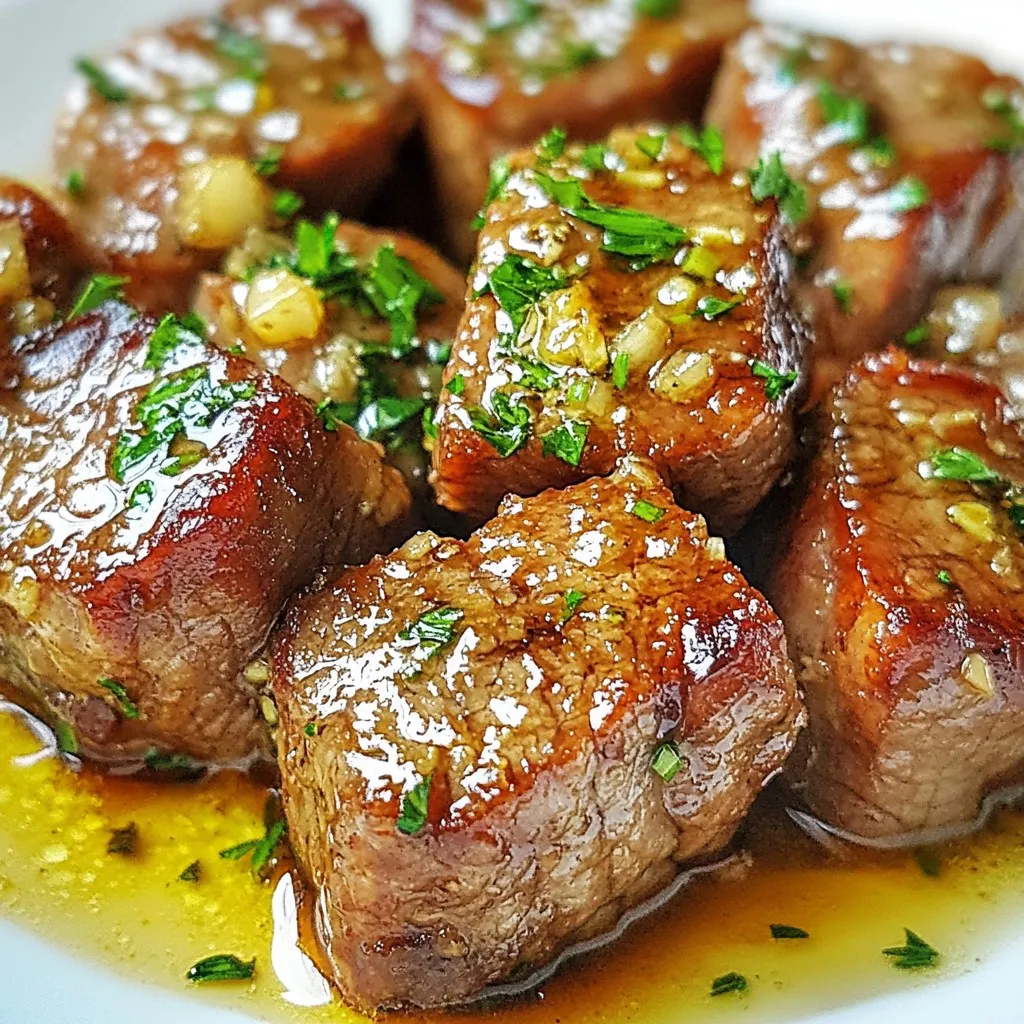
Get ready to impress your taste buds with my Honey Garlic Butter Steak Bites! This easy and flavorful recipe pairs
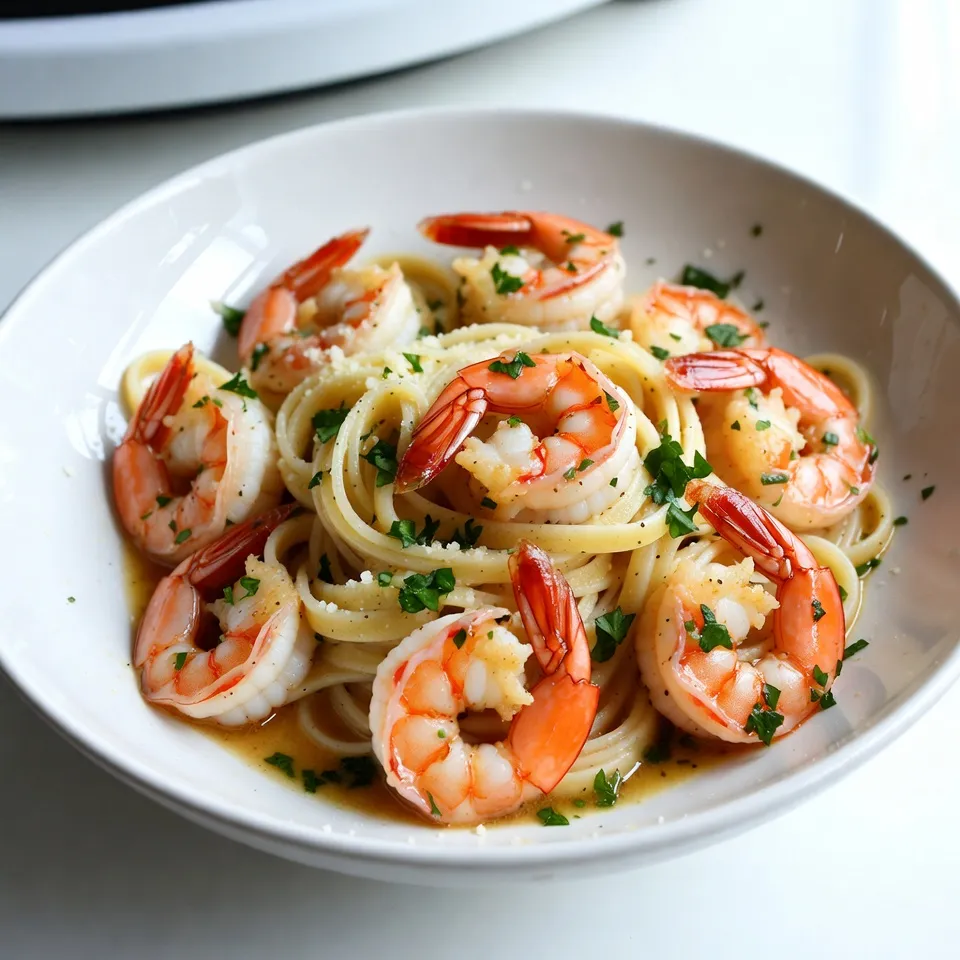
Craving a quick dinner that packs a flavorful punch? Look no further than Lemon Garlic Shrimp Fettuccine! This delightful dish

Get ready to indulge in a delicious treat! These Mexican Hot Chocolate Brownies will wow your taste buds. With rich