
Caramel Apple Cinnamon Swirl Bread Irresistible Delight
Do you crave the sweet, cozy flavors of fall? Get ready to indulge in my Caramel Apple Cinnamon Swirl Bread!

Do you crave the sweet, cozy flavors of fall? Get ready to indulge in my Caramel Apple Cinnamon Swirl Bread!

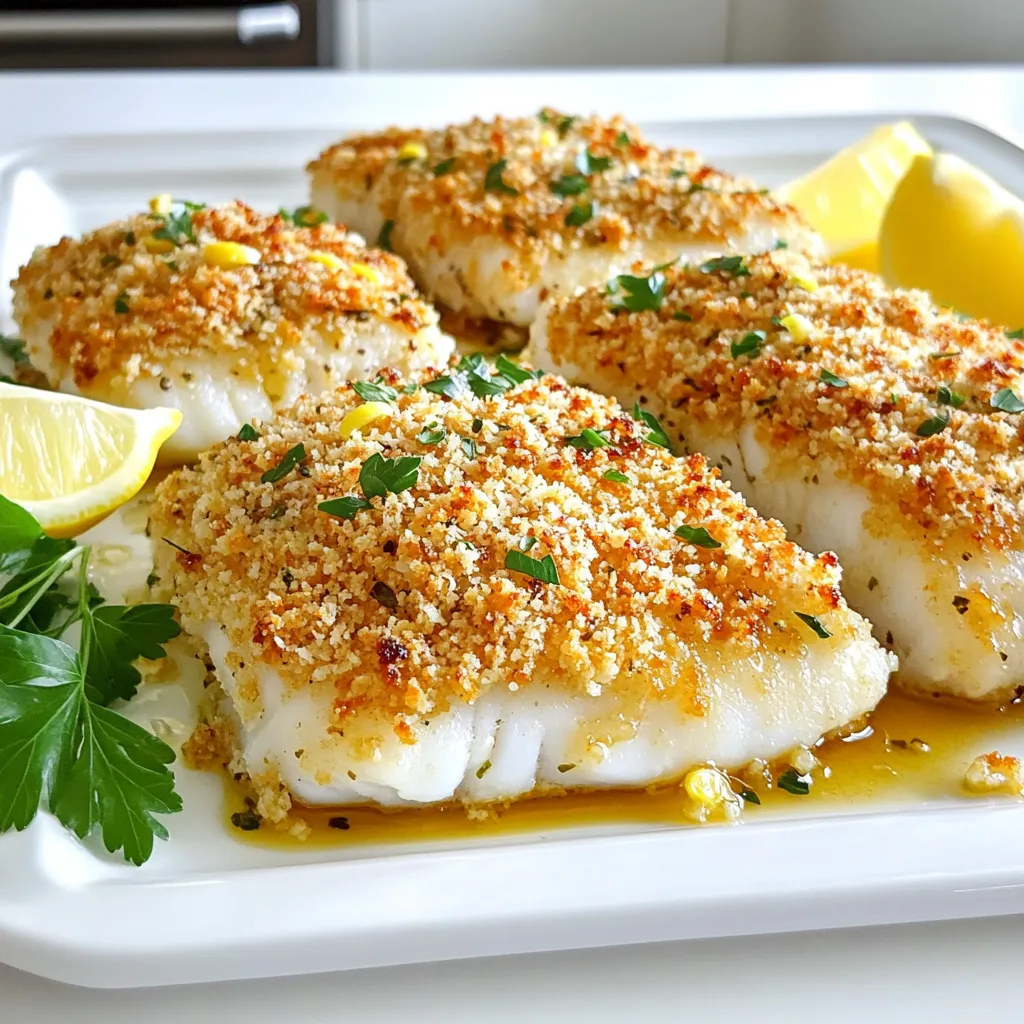
Looking for a quick and tasty dinner idea? This Garlic Butter Herb Salmon recipe is perfect for you. It’s easy

If you’re looking for a delicious and easy dinner idea, Creamy Tomato Basil Chicken Orzo is it! This meal combines

Looking to impress your taste buds with a quick and delicious meal? Air fryer teriyaki salmon bites are the perfect

Get ready to indulge in a sweet treat that combines two favorites: chocolate and strawberries! These Chocolate Covered Strawberry Brownies
If you’re looking for a dinner idea that’s quick, tasty, and easy to clean up, you’ve found it! This Sheet-Pan

If you crave a sweet treat that combines the classic joy of s’mores with creamy cheesecake, you’re in the right

Looking for a quick and tasty meal? These Coconut Curry Chickpea Bowls are ready in just 30 minutes! Packed with
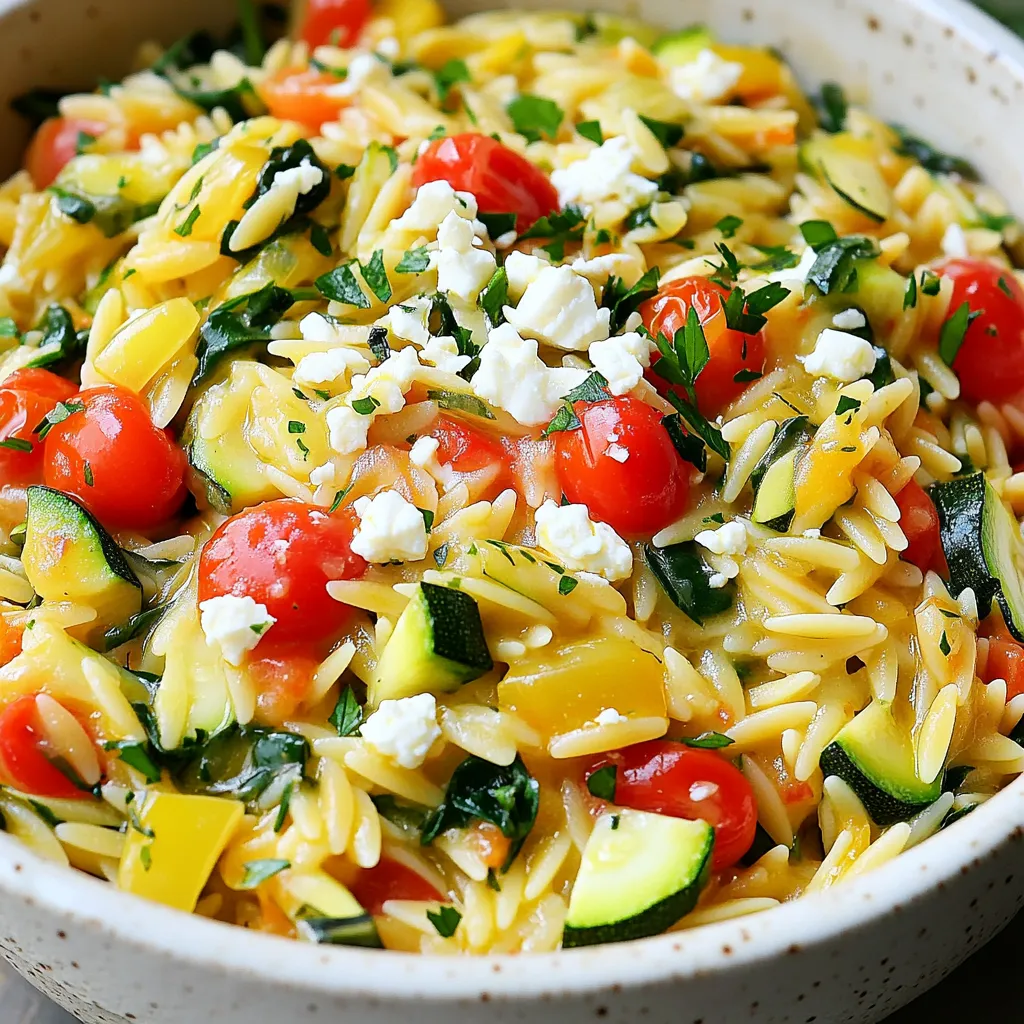
Welcome to One-Pot Mediterranean Orzo with Feta Delight! If you crave a tasty dish that’s quick and easy, you’re in

Craving something sweet and easy? Let’s dive into making Air Fryer Cinnamon Apple Blossoms! These tasty treats are packed with