One-Pot Creamy Garlic Parmesan Quinoa Delight
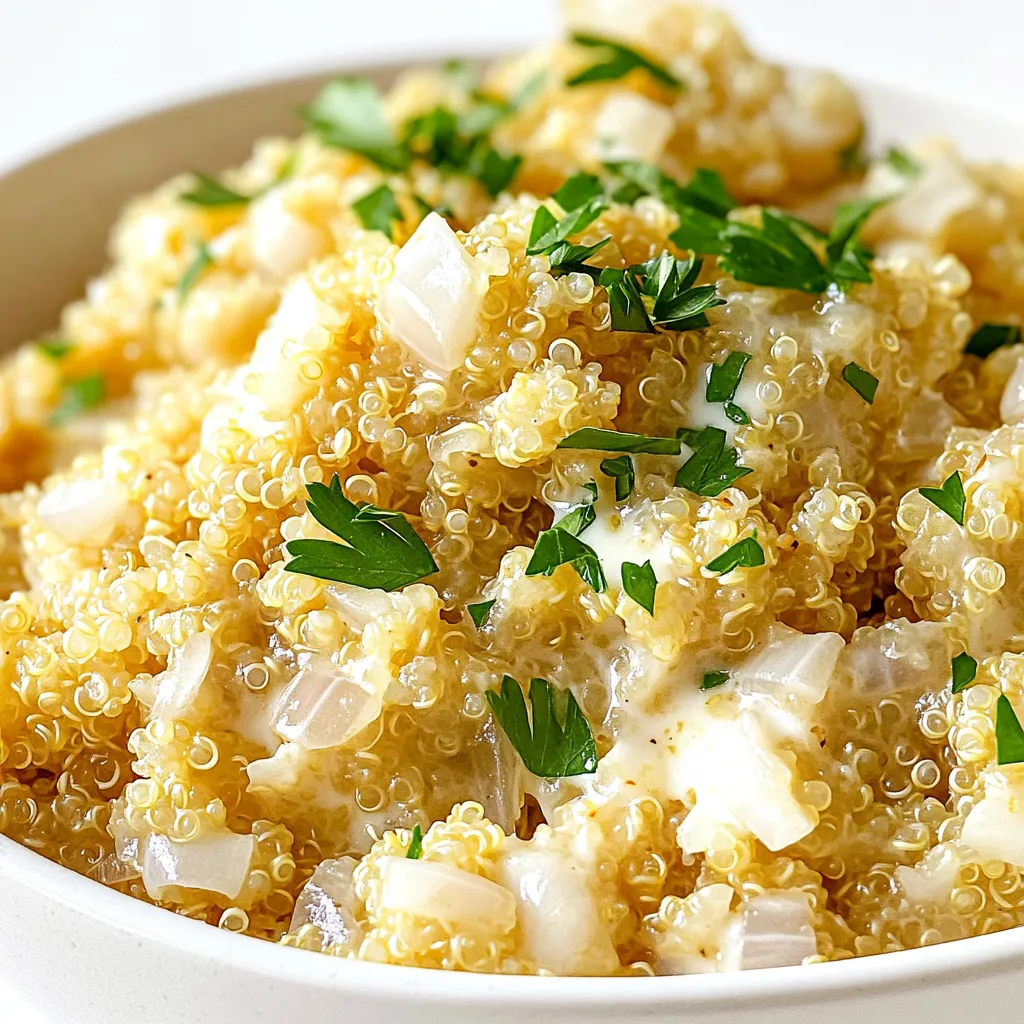
Are you ready to whip up a cozy, creamy dish without a mountain of dishes? With my One-Pot Creamy Garlic

Are you ready to whip up a cozy, creamy dish without a mountain of dishes? With my One-Pot Creamy Garlic
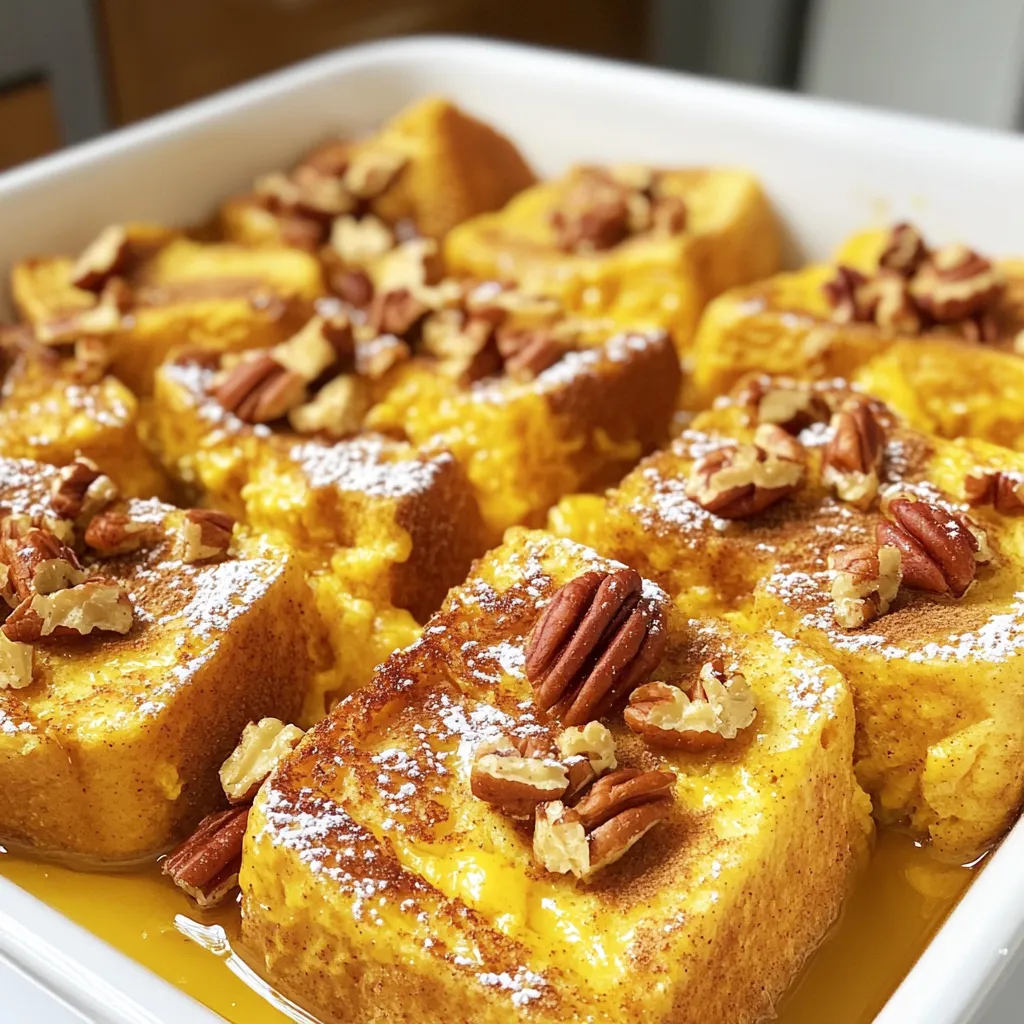
If you crave warm, cozy flavors that evoke the joy of fall, you need to try my Cozy Pumpkin Spice
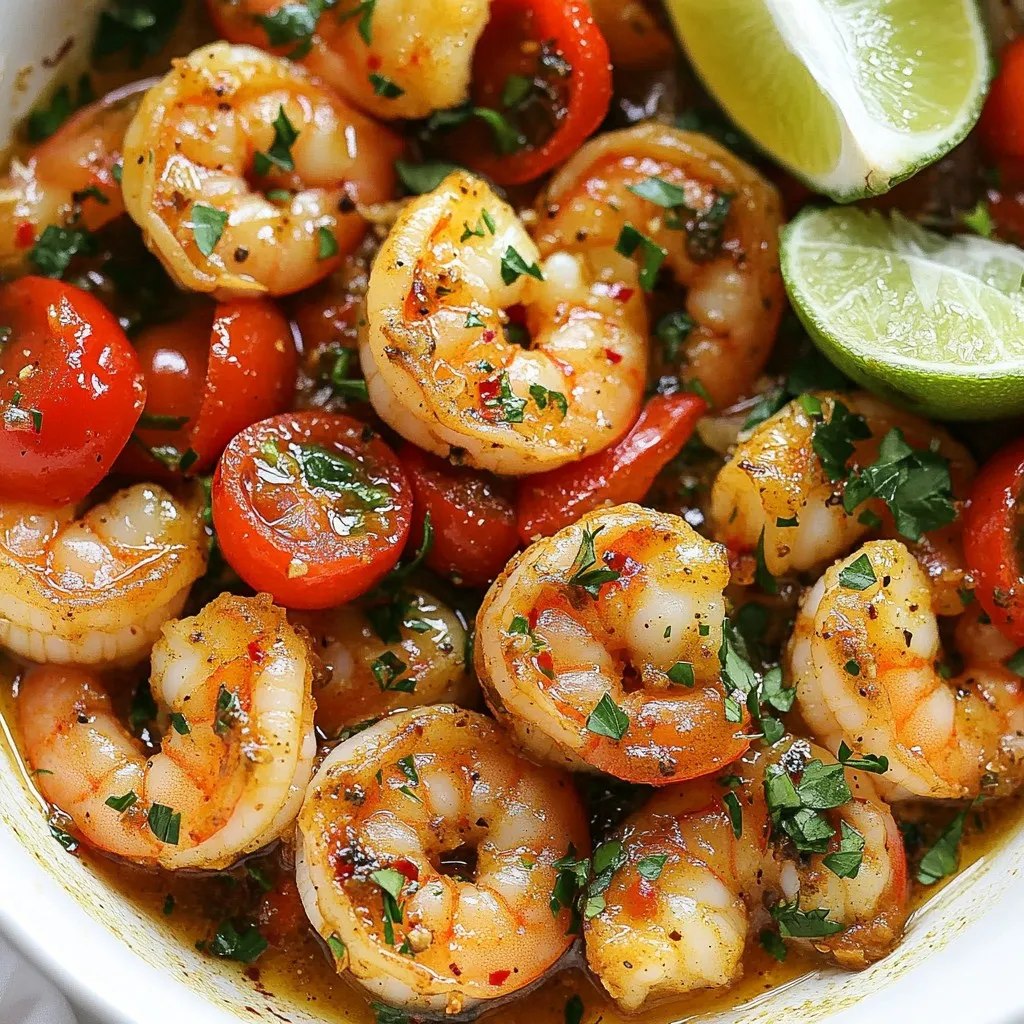
Looking for a quick and tasty dinner that packs a punch? Try my Spicy Garlic Shrimp Skillet! This dish is
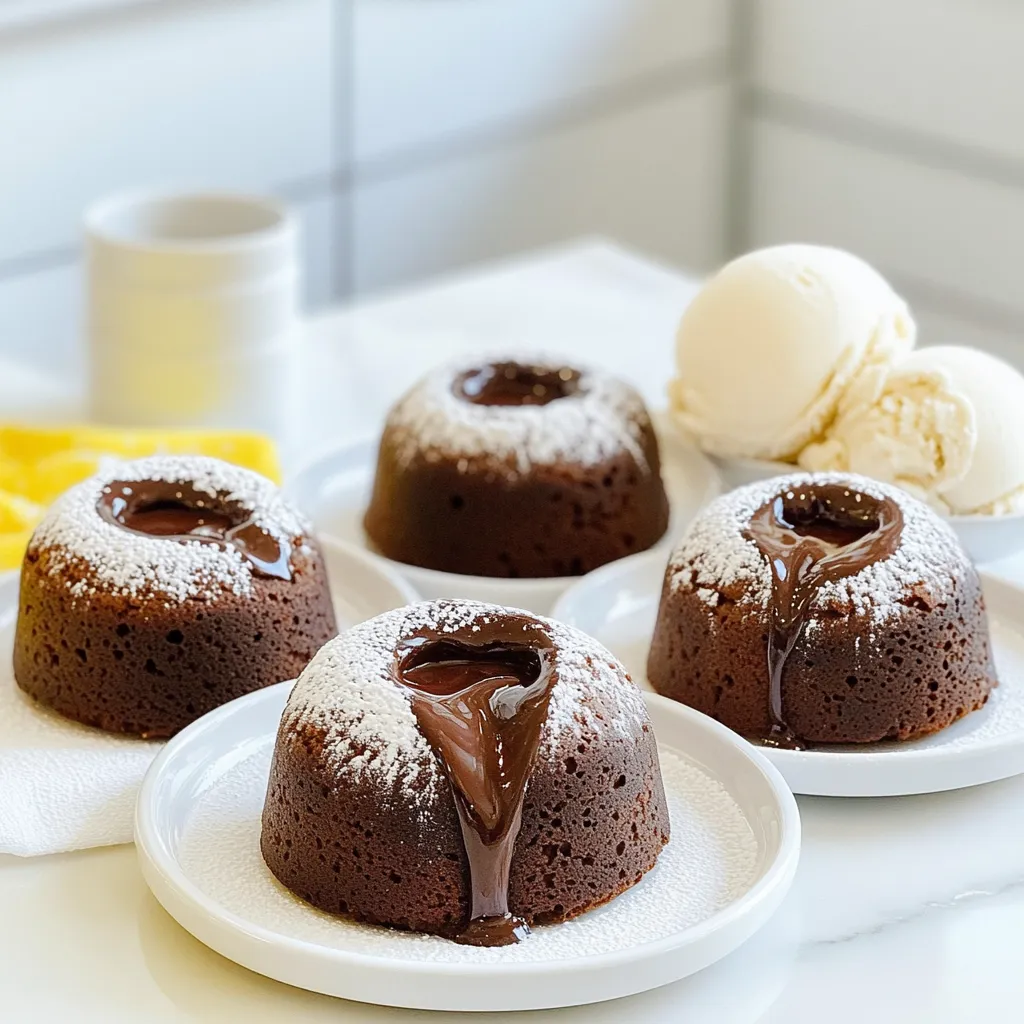
Indulge in a rich treat with my Air Fryer Chocolate Lava Cakes! This simple dessert combines gooey chocolate and a

Get ready to impress your taste buds with my Blueberry Cream Cheese Danish Bakery Style Delight! This treat combines flaky
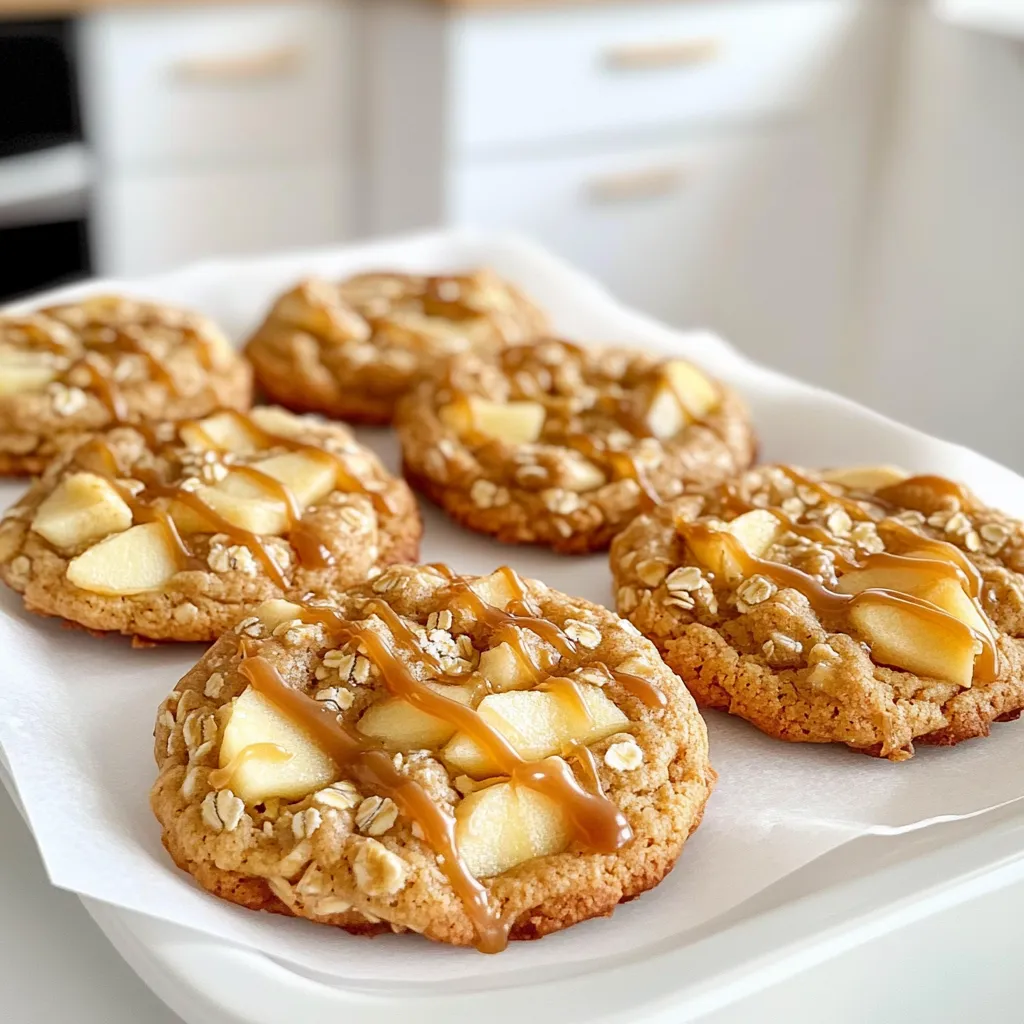
Have you ever craved the sweet taste of caramel apple pie in a cookie? These Caramel Apple Pie Cookies blend
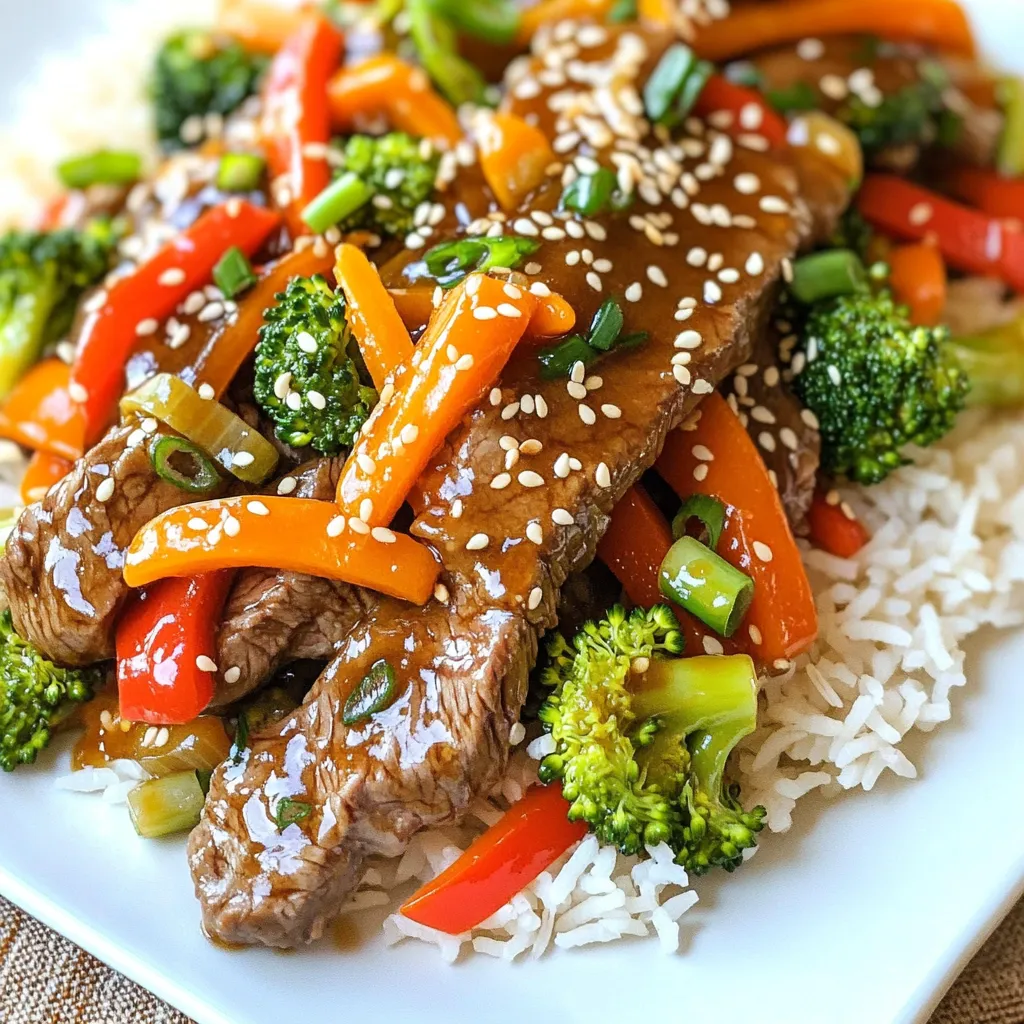
Craving a dish that beats takeout? You’re in for a treat with my Better Than Takeout Orange Ginger Beef Recipe
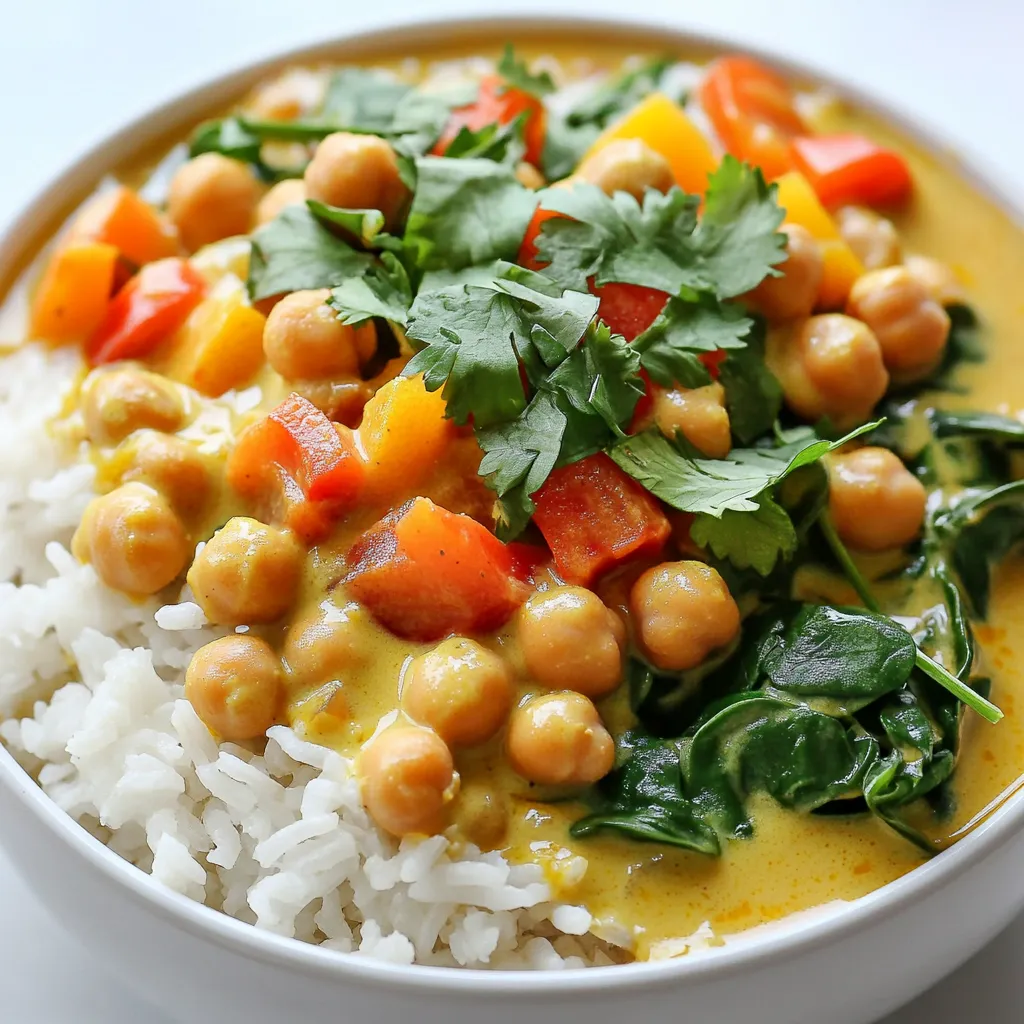
Are you ready to dive into a world of flavor with Slow Cooker Coconut Curry Chickpeas? This dish offers warm
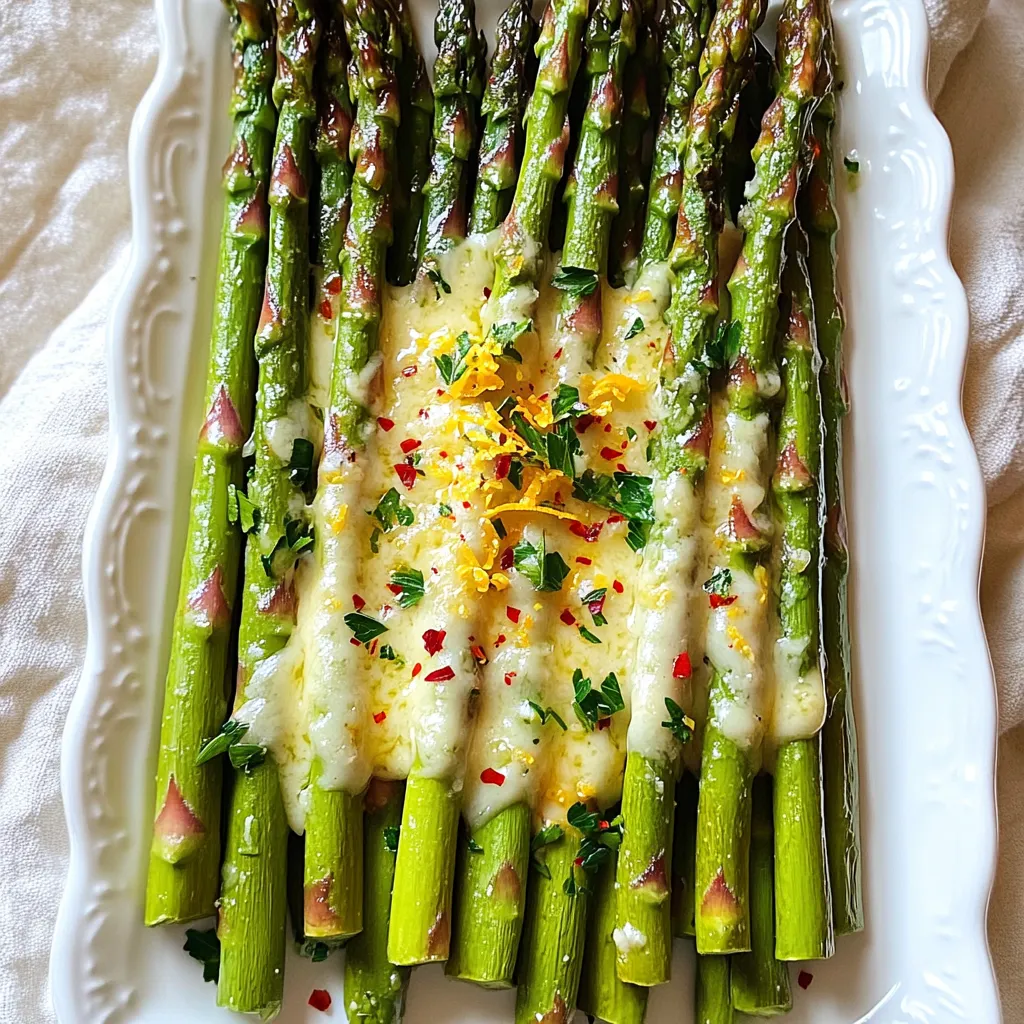
Get ready for a taste treat with my Sheet Pan Lemon Parmesan Asparagus! This bright dish brings zesty flavor and

Get ready to treat yourself with my easy Pumpkin Spice White Chocolate Bark! This delightful candy combines creamy white chocolate,