
Cherry Chocolate Chip Energy Bites Quick and Easy Snack
Looking for a quick snack that packs both flavor and nutrition? Try my Cherry Chocolate Chip Energy Bites! They’re easy

Looking for a quick snack that packs both flavor and nutrition? Try my Cherry Chocolate Chip Energy Bites! They’re easy
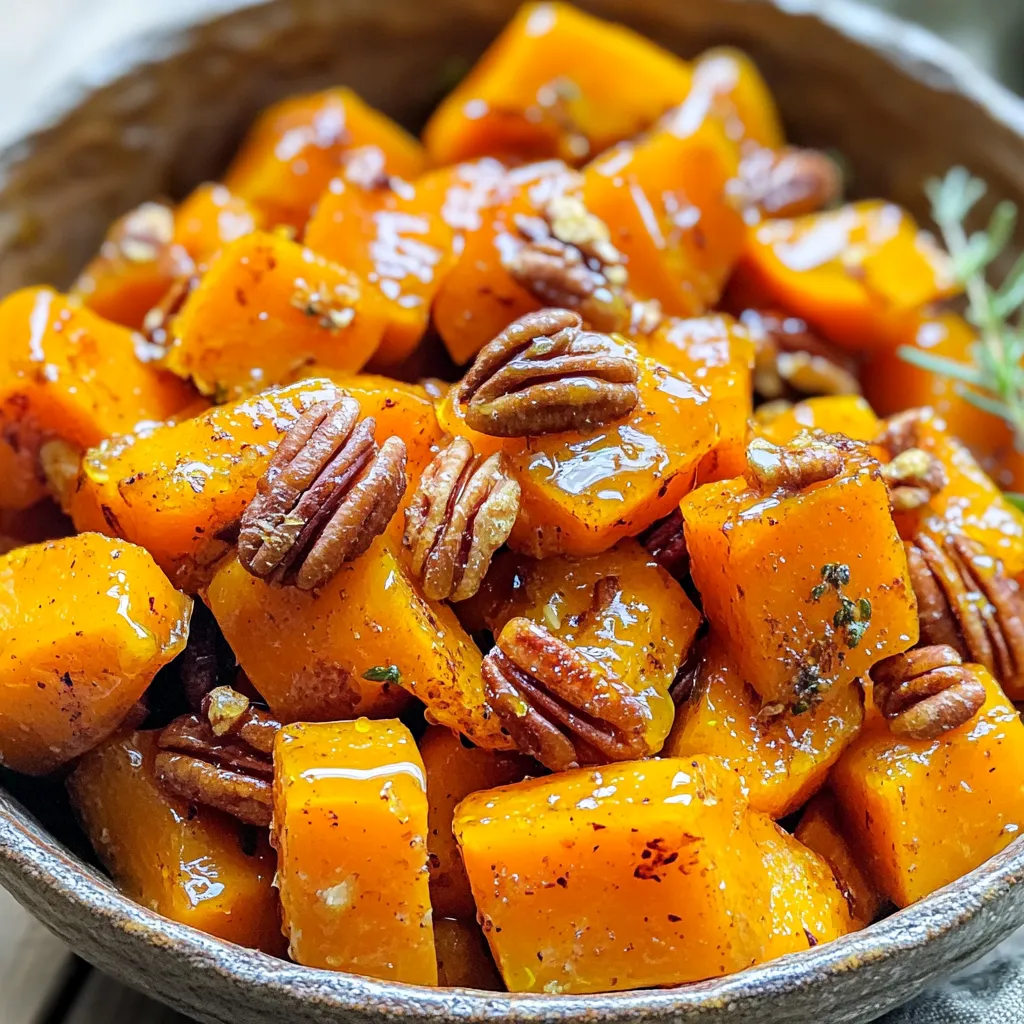
Are you ready to delight your taste buds? This Maple Glazed Roasted Butternut Squash recipe packs a sweet punch that
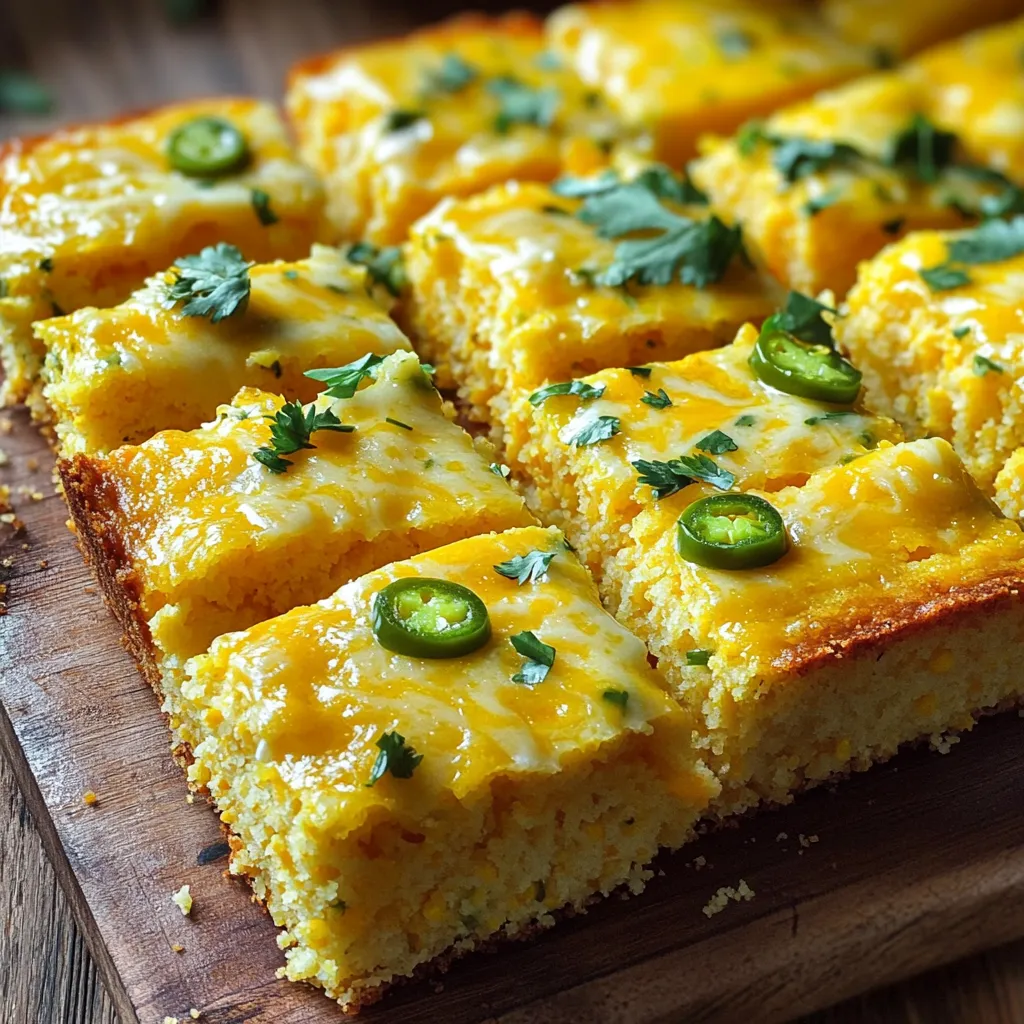
If you’re craving a tasty twist on classic cornbread, look no further! My Cheesy Jalapeño Cornbread recipe is simple, fun,
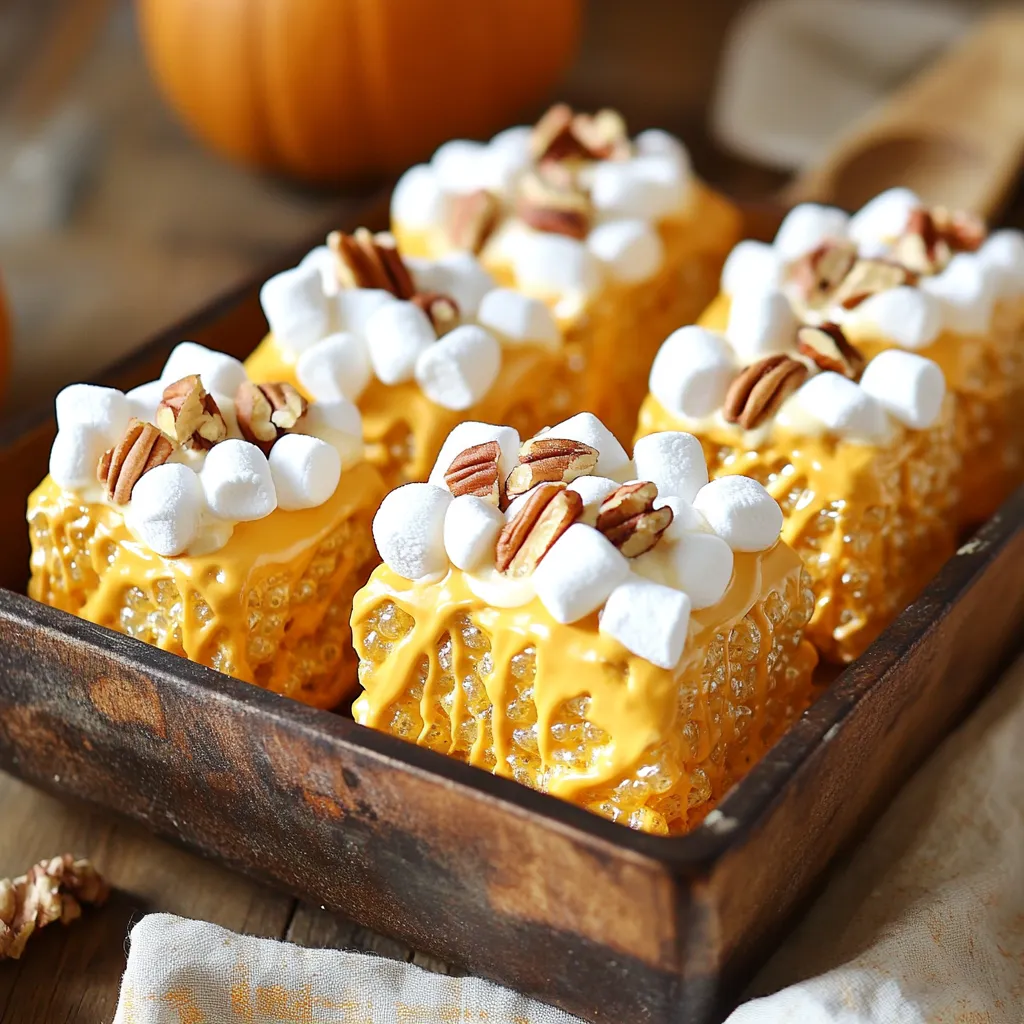
Fall is here, and it’s time to elevate your snack game! You’ll love these Pumpkin Spice Marshmallow Krispie Treats. They
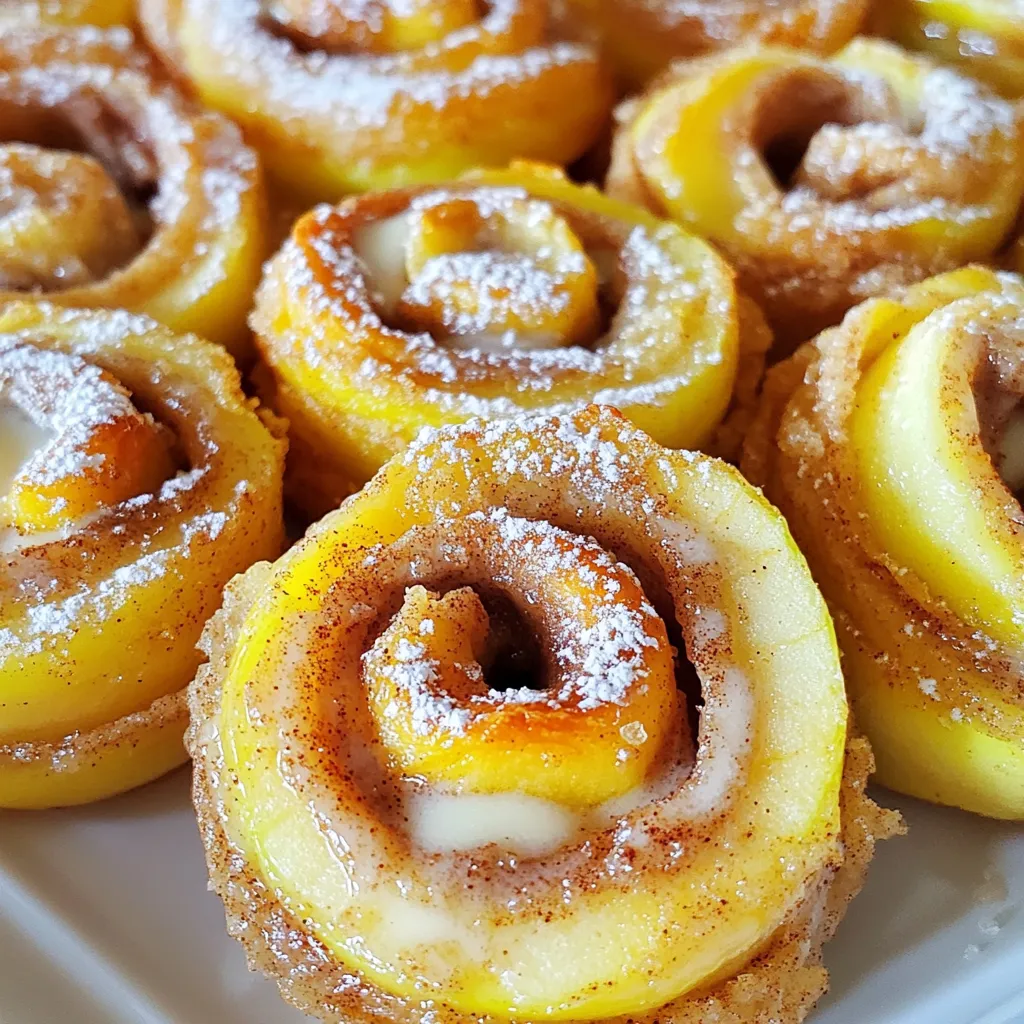
Looking for a fun twist on a classic treat? Try my Air Fryer Cinnamon Roll Apple Rings! These sweet, crunchy
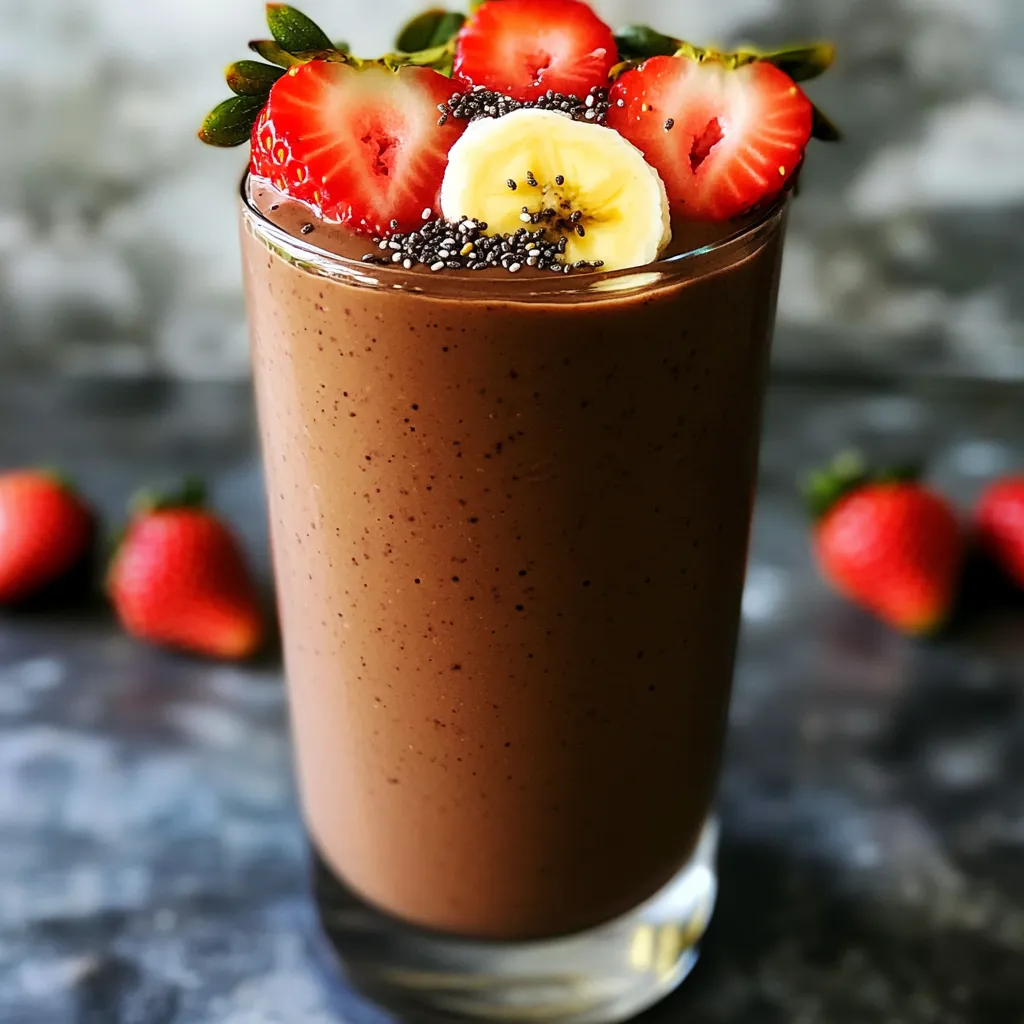
Craving a delicious treat that packs a protein punch? You’re in the right place! This High-Protein Chocolate Covered Strawberry Smoothie
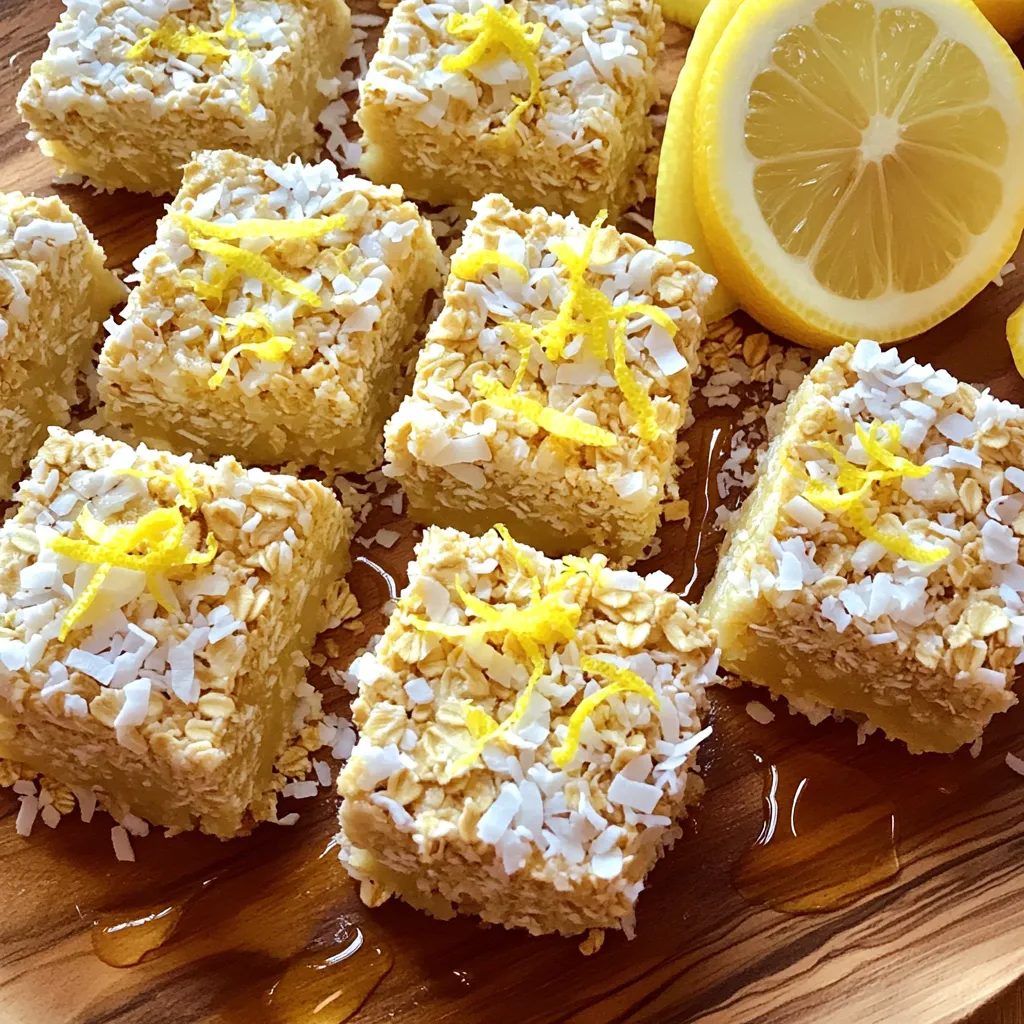
Looking for a quick and tasty snack that gives you an energy boost? No-Bake Lemon Coconut Energy Squares are a
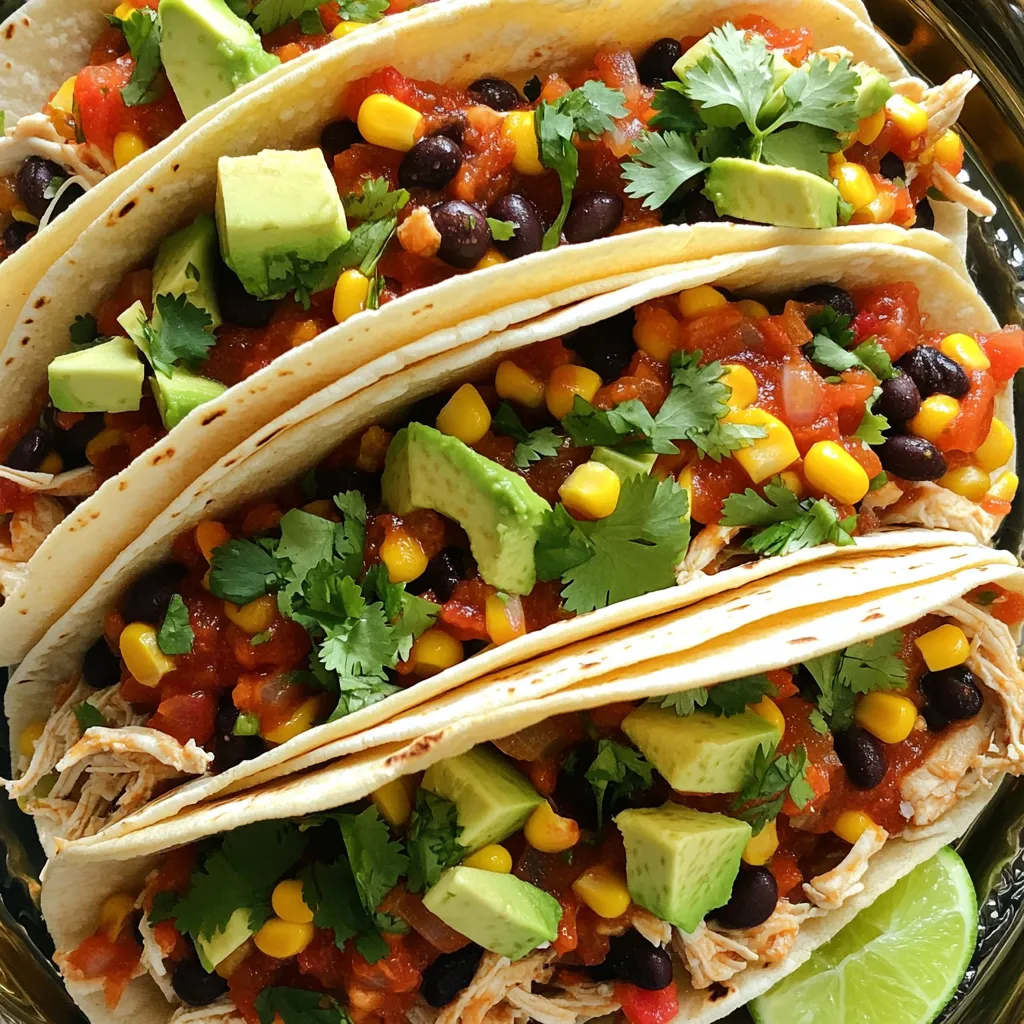
Are you ready for a tasty dinner that’s simple to make? Slow Cooker Salsa Chicken Tacos are a win for
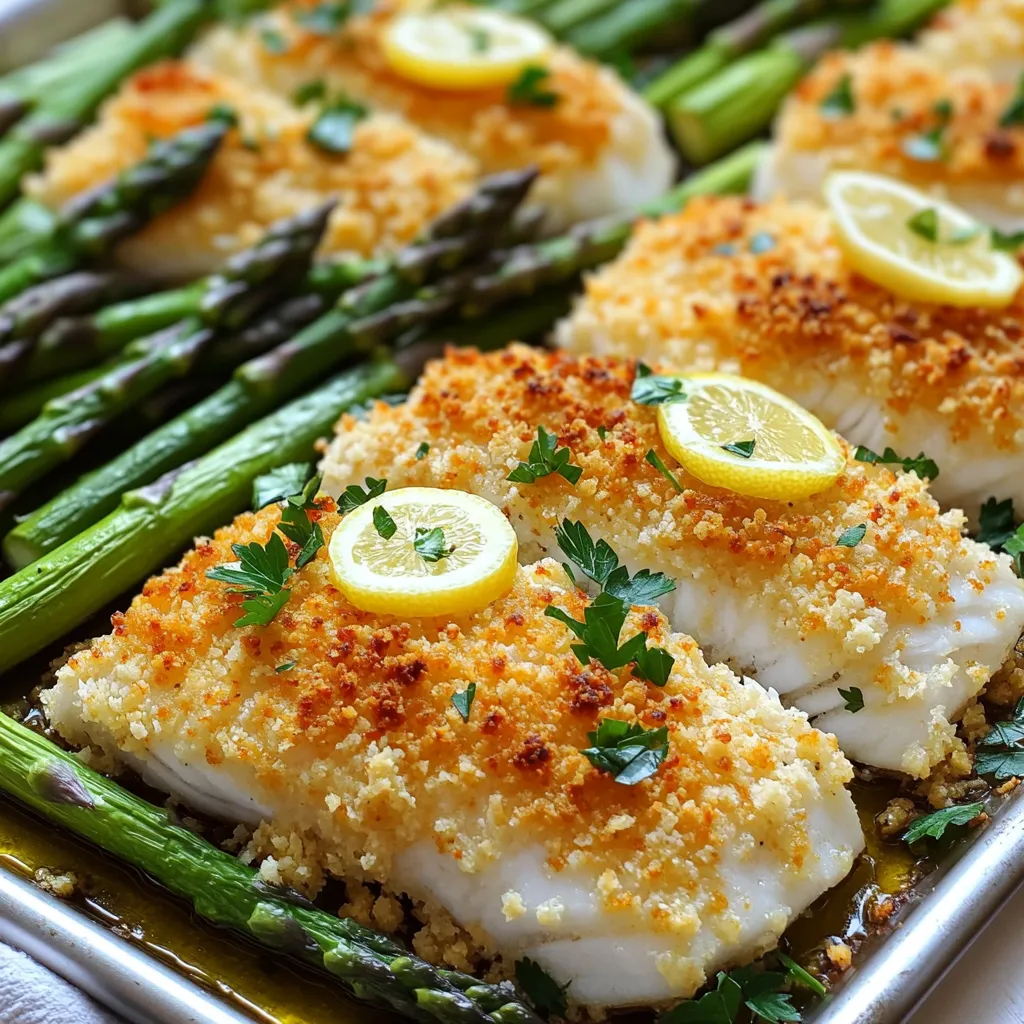
Looking for a quick and tasty meal? You’ll love my Sheet-Pan Parmesan Crusted Cod! This dish is simple to make
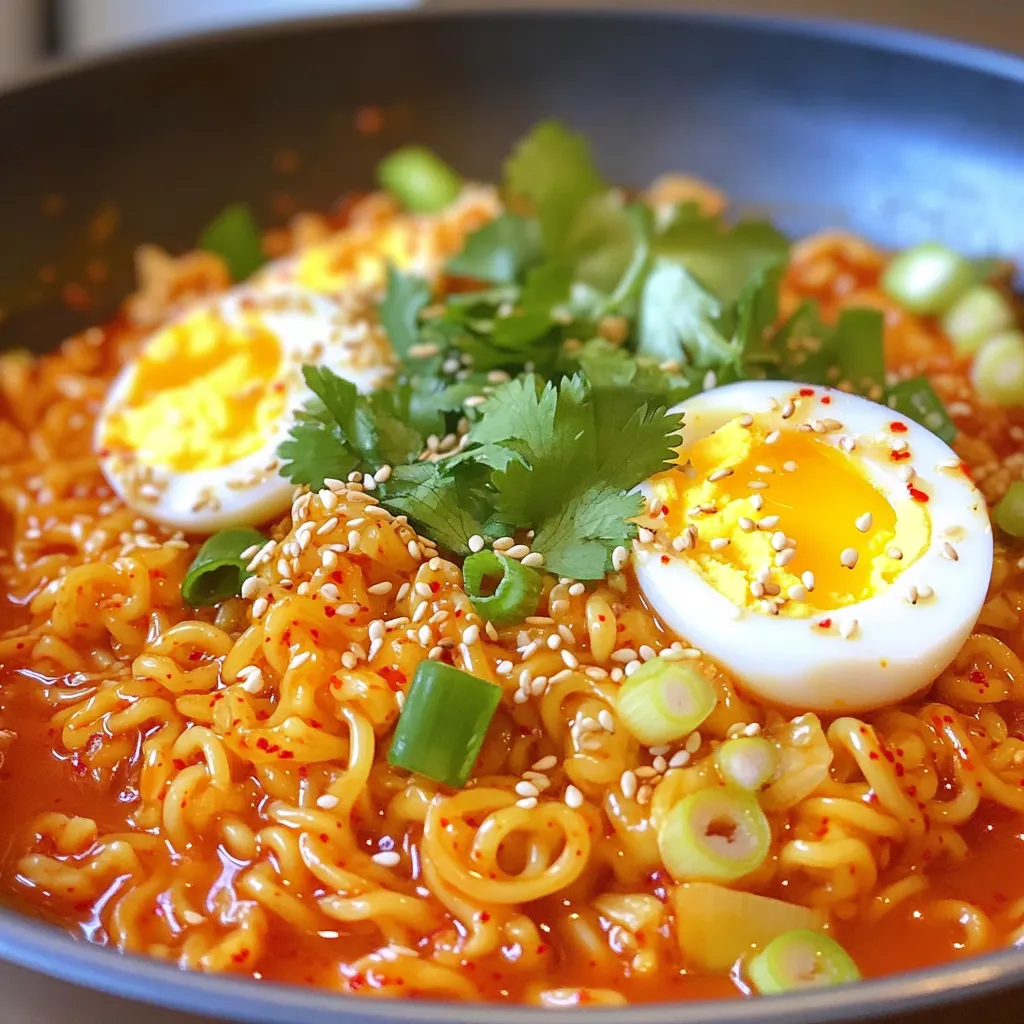
Craving a quick and tasty dish? Let me introduce you to Minute Spicy Kimchi Noodles! This simple recipe blends instant