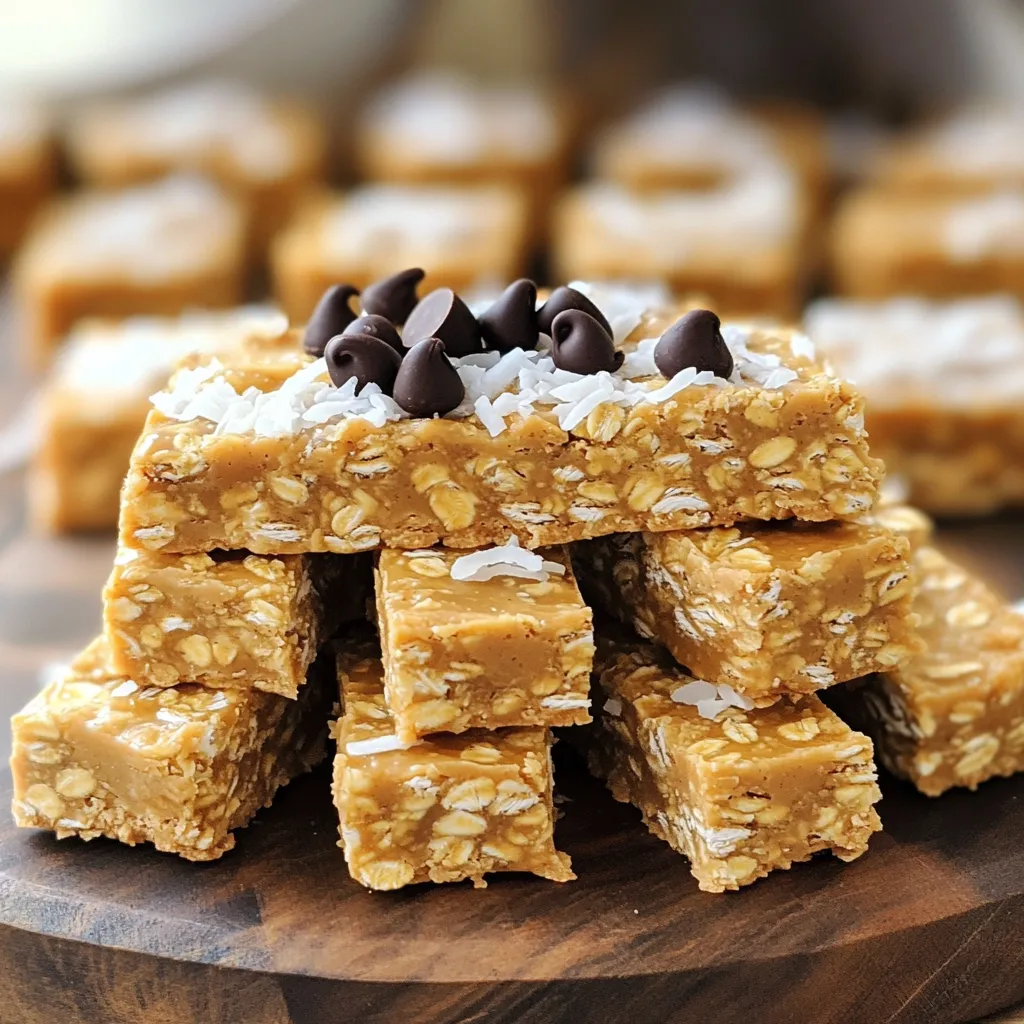
No Bake Almond Butter Oat Bars Healthy Snack Option
Looking for a healthy snack that’s both quick and tasty? You’ve found it! These No Bake Almond Butter Oat Bars

Looking for a healthy snack that’s both quick and tasty? You’ve found it! These No Bake Almond Butter Oat Bars
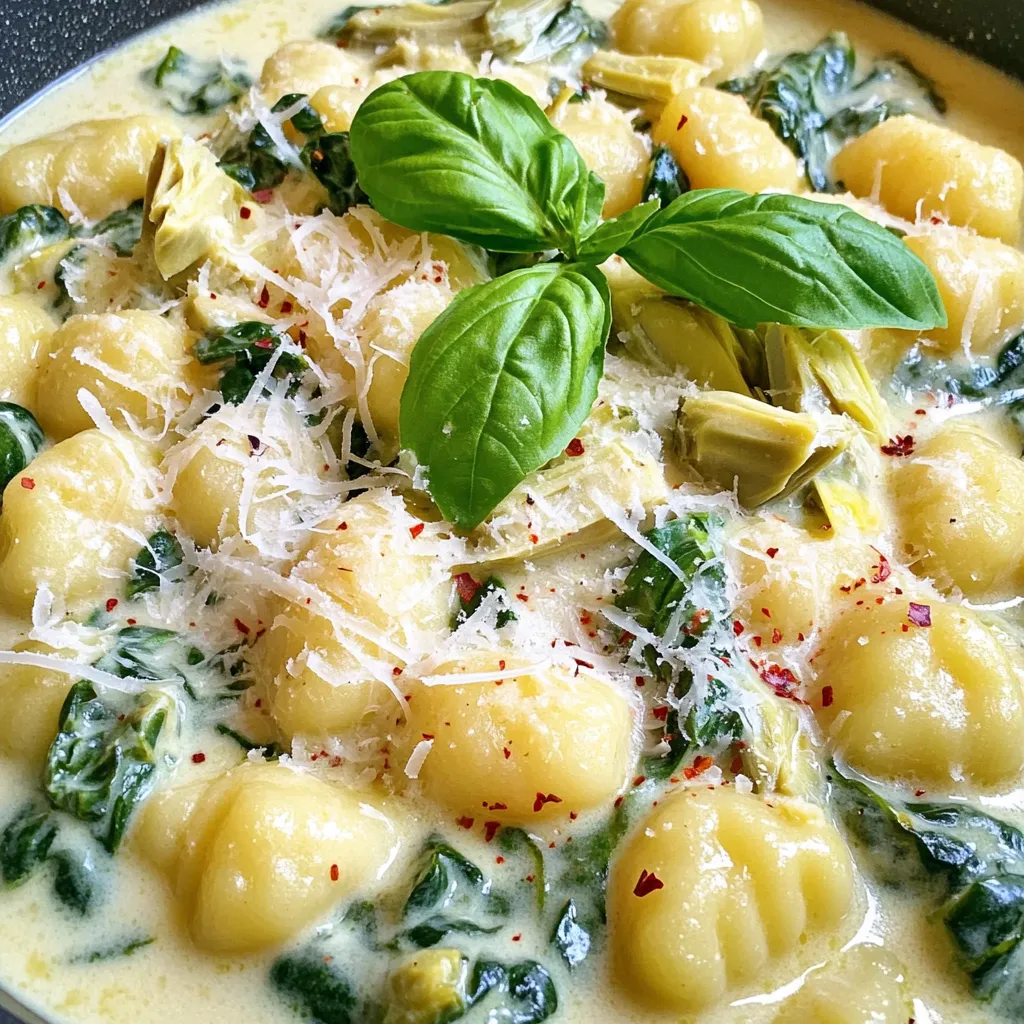
Ready for a creamy, dreamy delight? This One Pot Spinach Artichoke Gnocchi recipe is your new go-to comfort dish. With
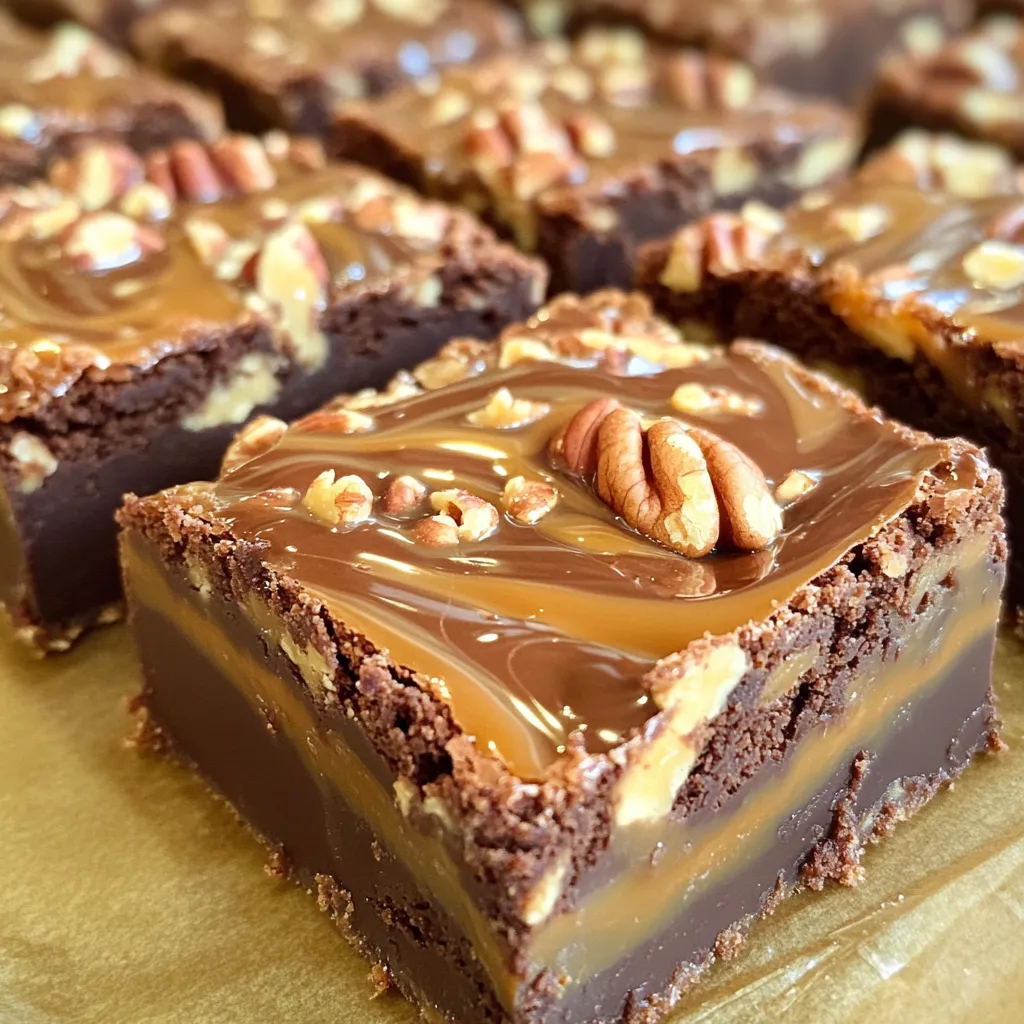
If you crave a sweet treat that feels special yet is easy to make, you’re in the right place! My
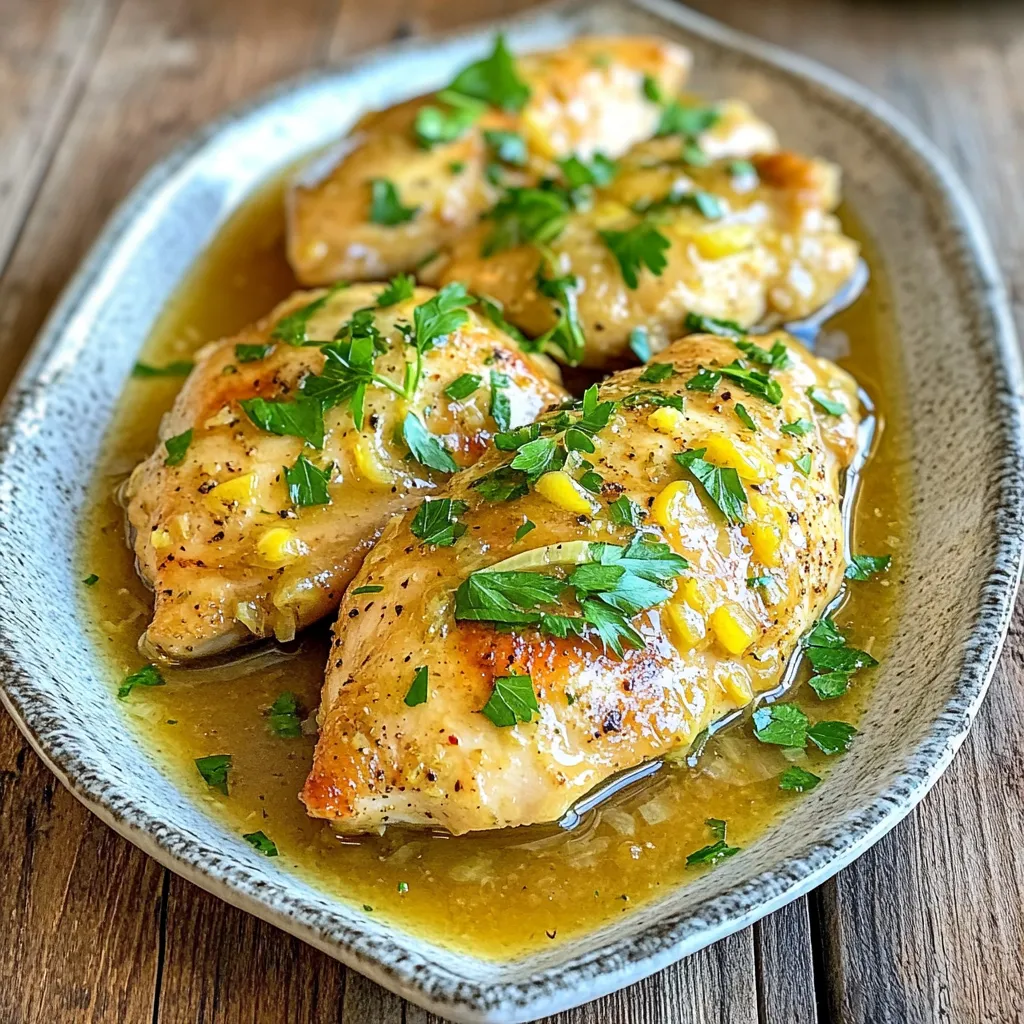
If you crave a meal that’s easy, tasty, and packed with flavor, you’ll love my Slow Cooker Lemon Garlic Chicken!

Are you ready to transform your meal routine? My Sheet Pan Sweet Chili Tempeh Veggies recipe is a vibrant delight
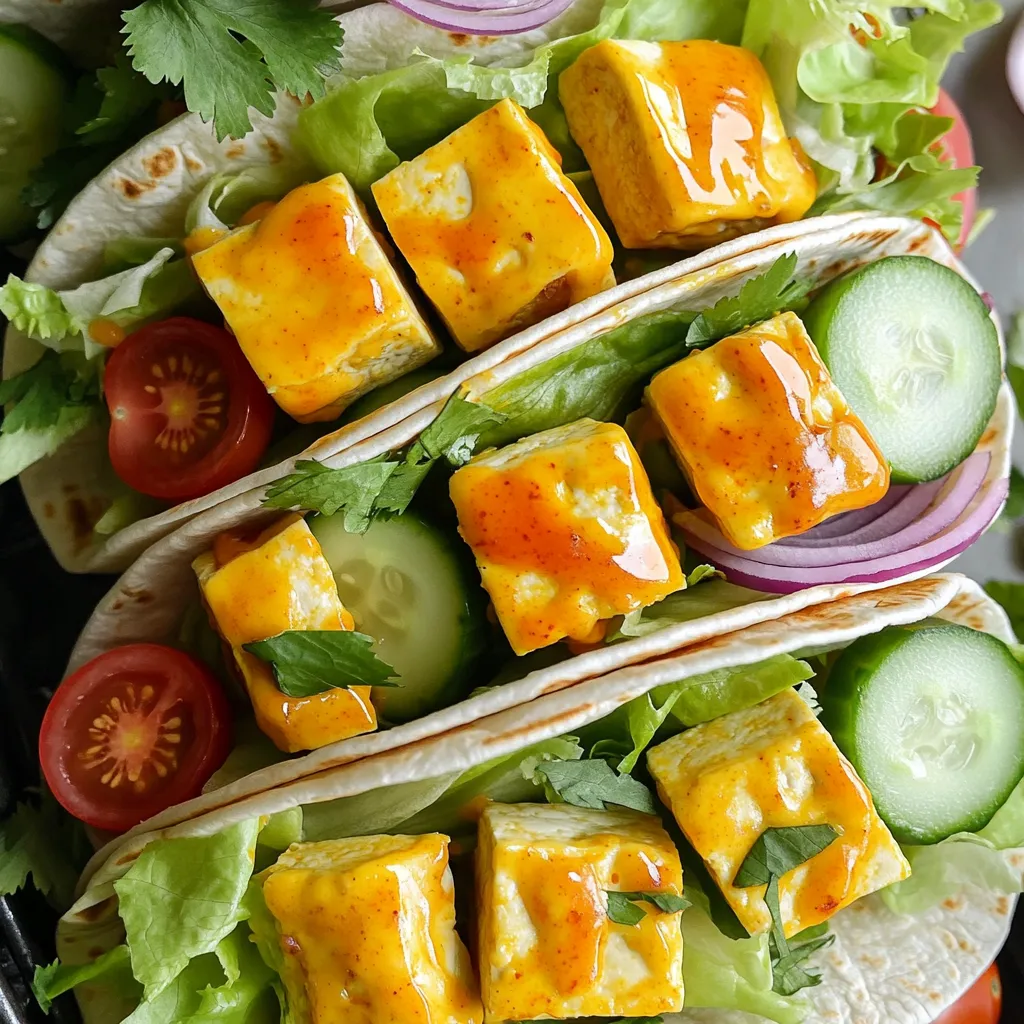
Looking for a tasty and simple meal? Try my Air Fryer Buffalo Tofu Wraps. With crispy tofu coated in spicy
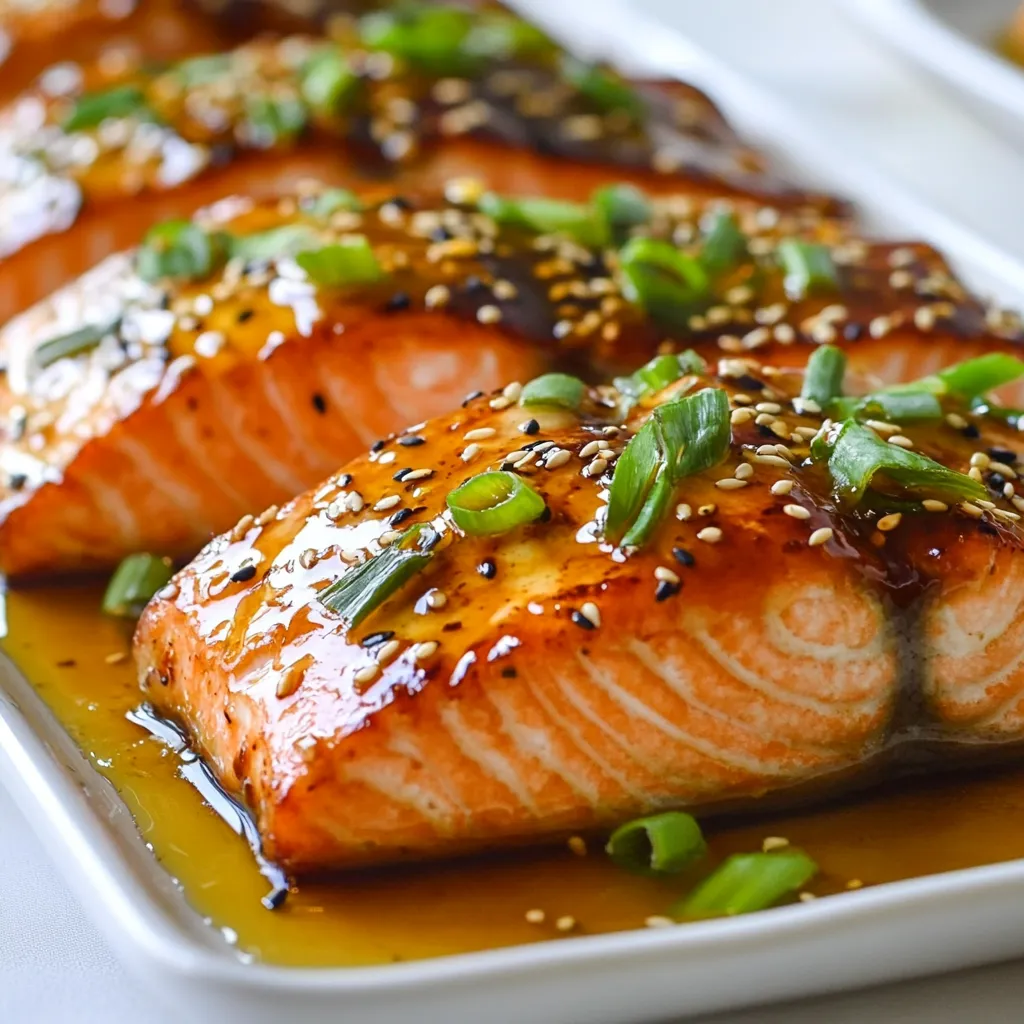
Are you ready to transform your weeknight dinners? Honey Garlic Glazed Salmon is quick, simple, and oh-so-delicious! With tender salmon

Looking for a simple yet flavorful dinner? Balsamic Glazed Caprese Chicken is the answer. This dish combines juicy chicken breasts
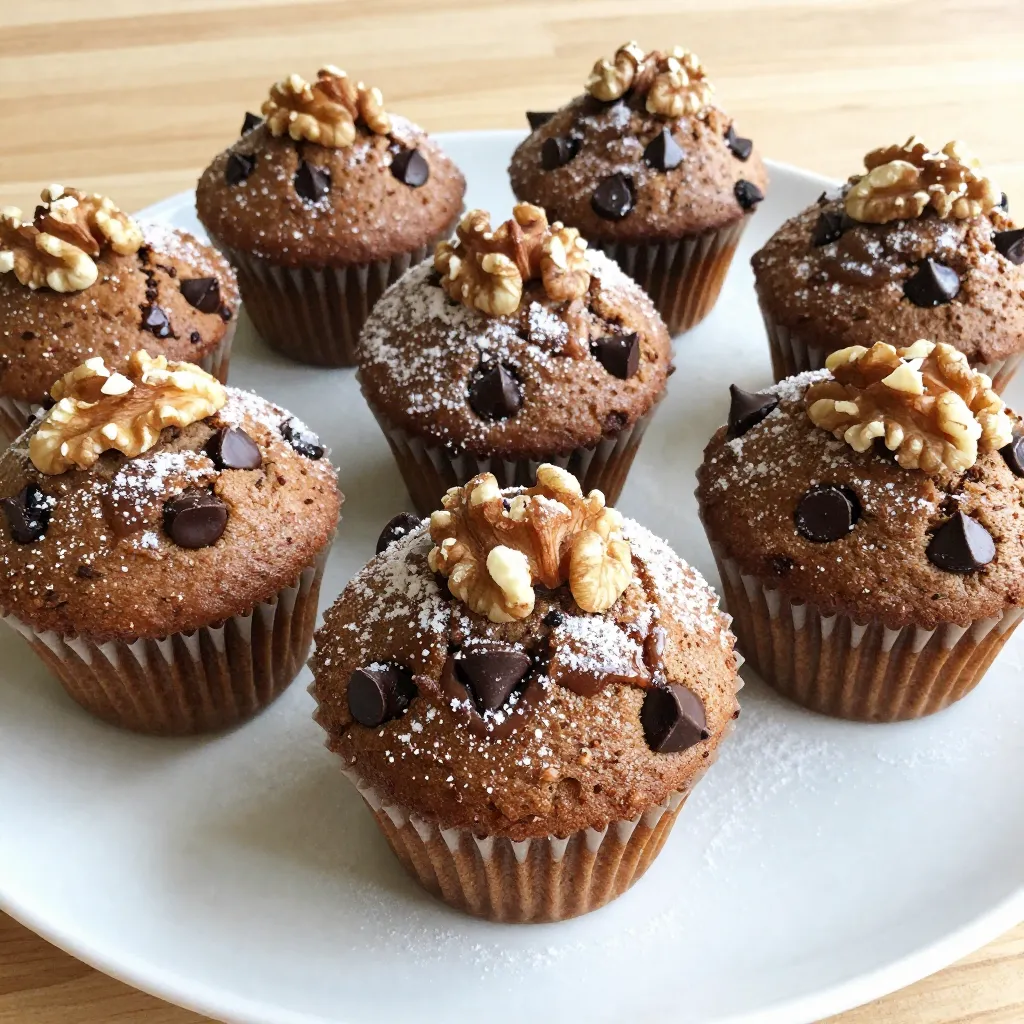
Do you love warm, chocolatey treats? Let’s make some irresistible Chocolate Chip Muffin Tops! These sweet bites offer the best
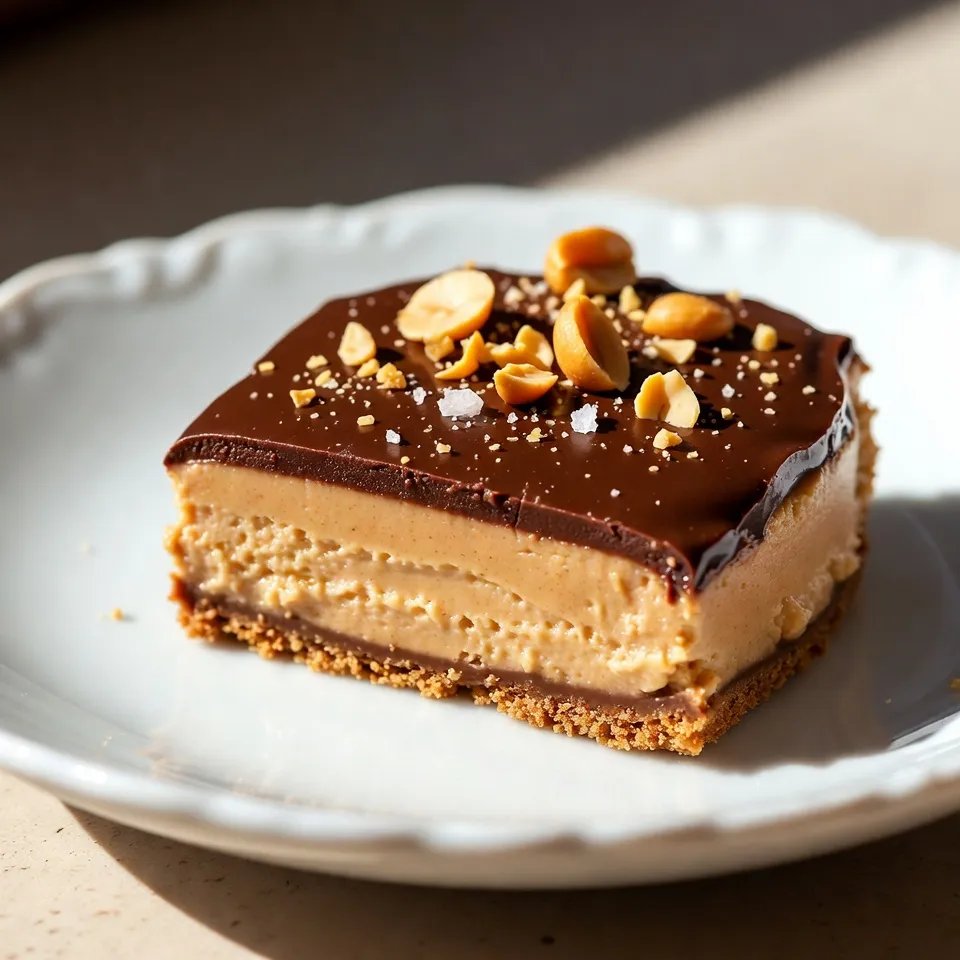
Indulge your sweet tooth with a rich and creamy Chocolate Peanut Butter Truffle Pie! This dessert combines chocolate and peanut