
Greek Yogurt Chocolate Mousse Cups Simple Delight
If you crave a dessert that’s both simple and delicious, you’re in for a treat! My Greek Yogurt Chocolate Mousse

If you crave a dessert that’s both simple and delicious, you’re in for a treat! My Greek Yogurt Chocolate Mousse
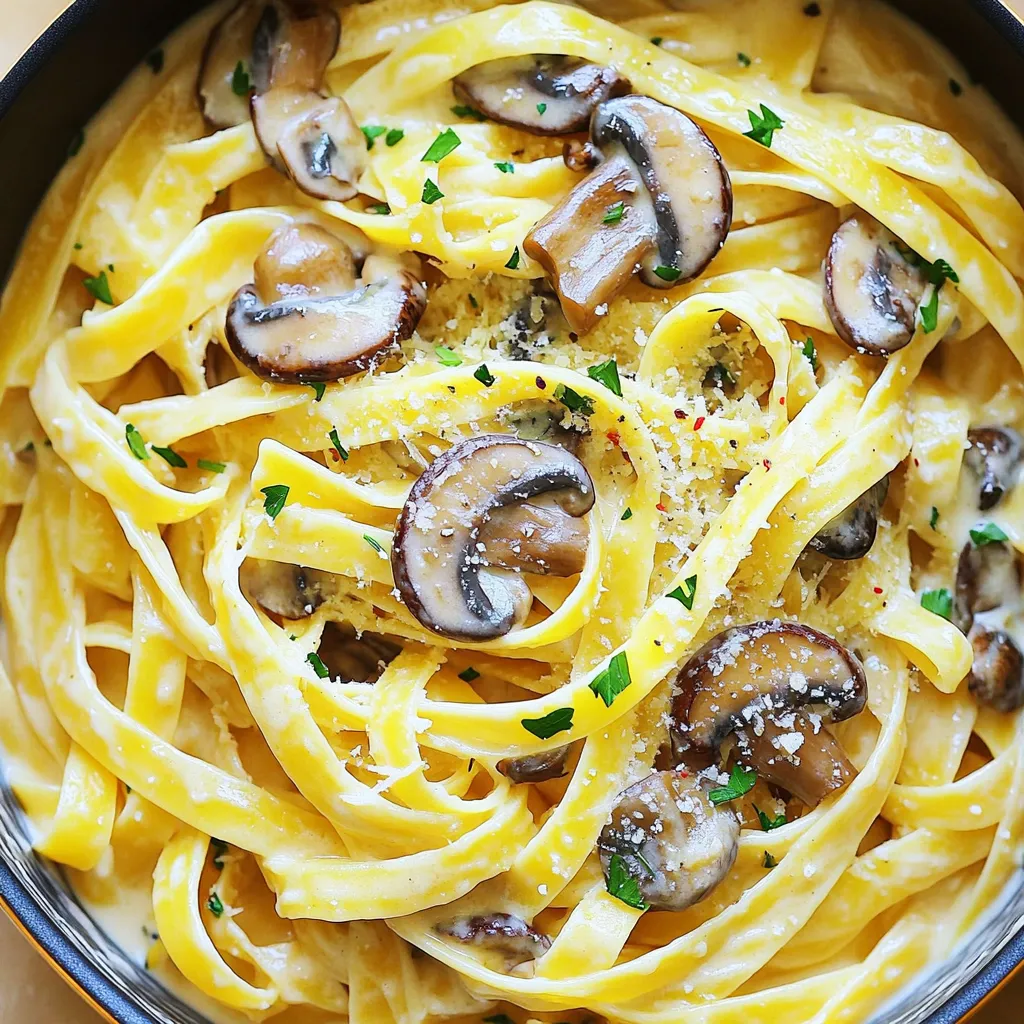
Welcome to your new favorite dish: One-Pot Creamy Mushroom Alfredo Pasta! This meal is easy, quick, and bursting with flavor.

Looking for a quick way to spice up Taco Night? This Instant Pot Beef Barbacoa Tacos recipe is packed with
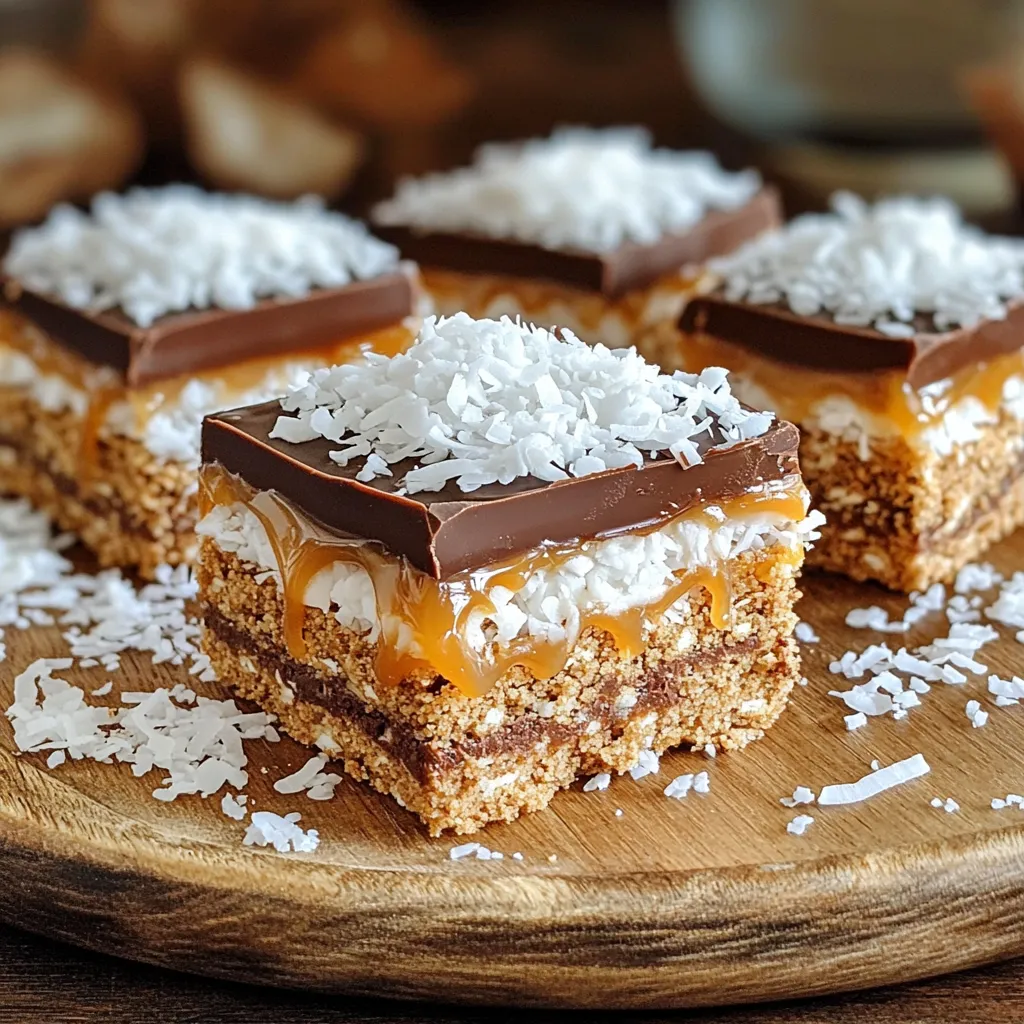
Are you ready to enjoy a sweet treat without turning on your oven? My No-Bake Samoa Cookie Bars are simple,
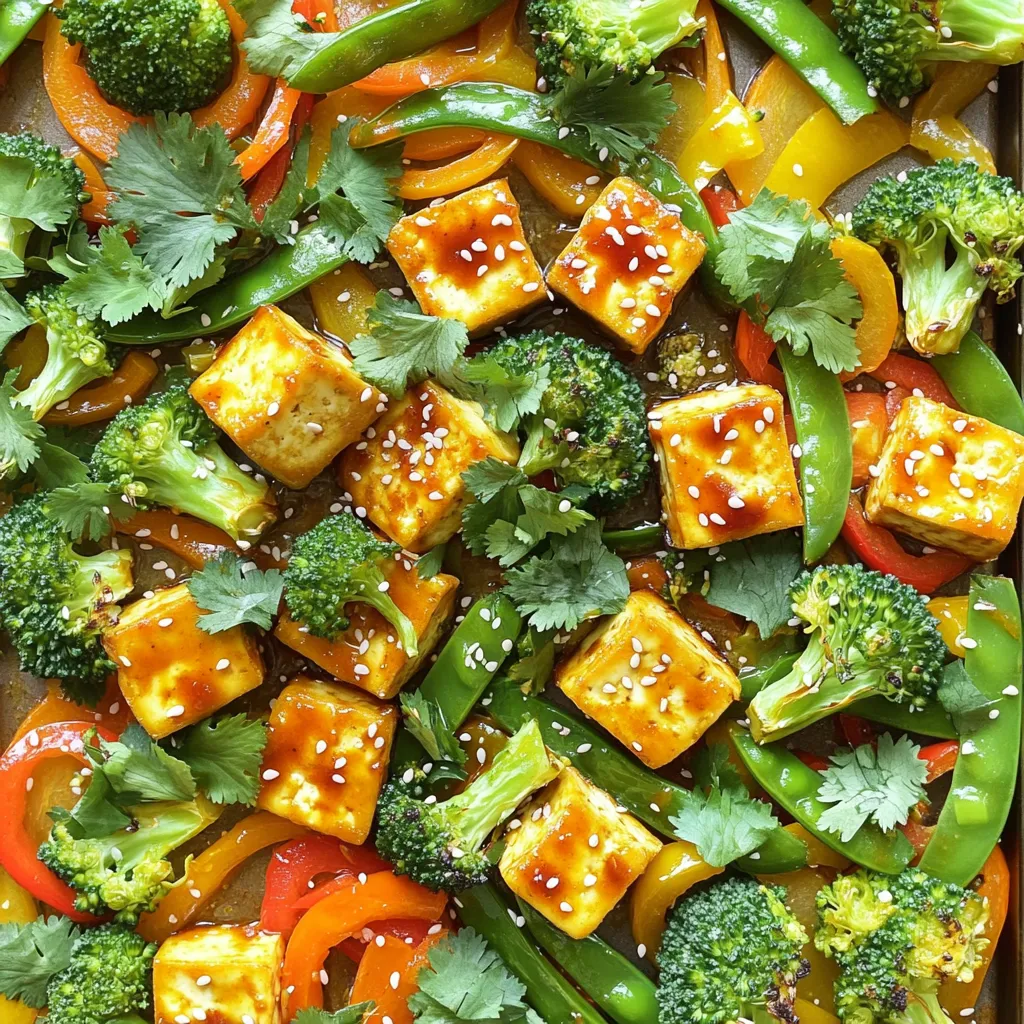
Looking for a tasty yet simple dish? In Sheet-Pan Sweet Chili Tofu and Veggies Delight, I’ll guide you through an

Are you ready to make a holiday treat that will wow everyone? White chocolate peppermint bark cookies are the perfect
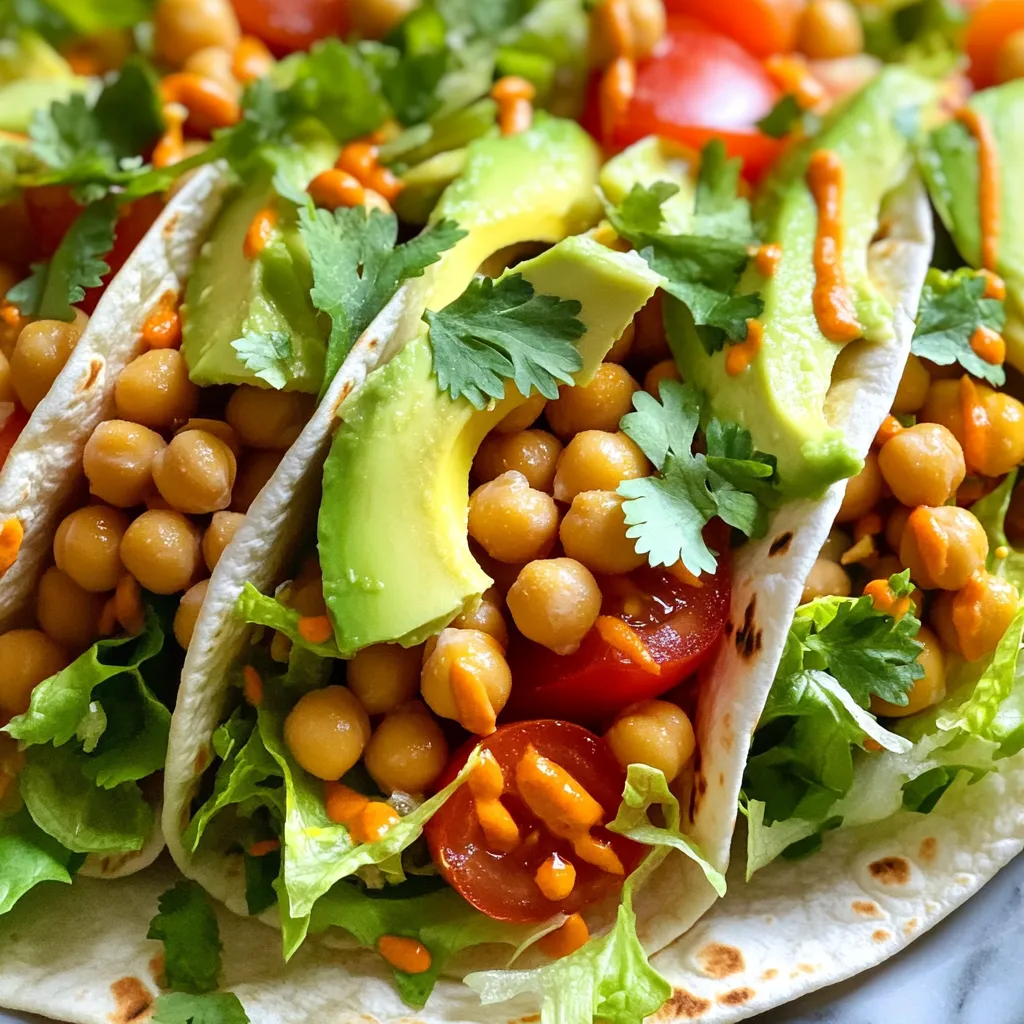
Get ready to spice up your meal with my Vegan Buffalo Chickpea Wraps! This easy recipe combines hearty chickpeas with
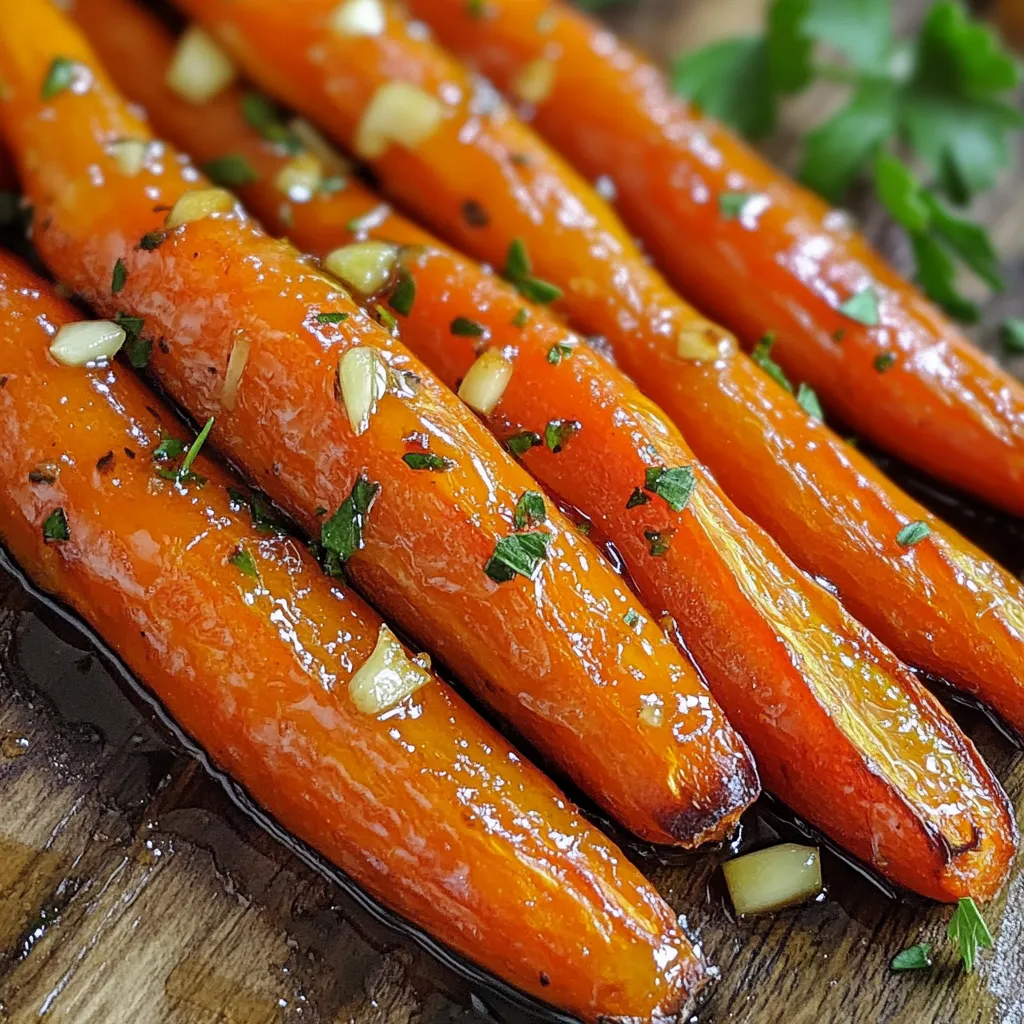
Looking for a simple side dish that bursts with flavor? You’ll love my Honey Garlic Roasted Carrots! These tender, sweet
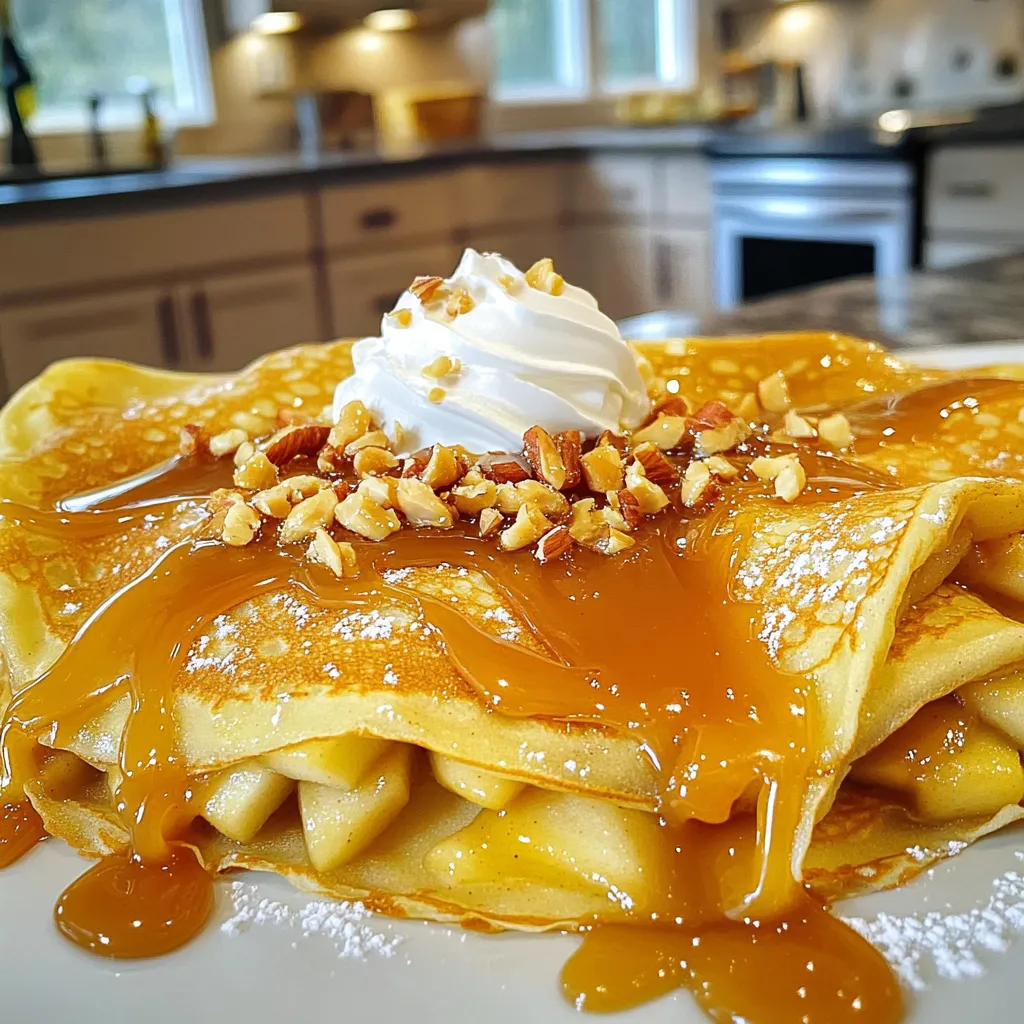
Get ready to indulge in a sweet treat that will leave your taste buds dancing! My Salted Caramel Apple Crêpes
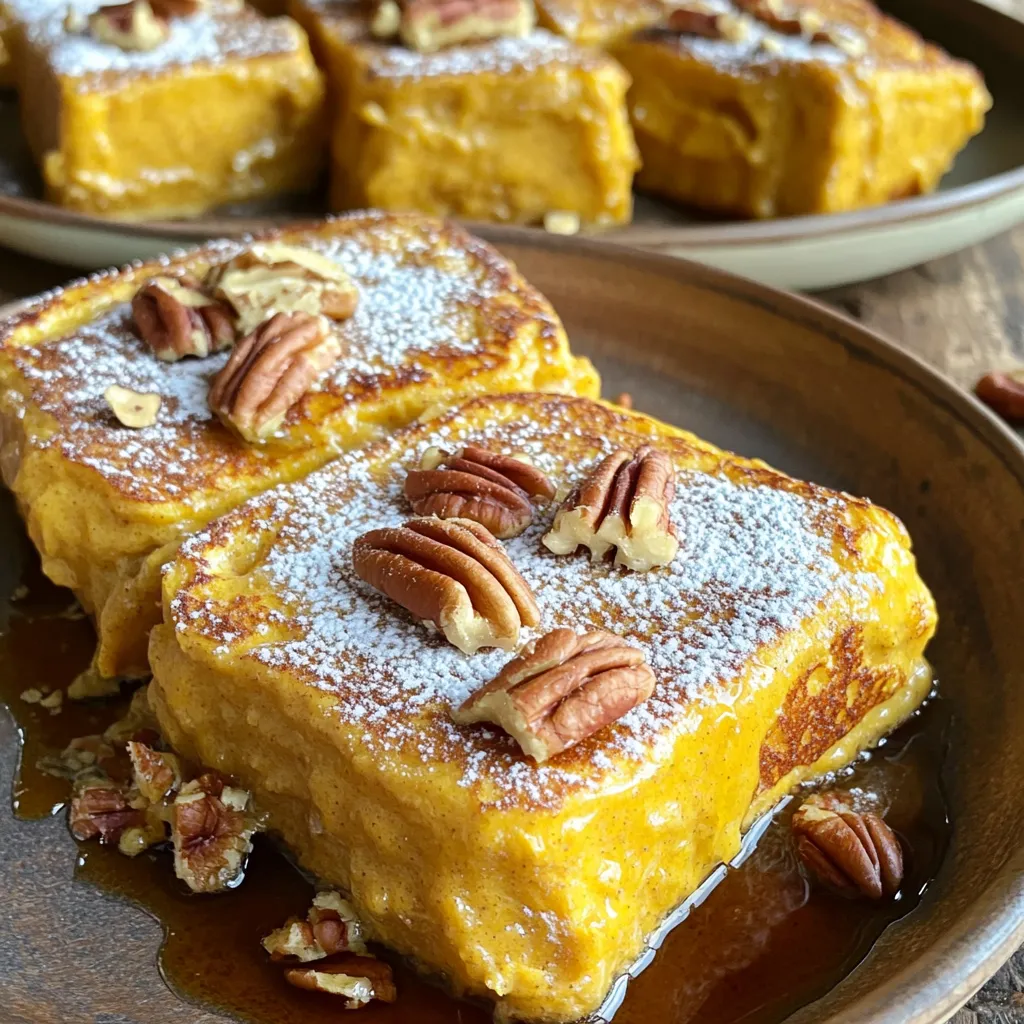
If you crave a warm, comforting breakfast, try my Pumpkin Spice French Toast Casserole. This easy dish blends rich brioche