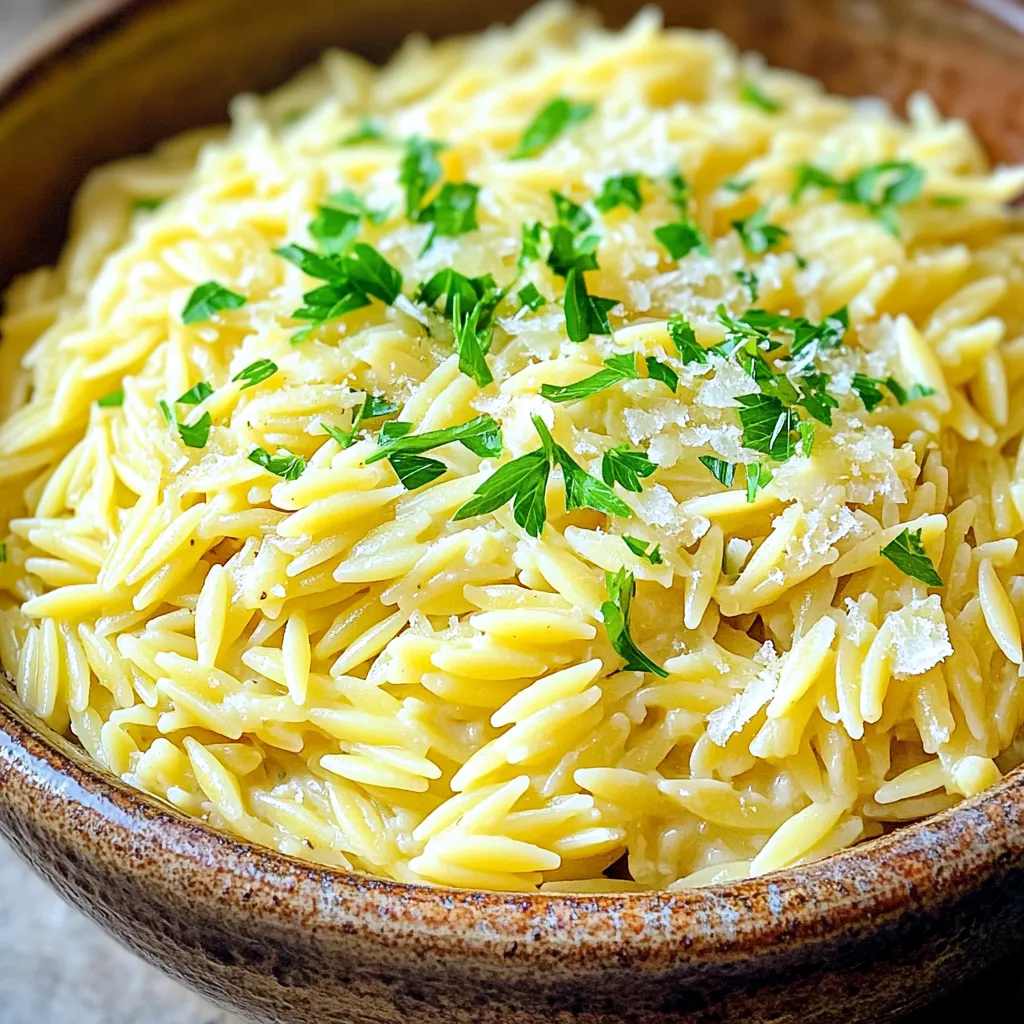
Instant Pot Creamy Garlic Parmesan Orzo Delight
Are you ready to elevate your dinner game? Instant Pot Creamy Garlic Parmesan Orzo Delight is the perfect dish for

Are you ready to elevate your dinner game? Instant Pot Creamy Garlic Parmesan Orzo Delight is the perfect dish for
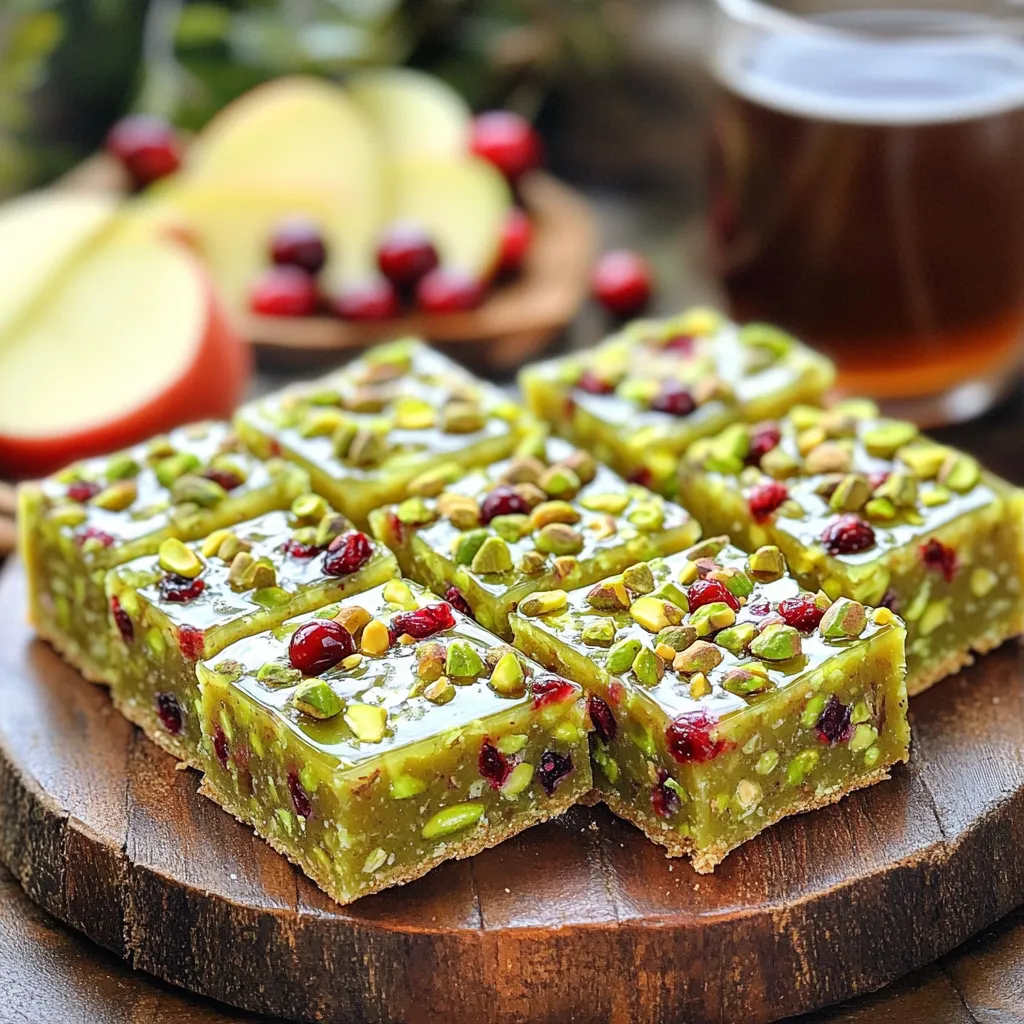
Looking for a quick snack that fuels your day? You’ll love these No-Bake Pistachio Cranberry Energy Squares! They’re packed with
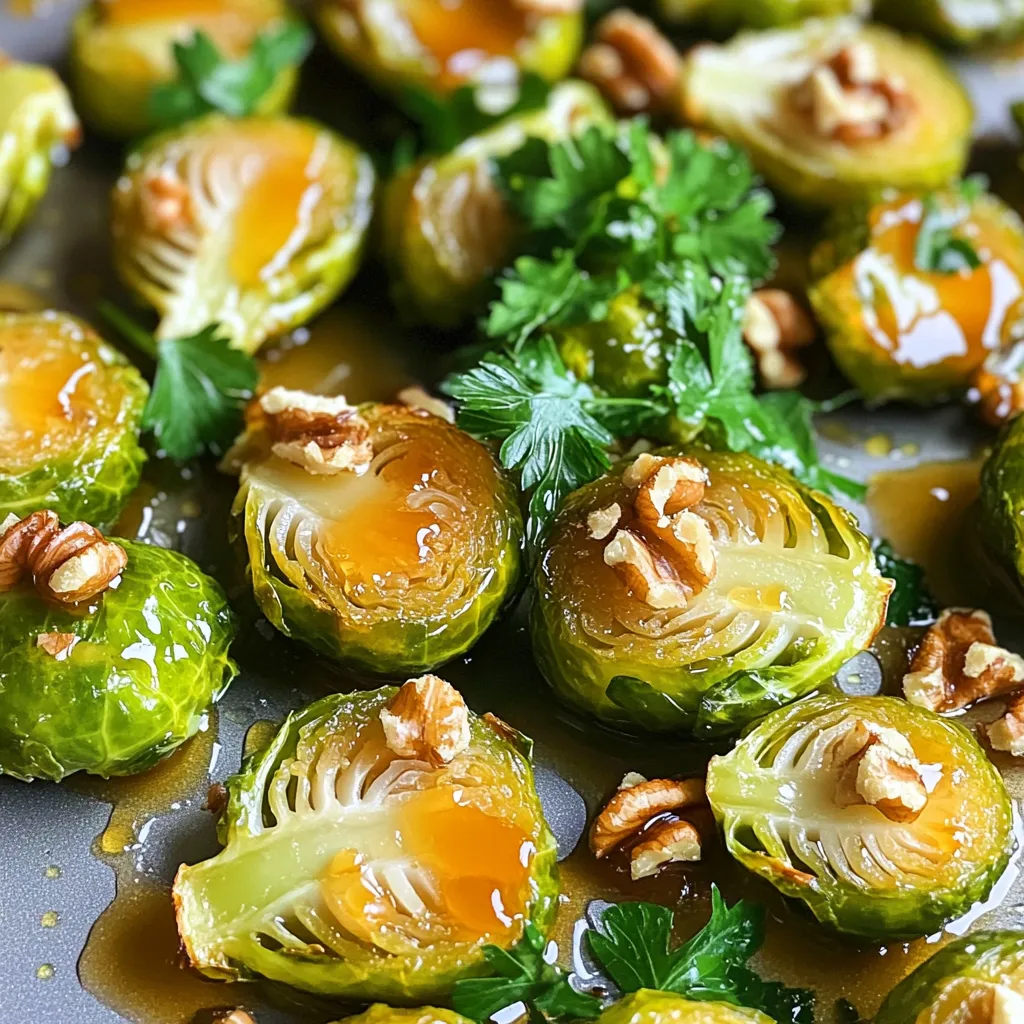
Are you ready to transform Brussels sprouts into a tasty treat? In Sheet-Pan Maple Dijon Brussels Sprouts Simple Delight, I’ll

Are you ready to elevate your taco night? Air Fryer Crispy Chickpea Tacos are your new go-to! They offer a
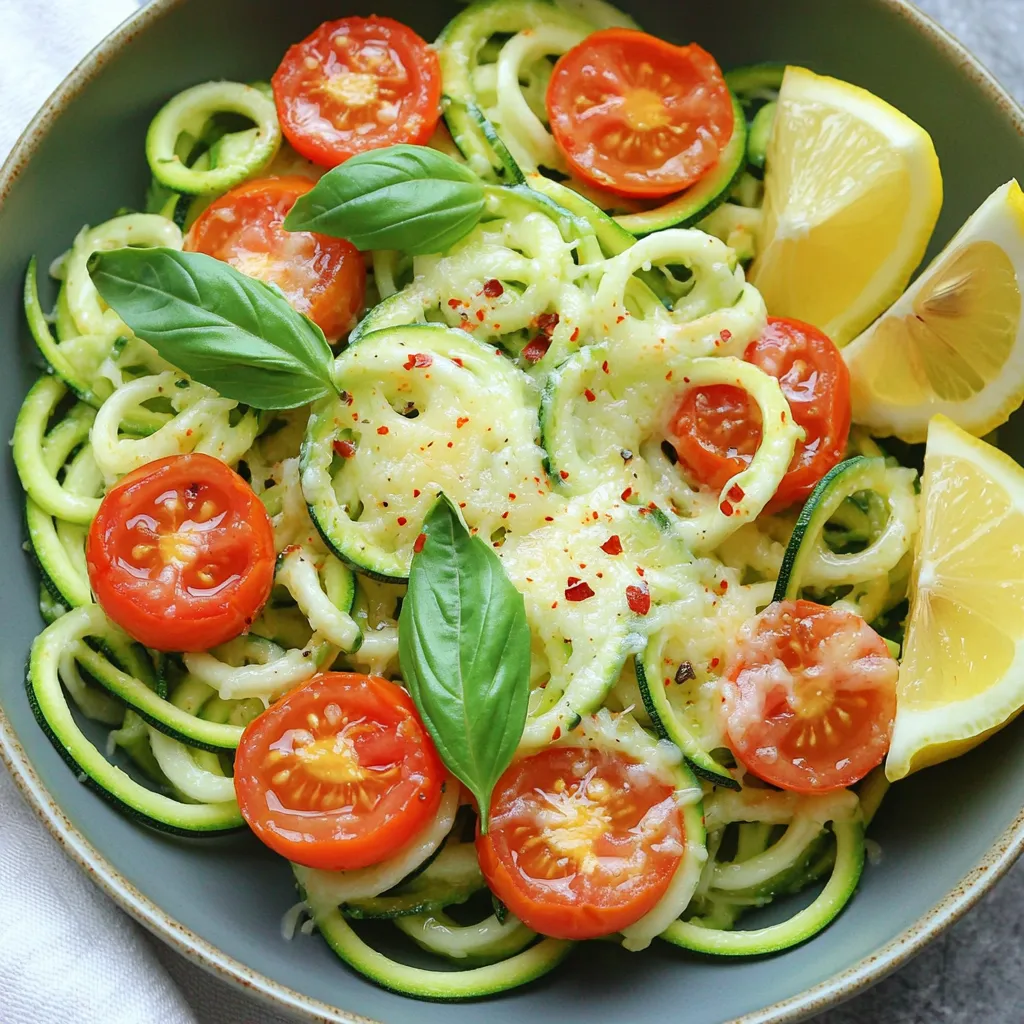
Are you ready to whip up a quick and tasty meal? My Minute Garlic Parmesan Zoodle Bowls are just what

If you crave something sweet, these No-Bake Nutella Cheesecake Cups are perfect! You can whip them up quickly with simple
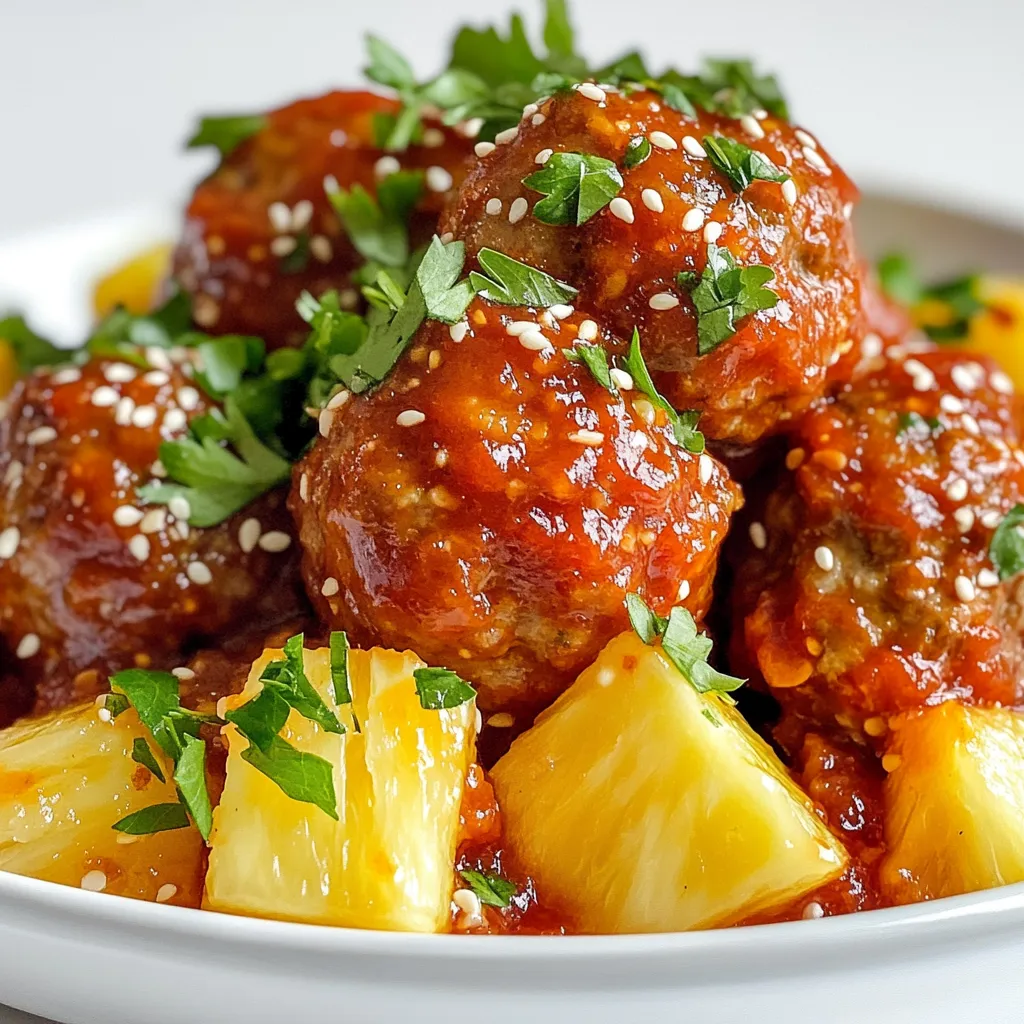
Looking to impress your family with a dish that’s both easy and tasty? Try my Sweet Chili Pineapple Meatballs! These
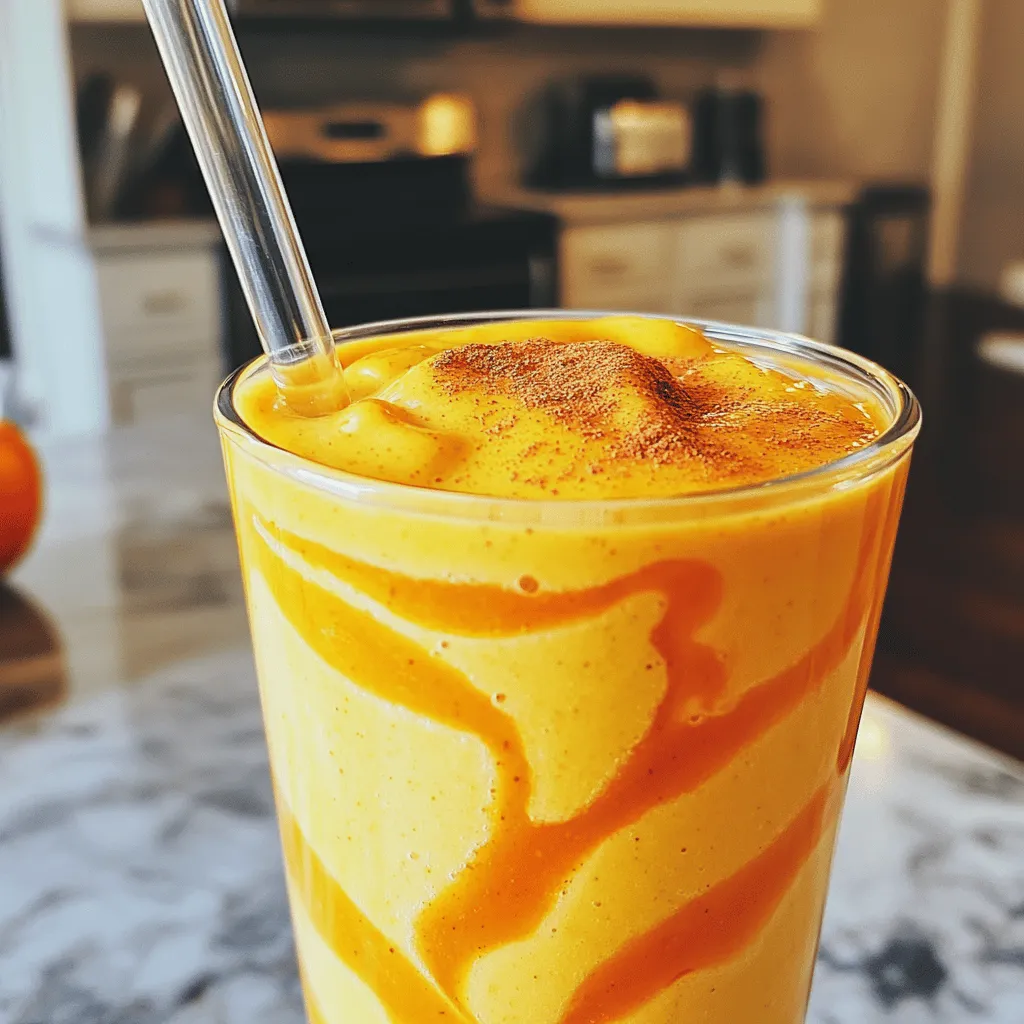
Looking for a tasty and healthy snack? Try my Pumpkin Spice Protein Smoothie! It’s packed with nutritious ingredients and bursting
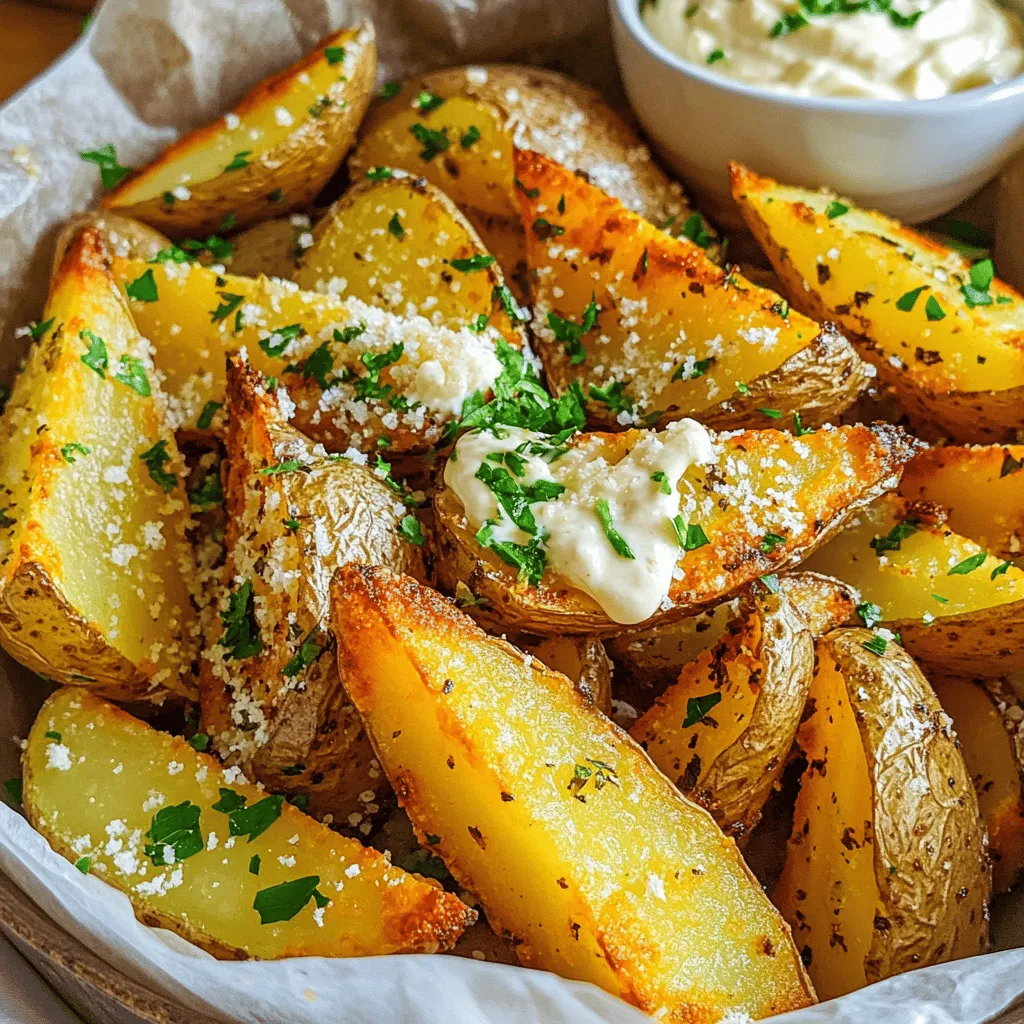
If you’re craving a crunchy snack that’s quick and easy, you’re in the right place! My Air Fryer Garlic Parmesan
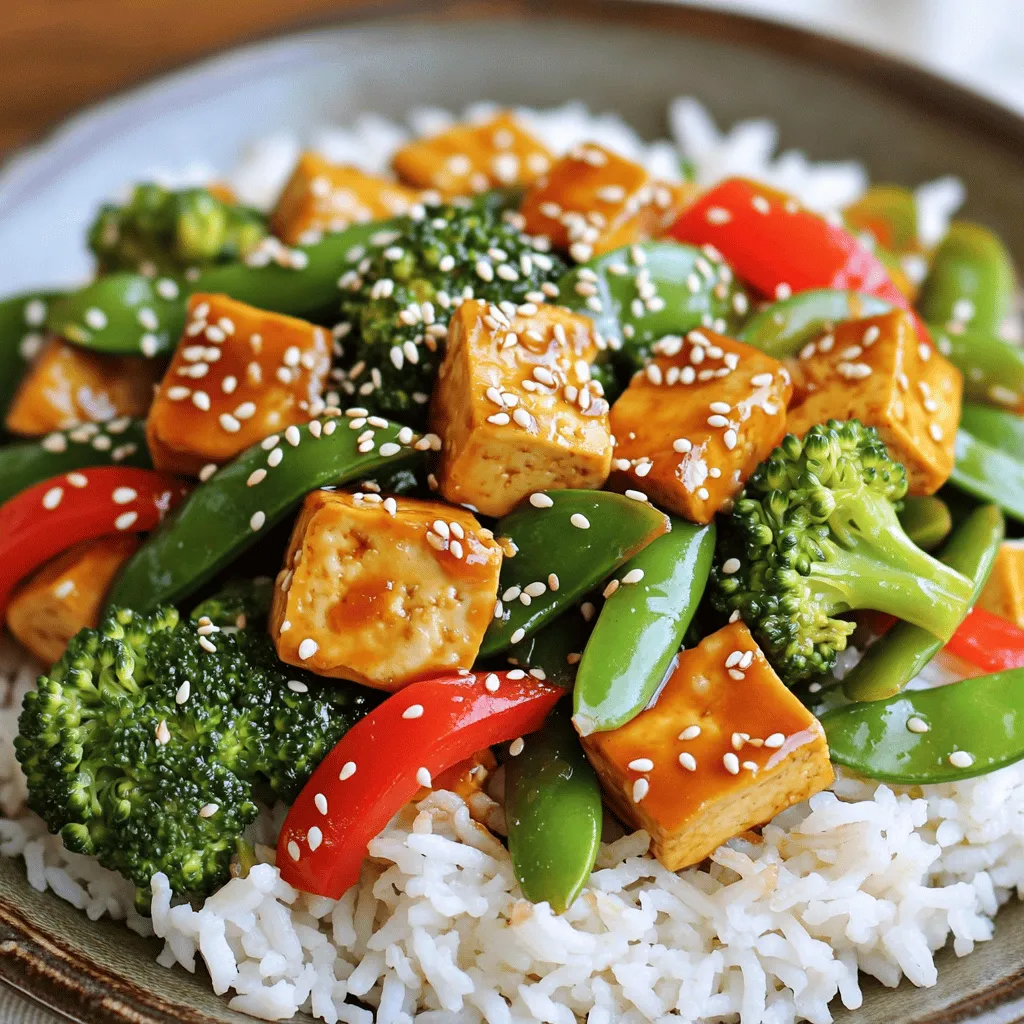
If you’re seeking a vibrant, fast meal, look no further than this Teriyaki Tofu Stir Fry. It combines firm tofu,