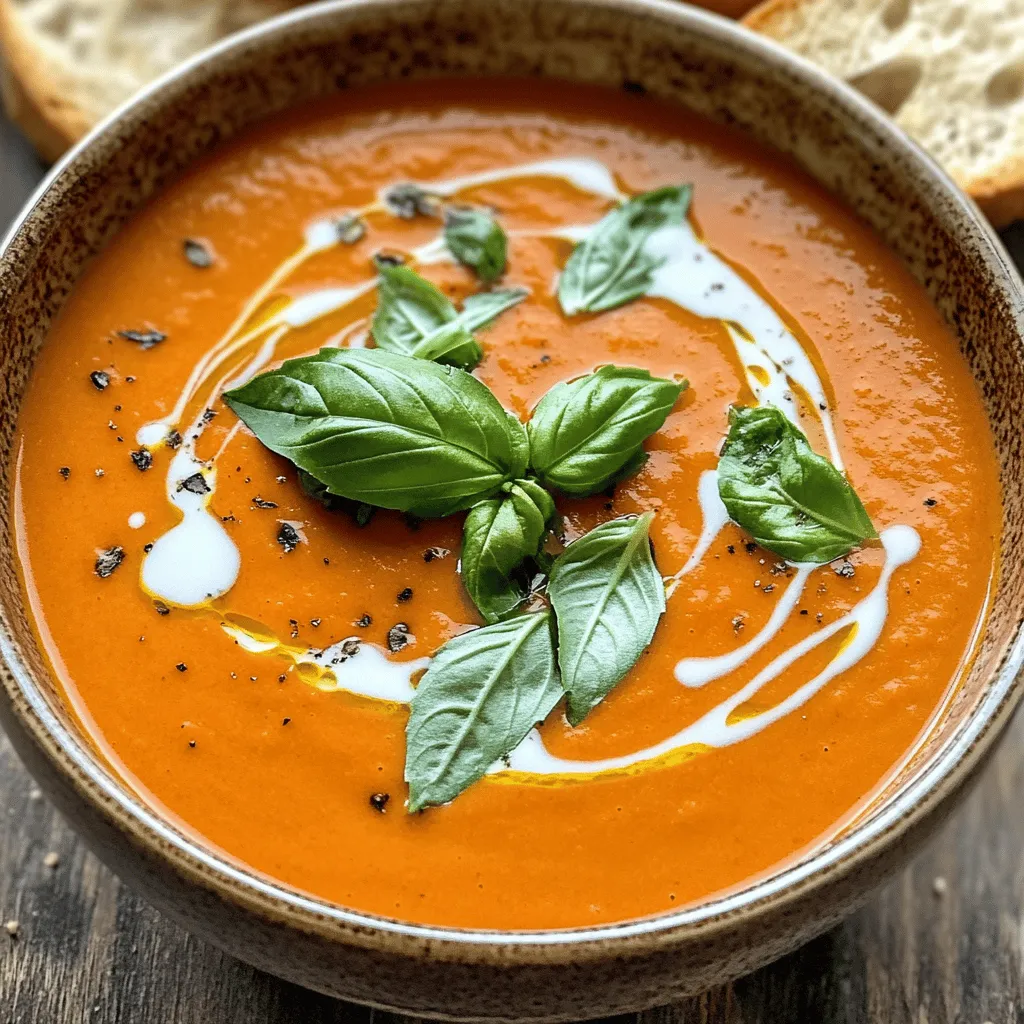
Creamy Roasted Red Pepper Soup Flavorful Comfort Dish
If you’re craving a warm bowl of flavor, this Creamy Roasted Red Pepper Soup is the answer. This dish combines

If you’re craving a warm bowl of flavor, this Creamy Roasted Red Pepper Soup is the answer. This dish combines

If you’re craving a crunchy snack that’s both tasty and healthy, look no further! My recipe for Cinnamon Sugar Apple

Craving a sweet treat without turning on the oven? You’re in the right place! These No Bake Almond Joy Bars
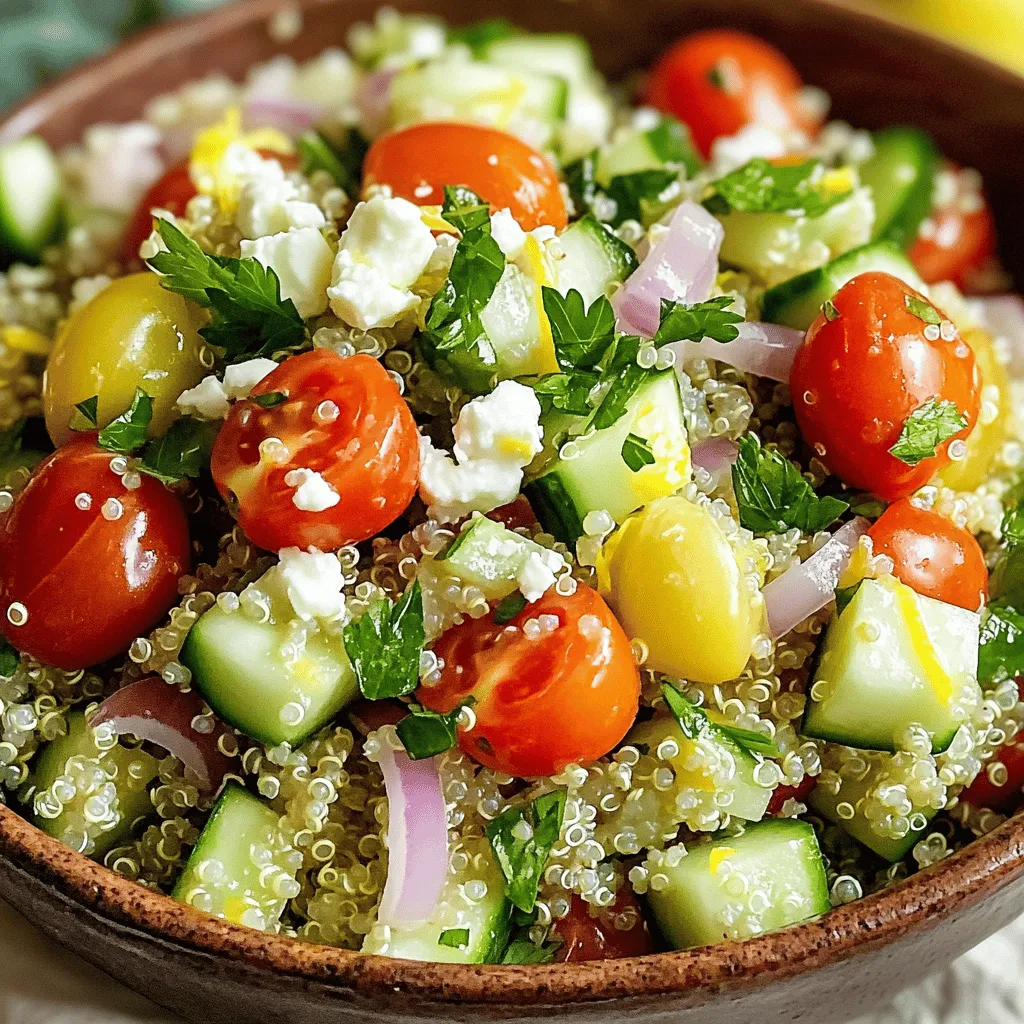
Are you ready to brighten your meals with a fresh, zesty twist? This Lemon Herb Quinoa Salad combines fluffy quinoa,

Get ready to spice up your dinner with Sriracha Lime Chicken Tacos! In this post, I’ll share a flavorful recipe

Are you ready to dive into a delightful dessert? My Lemon Strawberry Sheet Cake is a fresh and flavorful treat

Warm up your kitchen with this Creamy Broccoli Cheddar Orzo—your new favorite comfort dish! This easy recipe combines orzo pasta,

Are you ready to dive into a bowl of joy? This Thai Coconut Lime Shrimp Soup is a burst of

Looking for a healthy snack that packs a flavor punch? Let’s dive into making Chocolate Espresso Energy Balls! These tasty
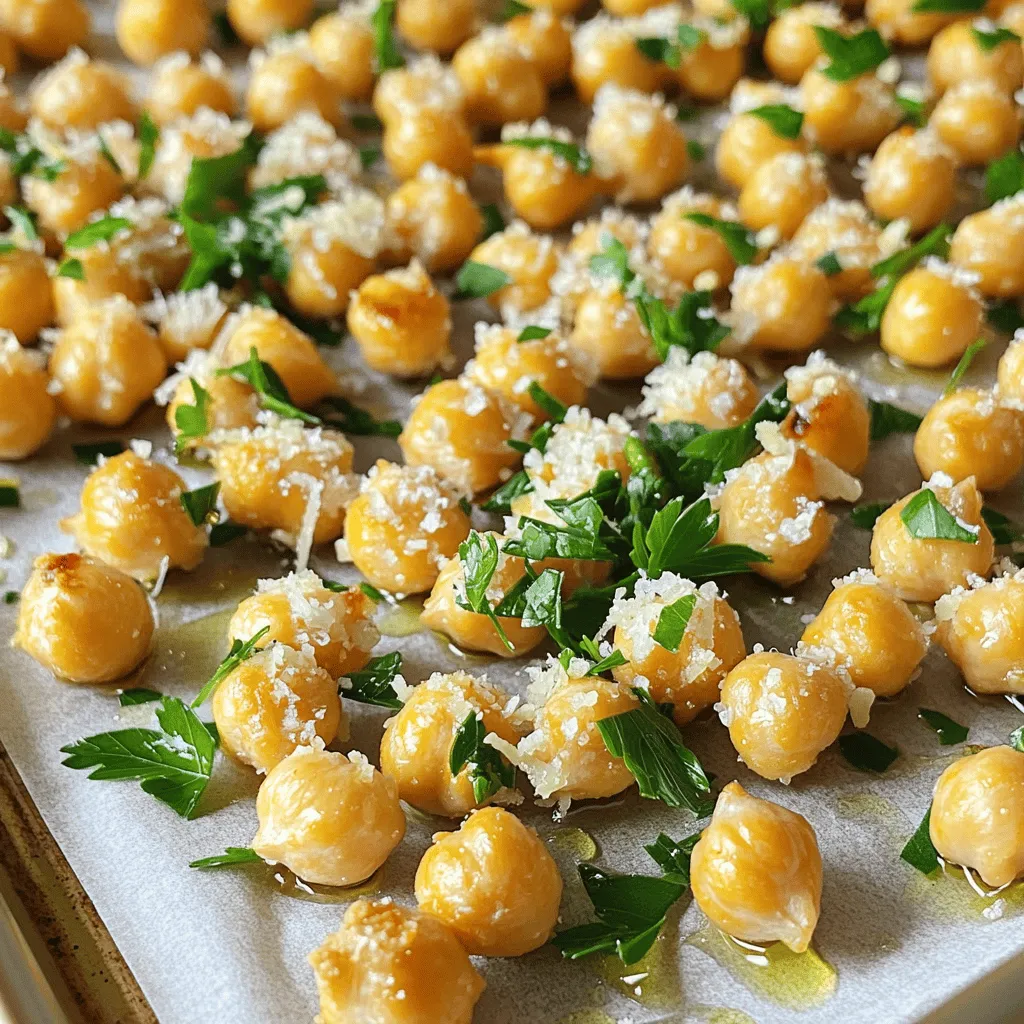
Looking for a snack that’s both healthy and delicious? You’ll love my Garlic Parmesan Roasted Chickpeas! This crispy treat is