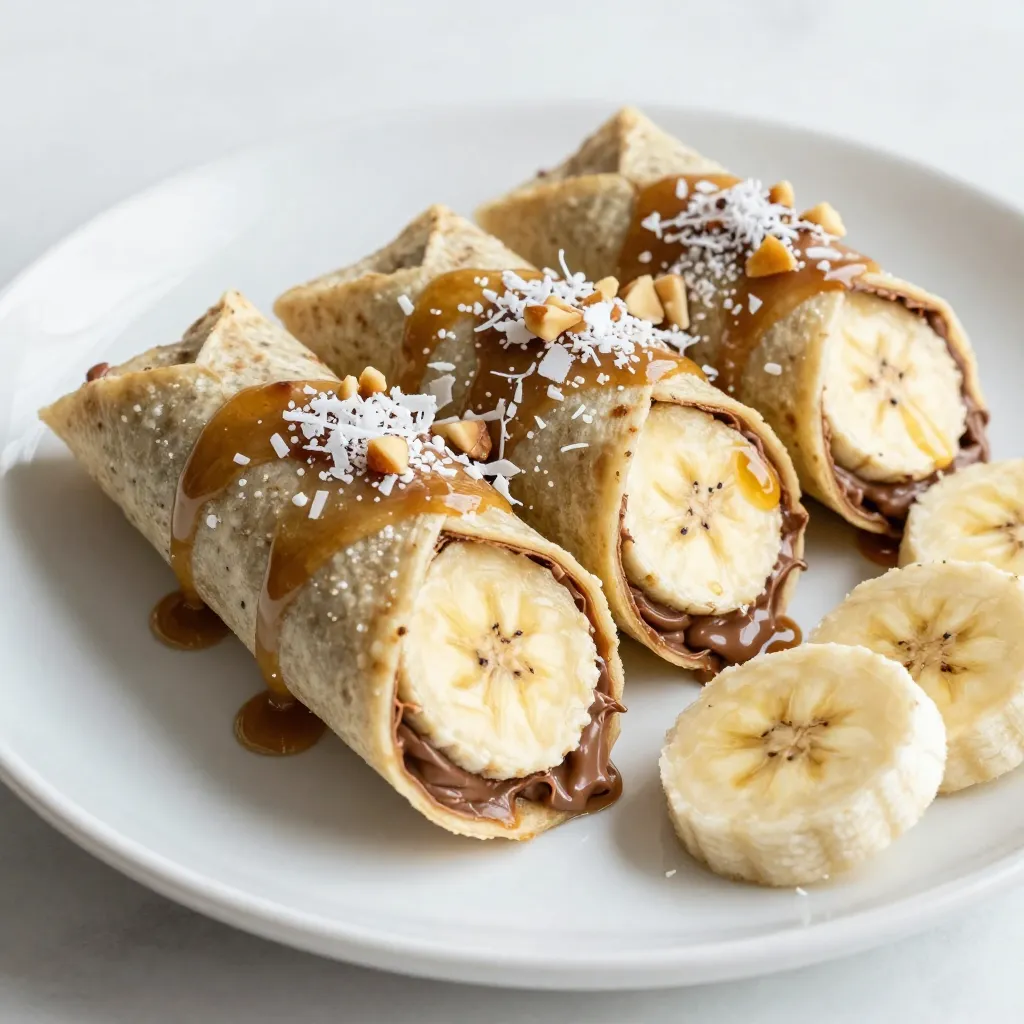
Nutella Banana Sushi Rolls Simple and Tasty Treat
If you’re looking for a fun, tasty treat that’s super easy to make, you’ll love Nutella Banana Sushi Rolls! This

If you’re looking for a fun, tasty treat that’s super easy to make, you’ll love Nutella Banana Sushi Rolls! This
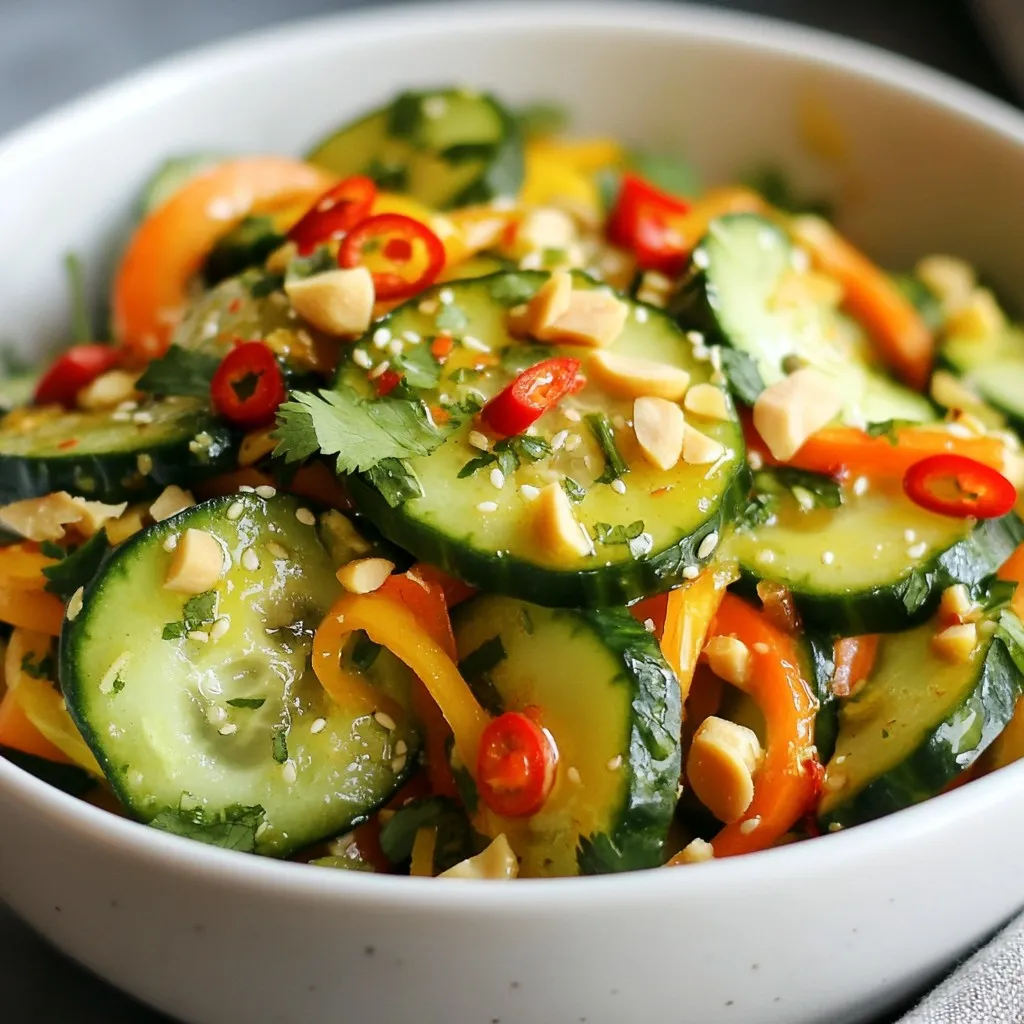
Looking for a refreshing dish that packs a flavorful punch? This Spicy Thai Cucumber Salad is just what you need!
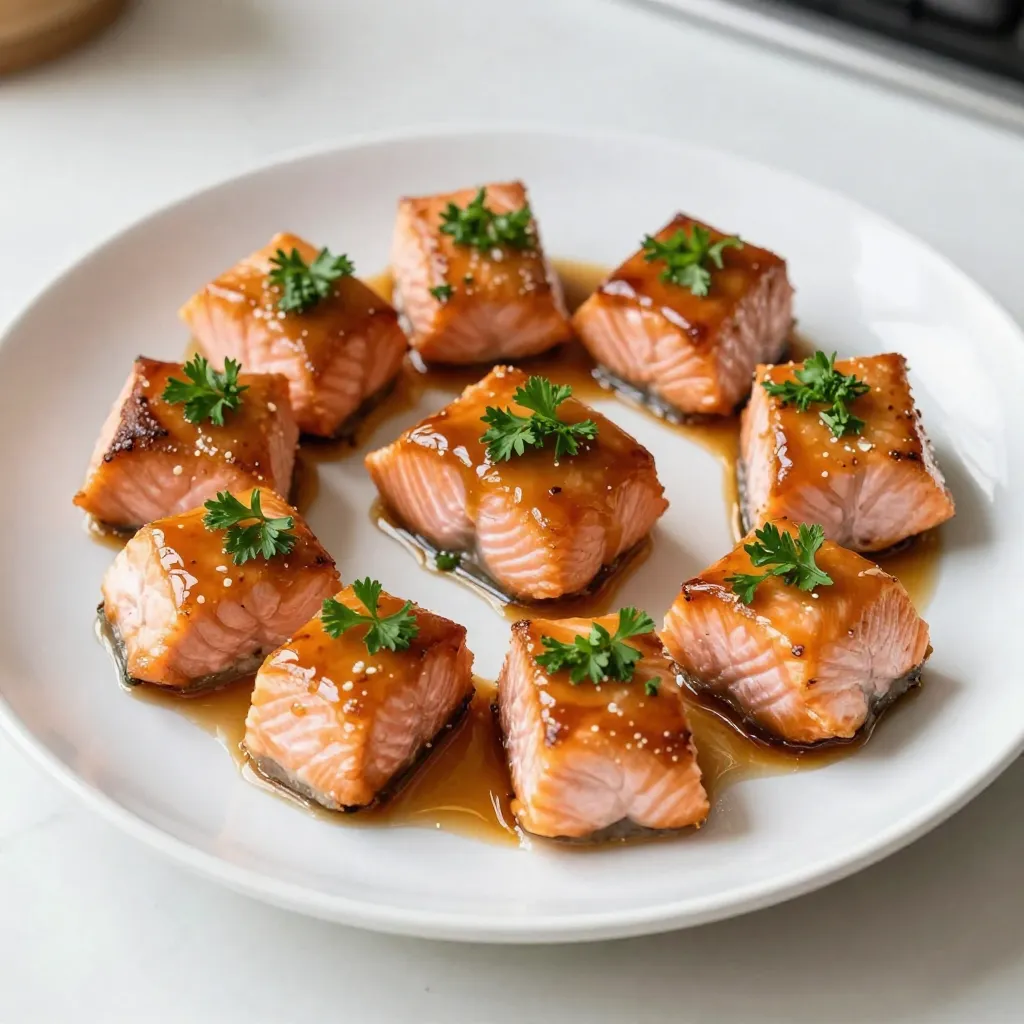
If you’re craving a delicious dish that’s both easy to make and packed with flavor, look no further! My Maple
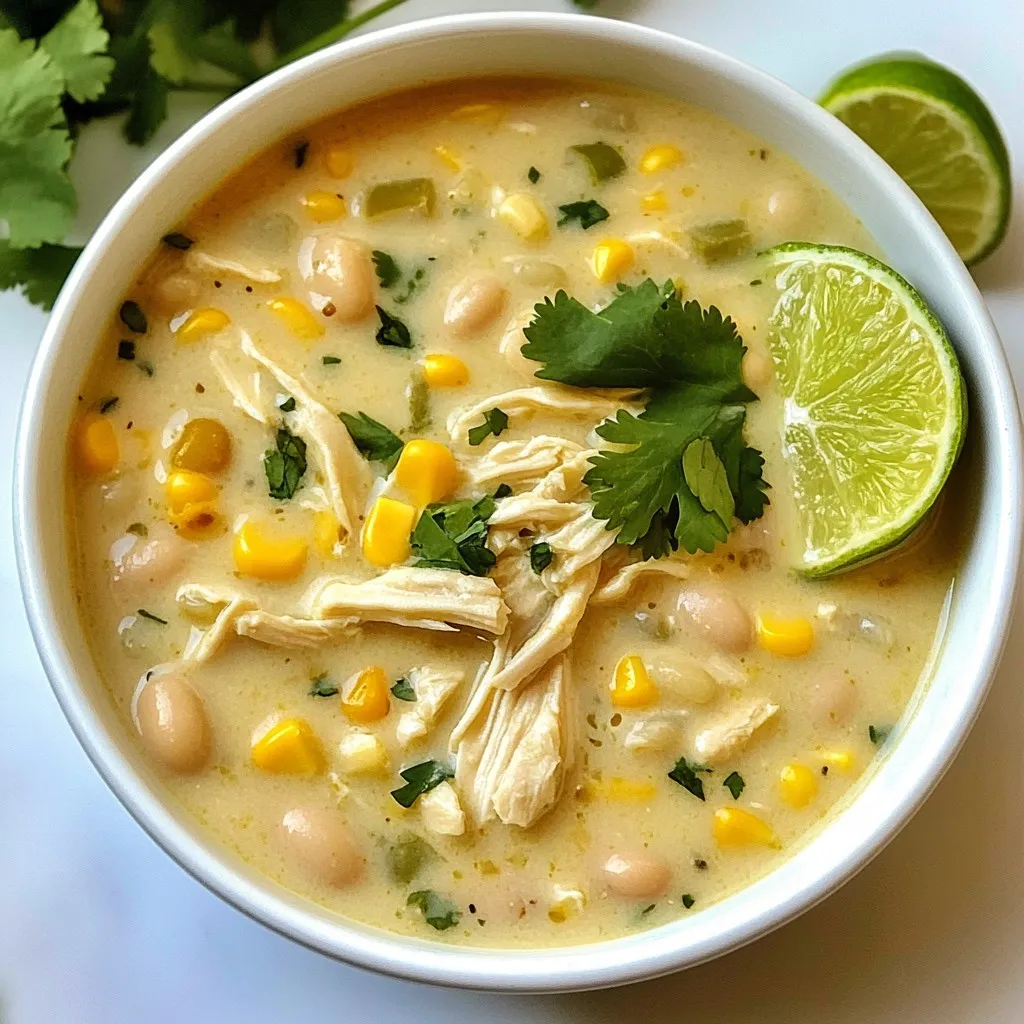
Looking for a quick and tasty dinner? You’ve found it! My Creamy White Chicken Chili is simple, fulfilling, and perfect
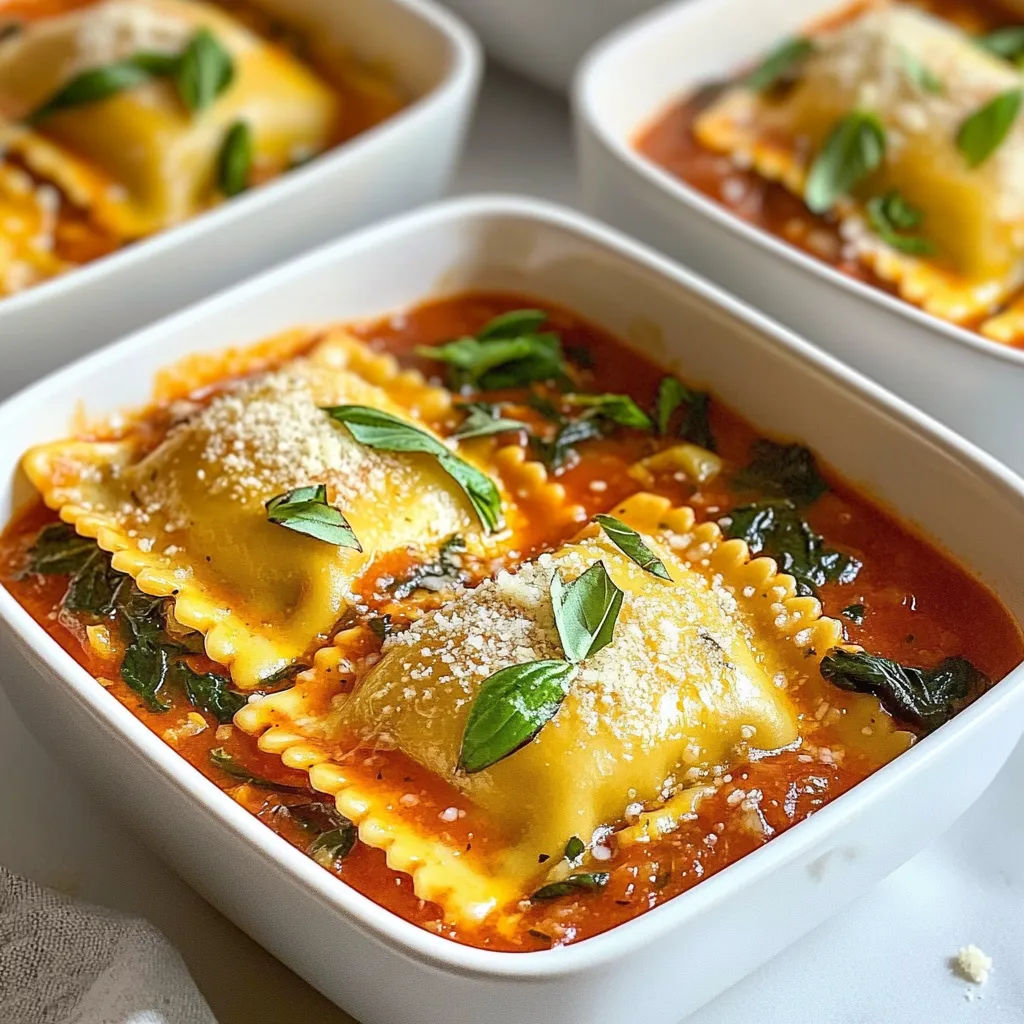
If you’re looking for a meal that checks all the boxes—creamy, delicious, and easy to make—then you’re in for a
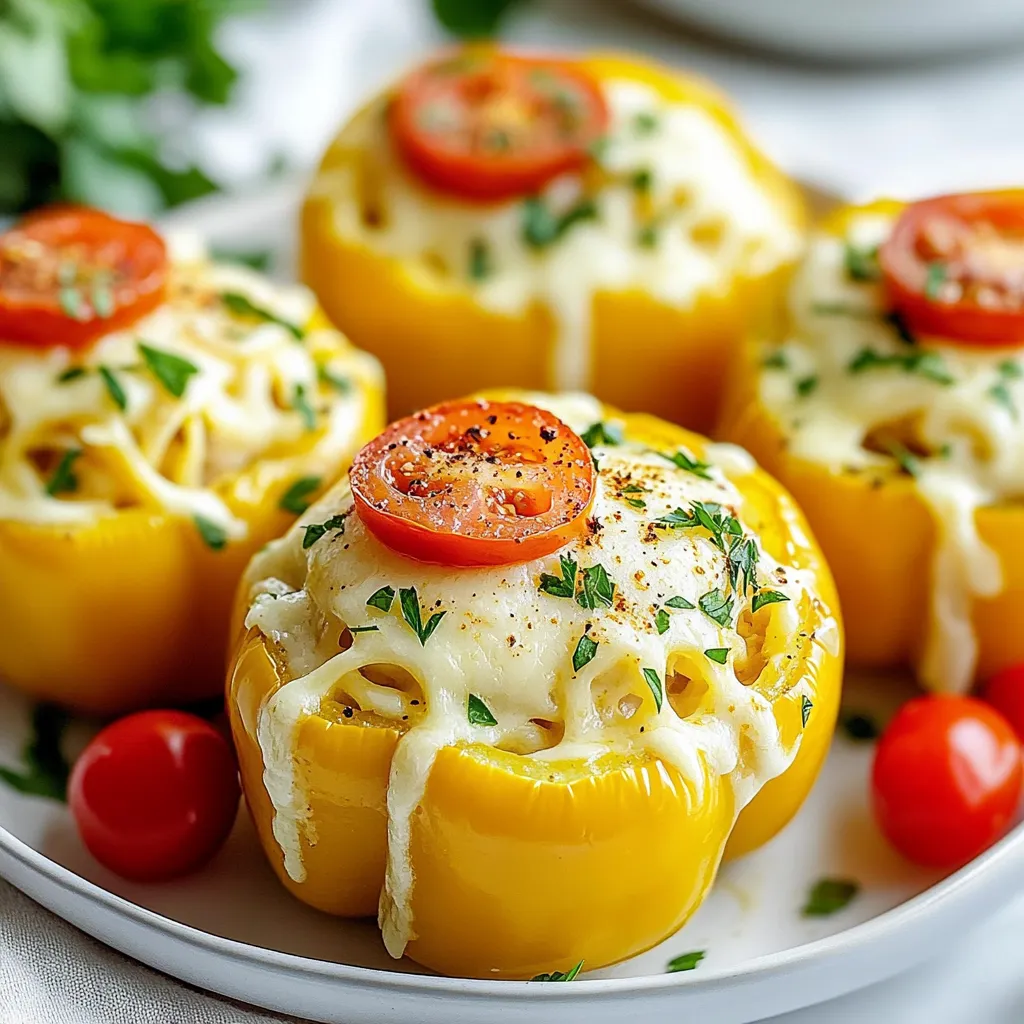
Looking to spice up your dinner routine? Try my Cajun Chicken Alfredo Stuffed Peppers! This dish combines creamy, spicy flavors
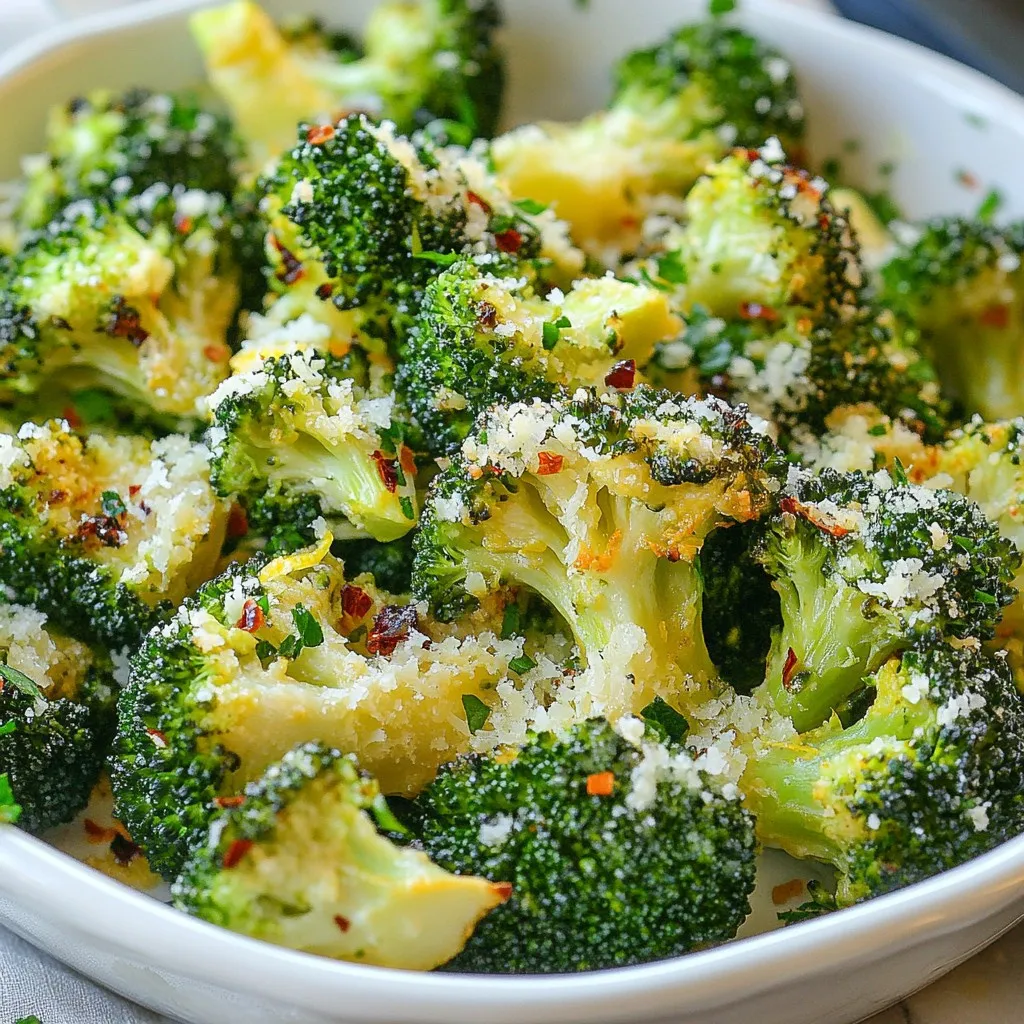
If you’re looking for a simple yet flavorful side dish, Lemon Garlic Roasted Broccoli is the answer! This savory dish
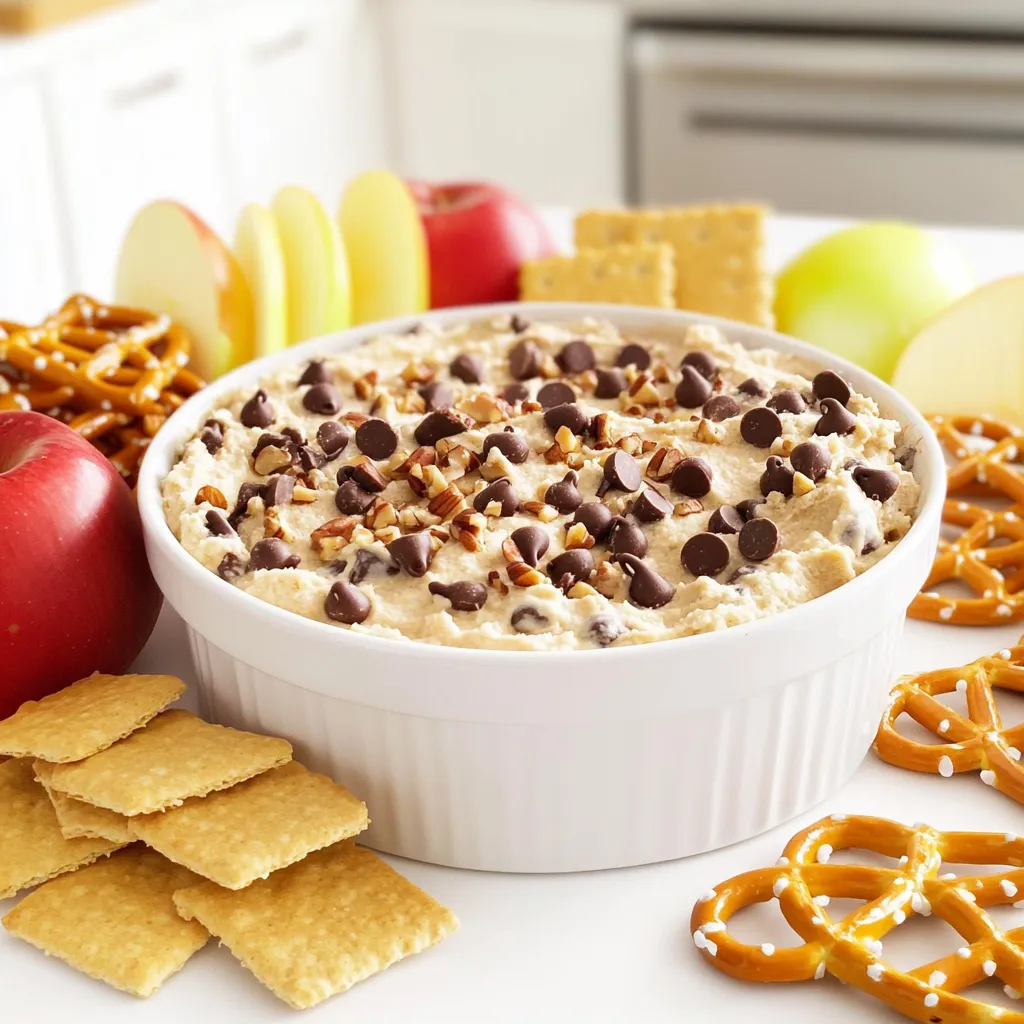
Get ready to dip into something delicious! This Irresistible Chocolate Chip Cookie Dough Dip is a sweet twist on a
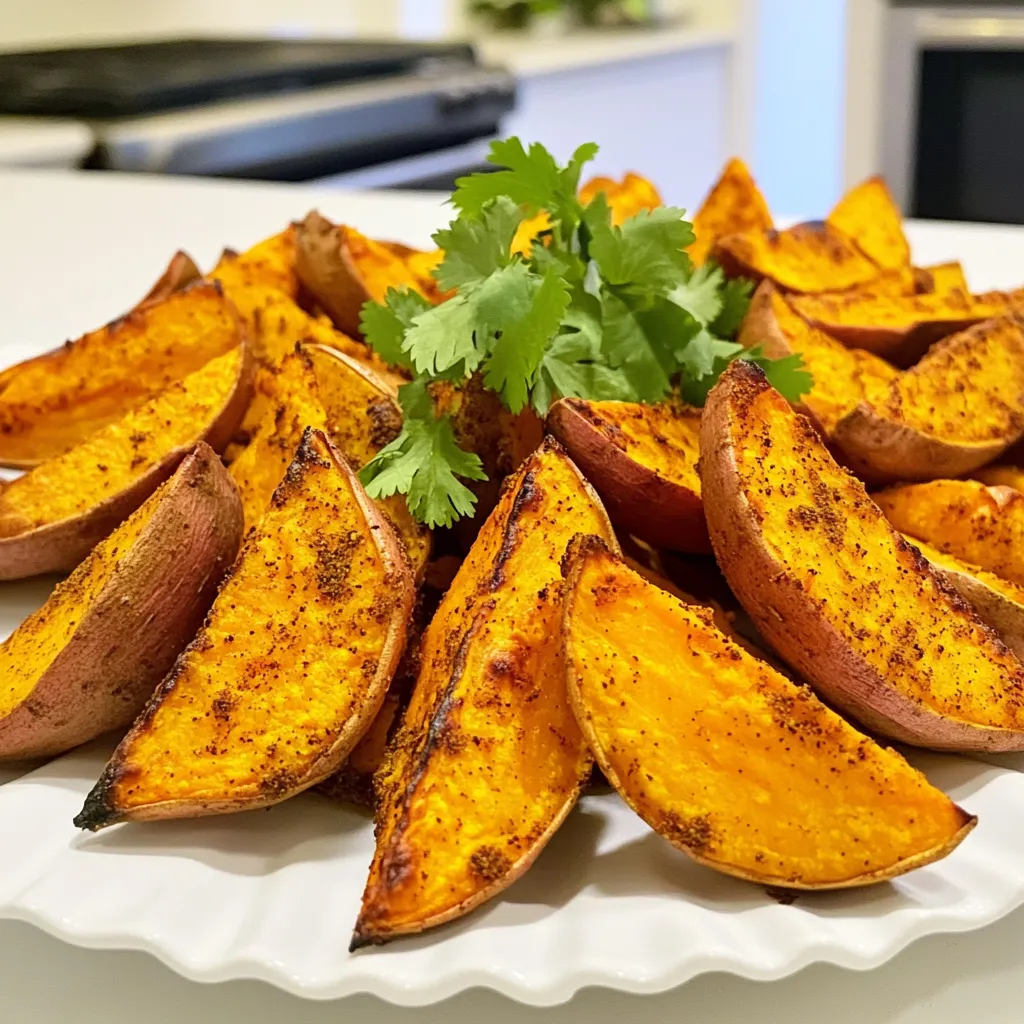
Are you ready to snack on something delicious and healthy? Roasted sweet potato wedges are the perfect treat! They are
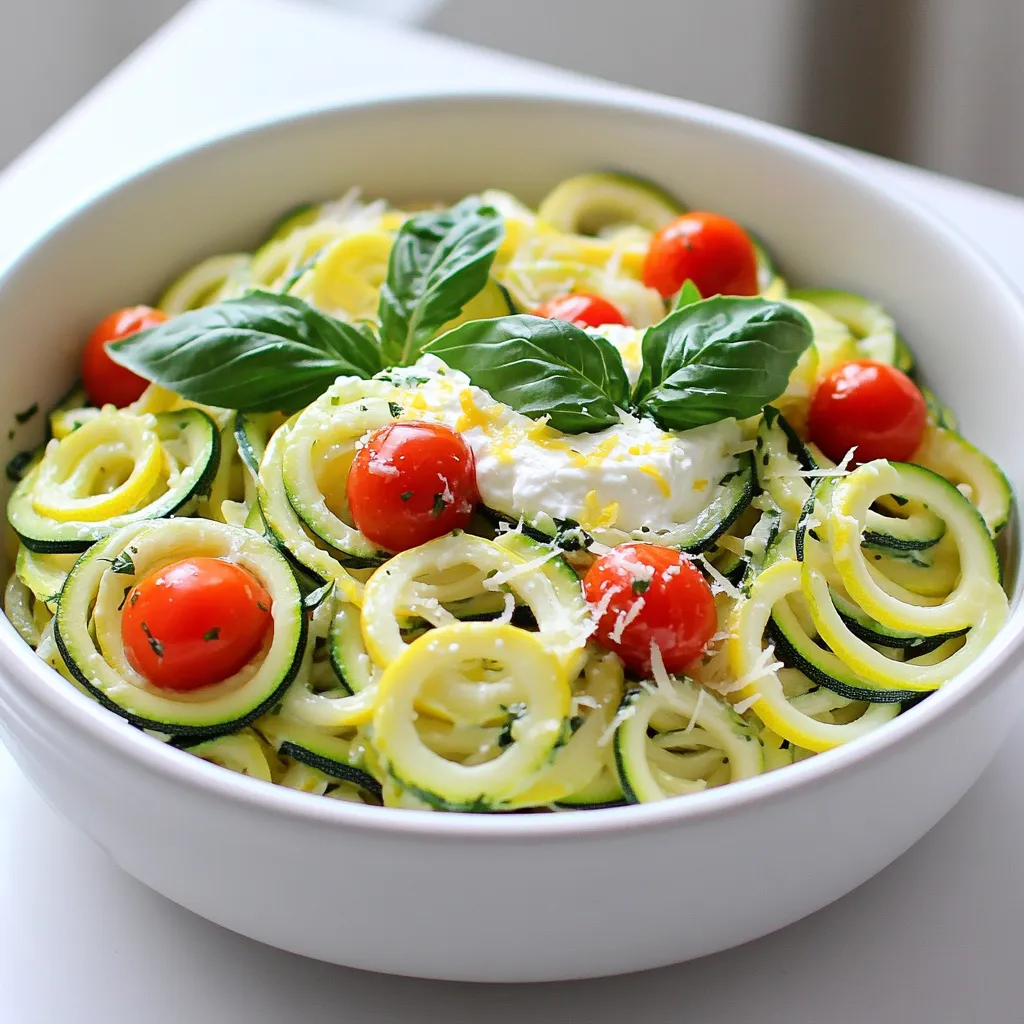
If you’re looking for a fresh and flavorful dish, you need to try Lemon Ricotta Zucchini Pasta. This recipe brings