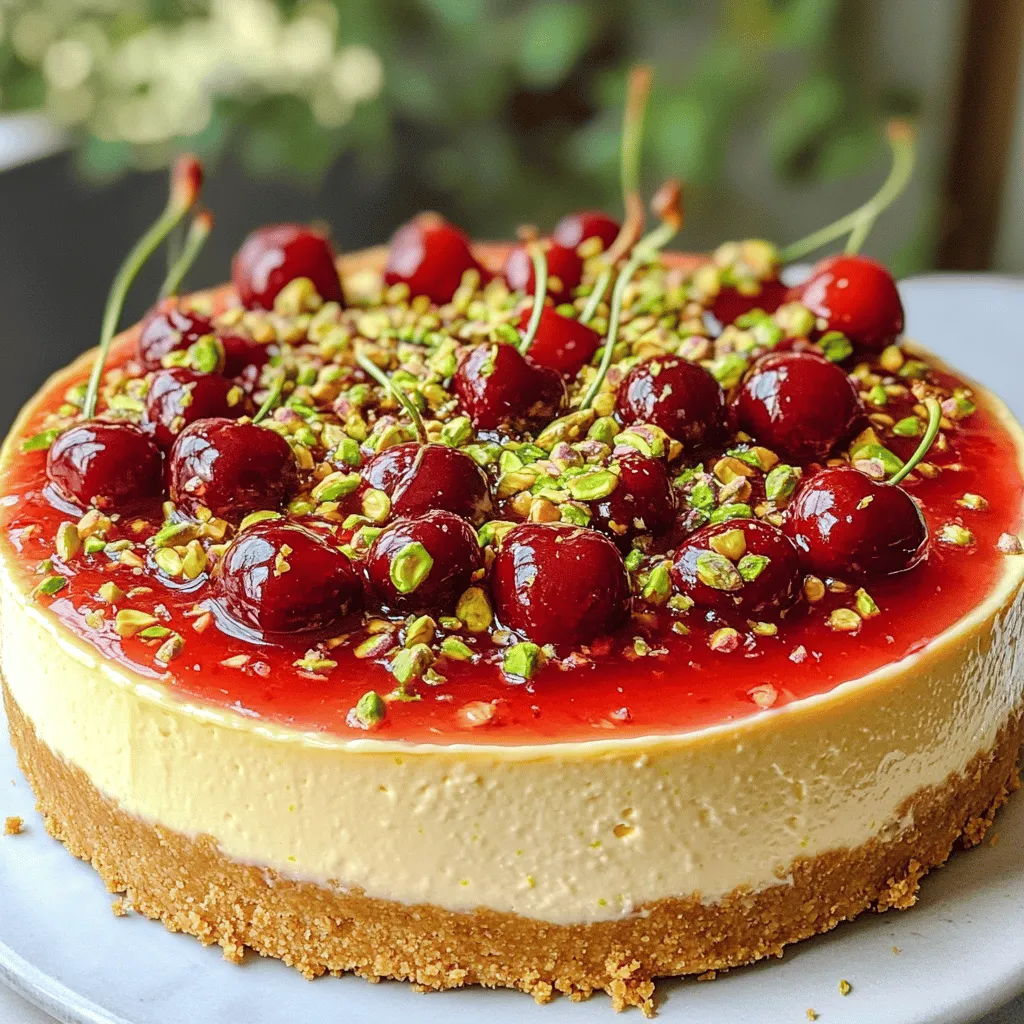
Are you ready to whip up a dessert that dazzles? This Luscious Lemon-Lime Cherry Pistachio Cheesecake is your ticket to sweet indulgence. With its creamy filling and tangy zest, it’s a showstopper for any occasion. Plus, it’s packed with cherries and crunchy pistachios for a delightful twist. Follow my step-by-step guide for easy success. Let’s dive into this tasty adventure that will impress your friends and family!
Ingredients
Here’s what you need for a luscious lemon-lime cherry pistachio cheesecake:
– 1 ½ cups graham cracker crumbs
– ½ cup unsalted butter, melted
– 2 tablespoons granulated sugar
– 16 oz cream cheese, softened
– 1 cup granulated sugar
– ¼ cup sour cream
– 3 large eggs
– Zest of 1 lemon
– Zest of 1 lime
– ¼ cup fresh lemon juice
– ¼ cup fresh lime juice
– 1 cup cherry pie filling
– ½ cup chopped pistachios
– Whipped cream for topping (optional)
– Fresh cherries for garnish (optional)
Each ingredient plays a key role in creating that perfect balance of flavors. The graham cracker crumbs give a buttery crunch. The cream cheese adds creaminess, while the fresh citrus zests brighten the taste. The cherry pie filling adds sweetness and a pop of color. Don’t forget the pistachios for that delightful crunch!Enjoy gathering these ingredients; they set the stage for a delicious dessert!
Step-by-Step Instructions
Preparation Overview
1. Preheat the Oven: Start by preheating your oven to 325°F (160°C). This helps the cheesecake bake evenly.
2. Prepare the Crust: In a medium bowl, mix together the graham cracker crumbs, melted butter, and 2 tablespoons of sugar. Press this mixture firmly into the bottom of a 9-inch springform pan. Bake it for 10 minutes and then let it cool.
3. Make the Filling: In a large mixing bowl, beat the softened cream cheese with 1 cup of granulated sugar. Mix until smooth and creamy, about 2-3 minutes.
Baking Instructions
1. Incorporate Zests and Juices: Stir in the lemon and lime zests along with the lemon and lime juices. Mix until everything is well combined.
2. Combine with Pistachios: Gently fold in the chopped pistachios into your cheesecake filling. This adds a nice crunch.
3. Pour and Bake: Pour the cheesecake filling over the cooled crust in the springform pan. Smooth out the top with a spatula. Bake the cheesecake for 50-60 minutes. The edges should set, but the center will still jiggle slightly.
Cooling and Serving
1. Chill the Cheesecake: Once you finish baking, turn off the oven. Leave the cheesecake inside with the door ajar for about 1 hour. This helps it cool slowly. After that, let it cool to room temperature. Cover and refrigerate it for at least 4 hours, or overnight for the best flavor.
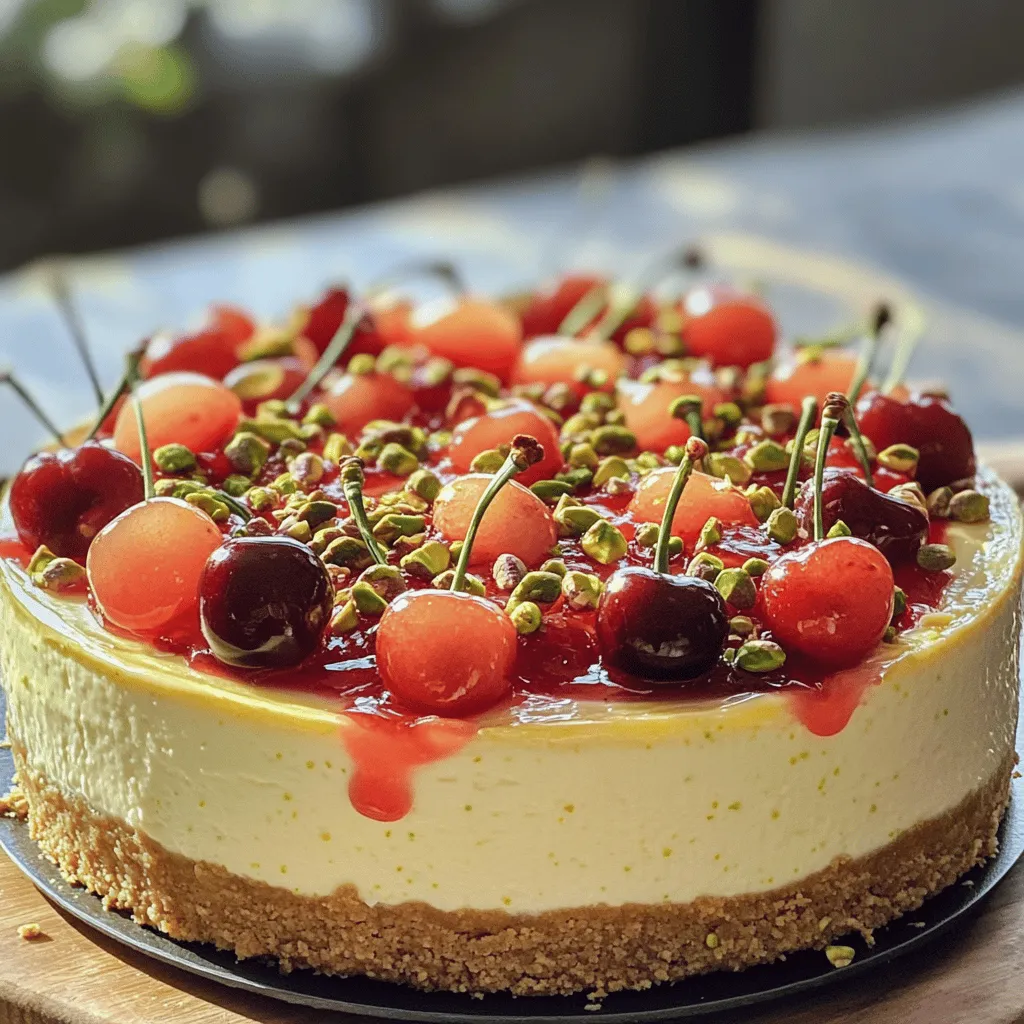
2. Add Toppings and Serve: Once chilled, top the cheesecake with cherry pie filling. You can also add whipped cream and garnish with fresh cherries and extra chopped pistachios before serving.Enjoy your delightful creation!
Tips & Tricks
Perfecting the Cheesecake Texture
To get the perfect cheesecake, avoid overmixing. Mix just until the ingredients blend well. Overmixing adds too much air, which can lead to cracks. Cooling is also key. After baking, let your cheesecake cool slowly in the oven. This helps it set without cracking. For a jiggly center, bake until the edges are firm but the middle still wiggles slightly. This means it’s done!
Enhancing Flavor
Adjust sweetness to your taste. If you prefer it sweeter, add a bit more sugar. Fresh lemon and lime juice give a bright taste. Always use fresh juice for the best flavor. Bottled juice lacks the zing you want. Zest from both fruits adds extra depth. So don’t skip this step!
Presentation Ideas
When serving, add cherry pie filling on top for a pop of color. Fresh cherries and whipped cream make it look fancy. You can sprinkle extra chopped pistachios around the edge. This adds crunch and visual appeal. Use a nice plate to showcase your cheesecake. It makes every slice feel special!
Variations
Flavor Modifications
You can easily change the flavor of your luscious lemon-lime cherry pistachio cheesecake. Here are some fun ideas:
– Adding other fruit toppings: Instead of cherry pie filling, try fresh strawberries, blueberries, or peaches. Each fruit adds its own sweet and tart notes.
– Substituting different nuts: If you want a different crunch, use almonds or walnuts. They give a nice twist to the texture and taste.
Alternative Dietary Options
Making this cheesecake fit your diet is simple:
– Gluten-free crust options: Use crushed gluten-free cookies or almond flour to create a tasty crust without gluten.
– Dairy-free substitutes: Swap cream cheese for a dairy-free cream cheese alternative. Use coconut cream for a rich flavor in place of sour cream.
Other Recipe Ideas
Don’t let any cheesecake go to waste! Here are some clever uses:
– Pairing with different desserts: Serve slices of cheesecake with a scoop of vanilla ice cream or a drizzle of chocolate sauce for a fun dessert combo.
– Utilizing leftovers creatively: Crumble leftover cheesecake over yogurt or blend it into a milkshake for a new treat.Enjoy creating your perfect cheesecake!
Storage Info
Storing the Cheesecake
To keep your luscious lemon-lime cherry pistachio cheesecake fresh, store it in the fridge. Wrap it tightly with plastic wrap or place it in an airtight container. This helps keep its creamy texture and flavor.
If you want to freeze it, make sure it’s fully chilled first. Cut it into slices and wrap each slice in plastic wrap. Place the wrapped slices in a freezer-safe bag. This way, you can enjoy cheesecake anytime.
Shelf Life
In the refrigerator, the cheesecake lasts about 5 to 7 days. The flavors will stay fresh if you store it properly. In the freezer, the cheesecake can last up to 2 months. Just remember to label it with the date for easy tracking.
Reheating Instructions
You don’t need to reheat cheesecake. It’s best served cold. If you prefer it slightly softer, let it sit at room temperature for about 15 to 30 minutes before serving. This helps enhance the creamy texture.
FAQs
What is the best way to know when the cheesecake is done?
The cheesecake is done when the edges are set but the center still jiggles slightly. It should not be fully firm. This slight jiggle means it will set as it cools. After baking, turn off the oven and leave the cheesecake inside for about an hour. This helps it cool gently, reducing cracks.
Can I make this cheesecake ahead of time?
Yes, you can make this cheesecake a day or two in advance. It actually tastes better after chilling overnight. Just make sure to cover it well to keep it fresh in the fridge. This gives the flavors time to blend and develop.
How do I remove the cheesecake from the springform pan?
To remove the cheesecake, start by running a thin knife around the edge of the pan. This helps separate the cheesecake from the sides. Then, carefully unclip the springform pan. Gently lift off the sides. If needed, use a spatula to slide under the cheesecake for easier lifting.
Can I use a different fruit topping instead of cherry?
Yes, you can use different fruits. Try blueberry, raspberry, or even a mix of berries. Fresh fruits also work well. Just adjust the sweetness based on the fruit you choose. Each fruit adds a unique flavor and color to your cheesecake.
What can I do if my cheesecake cracks?
If your cheesecake cracks, don’t worry. It can still taste great! You can cover cracks with fruit topping or whipped cream. Next time, try baking at a lower temperature or using a water bath. These tips help keep the cheesecake moist and prevent cracks.
In this post, we explored how to make a delicious cheesecake using fresh flavors. I shared key ingredients, step-by-step instructions, and useful tips to improve texture and flavor. You learned how to serve it beautifully and store it properly.
Cheesecake is a fun dessert to make and enjoy. Experiment with different toppings or flavors. Trust your taste and have fun in the kitchen!


