If you love desserts but want to skip the oven, no-bake cheesecake jars are perfect for you. These simple and tasty delights layer creamy cheesecake filling with your favorite fruits. Whether you want a sweet treat for dinner or a snack, these jars deliver. Join me as we explore easy steps to whip up this fun dessert. Let’s get started on making your new favorite treat!
Ingredients
Complete Ingredient List
To create your no-bake cheesecake jars, you’ll need a few simple ingredients. This list ensures a creamy, delicious treat!
– Nightshade options: Choose from berries like blueberries, strawberries, or raspberries. These add a fresh and fruity touch.
– Base: Use 1 cup of graham cracker crumbs mixed with 1/4 cup of melted unsalted butter. This forms a tasty crust.
– Filling: For the creamy filling, gather 2 cups of softened cream cheese, 1 cup of powdered sugar, 1 teaspoon of vanilla extract, and 1 cup of chilled heavy cream. These give the cheesecake its rich flavor and texture.
– Optional: You can add the zest of 1 lemon for a bright, zesty kick. This enhances the flavor and makes your cheesecake even more special.
With these ingredients, you’re set to make a delightful treat!
Step-by-Step Instructions
Preparation of the Crust
To begin, you need to make the crust for your no-bake cheesecake jars. Start by mixing graham cracker crumbs with melted butter in a medium bowl. This mixture should feel moist and crumbly. If it looks dry, add a bit more melted butter. Next, distribute the crumb mixture into your jars. Press down firmly to create a solid base. This step is important because it holds everything together.
Making the Cheesecake Filling
Now it’s time to make the cheesecake filling. In a large mixing bowl, beat the cream cheese until it is smooth and creamy. This process takes just a few minutes. Gradually, add in the powdered sugar and vanilla extract. Mix until everything is well combined. The filling should be sweet and flavorful.
Next, whip the heavy cream in another bowl. You want to achieve stiff peaks here. This means the cream should hold its shape when you lift the whisk. Gently fold the whipped cream into the cream cheese mixture. Be careful not to deflate it. This folding will make your cheesecake light and airy.
Assembling the Cheesecake Jars
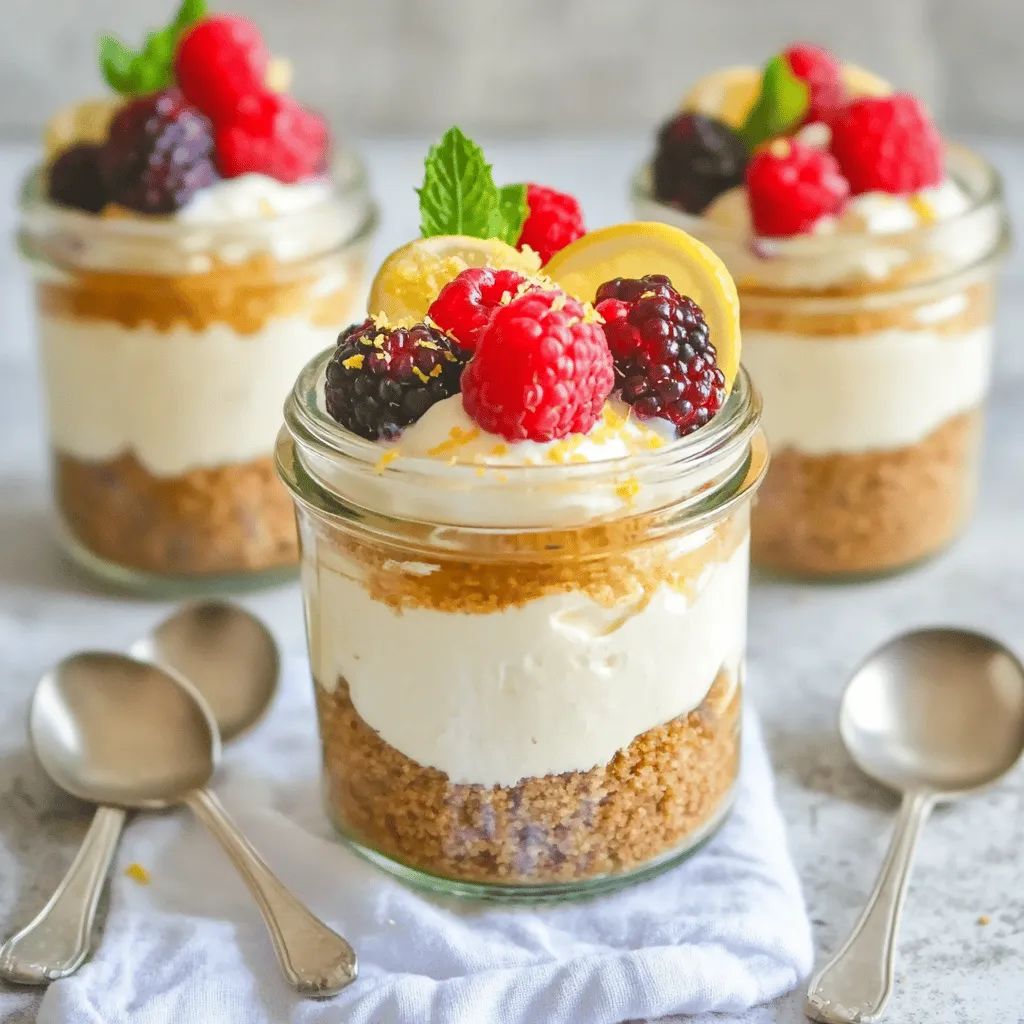
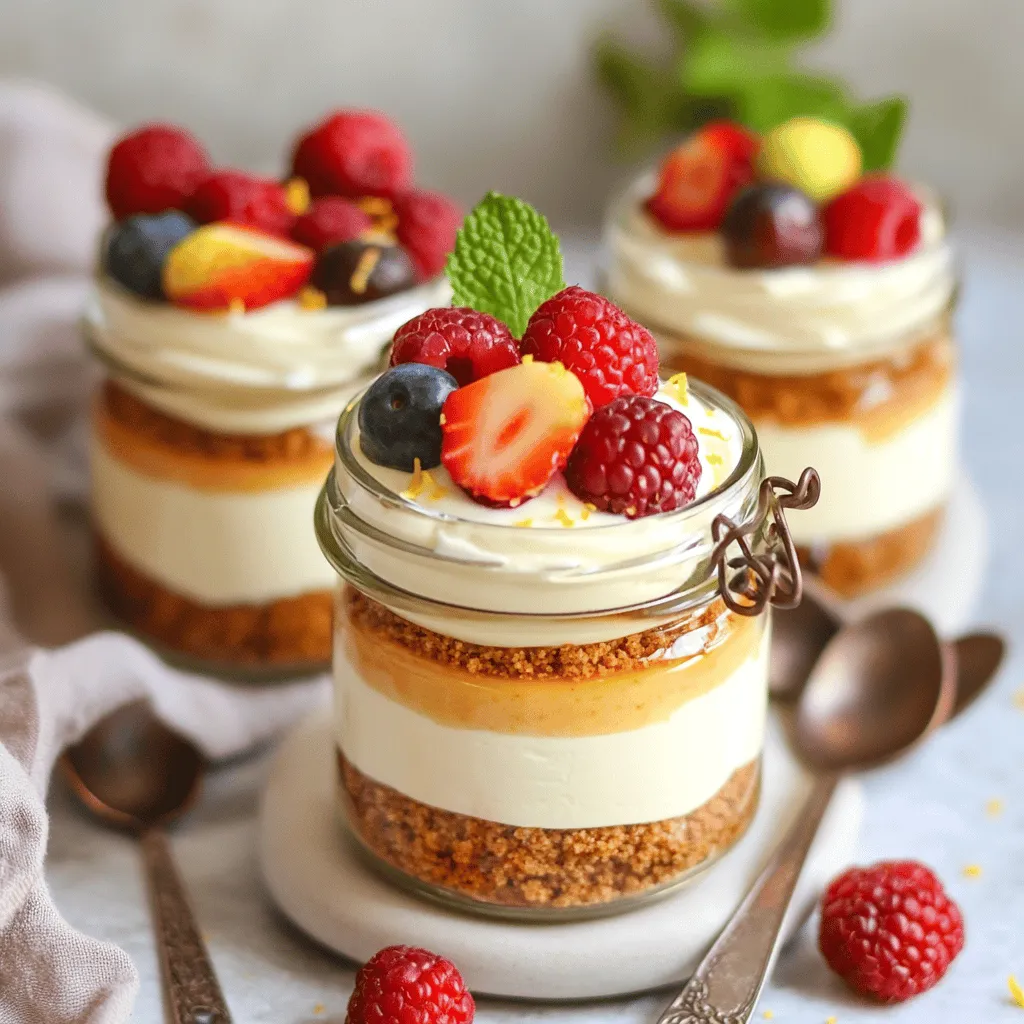
It’s time to layer the cheesecake jars. Spoon half of the cheesecake mixture into each jar, right over the graham cracker crust. Use a spatula to smooth it out. If you want extra flavor, sprinkle some lemon zest on top of this layer. Next, add a layer of fresh berries. You can use blueberries, strawberries, or raspberries. Save a few for garnish later.
Finish with another layer of the cheesecake mixture, smoothing the tops again. Now, top each jar with the reserved berries. You can also add a sprinkle of graham cracker crumbs for a nice touch. Cover the jars with lids or plastic wrap. Place them in the fridge for at least four hours or overnight to set. This waiting time allows the flavors to blend beautifully.Enjoy making your no-bake cheesecake jars!
Tips & Tricks
Perfecting Texture and Flavor
To make a great no-bake cheesecake, start with softened cream cheese. This step is key. Soft cream cheese mixes well, creating a smooth filling. Leave the cream cheese at room temperature for at least 30 minutes before you start.
Next, let’s talk about whipped cream. To get stiff peaks, beat the chilled heavy cream on high speed. It helps to use a clean bowl and beaters. Keep beating until you see firm peaks. This adds fluffiness to your cheesecake.
Serving Suggestions
Presentation is important for these jars. Fresh berries make a lovely garnish. You can use strawberries, blueberries, or raspberries. Add a sprig of mint for a pop of color.
For a special touch, drizzle some chocolate sauce on top. It adds sweetness and looks amazing. Use small, clear jars to show off the layers. Cute spoons can make the dessert more fun to eat.
Variations
Flavor Infusions
You can bring a twist to your no-bake cheesecake jars with flavor infusions. Adding fruit purees is a fun way to change things up. For example, try blending strawberries or mangoes into a smooth puree. Fold this puree into your cheesecake mix. This adds color and flavor.
You can also use flavored extracts. A little almond or lemon extract can enhance the taste. Just a few drops will do. Experimenting with flavors keeps the recipe exciting and fun.
If you need gluten-free options, swap the graham cracker crumbs for gluten-free cookies. There are many tasty choices available. This way, everyone can enjoy your dessert without worry.
Dietary Adjustments
Dietary needs can change how we make desserts. If you want a vegan version, use cashew cream or coconut cream instead of cream cheese. These options still give you that creamy texture.
You can also use plant-based milk. Almond milk or oat milk works well here. These changes make your dessert vegan-friendly without losing taste.
If you’re watching sugar intake, use sugar substitutes. Look for options like stevia or monk fruit. They add sweetness without the extra calories. You can also find low-sugar cream cheese for a healthier filling.
These simple adjustments let you create a no-bake cheesecake that fits various diets while still being delicious.
Storage Info
Best Practices for Storing Cheesecake Jars
To keep your no-bake cheesecake jars fresh, store them in the refrigerator. Use an airtight container or cover them tightly with plastic wrap. This will help prevent odors from other foods from seeping in. Make sure to place the jars on a shelf, not in the door, where temperatures can change often.
To maintain their freshness, consume the jars within five days. If you want to keep them longer, freeze them.
Freezing Options
Yes, you can freeze no-bake cheesecake jars! Freezing is a great way to save leftovers. To do this, ensure the jars are tightly sealed. Wrap each jar in plastic wrap, then place them in a freezer-safe bag. Label the bag with the date to track freshness.
When you are ready to enjoy them, take the jars out of the freezer. Let them thaw in the refrigerator for several hours or overnight. This helps the texture stay smooth. Serve them chilled for the best taste.
FAQs
How long does no-bake cheesecake set?
The no-bake cheesecake needs at least 4 hours to chill. For the best results, I recommend leaving it overnight. This longer time helps the layers firm up nicely. If you can wait, it tastes even better the next day.
Can I make no-bake cheesecake jars ahead of time?
Yes! You can prepare these jars a day in advance. Store them in the fridge until you’re ready to serve. Make sure to cover the jars tightly with lids or plastic wrap. This keeps them fresh and tasty.
What is the best way to remix leftovers?
If you have leftover cheesecake jars, don’t toss them! You can layer them into a parfait. Just crumble the cheesecake and add fresh fruit. You can also use them in a shake. Blend with milk or yogurt for a sweet treat.
This blog post covered everything you need to know about no-bake cheesecake jars. We explored ingredients, step-by-step instructions, and tips to enhance flavor and texture. You can also try fun variations to suit dietary needs. Remember to store your jars properly for the best taste, and you can even freeze them for later. Enjoy making these tasty treats! They’ll impress your friends and family every time.


