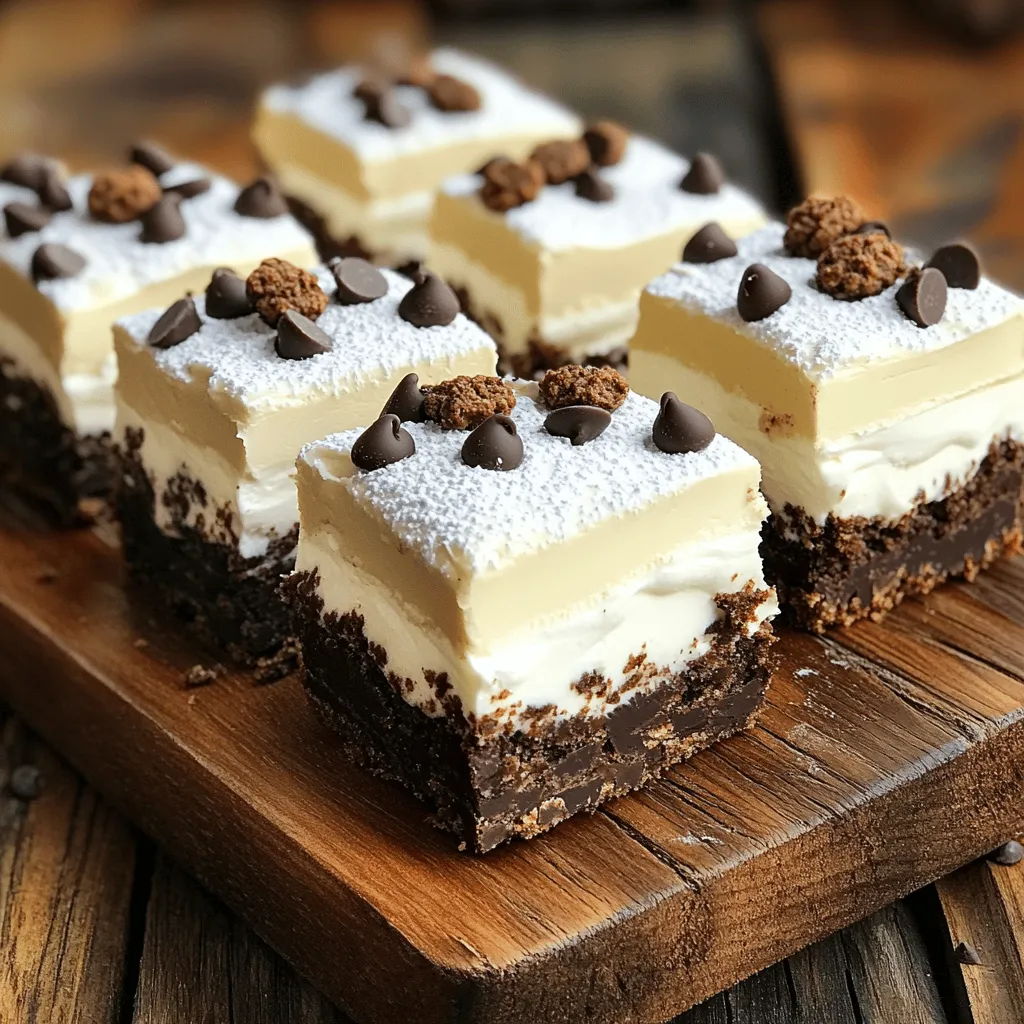
Craving a sweet treat with minimal effort? You’ll love my easy No Bake Cookies and Cream Bars! With just a handful of simple ingredients, you can create a delicious dessert that requires no baking at all. Whether you’re entertaining guests or enjoying a quiet night in, these bars are creamy, crunchy, and full of flavor. Let’s dive into this fun recipe that’s perfect for everyone!
Why I Love This Recipe
- Easy to Make: This recipe requires no baking, making it a quick and hassle-free treat.
- Creamy Texture: The combination of cream cheese and whipped topping creates a delightful creaminess that melts in your mouth.
- Chocolate Lovers Delight: With crushed cookies and mini chocolate chips, these bars are a chocoholic’s dream come true.
- Perfect for Any Occasion: These bars are great for parties, potlucks, or just a simple dessert at home.
Ingredients
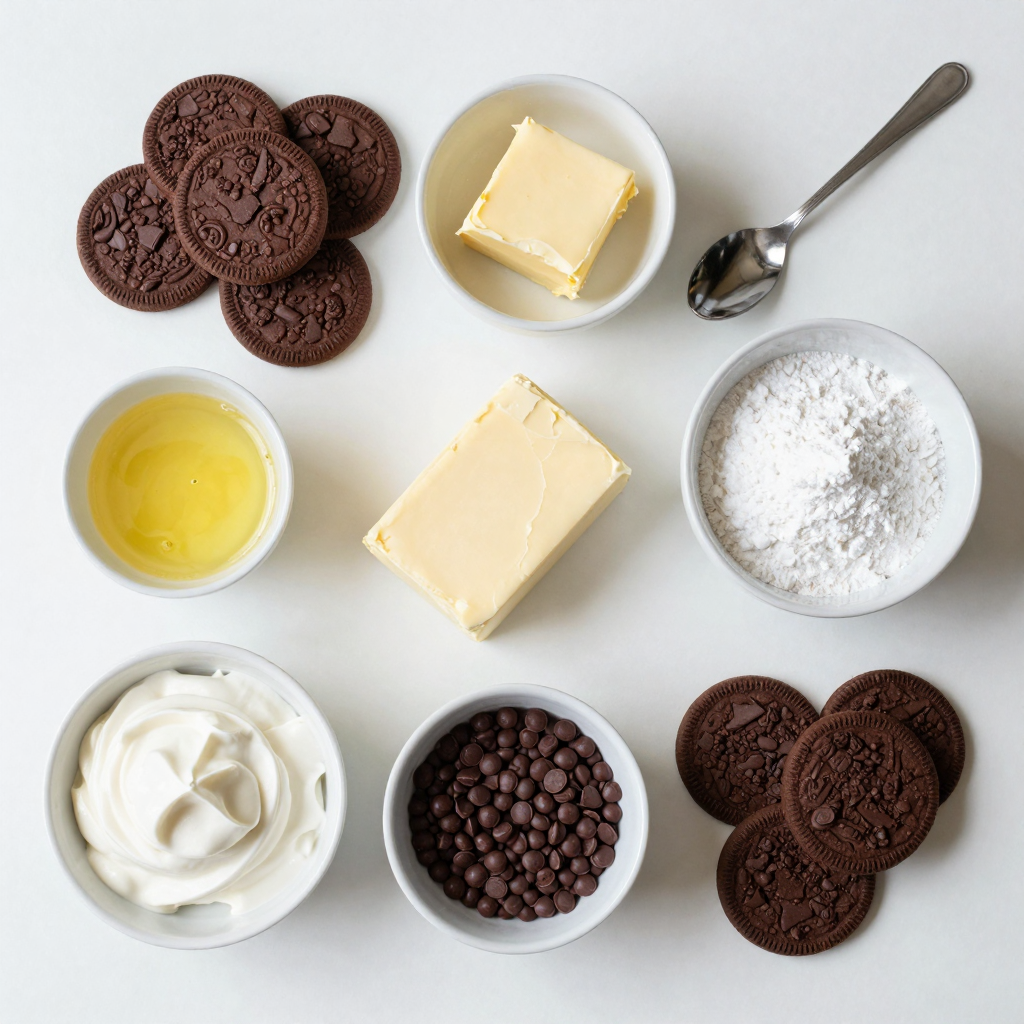
To make these no bake cookies and cream bars, you need a few simple ingredients. Here’s what you’ll gather:
– 1 ½ cups crushed chocolate sandwich cookies (like Oreos)
– ½ cup unsalted butter, melted
– 1 cup cream cheese, softened
– 1 cup powdered sugar
– 1 teaspoon vanilla extract
– 1 cup whipped topping (like Cool Whip)
– ½ cup mini chocolate chips (optional)
– Extra chocolate sandwich cookies for garnish
These ingredients blend together to create a rich, creamy filling and a crunchy base. The crushed cookies provide a great texture and flavor. The melted butter helps bind the crust. Cream cheese adds that creamy, tangy taste. Powdered sugar sweetens it up. Vanilla extract gives a nice aroma. Whipped topping makes the filling light and fluffy. If you want, add mini chocolate chips for extra chocolatey goodness. Finally, extra cookies make the bars look fancy on top.
Step-by-Step Instructions
Preparing the Base
First, grab a medium bowl. In it, combine 1 ½ cups of crushed chocolate sandwich cookies with ½ cup of melted butter. Mix until the crumbs are fully coated. This step forms a tasty base for your bars.
Forming the Crust
Next, take your cookie mixture and press it firmly into the bottom of a greased 8×8 inch baking dish. Make sure you create an even layer. Use the back of a measuring cup to ensure the texture stays smooth.
Making the Filling
Now it’s time to make the filling. In a large mixing bowl, beat together 1 cup of softened cream cheese, 1 cup of powdered sugar, and 1 teaspoon of vanilla extract until smooth. This mixture should be creamy and well combined.
Assembling the Bars
After the filling is ready, gently fold in 1 cup of whipped topping. If you want, you can also stir in ½ cup of mini chocolate chips for extra flavor. Now, spread this cream cheese mixture over your crust and smooth it out evenly.
Chilling Process
Cover the dish with plastic wrap and place it in the refrigerator. Let it chill for at least 3 hours or until set. This step helps the bars hold their shape.
Serving the Bars
Once set, remove the dish from the fridge. Cut the mixture into bars. For a nice touch, garnish the top with extra crushed chocolate cookies. Enjoy your sweet treat!
Pro Tips
- Chill Thoroughly: Ensure the bars are refrigerated for at least 3 hours to achieve the perfect set. This will make cutting and serving easier.
- Use Room Temperature Ingredients: Allow the cream cheese to soften at room temperature for smoother mixing, resulting in a creamier filling.
- Customize with Toppings: Feel free to add various toppings like crushed nuts, sprinkles, or drizzled caramel to enhance flavor and presentation.
- Storage Tips: Store leftover bars in an airtight container in the refrigerator for up to a week to maintain freshness.
Tips & Tricks
Tips for Perfect Bars
– Use room temperature cream cheese for easier mixing. Cold cream cheese can be hard to blend.
– Allow bars to chill for longer for a firmer texture. Patience can make a big difference in how they set.
Presentation Tips
– Arrange bars on a serving platter. This makes them look nice and inviting.
– Dust with powdered sugar or drizzle with chocolate sauce. These touches add elegance and extra flavor.
Common Mistakes to Avoid
– Not pressing the crust firmly enough. A loose crust can lead to messy bars.
– Overmixing the filling. This can make your bars heavy instead of light and fluffy.Enjoy making these delicious no-bake treats!
Variations
Flavor Variations
You can easily change up the flavor of these bars. One great idea is to incorporate peanut butter. Just mix in half a cup of creamy peanut butter with the cream cheese. This gives the bars a nutty twist. You can also substitute different flavored whipped toppings. Try using a vanilla, chocolate, or even strawberry whipped topping. These small changes can give a new taste to your dessert.
Toppings Variations
Toppings can add fun and texture to your bars. Add crushed nuts or sprinkles for a nice crunch. Chopped almonds or walnuts work well. You can also use colorful sprinkles to make the bars pop. For a richer flavor, use caramel drizzle in addition to chocolate. This sweet touch makes every bite even more delicious.
Cookie Variations
The crust is key to these bars, and you can mix it up! Experiment with different sandwich cookie flavors for the crust. Try using vanilla, mint, or even peanut butter cookies. Each flavor gives a unique twist to the bars.Enjoy creating your own version of this tasty treat!
Storage Info
How to Store
Keep your no-bake cookies and cream bars covered in the refrigerator. They will stay fresh for up to 5 days. If you have leftovers, just wrap them well. This way, they will taste great later.
Freezing Instructions
You can freeze these bars for up to 2 months. To freeze, cut them into pieces and place them in a safe container. When you want to enjoy them, let them thaw in the fridge before serving. This keeps the texture nice and creamy.
Tips for Maintaining Freshness
Use airtight containers to store your bars. This helps maintain their texture and flavor. If you notice any extra moisture, add a paper towel inside the container. This will help absorb it and keep your bars delicious.
FAQs
Can I make these bars without cream cheese?
Yes, you can! You can use Greek yogurt or mascarpone cheese instead. Both options give a creamy texture. Greek yogurt adds tang, while mascarpone is rich and smooth. If you want a lighter version, Greek yogurt is a great choice.
How long do the no-bake cookies and cream bars take to set?
These bars need to chill for at least three hours. This helps them firm up nicely. If you can, let them chill longer. The longer they sit, the better they set. This makes cutting them easier and cleaner.
What can I use as a substitute for whipped topping?
If you don’t have whipped topping, you can whip heavy cream. Just beat it until soft peaks form. You can also use coconut whipped cream for a dairy-free option. Both alternatives work well in this recipe.
Can I use gluten-free cookies?
Absolutely! You can use gluten-free chocolate sandwich cookies. Many brands offer tasty options that work just as well. Look for cookies labeled gluten-free and enjoy the same great taste in your bars.
This blog post guide clearly shows how to make delicious no-bake cookies and cream bars. We covered the ingredients and step-by-step instructions, from making the crust to chilling the bars. I also shared tips for perfect results and ideas for tasty variations. Remember to store any leftovers correctly to keep them fresh. I hope you feel ready to try this easy, fun dessert. Enjoy crafting your bars and experimenting with flavors!


