Introduction
There’s something undeniably enchanting about the sweet aroma of strawberries wafting through your kitchen. Imagine drizzling a luscious, homemade syrup over your favorite breakfast dishes, desserts, or even cocktails. Enter the Sweet Strawberry Bliss Syrup—a delightful concoction that elevates any dish it graces. Not only does it bring a burst of vibrant color and flavor to the table, but it also embodies the essence of summer, making it a must-have in every home kitchen.
Homemade syrups have gained immense popularity in recent years, and for good reason. Unlike store-bought options filled with preservatives and artificial flavors, crafting your syrup allows you to control the ingredients and customize the taste to your liking. The Sweet Strawberry Bliss Syrup stands out as a versatile choice, perfect for enhancing the natural sweetness of pancakes, waffles, and ice cream, or even adding a fruity twist to cocktails and beverages.
What makes this syrup truly special is its ability to capture the essence of fresh strawberries while offering a rich, indulgent flavor that is both refreshing and satisfying. Whether you’re drizzling it over a stack of pancakes on a lazy Sunday morning or mixing it into a summer cocktail for a gathering, this syrup will surely be a crowd-pleaser.
The Allure of Sweet Strawberry Bliss Syrup
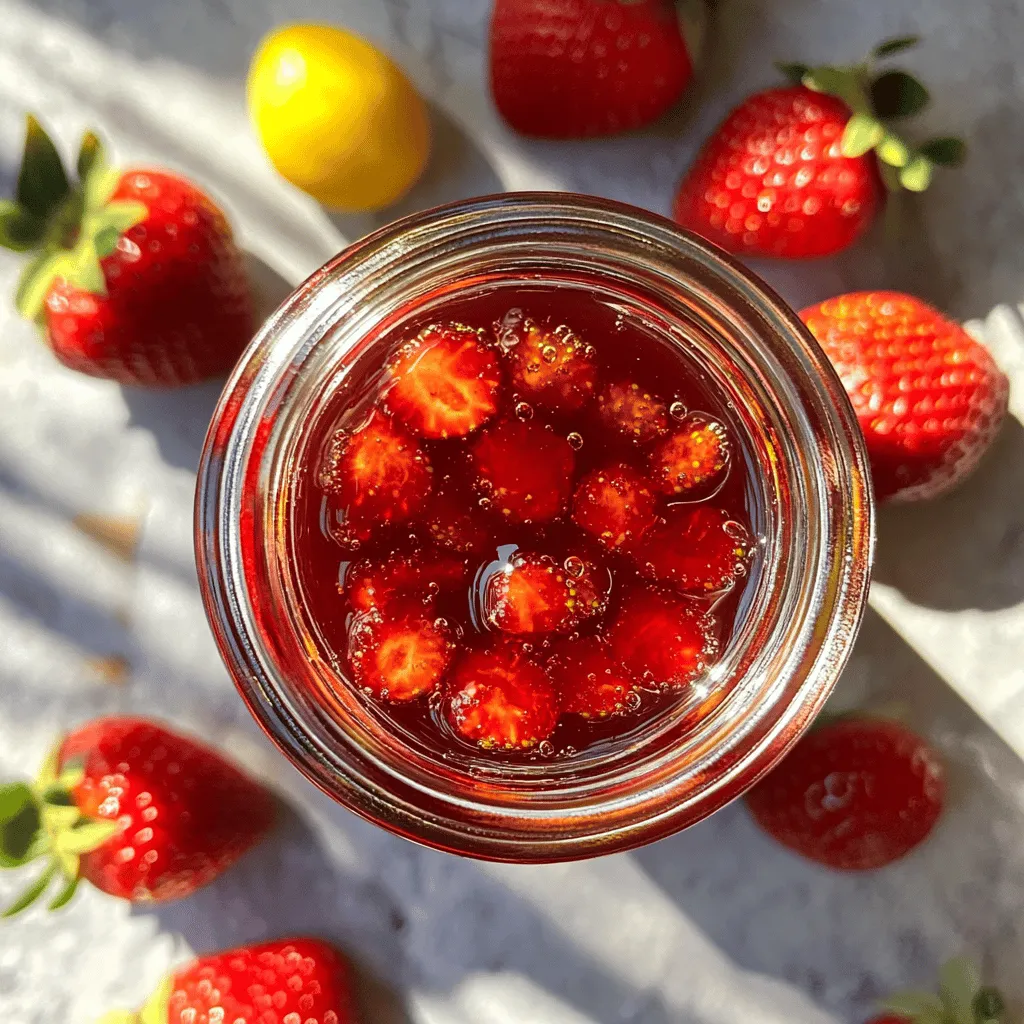
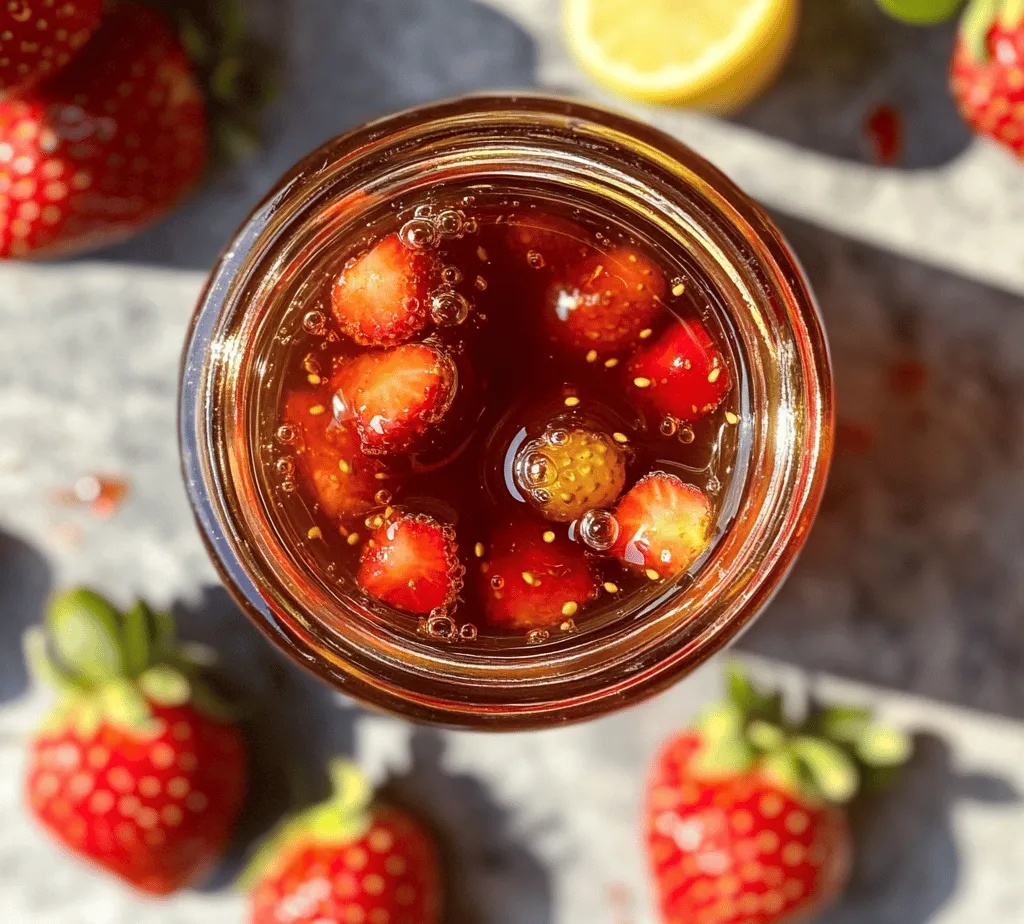
The flavor profile of Sweet Strawberry Bliss Syrup is a delightful symphony of sweetness and tang, with the natural essence of strawberries shining through. The syrup’s vibrant red hue is as appealing to the eyes as its taste is to the palate. It is the perfect balance of fruity sweetness with a hint of tartness, making it an irresistible addition to a variety of dishes.
This syrup is incredibly versatile, allowing you to use it in numerous ways. Pour it generously over pancakes and waffles for a breakfast treat that feels luxurious. It’s also a fantastic companion for ice cream, transforming a simple scoop into a gourmet dessert. Beyond breakfast and dessert, Sweet Strawberry Bliss Syrup can elevate cocktails, mocktails, and even sparkling water, adding a fresh, fruity twist that will impress your guests at any gathering.
In addition to its delightful flavor, there are health benefits associated with strawberries, making this syrup a guilt-free indulgence. Strawberries are rich in vitamin C, antioxidants, and dietary fiber, contributing to overall health and well-being. By opting for homemade syrup, you can also control the sugar content and avoid artificial additives, making your strawberry syrup not only delicious but also a healthier choice for your family.
Ingredients Breakdown
Creating the perfect Sweet Strawberry Bliss Syrup requires only a handful of simple ingredients, each playing a crucial role in achieving the ideal flavor and consistency.
1. Fresh Strawberries: The star of the show! Using fresh, ripe strawberries is vital to the quality of your syrup. Look for berries that are vibrant in color, firm to the touch, and fragrant. The peak season for strawberries is typically late spring to early summer, so keep an eye out for local farmers’ markets or grocery store specials during this time.
2. Granulated Sugar: Sugar is essential for sweetness and acts as a preservative, allowing your syrup to last longer. While granulated sugar is the classic choice, you can experiment with alternatives like coconut sugar or honey for different flavor profiles.
3. Water: Water is necessary to help dissolve the sugar and create the right consistency for your syrup. It also allows the flavors of the strawberries to meld beautifully during the cooking process.
4. Lemon Juice: A touch of lemon juice enhances the flavor of the strawberries and balances the sweetness of the sugar. The acidity from the lemon adds brightness and complexity, making the syrup more flavorful.
5. Vanilla Extract: Adding vanilla extract provides depth and aroma to the syrup, elevating its overall flavor profile. Opt for pure vanilla extract for the best results, as artificial vanilla can sometimes have an off-putting taste.
6. Salt: Just a pinch of salt can work wonders in enhancing the flavor of the syrup. It helps to round out the sweetness and brings all the flavors together.
Step-by-Step Instructions
Now that we have our ingredients ready, let’s dive into the step-by-step instructions for making your Sweet Strawberry Bliss Syrup. This process is straightforward and rewarding, transforming simple ingredients into a delightful syrup.
Preparing the Strawberries
The first step in your syrup-making journey is to prepare the strawberries. Start by hulling the berries—removing the green leafy tops and any white parts at the base. Rinse the strawberries gently under cold water to remove any dirt or impurities. Once cleaned, slice the strawberries in half or into quarters, depending on your texture preference. The smaller the pieces, the more juice they will release during cooking.
Combining Ingredients
In a medium saucepan, combine the prepared strawberries, granulated sugar, water, lemon juice, vanilla extract, and salt. When mixing, be sure to distribute the sugar evenly among the strawberries. Allow the mixture to sit for about 10-15 minutes. This resting period lets the strawberries macerate, drawing out their natural juices and starting the syrup-making process.
Cooking Process
Once the strawberries have released their juices, place the saucepan over medium heat. Stir the mixture occasionally to help the sugar dissolve completely. As the syrup heats, you’ll notice the strawberries starting to break down and release even more liquid.
Bring the mixture to a gentle simmer—this is where the magic happens. Maintain a simmer for about 10-15 minutes, allowing the syrup to reduce and thicken. The key here is to watch the texture; you want a syrup that is thick enough to coat the back of a spoon but not so thick that it resembles jam.
Mashed versus Whole
At this point, you have the option to decide on the texture of your syrup. If you prefer a smoother syrup, use a potato masher or fork to mash the strawberries gently. This will create a thicker blend that is rich and flavorful. If you prefer a more rustic syrup with chunks of fruit, you can leave the strawberries whole or lightly crushed, allowing for a delightful texture in each spoonful.
The Thickening Process
As the syrup continues to simmer, keep an eye on the consistency. You can test the thickness by dipping a spoon into the syrup—if it coats the spoon and drips off slowly, you’re on the right track. If it’s still too thin, continue to simmer for a few more minutes until you reach your desired viscosity. Once satisfied with the thickness, remove the saucepan from heat.
With these steps, you will have created a delectable Sweet Strawberry Bliss Syrup that can be used in countless ways, from breakfast treats to cocktail mixers. Stay tuned for the next part of this article, where we will explore bottling, storing, and additional tips to maximize your syrup’s potential.
Straining the Syrup: Benefits and Optional Nature of This Step
Once your Sweet Strawberry Bliss Syrup has simmered to perfection, the next step is straining it. This process may seem optional, but it carries several benefits that can enhance the final product. Straining helps to achieve a silky texture by removing the seeds and any pulp left from the strawberries, resulting in a smoother syrup that is more appealing when served. This is particularly important if you plan to drizzle it over delicate items like ice cream or panna cotta, where a refined presentation is key.
To strain your syrup, simply place a fine-mesh sieve over a bowl or measuring cup. Pour the syrup into the sieve, allowing the liquid to pass through while capturing the solids. You can use the back of a spoon or a spatula to press down on the solids, extracting every last drop of syrup. If you prefer a chunkier texture with bits of strawberry, feel free to skip this step. The choice ultimately depends on your preference and how you plan to use the syrup.
Cooling and Storing: Best Practices for Longevity
After straining, it’s essential to let your syrup cool completely. Allowing it to reach room temperature not only prevents condensation in your storage container but also enhances its flavor as it settles. Once cooled, transfer the syrup to a clean glass jar or bottle.
For optimal storage, choose containers with airtight seals to maintain freshness and prevent spoilage. The syrup can be stored in the refrigerator for up to two weeks. If you want to extend its shelf life even further, consider freezing it in ice cube trays. Once frozen, transfer the cubes to a resealable freezer bag, allowing you to use small portions as needed without thawing the entire batch.
Culinary Tips for Success
– Importance of Temperature Control During Cooking: Maintaining the right temperature while cooking your syrup is crucial. Too high of a heat can cause the sugar to caramelize, leading to an undesirable burnt taste. Aim for a gentle simmer to dissolve the sugar gradually and allow the strawberries to release their juices without breaking down completely.
– Recommendations for Tools and Equipment: To achieve the best results, equip yourself with the right tools. A heavy-bottomed saucepan is ideal for even heat distribution. A potato masher or a fork will help you crush the strawberries effectively, releasing their juices. Lastly, a fine-mesh sieve or cheesecloth is essential for straining the syrup to achieve that smooth texture.
– Adjusting Sweetness: Everyone’s taste preferences vary, so feel free to adjust the sweetness of your syrup. If you find it too sweet, you can reduce the sugar by a quarter and taste as you go. Alternatively, for a sweeter syrup, increasing the sugar by a tablespoon at a time can help you reach your desired flavor.
– Flavor Variations: Don’t hesitate to experiment with flavors! Adding fresh herbs like mint or basil can introduce a delightful twist. Simply throw in a few sprigs during the simmering process, and strain them out along with the solids. You can also experiment with spices like cinnamon or vanilla extract for an aromatic syrup that complements various dishes.
Nutritional Information
Understanding the nutritional profile of your Sweet Strawberry Bliss Syrup can enhance your culinary experience. Strawberries are not only delicious but also packed with vitamins and antioxidants. They are an excellent source of vitamin C, manganese, folate, and potassium, promoting overall health and wellness.
In terms of caloric content, a tablespoon of homemade strawberry syrup typically contains around 50 calories, depending on the sugar quantity used. When portioning out your syrup, it’s wise to keep serving sizes in mind, as a little goes a long way in enhancing flavors.
For those seeking healthier alternatives, consider using natural sweeteners like honey, maple syrup, or agave nectar. These options can provide the desired sweetness while also offering different flavor profiles and potentially improved health benefits.
Creative Uses for Sweet Strawberry Bliss Syrup
– Serving Suggestions for Breakfast Items: This syrup shines at breakfast. Drizzle it over pancakes, waffles, or French toast for a delicious start to your day. You can also mix it into yogurt or oatmeal for a fruity spin.
– Incorporation into Desserts Beyond Pancakes: The versatility of the Sweet Strawberry Bliss Syrup does not end at breakfast. Use it as a topping for cakes, cheesecakes, or even ice cream. It can serve as a delightful layer in trifles and parfaits, adding both flavor and visual appeal.
– Mixology: The syrup can be a standout ingredient in cocktails and mocktails. Add it to sparkling water for a refreshing drink or mix it with vodka and a splash of lemonade for a summery cocktail. The syrup’s vibrant flavor pairs beautifully with many spirits.
– Creative Crafts: Homemade strawberry syrup can also make charming gifts. Fill small bottles with the syrup and decorate with ribbons for a thoughtful present. Consider pairing them with pancake mixes or homemade ice cream kits for a complete gift experience.
Storage and Shelf Life
To ensure your Sweet Strawberry Bliss Syrup maintains its freshness, proper storage is key. As mentioned earlier, keep it in an airtight container in the refrigerator, where it will last for about two weeks. To identify spoilage, look for any off-smells, discoloration, or mold. If any of these signs are present, it’s best to discard the syrup.
If you want to keep your syrup for longer, freezing is an excellent option. Pour the syrup into ice cube trays and freeze. Once frozen, transfer the cubes to a resealable plastic bag. This way, you can take out a single cube whenever you need a burst of strawberry flavor without thawing the entire batch.
Conclusion
In conclusion, Sweet Strawberry Bliss Syrup is not just a condiment; it’s a versatile ingredient that can elevate a variety of dishes. From breakfast to dessert and even cocktails, its uses are limited only by your imagination. Experimentation in the kitchen can lead to delightful discoveries, and creating your own syrup is a rewarding culinary adventure.
Whether you’re drizzling it over pancakes, mixing it into cocktails, or gifting it to loved ones, this syrup is sure to impress. So gather your ingredients, follow the steps, and enjoy the process of crafting a homemade delicacy that brings the taste of summer to your table year-round. Embrace your creativity and savor the sweetness of homemade strawberry syrup – the possibilities are endless!