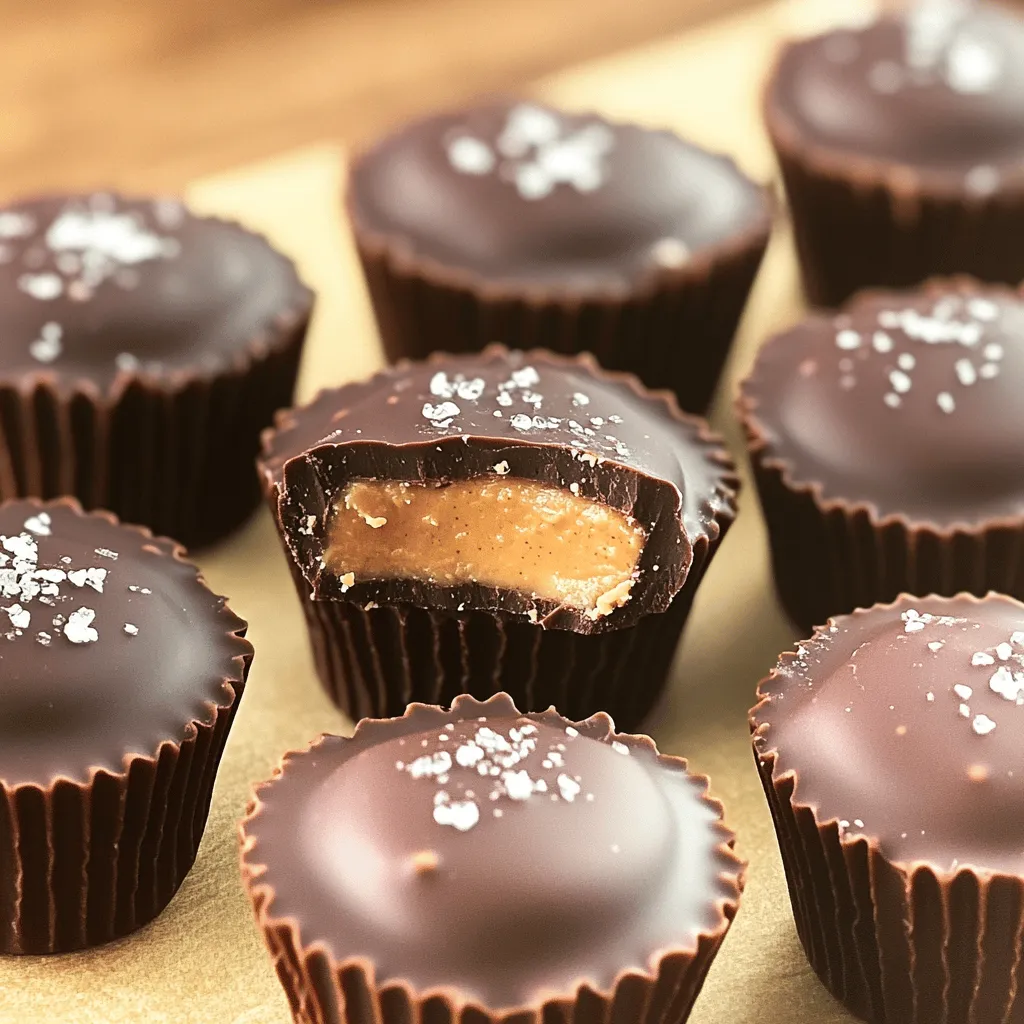
Craving a sweet treat that’s both delicious and plant-based? You’ll love these Vegan Chocolate Peanut Butter Cups! With rich dark chocolate and creamy peanut butter, this indulgence satisfies every sweet tooth. In this guide, I’ll walk you through simple steps, ingredient tips, and tasty variations to create these irresistible cups. No complicated methods here—just fun and easy ways to enjoy guilt-free snacking. Let’s dive in!
Why I Love This Recipe
- Decadent Flavor: These vegan chocolate peanut butter cups combine rich chocolate with creamy peanut butter for an irresistible treat.
- Easy to Make: The recipe comes together quickly and requires minimal ingredients, making it perfect for any skill level.
- Customizable: You can easily adjust the sweetness or add additional ingredients like nuts or coconut for a personalized touch.
- Healthy Indulgence: Using natural ingredients like peanut butter and maple syrup, these cups offer a guilt-free dessert option.
Ingredients
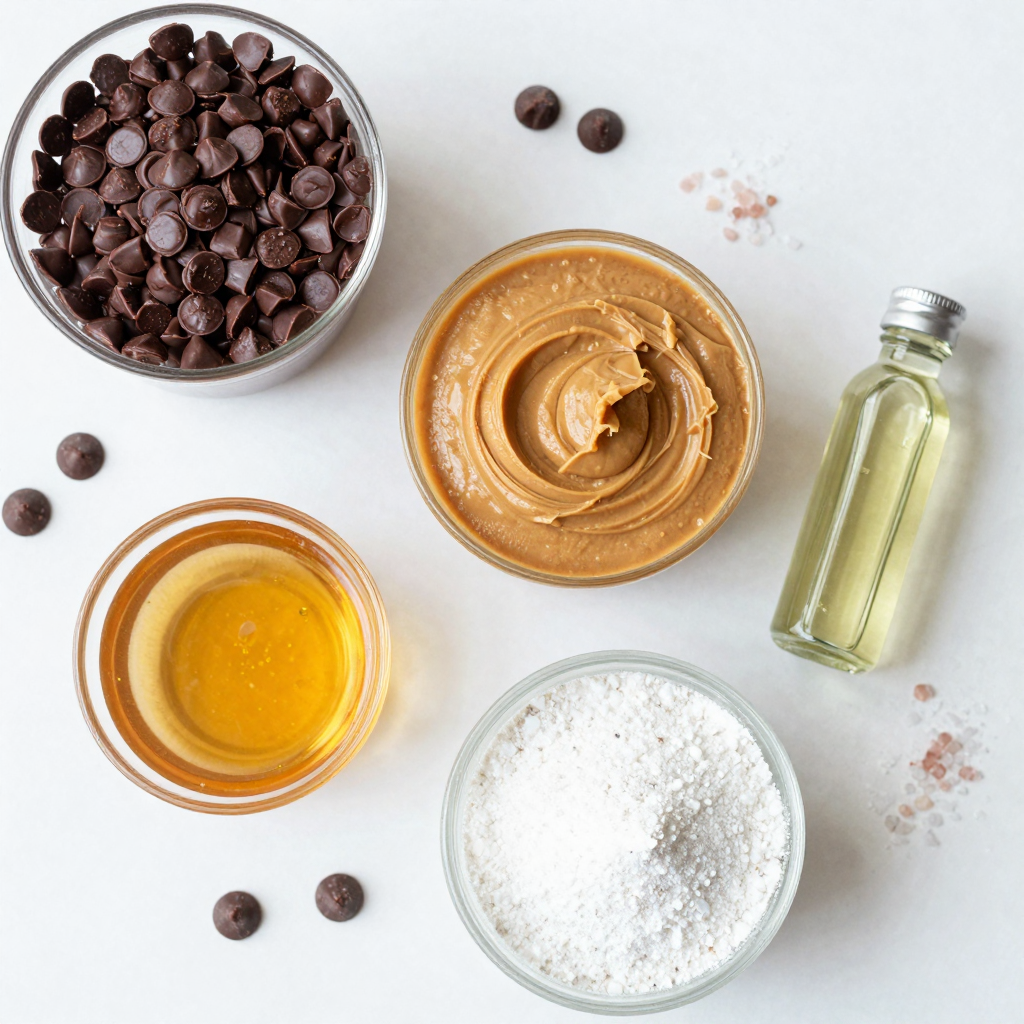
Detailed Ingredient List
– Dark Vegan Chocolate Chips: These make the rich outer layer. Choose a brand with no milk or dairy.
– Natural Peanut Butter: Use smooth or crunchy for flavor. It adds creaminess to the filling.
– Maple Syrup: This sweetens the peanut butter mix. It adds a nice depth of flavor.
– Powdered Sugar: This gives the filling a nice texture and sweetness.
– Vanilla Extract: A splash of this adds warmth and richness to the filling.
– Optional Sea Salt: This enhances the taste of chocolate and peanut butter. Just a pinch is enough.
– Mini Cupcake Liners: These hold your cups and make serving easy.
These ingredients come together to create a treat that is hard to resist.
Step-by-Step Instructions
Melting the Chocolate
Start by grabbing a microwave-safe bowl. Add 1 cup of dark vegan chocolate chips. Heat in the microwave for 30 seconds. Take it out and stir. Repeat this until the chocolate is smooth. Be careful! Overheating can ruin it.
Preparing the Cupcake Liners
Next, line a mini muffin tin with your cupcake liners. This step is key. The liners hold the cups and help with easy removal later.
Creating the Chocolate Base
Take a spoon or a brush. Dip it into the melted chocolate. Coat the bottom of each liner with about 1 teaspoon of chocolate. Make sure it’s even. This layer gives your cups a great base. Place the tray in the freezer for 10 minutes to set.
Making the Peanut Butter Filling
In another bowl, mix together 1/2 cup of natural peanut butter, 2 tablespoons of maple syrup, 1/4 cup of powdered sugar, and 1/2 teaspoon of vanilla extract. Stir until it’s all smooth. Taste it! Adjust the sweetness if you want.
Adding the Peanut Butter Filling
Once the chocolate base has set, remove the tray from the freezer. Place 1 teaspoon of the peanut butter mixture on top of each chocolate layer. Smooth it gently. This is where the magic starts!
Topping with Chocolate
Now, pour another teaspoon of the melted chocolate over each peanut butter filling. Make sure to cover it all. Spread it evenly so no peanut butter is left showing.
Setting the Cups
Put the muffin tray back into the freezer. Let it sit for another 15 to 20 minutes. This step is crucial for the cups to set properly.
Serving Suggestions
When they are fully set, take the chocolate peanut butter cups out of the muffin tin. If you like, sprinkle a little sea salt on top for extra flavor. Enjoy your homemade vegan chocolate peanut butter cups straight from the fridge or let them sit for a few minutes before eating.
Pro Tips
- Use Quality Chocolate: Opt for high-quality dark vegan chocolate chips for the best flavor and texture. The chocolate is the star of this recipe!
- Chill Between Layers: Make sure to chill the chocolate base before adding the peanut butter filling. This helps the layers stay distinct and prevents them from mixing.
- Customize Sweetness: Feel free to adjust the amount of maple syrup and powdered sugar in the peanut butter filling to suit your taste preferences.
- Storage Tips: Store the peanut butter cups in the fridge for a firmer texture, or at room temperature for a softer bite. They can also be frozen for longer storage!
Tips & Tricks
How to Avoid Overheating Chocolate
To melt chocolate, use a microwave-safe bowl. Heat in short bursts of 30 seconds. Stir after each burst. This helps the heat spread evenly. If you see tiny lumps, keep stirring. The chocolate will melt fully without burning. Overheating can make it thick and unusable.
Best Practices for an Even Chocolate Layer
When you coat the liners, use a teaspoon of melted chocolate for each. Spread it evenly across the bottom. You want a nice, smooth layer. If the layer is thin, it might break easily. After coating, place the tin in the freezer for 10 minutes. This helps it set well before adding the filling.
Adjusting Sweetness to Your Preference
Taste is key when making the filling. Start with the amount of maple syrup in the recipe. Mix it well, then taste. If you want it sweeter, add more syrup or powdered sugar. Remember, the chocolate adds some sweetness too. Find the balance that works for you.
How to Store Leftovers
Store your peanut butter cups in an airtight container. Keep them in the fridge for up to a week. For longer storage, freeze them. Just wrap each cup in plastic wrap and place them in a freezer bag. When you want one, let it thaw in the fridge. Enjoy them cold or let them sit out a bit!
Variations
Gluten-Free Options
You can easily make these cups gluten-free. Most dark vegan chocolate chips are gluten-free. Just check the label to be sure. Use pure maple syrup, as it is also gluten-free. Your peanut butter should be free from additives. This way, you can enjoy these treats without worry.
Sugar-Free Alternatives
If you want a sugar-free treat, you can swap maple syrup and powdered sugar. Use sugar-free maple syrup or your favorite sugar substitute. Be careful to choose a sweetener that works well in recipes. This change keeps the taste delicious while cutting out sugar.
Flavor Enhancements
Add a twist to your cups by mixing in some spices. A dash of cinnamon or a sprinkle of cayenne can add warmth. You can also try flavor extracts like almond or peppermint. Just a few drops can change the taste. Experiment to find your favorite flavor.
Different Nut Butters
Feel free to switch up the nut butter. Almond butter, cashew butter, or sunflower seed butter work great too. Each nut butter brings its own taste and texture. This allows you to create a new flavor profile each time.
Storage Info
Recommended Storage Methods
To keep your vegan chocolate peanut butter cups fresh, store them in an airtight container. Line the container with parchment paper to avoid sticking. Place a layer of cups in the container, then add another layer of parchment. Continue stacking until all cups are stored. This method prevents them from sticking together.
Shelf Life of Vegan Chocolate Peanut Butter Cups
When stored properly, these cups last about one week in the fridge. You can also keep them at room temperature for two to three days. However, the fridge helps maintain their creamy texture and flavors. If you notice any changes in smell or texture, it’s best to discard them.
Freezing Tips for Long-Term Storage
If you want to save some for later, freezing is a great option. Place the cups in a single layer on a baking tray and freeze for about one hour. Once frozen, transfer them to a freezer-safe container or bag. They can last up to three months in the freezer. When ready to eat, let them thaw in the fridge for a few hours before enjoying.
FAQs
What is the best brand of vegan chocolate?
When choosing vegan chocolate, I recommend brands like Enjoy Life or Hu. They have rich flavors and smooth textures. Look for dark chocolate with at least 60% cocoa for the best taste. Always check the label to ensure it is dairy-free.
Can I use a different nut butter?
Yes, you can! Almond butter, cashew butter, or sunflower seed butter all work well. Each nut butter gives a unique taste. Try different nut butters to find your favorite flavor. Just keep the measurements the same as the peanut butter.
How can I make these peanut butter cups healthier?
To make them healthier, use less sugar in the filling. You can also swap the chocolate chips for unsweetened cocoa powder mixed with coconut oil. Adding chia seeds or ground flaxseed to the peanut butter mix can boost nutrition.
Can I use larger cupcake liners for a bigger treat?
Absolutely! Larger cupcake liners will work fine. Just remember to adjust the amount of chocolate and peanut butter filling. This way, you’ll have bigger and more satisfying cups to enjoy.
How do I know when the chocolate is completely set?
You can check if the chocolate is set by gently pressing on it. If it feels firm and does not stick to your finger, it is ready. You can also place the cups in the fridge to speed up the process. The chocolate should be shiny and smooth when fully set.
These vegan chocolate peanut butter cups are easy and fun to make. We covered ingredients like dark chocolate, peanut butter, and maple syrup. I shared step-by-step instructions to help you create them perfectly every time. Tips helped you avoid common mistakes, ensuring the best flavor and texture. Remember, you can try fun variations to match your taste. Store them well for a long shelf life. Enjoy your tasty treats with friends or family! Make these peanut butter cups a regular snack in your home.


