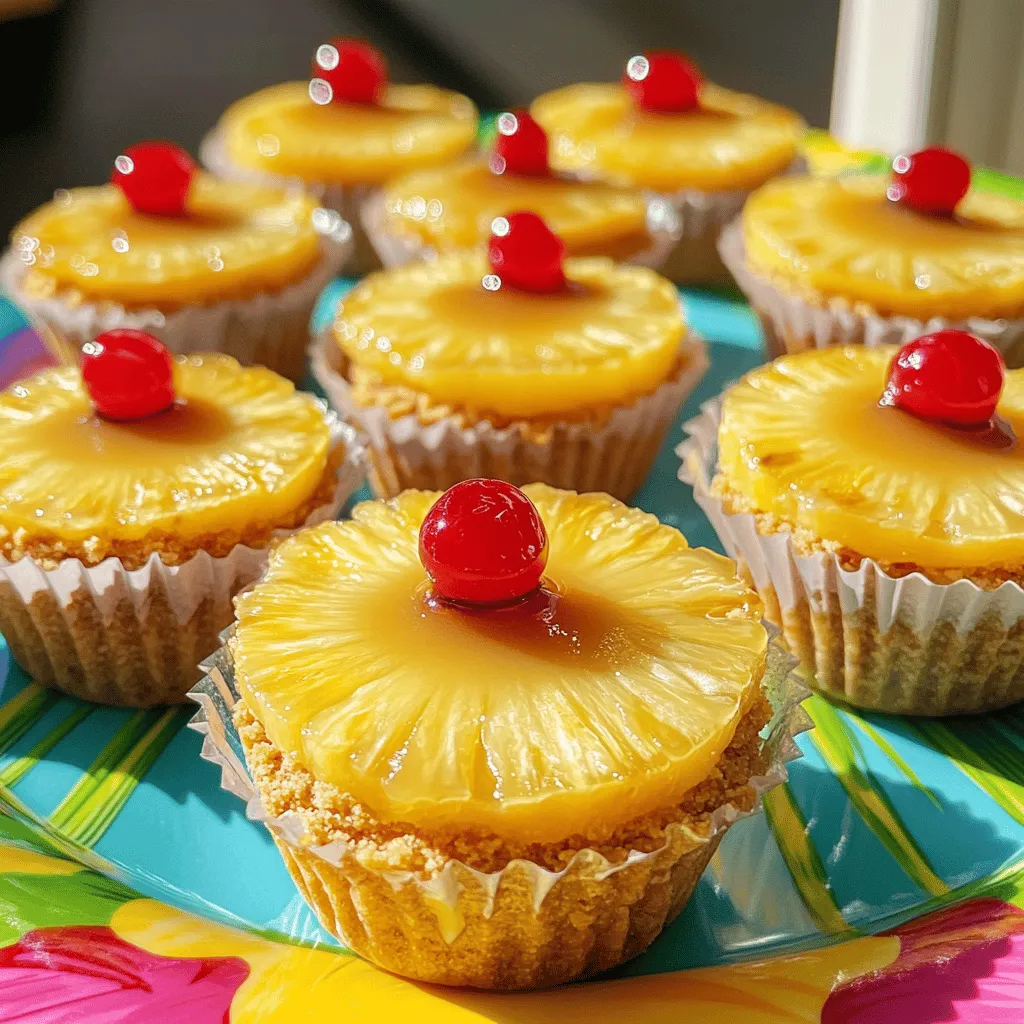
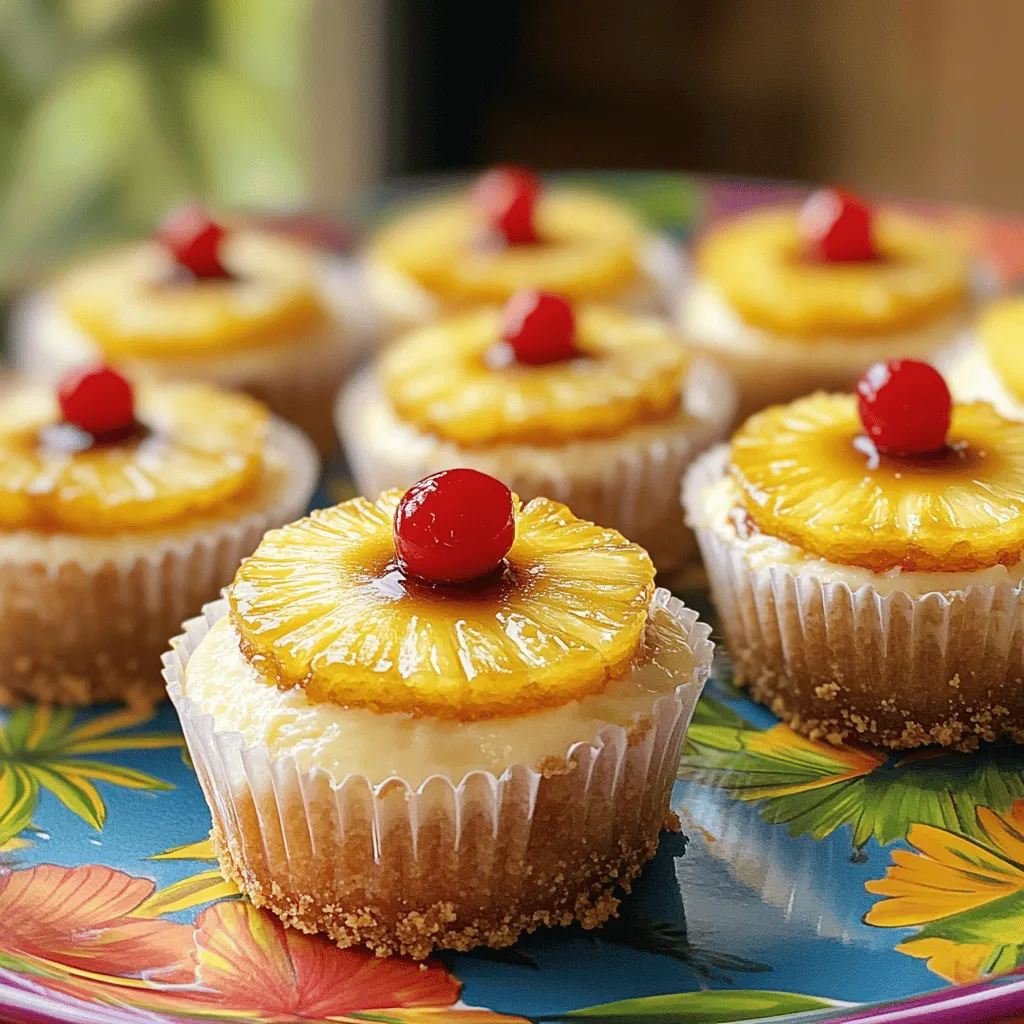
Are you ready to indulge in a delightful dessert? My Mini Pineapple Upside-Down Cheesecake Treats are the perfect blend of creamy and fruity goodness. With a simple recipe that’s easy to follow, you’ll impress your friends and family in no time. Plus, this bite-sized treat is ideal for parties or a cozy night in. Get ready to whip up a delicious dessert that’s sure to brighten your day!
Ingredients
List of Ingredients
- 1 can (8 oz) pineapple slices in juice, drained
- 1/3 cup brown sugar
- 2 tablespoons butter, melted
- 1 cup graham cracker crumbs
- 1/4 cup granulated sugar
- 1/4 cup unsalted butter, melted (for crust)
- 1 (8 oz) package cream cheese, softened
- 1/2 cup powdered sugar
- 1 teaspoon vanilla extract
- 1 cup heavy whipping cream
- Maraschino cherries for topping (optional)
For this delightful mini pineapple upside-down cheesecake treat, fresh pineapple slices work best, but canned slices save time. The sugar types add depth. Brown sugar brings a rich, caramel flavor, while granulated sugar sweetens the cheesecake filling. Use unsalted butter for the crust to control saltiness.
The cream cheese should be soft for easy mixing. I recommend using heavy whipping cream to achieve a light and fluffy texture. You can also top these treats with maraschino cherries for a fun garnish.
Equipment Needed
- Muffin tin and paper liners
- Mixing bowls and utensils
- Whipping equipment
You’ll need a muffin tin to shape your mini cheesecakes. Paper liners help with easy removal. Mixing bowls are essential for combining ingredients. Use a hand mixer or a whisk for whipping cream until it reaches stiff peaks. This equipment helps you create the perfect treat without hassle.
Step-by-Step Instructions
Preparation of the Base
To begin, preheat your oven to 350°F (175°C). This step ensures even baking. While the oven warms up, I mix 2 tablespoons of melted butter with 1/3 cup of brown sugar in a small bowl. Stir until the mixture is smooth. This blend will give the base a sweet, rich flavor.
Next, spoon about 1 tablespoon of the butter-sugar mixture into the bottom of each muffin liner. It should coat the bottom well. Place a pineapple slice on top of each mixture, pressing gently to make sure it sticks.
Assembling the Cheesecake
Now it’s time to create the crust. In a medium bowl, combine 1 cup of graham cracker crumbs, 1/4 cup of granulated sugar, and 1/4 cup of melted butter. Mix until crumbly. This will form a delicious base for your mini cheesecakes.
Evenly divide the crumb mixture over the pineapple slices. Press down gently to form a firm crust layer.
For the cheesecake filling, beat 1 package of softened cream cheese with 1/2 cup of powdered sugar and 1 teaspoon of vanilla extract in another bowl. Mix until creamy and smooth.
In a separate bowl, whip 1 cup of heavy cream until stiff peaks form. Gently fold the whipped cream into the cream cheese mixture. This step adds air, giving the filling a light texture.
Spoon the cheesecake mixture on top of each crust in the muffin tin, filling to the edge.
Chilling and Serving
Chilling is crucial for setting the cheesecake. Place the muffin tin in the refrigerator for at least 3 hours or until the cheesecakes are firm.
When ready to serve, carefully remove the cheesecakes from the muffin tin. You can garnish with a maraschino cherry on top of each treat for a pop of color.
For an added twist, arrange the mini cheesecakes on a dessert platter. Drizzle with extra pineapple juice or a light caramel sauce. This enhances the visual appeal and taste, making your treat even more delightful!
Tips & Tricks
Baking Tips
- To ensure even cooking, place the muffin tin in the center of the oven.
- Rotate the tin halfway through baking for consistent heat.
- Adjust sweetness by tasting the cream cheese mixture. Add powdered sugar if you want it sweeter.
Cheesecake Texture
- For perfect creaminess, let the cream cheese soften at room temperature.
- Avoid overmixing after adding whipped cream. This keeps the cheesecake light and fluffy.
Serving Tips
- Get creative with garnishes! Use fresh pineapple or a sprinkle of toasted coconut.
- Enhance aesthetic appeal by drizzling caramel or chocolate sauce over the cheesecakes.

Variations
Flavor Modifications
You can change the flavor of your mini cheesecakes easily. Here are some fun ideas:
- Different Fruit Toppings: Swap the pineapple for peaches, berries, or cherries. Each fruit gives a unique taste. You can use fresh or canned fruits, depending on what you like.
- Alternative Crust Options: Instead of graham crackers, try using crushed cookies like Oreos or vanilla wafers. This can add a rich twist to the base. You can even make a nut crust with almonds or walnuts for a crunchy texture.
Dietary Adjustments
If you have dietary needs, you can still enjoy this treat:
- Gluten-Free Alternatives: Use gluten-free graham crackers or crushed nuts for the crust. These swaps let you enjoy the cheesecake without gluten.
- Low-Sugar Variations: You can cut back on sugar. Use a sugar substitute like stevia or erythritol in the cream cheese mix. This keeps the sweetness while being kinder to your diet.
Feel free to experiment with the flavors and adjustments.
Storage Info
Best Practices for Storage
To keep your Delight Mini Pineapple Upside-Down Cheesecake Treats fresh, store them in your refrigerator. Place them in an airtight container. This method prevents drying out and keeps flavors intact. You can enjoy them this way for up to five days. If you want to store them longer, freezing is a great option. Wrap each treat tightly in plastic wrap. Then place them in a freezer-safe bag. They can last for up to three months in the freezer. Just remember to thaw them in the fridge overnight before serving.
Shelf Life
For the best taste, enjoy your mini cheesecakes within five days if stored in the fridge. After that, the flavors may not be as vibrant. When frozen, they keep well for three months. Signs of spoilage include an off smell or discoloration on the top. If you see any water beads or ice crystals, it’s time to toss them. Always trust your senses; they guide you well in the kitchen!
FAQs
Common Questions About the Recipe
Can I use fresh pineapple instead of canned?
Yes, you can use fresh pineapple. Just slice it into rings. Make sure it is ripe for the best taste. Fresh pineapple adds a nice crunch.
How can I make this recipe vegan?
To make this vegan, swap cream cheese for a plant-based version. Use coconut cream instead of heavy cream. For the crust, choose vegan butter or oil.
What are the best toppings for these mini cheesecakes?
Some tasty toppings include whipped coconut cream and toasted coconut. You can also use chocolate shavings or extra pineapple chunks. Maraschino cherries add a fun touch too.
Recipe Clarifications
Can I double the recipe?
Yes, you can double it easily. Just make sure your muffin tin can hold more. You will need to adjust the baking time if you use a larger pan.
What if I don’t have graham cracker crumbs?
If you lack graham cracker crumbs, use crushed cookies or nuts. You can even use oats mixed with some sugar. Just make sure it forms a crumbly texture.
Serving Suggestions
Best occasions for serving this dessert
These mini cheesecakes are perfect for parties, picnics, and birthdays. They also work well for family gatherings and holiday feasts. Everyone loves a sweet treat!
Pairing ideas with beverages or other dishes
Serve the cheesecakes with iced tea or lemonade for a refreshing combo. They also pair nicely with coffee or hot cocoa. For a fun twist, try them with a tropical smoothie.
This post covered how to make mini pineapple cheesecakes. We discussed the ingredients and tools you need. I shared step-by-step instructions for preparation and chilling. I also provided tips for baking and serving. You can add your own twist with variations. Finally, I covered storage practices and answered common questions.
Now you have all the tools to make a delicious dessert. Enjoy your tasty creation!


