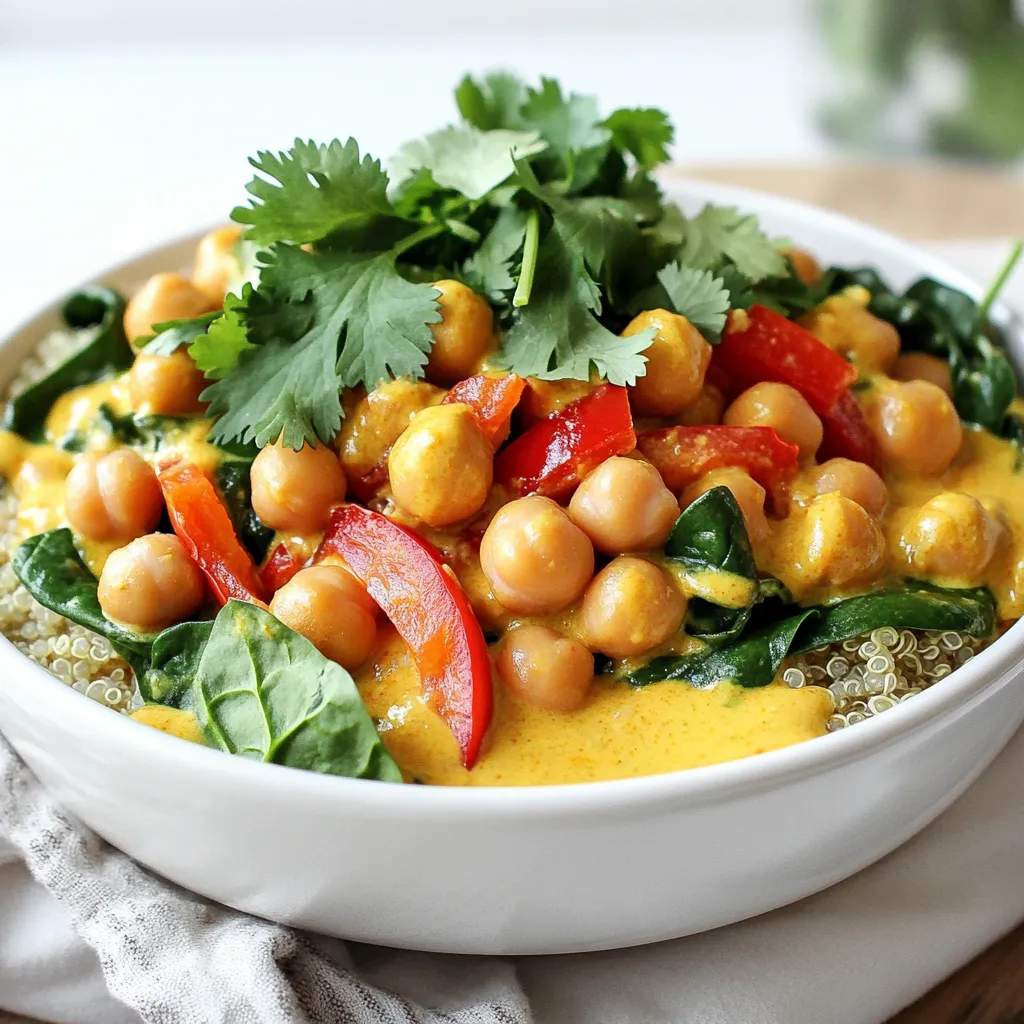
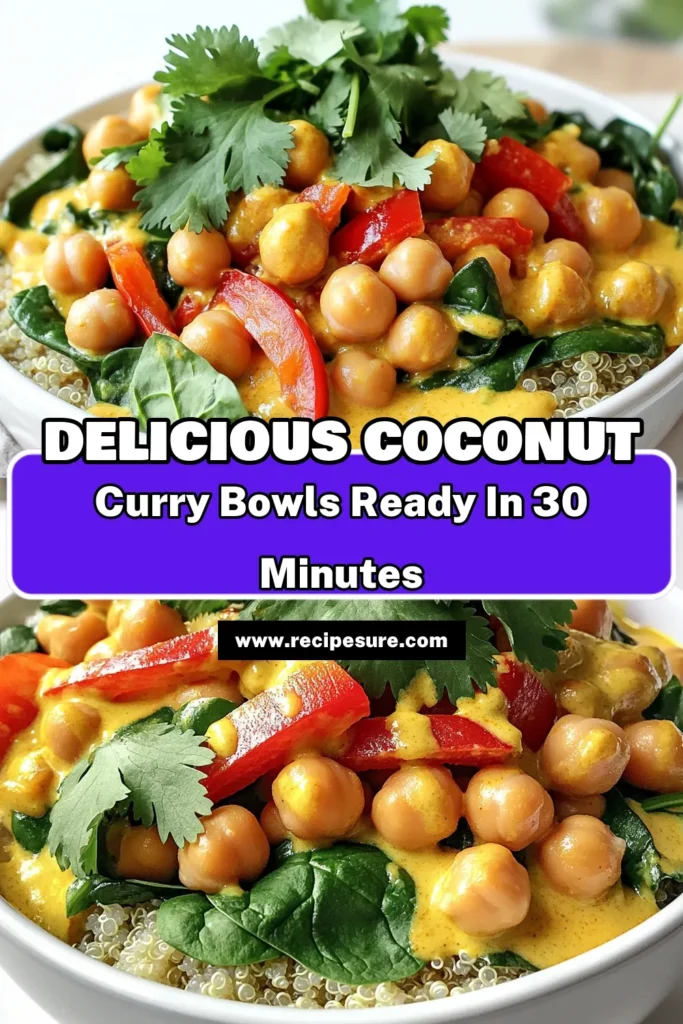
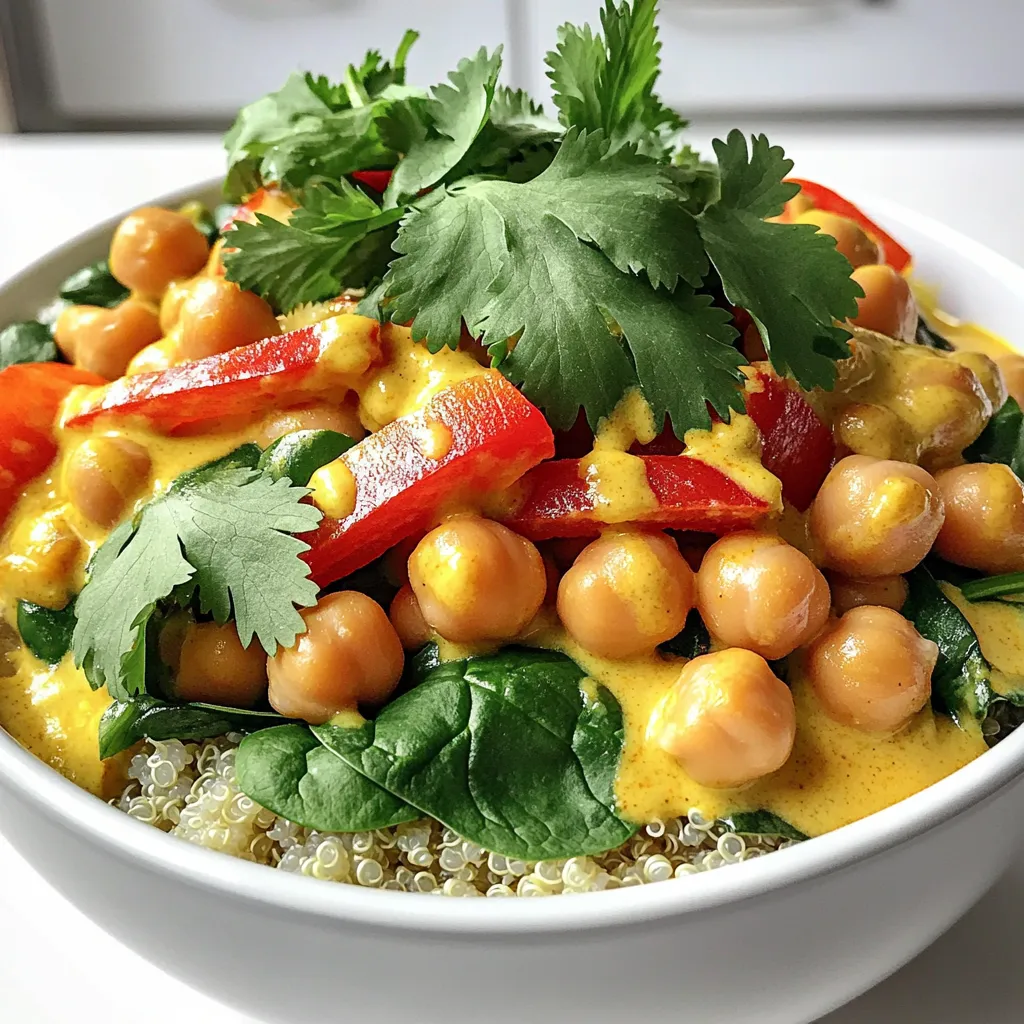
Looking for a quick and tasty meal? These Coconut Curry Chickpea Bowls are ready in just 30 minutes! Packed with flavor and nutrition, they’re perfect for busy nights or easy lunches. I’ll guide you through simple steps to create this satisfying dish. With a mix of fresh ingredients and spices, you’ll love how easy it is to make. Let’s dive into this delicious recipe and get cooking!
Ingredients
Main Ingredients for Coconut Curry Chickpea Bowls
To create your Coconut Curry Chickpea Bowls, you will need these key ingredients:
- 1 can (15 oz) chickpeas, drained and rinsed
- 1 tablespoon coconut oil
- 1 medium onion, diced
- 3 cloves garlic, minced
- 1 tablespoon fresh ginger, grated
- 1 tablespoon red curry paste
- 1 can (14 oz) coconut milk
- 1 cup vegetable broth
- 1 red bell pepper, sliced
- 1 cup fresh spinach
- 2 teaspoons soy sauce (or tamari for gluten-free)
- 1 tablespoon lime juice
- Salt to taste
- Cooked rice or quinoa (for serving)
- Fresh cilantro, for garnish
These ingredients blend to make a rich and creamy dish. The chickpeas provide protein and fiber, while the coconut milk adds creaminess. The red curry paste brings heat and depth of flavor, perfect for a quick meal.
Optional Garnishes
You can make your bowls even tastier with these garnishes:
- Fresh cilantro
- Lime wedges
- Sesame seeds
These options enhance the dish’s look and flavor. A sprinkle of cilantro adds freshness, while lime juice gives a zesty kick.
Substitutions for Dietary Preferences
If you have dietary needs, here are some swaps:
- Use cauliflower or sweet potatoes instead of chickpeas for a different texture.
- Swap coconut milk with almond or oat milk for a lighter version.
- Replace soy sauce with coconut aminos for a soy-free option.
These substitutions keep the dish delicious while catering to your needs. You can still enjoy the warm flavors of coconut curry.
Step-by-Step Instructions
Preparation Steps
- Step 1: Sautéing the onion
Start by heating coconut oil in a large skillet over medium heat. Once the oil melts, add the diced onion. Sauté it for 3 to 4 minutes. You want it to turn soft and translucent.
- Step 2: Adding garlic and ginger
Next, add the minced garlic and grated ginger to the skillet. Cook them for about one minute. You will notice a lovely aroma fill the kitchen.
Cooking the Coconut Curry
- Step 1: Incorporating curry paste
Now, stir in the red curry paste. Cook it for one more minute. This step helps bring out the flavors in the paste.
- Step 2: Combining liquids
Pour in the coconut milk and vegetable broth. Stir well to combine. Increase the heat until the mixture gently simmers.
- Step 3: Adding chickpeas and bell pepper
Add the drained chickpeas and sliced red bell pepper to the skillet. Cook them for about 10 minutes. The bell pepper should become tender during this time.
Finishing Touches
- Step 1: Wilting spinach
Toss in the fresh spinach, soy sauce, and lime juice. Stir until the spinach wilts down. This adds color and nutrients to your dish.
- Step 2: Serving suggestions
Serve the coconut curry over bowls of cooked rice or quinoa. Garnish with fresh cilantro for a burst of flavor. Enjoy the warmth and spice of your creation!
Tips & Tricks
Perfecting Flavor Profiles
To make your coconut curry taste amazing, use fresh ingredients. Fresh ginger and garlic bring strong flavors. Red curry paste adds heat and depth. Adjust the amount of curry paste based on your spice level. Taste as you go. A dash of lime juice brightens the dish. Adding soy sauce or tamari enhances umami. Don’t forget to season with salt.
Cooking Techniques for Time Efficiency
Prep your ingredients before you start cooking. Chop the onion, garlic, and ginger ahead of time. This saves you from rushing later. Use a large skillet for easy stirring. Heat the coconut oil before adding the onion. This helps the onion cook faster. Simmer the chickpeas and bell peppers together. This method saves time and makes everything tender.
Presentation Tips for Serving
Serve your coconut curry in vibrant bowls. Use colorful bowls to make the dish pop. Garnish each bowl with fresh cilantro for a fresh look. A sprinkle of sesame seeds adds crunch. A lime wedge on the side gives a nice touch. Arrange the rice or quinoa neatly under the curry. This makes your meal not only tasty but beautiful.
Variations
Ingredient Substitutions for Different Tastes
You can change ingredients to fit your taste. Try using black beans instead of chickpeas. If you want a creamier dish, add more coconut milk. Swap red bell peppers for green or yellow ones for a different taste. You can also add diced sweet potatoes for more texture and sweetness. If you want extra protein, try adding tofu or tempeh.
Spice Level Adjustments
Adjust the spice level to suit your taste. For a milder curry, use less red curry paste. You could add a pinch of sugar to balance the heat. If you love spice, add crushed red pepper flakes. You can also finish with a dash of hot sauce. Always taste as you go to find your perfect balance.
Serving Alternatives
You can serve your coconut curry chickpea bowl in many ways. Rice is a classic choice, but quinoa offers a nutty flavor and extra protein. You can even use cauliflower rice for a low-carb option. For a fun twist, serve it in a wrap or lettuce cups. Enjoy your curry with fresh herbs or crunchy nuts on top for added texture.
Storage Info
How to Store Leftovers
To keep your coconut curry chickpea bowls fresh, place them in an airtight container. Make sure to let the dish cool completely before sealing it. This helps prevent condensation. Store the container in the fridge for up to four days. Label the container with the date. This way, you won’t forget when you made it!
Reheating Tips
When you’re ready to enjoy leftovers, heat them on the stove or in the microwave. If using the stove, add a splash of vegetable broth or water to help with moisture. Heat over medium-low until warm. Stir occasionally to ensure even heating. For the microwave, cover the bowl with a microwave-safe lid. Heat in one-minute intervals, stirring in between. This keeps your meal tasty and creamy.
Freezing for Future Meals
If you want to save some for later, freezing is a great option. Allow the dish to cool completely. Then, portion it into freezer-safe bags or containers. Leave some space at the top, as the curry will expand when frozen. Label the bags with the date. You can freeze the curry for up to three months. When you’re ready to eat, thaw it overnight in the fridge. Reheat as mentioned above for a quick meal.
FAQs
How long do coconut curry chickpea bowls last in the fridge?
Coconut curry chickpea bowls can last in the fridge for about 3 to 4 days. Make sure to store them in an airtight container. This helps keep the flavors fresh. When you’re ready to eat, just reheat the bowl in the microwave or on the stove.
Can I make this recipe vegan?
Yes, this recipe is already vegan! The main ingredients, like chickpeas and coconut milk, are plant-based. Just ensure you use soy sauce or tamari for a gluten-free option. This dish is both tasty and good for those who follow a vegan diet.
What can I serve with coconut curry chickpea bowls?
You can serve coconut curry chickpea bowls with cooked rice or quinoa. Both options pair well and soak up the curry sauce. You might also add a fresh salad or some naan bread on the side. For extra flavor, try garnishing the bowl with fresh cilantro or sesame seeds.
Coconut curry chickpea bowls are simple and tasty. We explored key ingredients and how to prepare them. You learned tips to boost flavor and make meal prep easy. Plus, we discussed variations to suit your tastes. Storing leftovers will keep your meals fresh for later. With these insights, you can create your own delicious bowls. Enjoy cooking and experimenting with this nutritious dish. You’ll impress friends and family with your skills and creativity!
