-min.png)
-min.png)
-min.png)
-min.png)

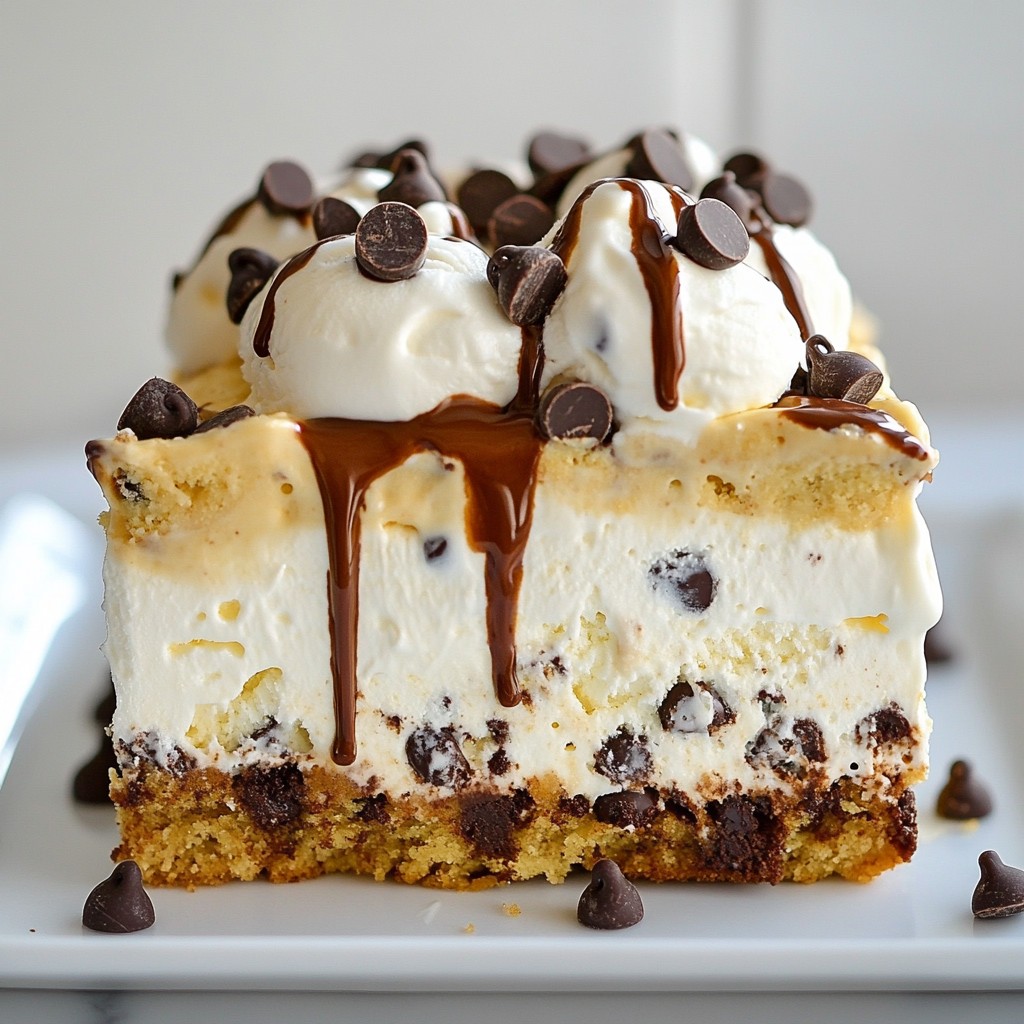
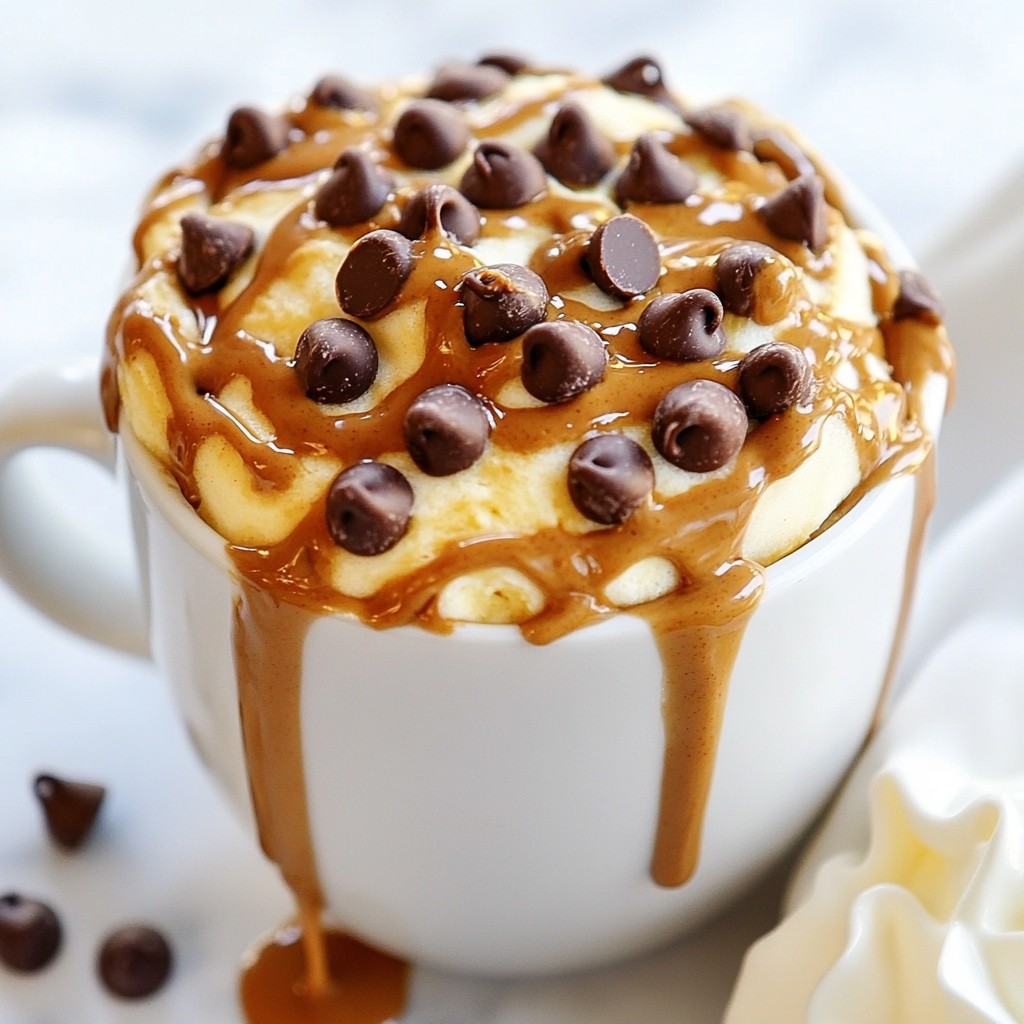
Chocolate Chip Cookie Dough Bites Irresistible Treat
Delicious no-bake cookie dough bites coated in chocolate.
Today's Special
Delicious no-bake cookie dough bites coated in chocolate.
Indulge in our collection of irresistible dessert recipes! From decadent chocolate treats to light and fruity delights, discover sweet creations that will satisfy every craving and make every occasion special!
More Desserts 
What are you craving?
Explore our delicious collection of recipes organized by category

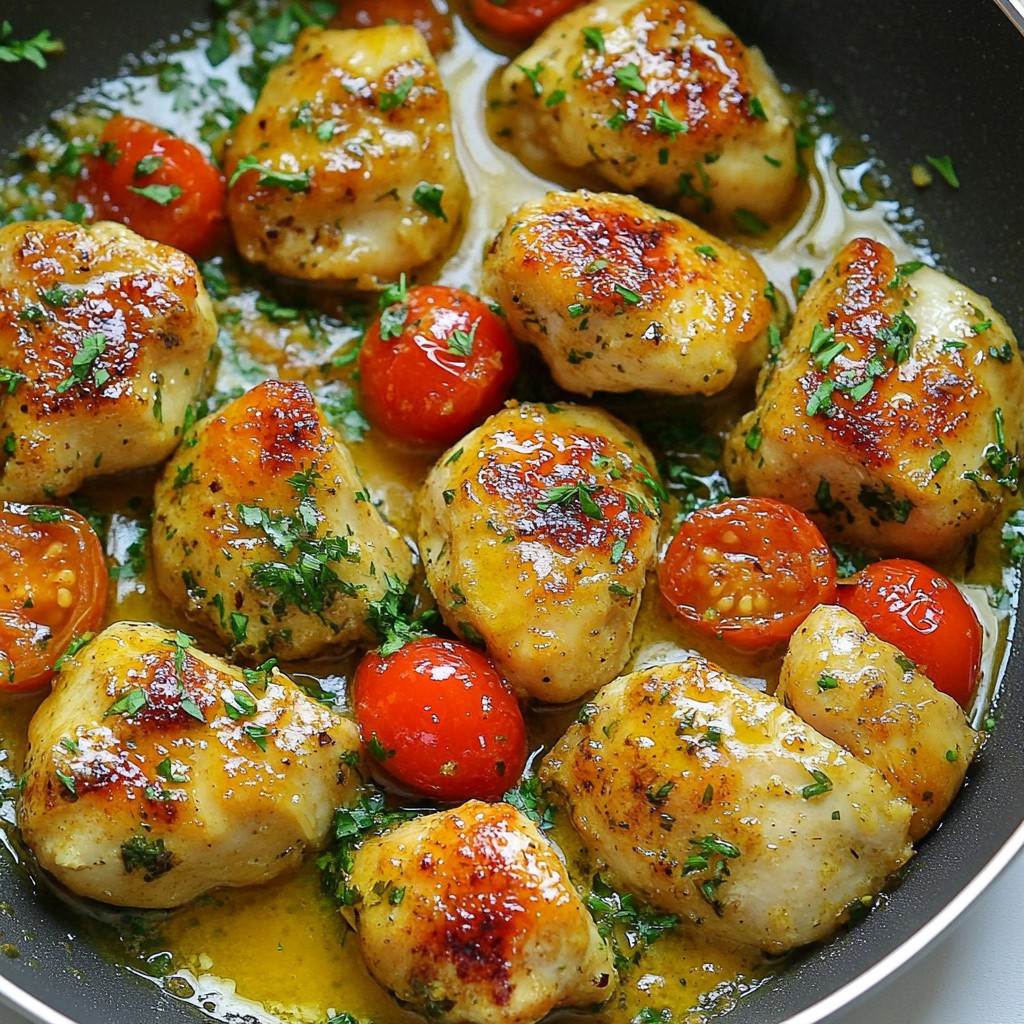
Discover delicious dinner recipes that bring joy to your table! From quick weeknight meals to impressive family feasts, explore our collection of savory dishes that make every dinner time memorable!
More Dinners


Nice to meet you!
Amelia Coleman, Founder of recipesure, brings culinary visions to life as a Recipe Developer.
Learn More About MeLooking for something?
Fresh from the kitchen
Check out our newest additions - tried, tested, and absolutely delicious!
Delicious no-bake cookie dough bites coated in chocolate.
A delightful dish featuring roasted baby potatoes and green beans, enhanced with lemon and garlic.
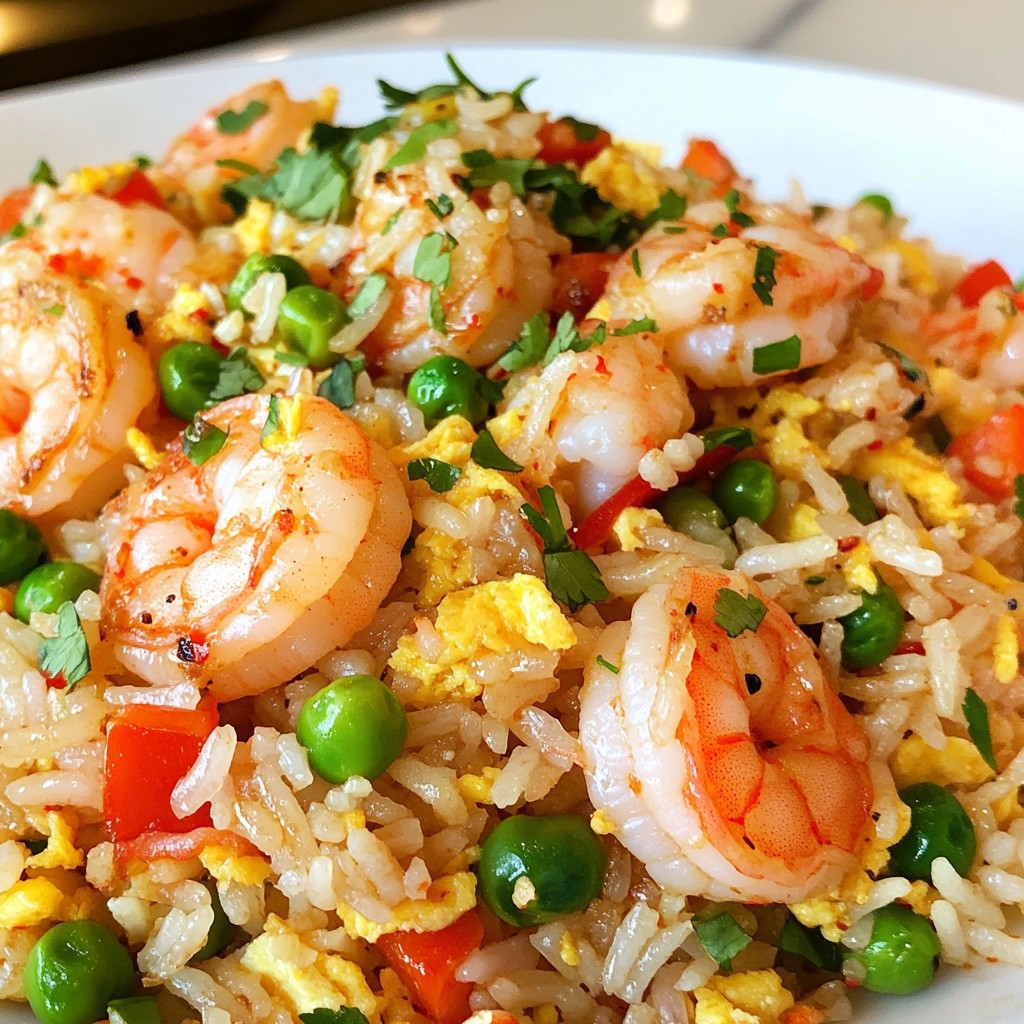
A flavorful and spicy fried rice dish featuring shrimp and a mix of vegetables.
Deliciously moist muffins infused with pumpkin and warm spices, perfect for fall.
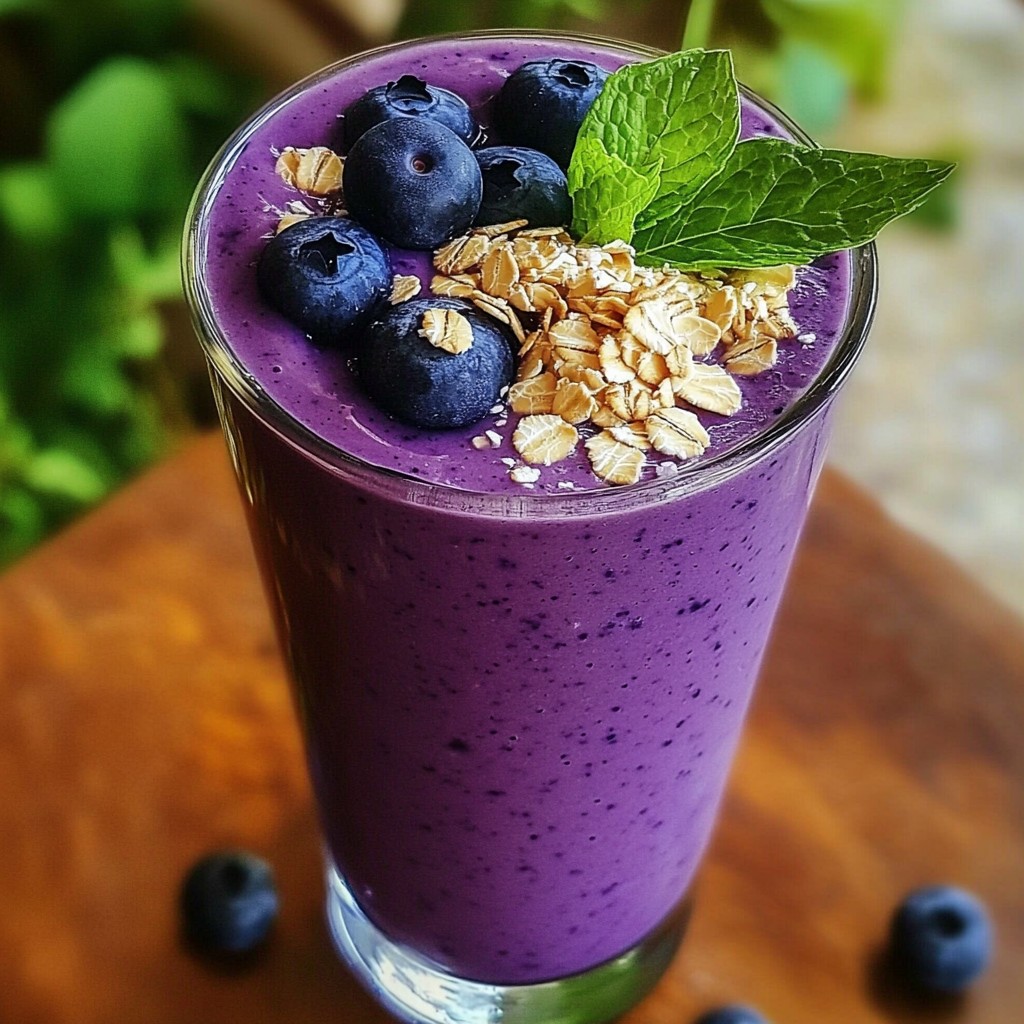
A delicious and nutritious smoothie made with bananas, blueberries, oats, and almond milk.
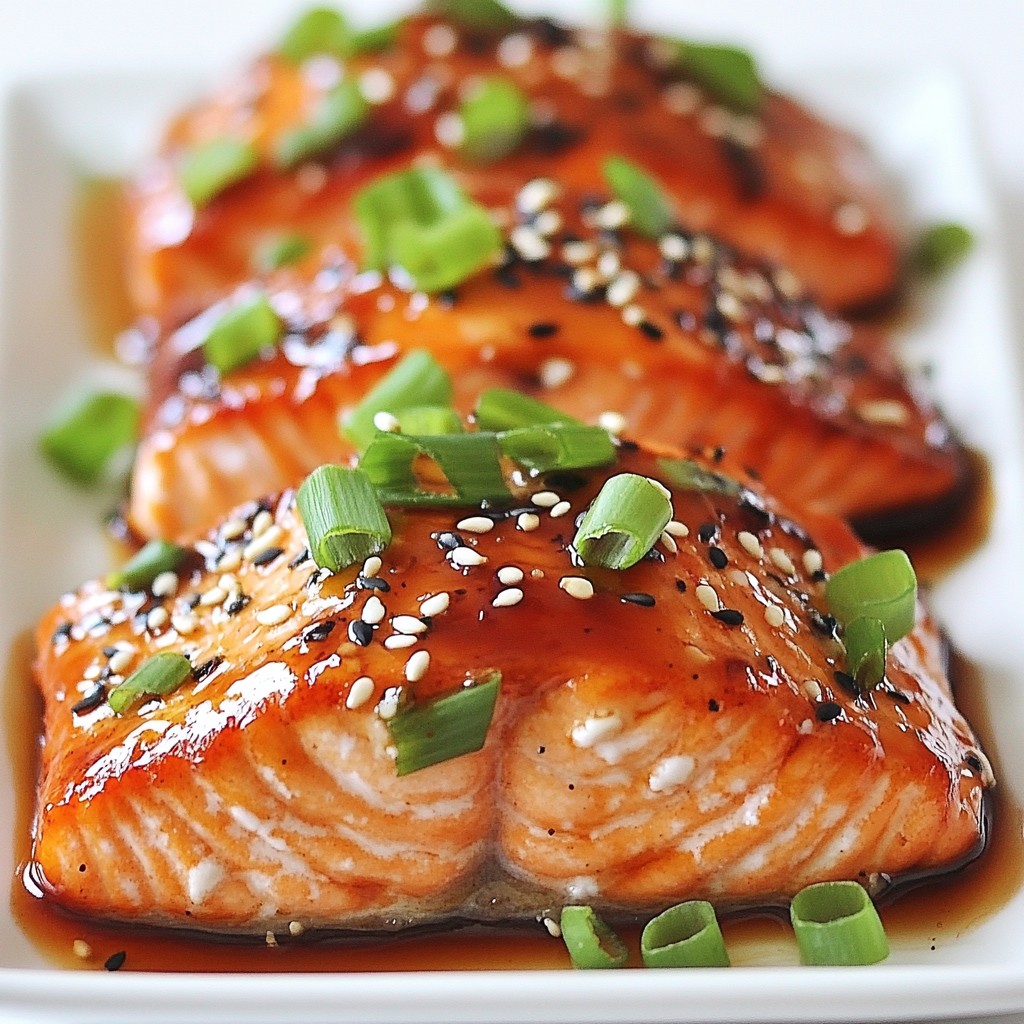
A deliciously sweet and spicy salmon dish glazed with honey and Sriracha.