Cheesy Cauliflower Au Gratin Flavorful Comfort Dish
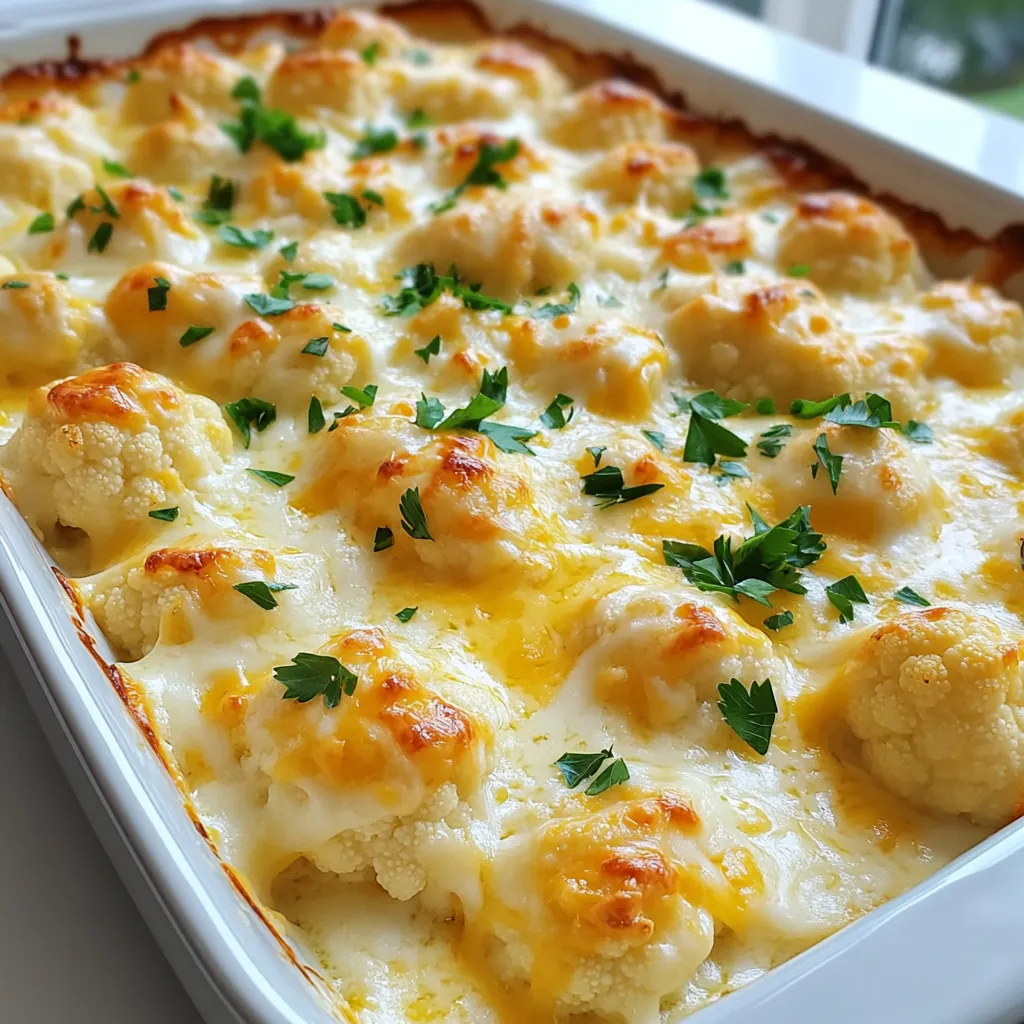
Looking for a comforting dish that excites your taste buds? Cheesy Cauliflower Au Gratin is your answer! With its creamy

Looking for a comforting dish that excites your taste buds? Cheesy Cauliflower Au Gratin is your answer! With its creamy
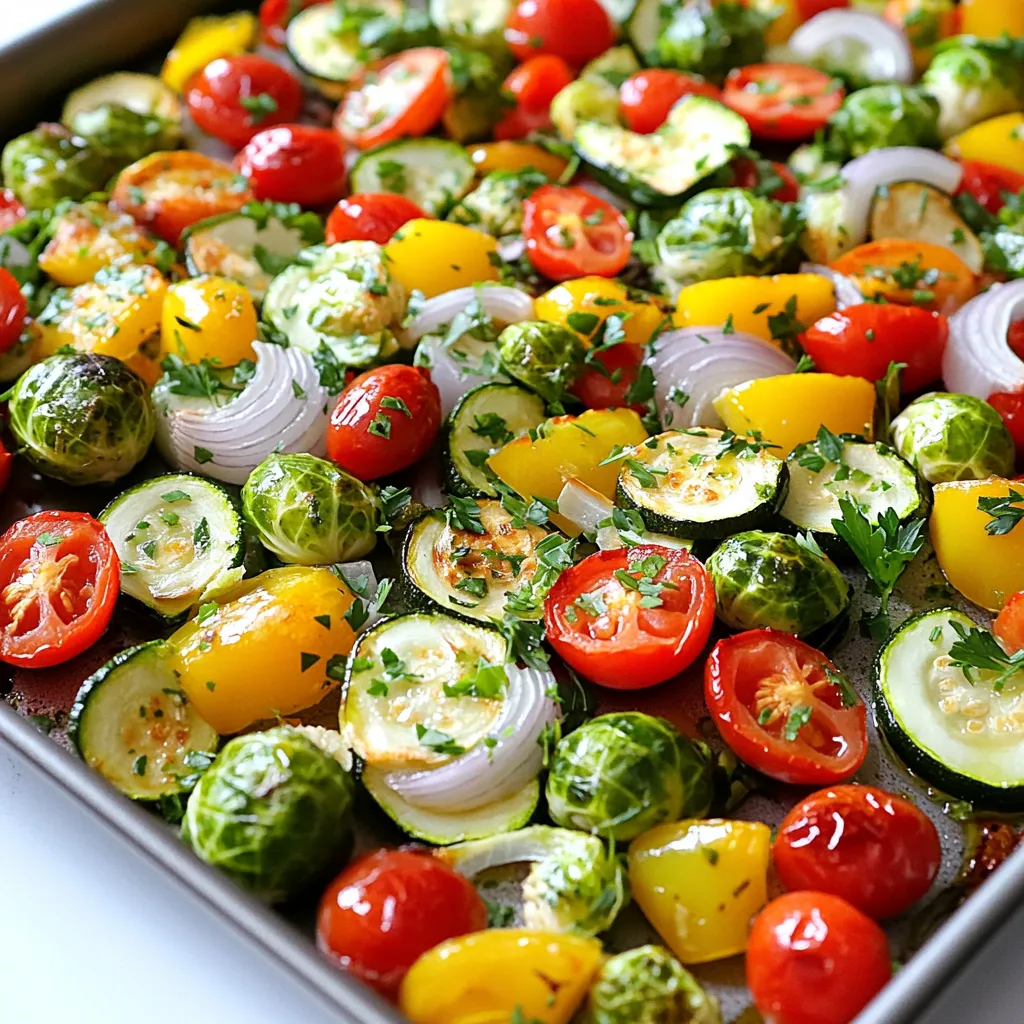
If you want a simple, delicious way to enjoy veggies, look no further! This Sheet Pan Herb Roasted Veggie Medley
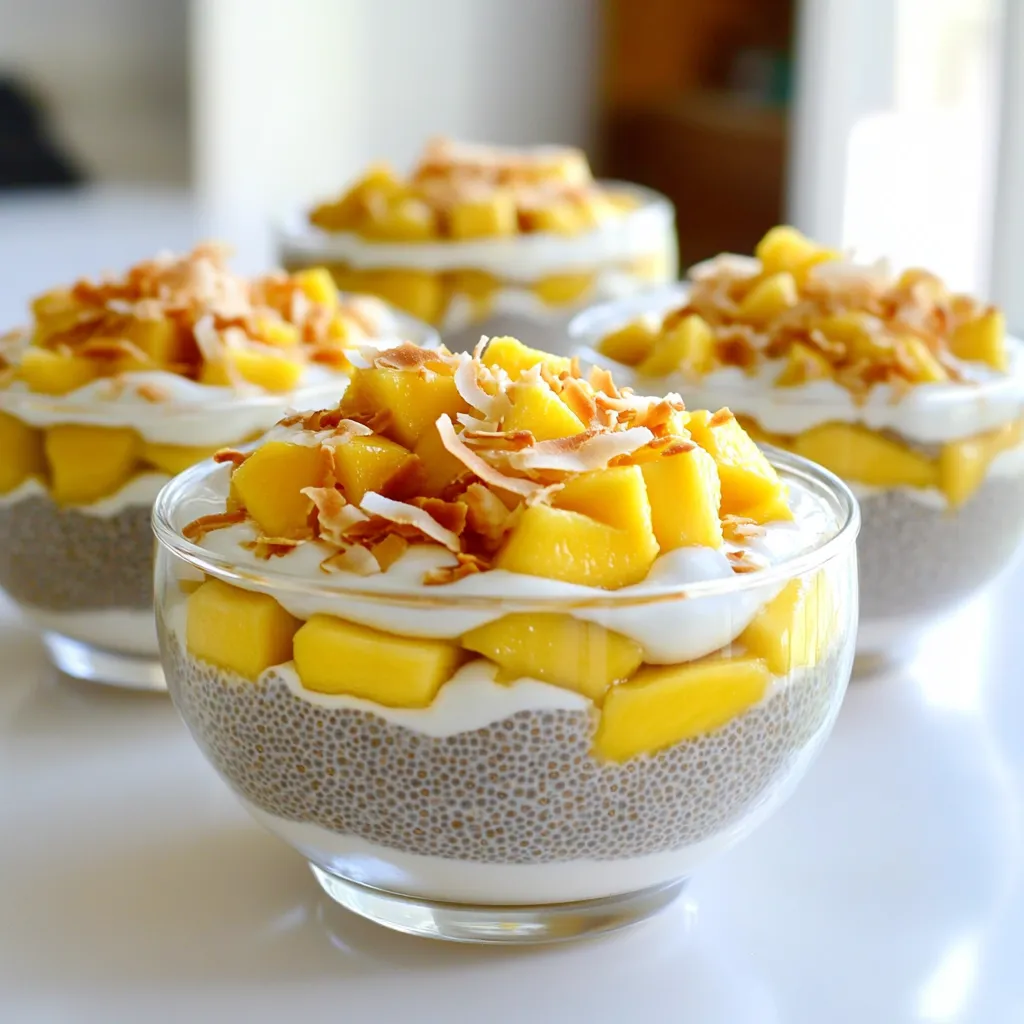
Looking for a quick and healthy treat? Mango Coconut Chia Pudding is your answer! This delightful dessert combines creamy coconut

Get ready to treat yourself with my Maple Cinnamon Roasted Pecans. This snack is a perfect mix of sweet and
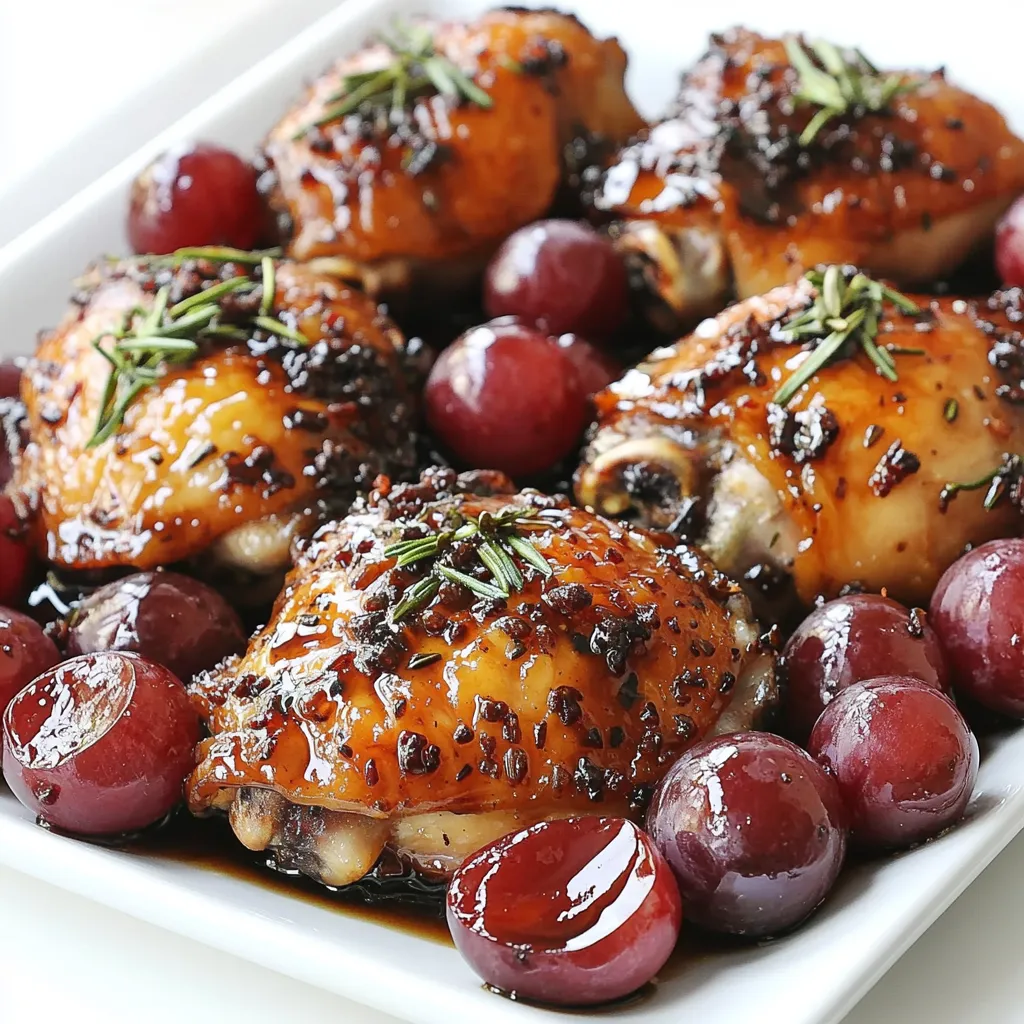
Looking for a quick, tasty meal? Try my Sheet-Pan Balsamic Rosemary Chicken and Grapes! This recipe combines juicy chicken thighs
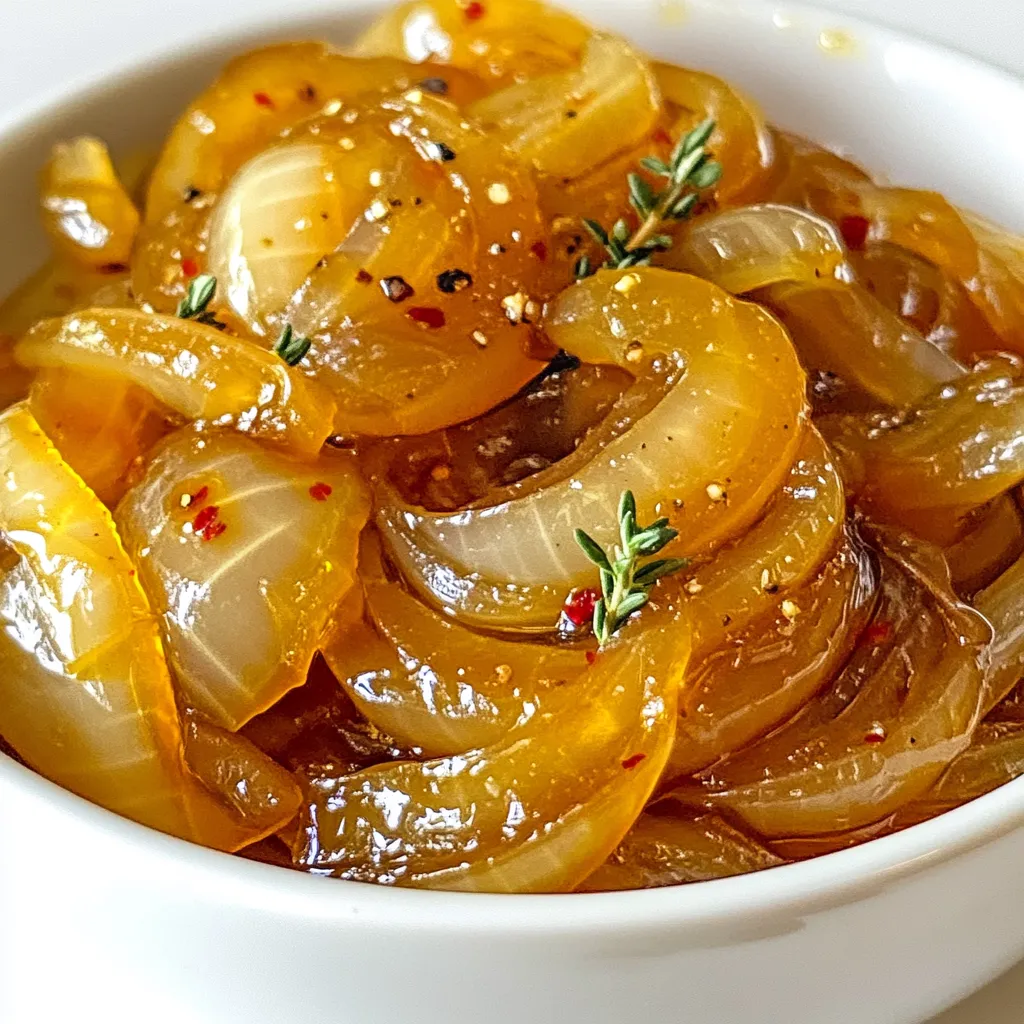
Welcome to the world of flavor with my Slow Cooker Maple Glazed Caramelized Onions! If you love sweet, rich, and
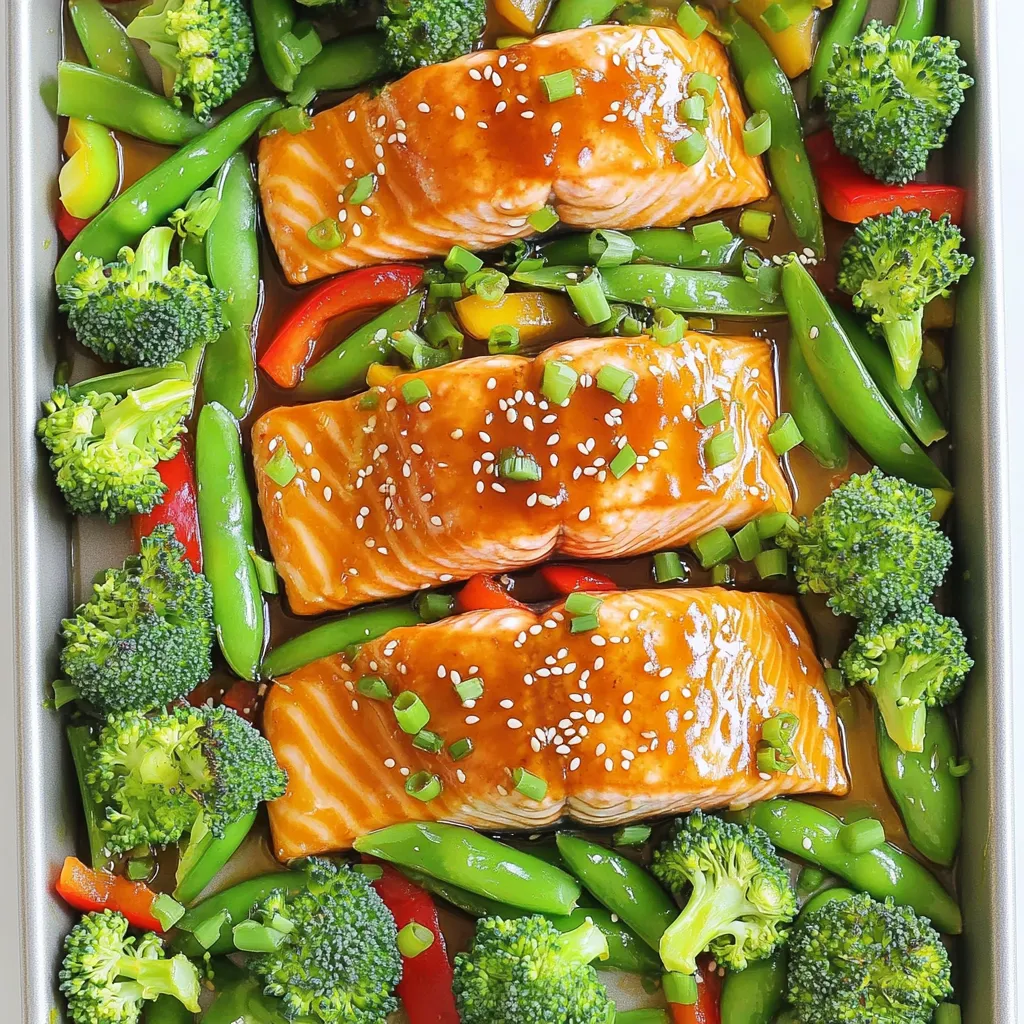
If you want a quick and tasty dinner, this Sheet-Pan Miso Glazed Salmon and Veggies Delight is for you! With
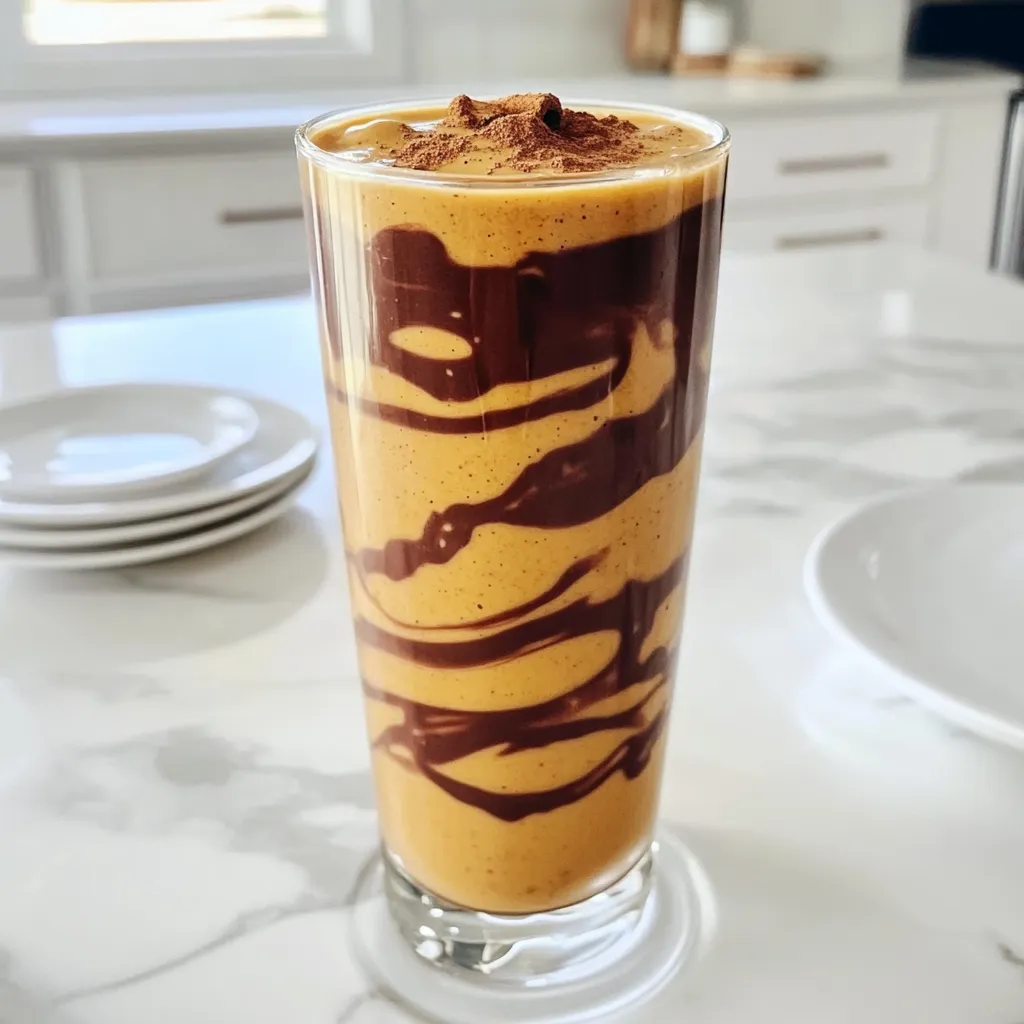
Looking for a tasty and healthy treat? You’re in for a delight with my Chocolate Peanut Butter Pumpkin Protein Smoothie
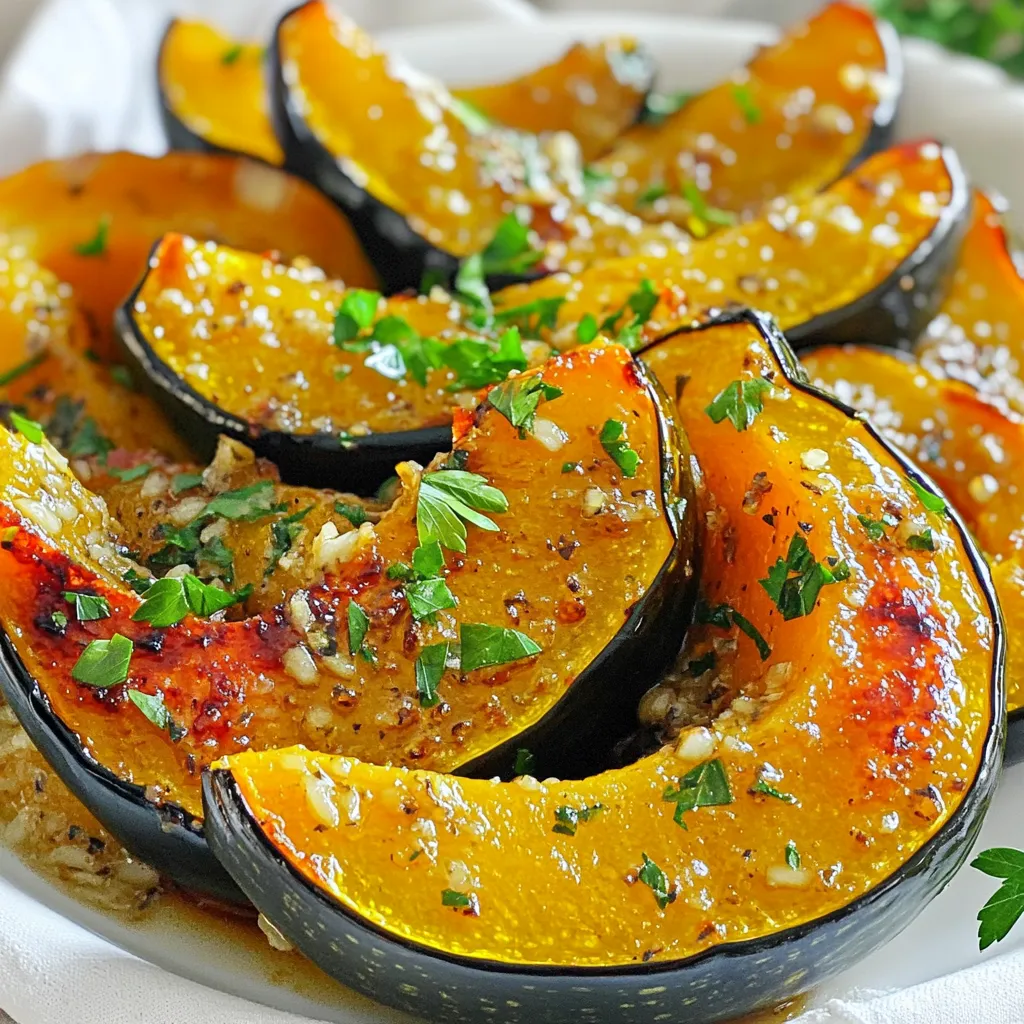
If you crave a dish that’s both easy and delicious, you’ll love Garlic Herb Roasted Acorn Squash Wedges. This simple
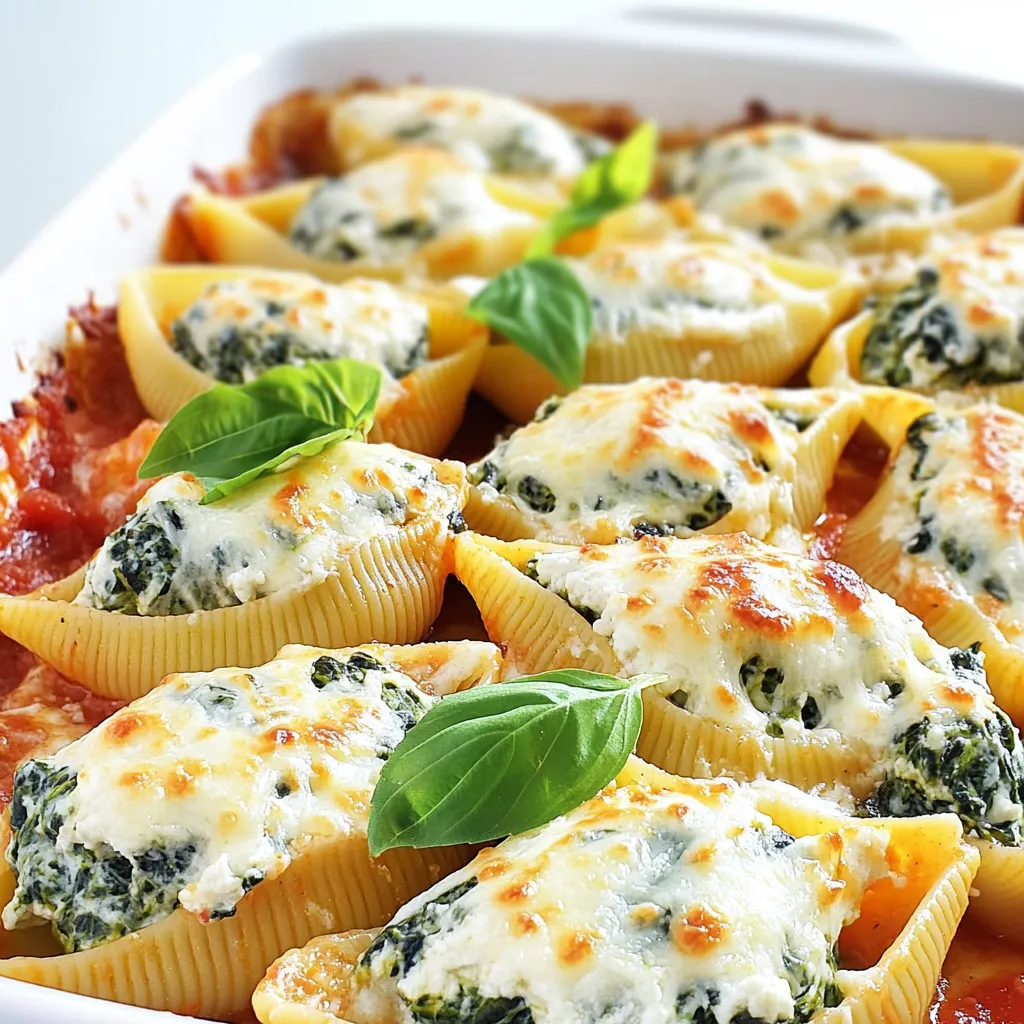
Welcome to the world of creamy spinach ricotta stuffed shells! This dish is not just a meal; it’s a tasty