
Garlic Butter Steak & Potato Foil Packs Easy Meal
Looking for an easy and tasty meal? Garlic Butter Steak & Potato Foil Packs are your solution! This dish combines

Looking for an easy and tasty meal? Garlic Butter Steak & Potato Foil Packs are your solution! This dish combines
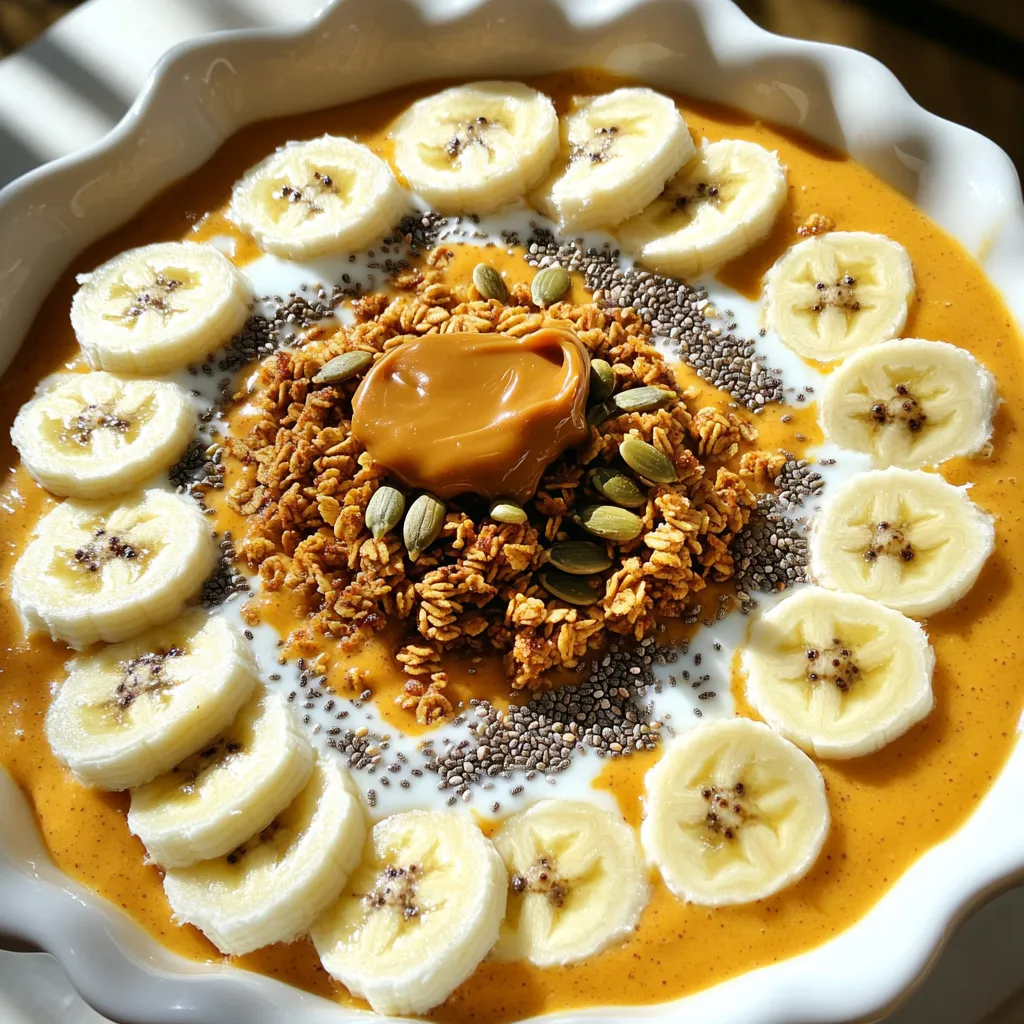
Fall is here, and what better way to celebrate than with a pumpkin pie smoothie bowl? This tasty treat is
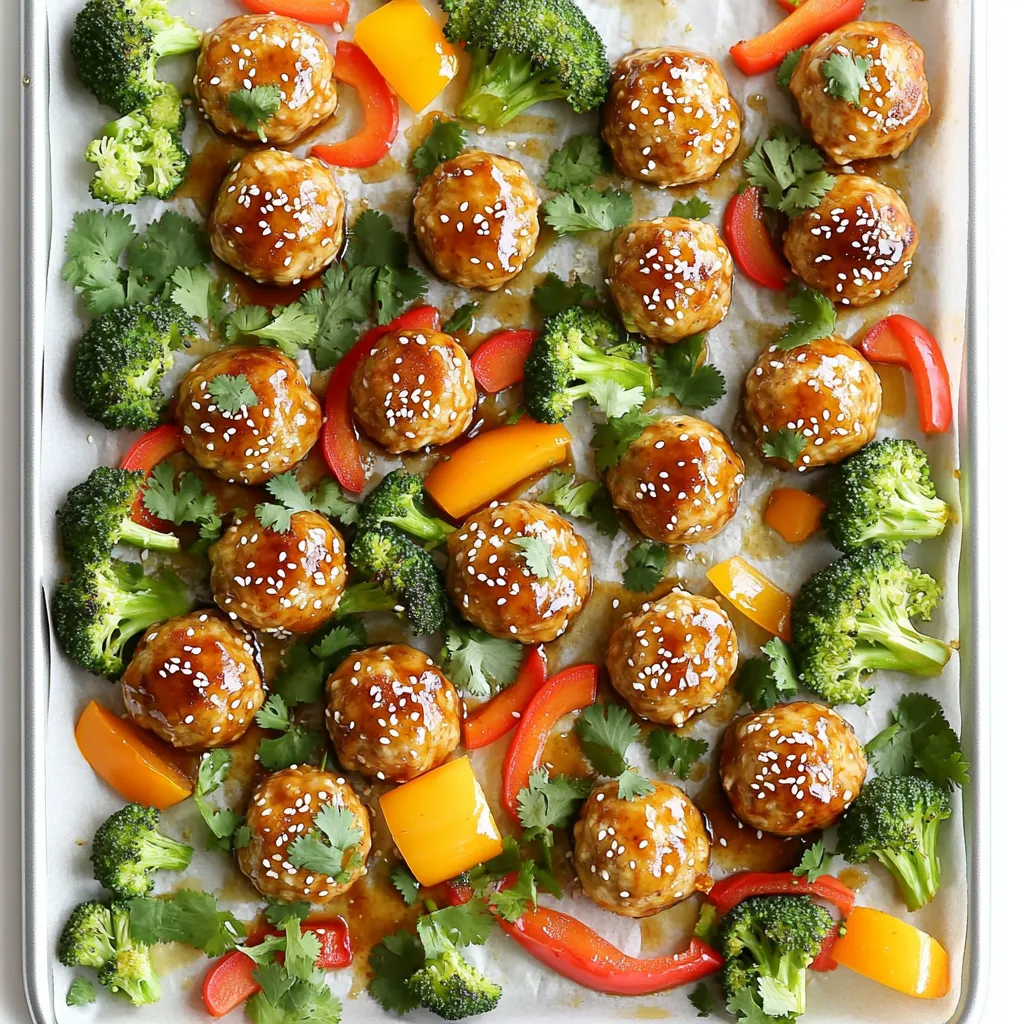
Looking for an easy dinner idea that’s full of flavor? You’re in the right place! Sheet-Pan Teriyaki Chicken Meatballs are
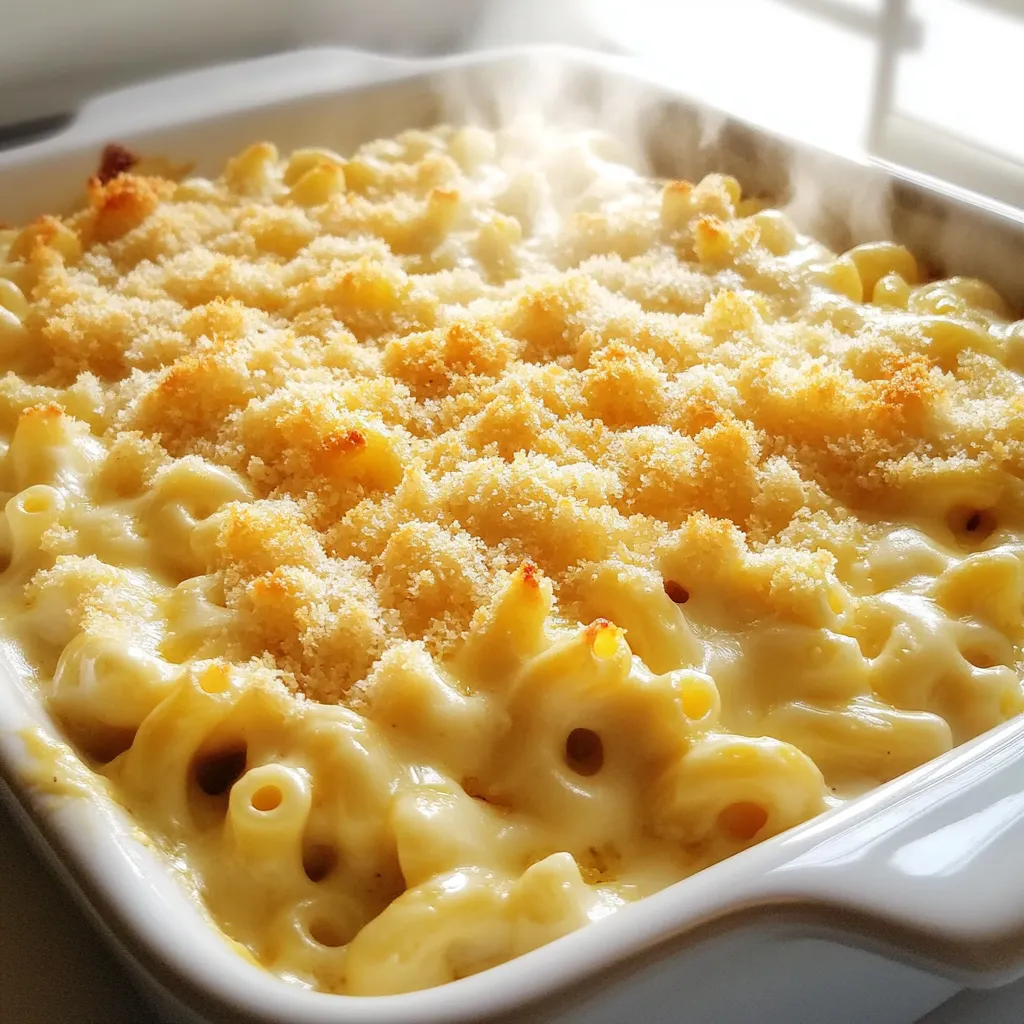
Are you ready to take your mac and cheese game to the next level? This Creamy White Cheddar Mac &

Craving a warm, hearty meal? Let me introduce you to my Slow Cooker Creamy Chicken Enchilada Soup Delight. It’s easy

Start your day with a cozy cup of Warm Chai Spiced Oatmeal Latte. This creamy delight combines hearty rolled oats
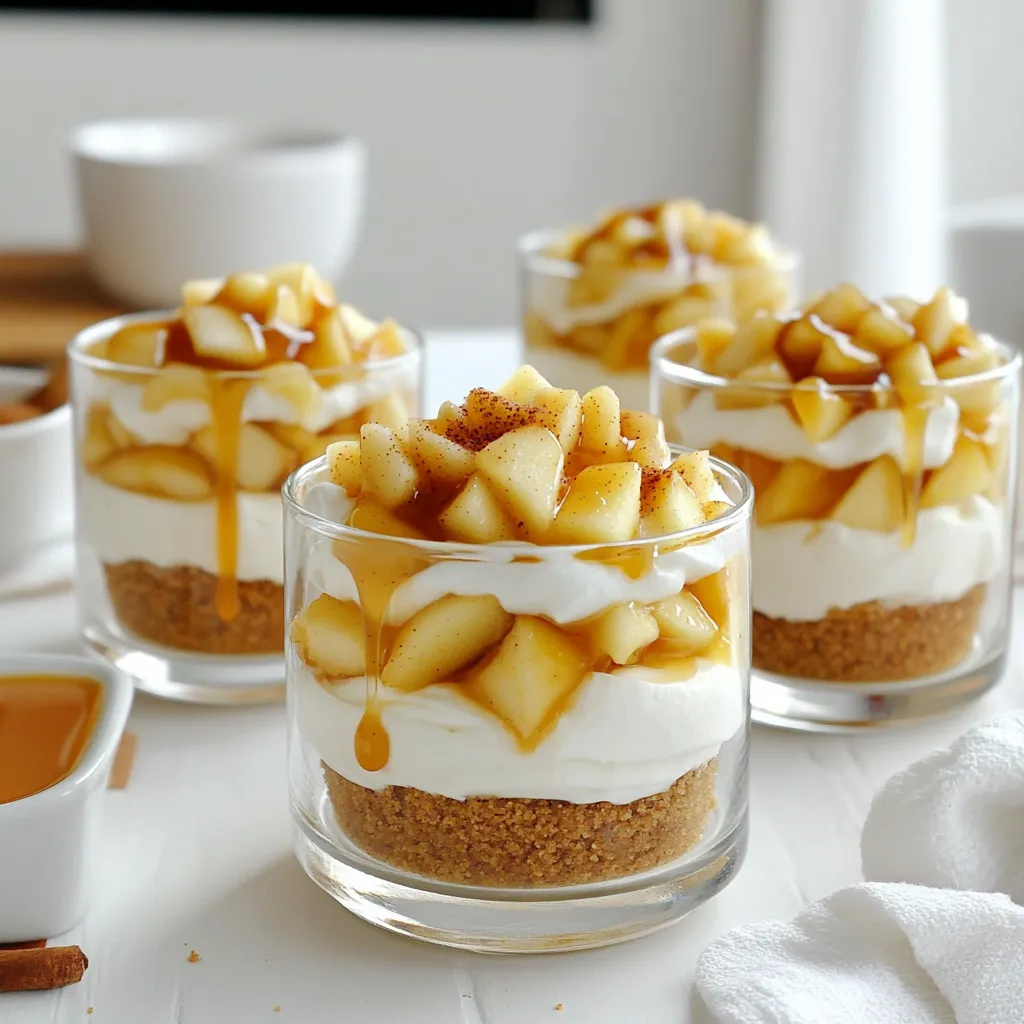
Indulging in a sweet treat doesn’t have to mean a long baking process. With my No-Bake Apple Pie Cheesecake Cups,
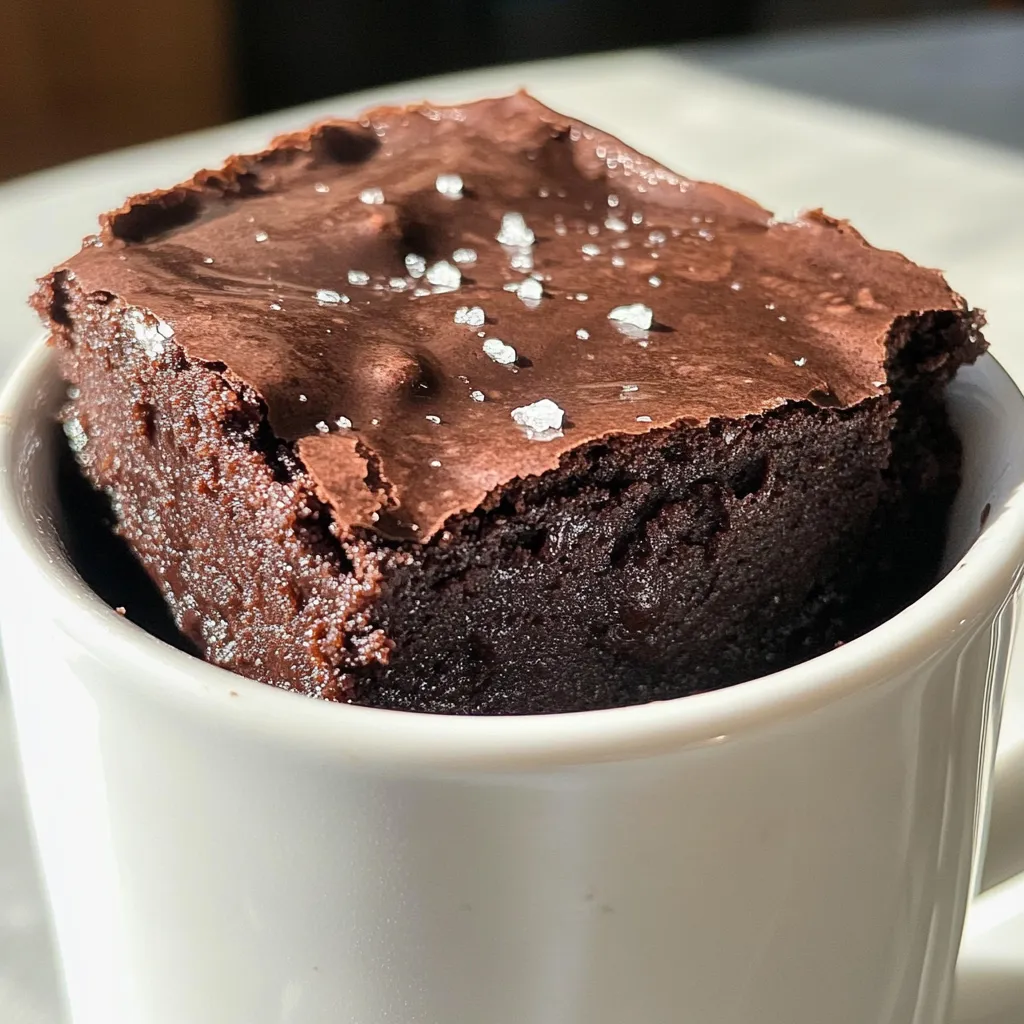
Craving a sweet fix but short on time? My Second Microwave Mug Brownie is your answer! This treat is quick
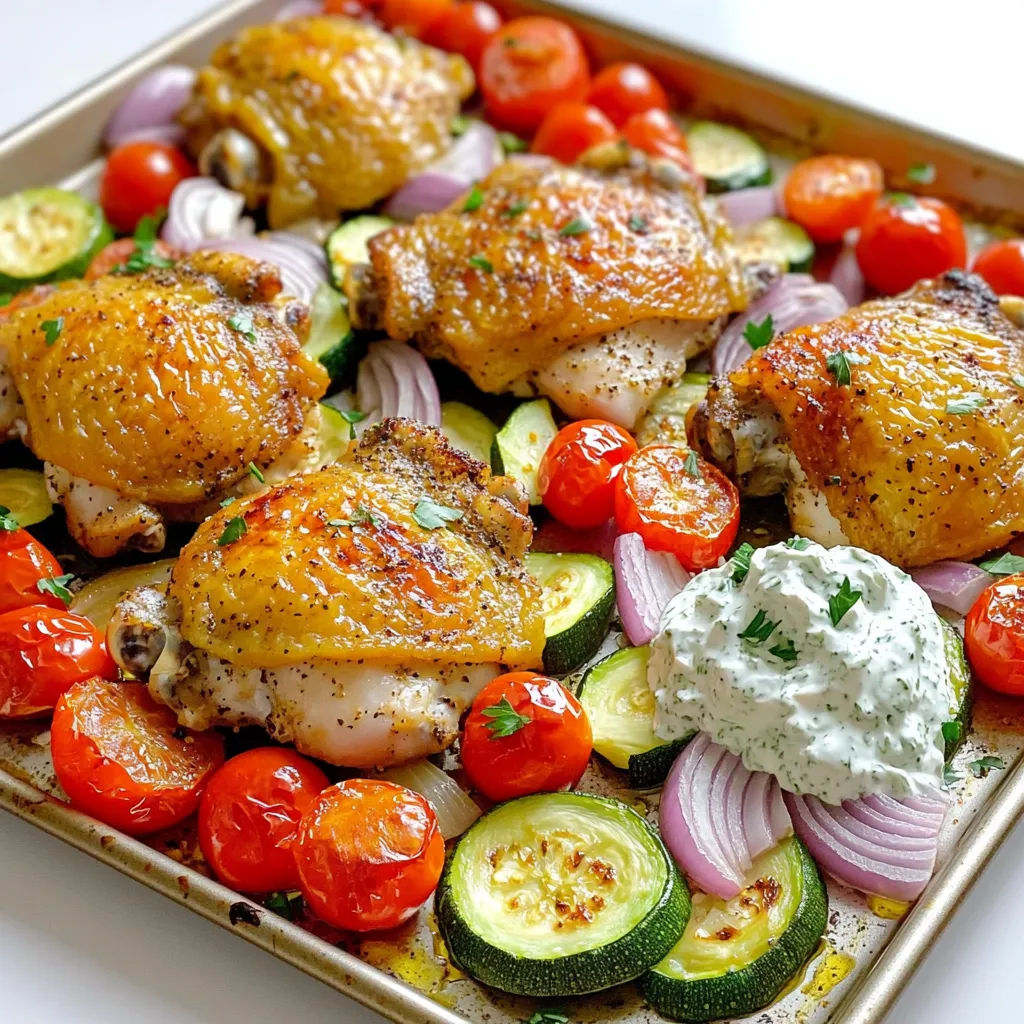
Looking to spice up your dinner routine? This Sheet-Pan Greek Chicken with Tzatziki Veggies is a game-changer. It combines juicy,

Are you ready to spice up your dinner table? These Air Fryer Crispy Lemon Pepper Wings are a flavorful delight