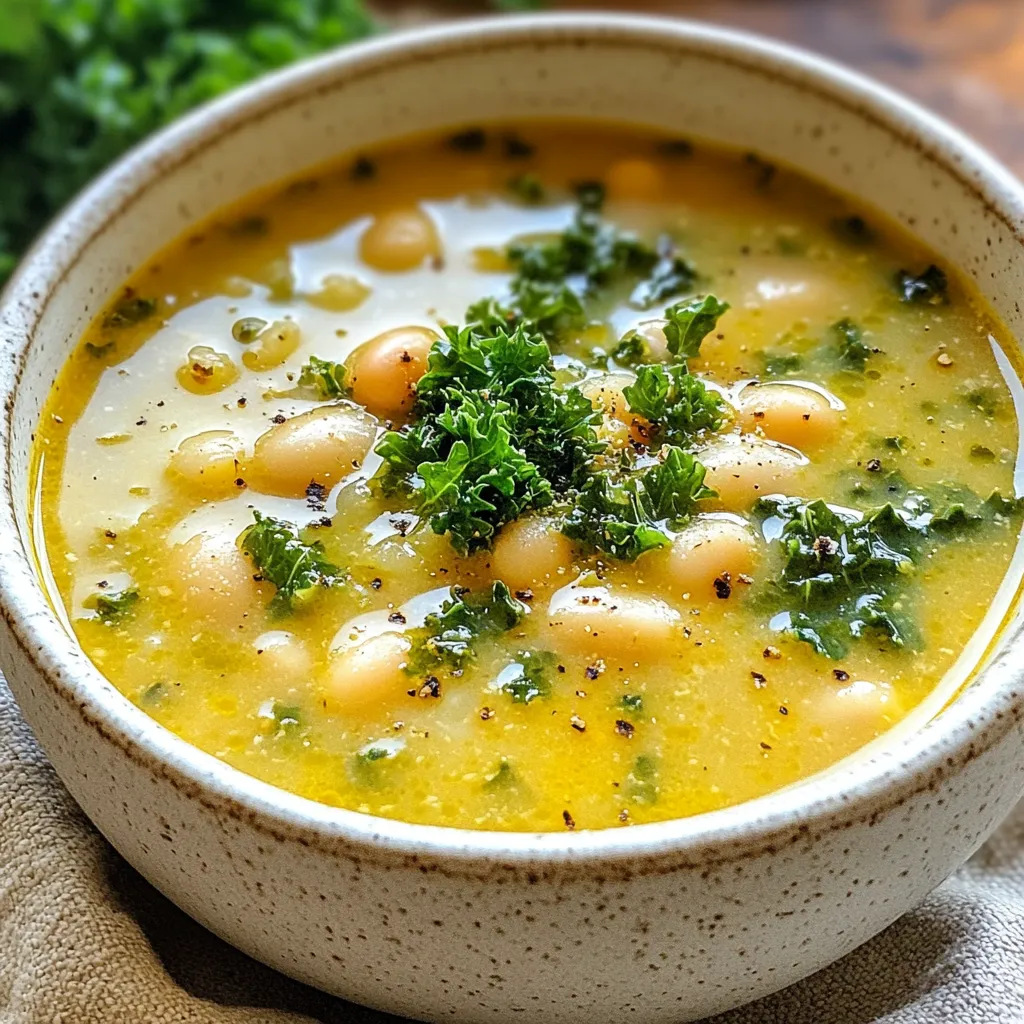
Creamy Tuscan White Bean Soup Easy and Flavorful Dish
Looking for a warm and inviting dish that’s both creamy and flavorful? You’re in the right place! This Creamy Tuscan

Looking for a warm and inviting dish that’s both creamy and flavorful? You’re in the right place! This Creamy Tuscan
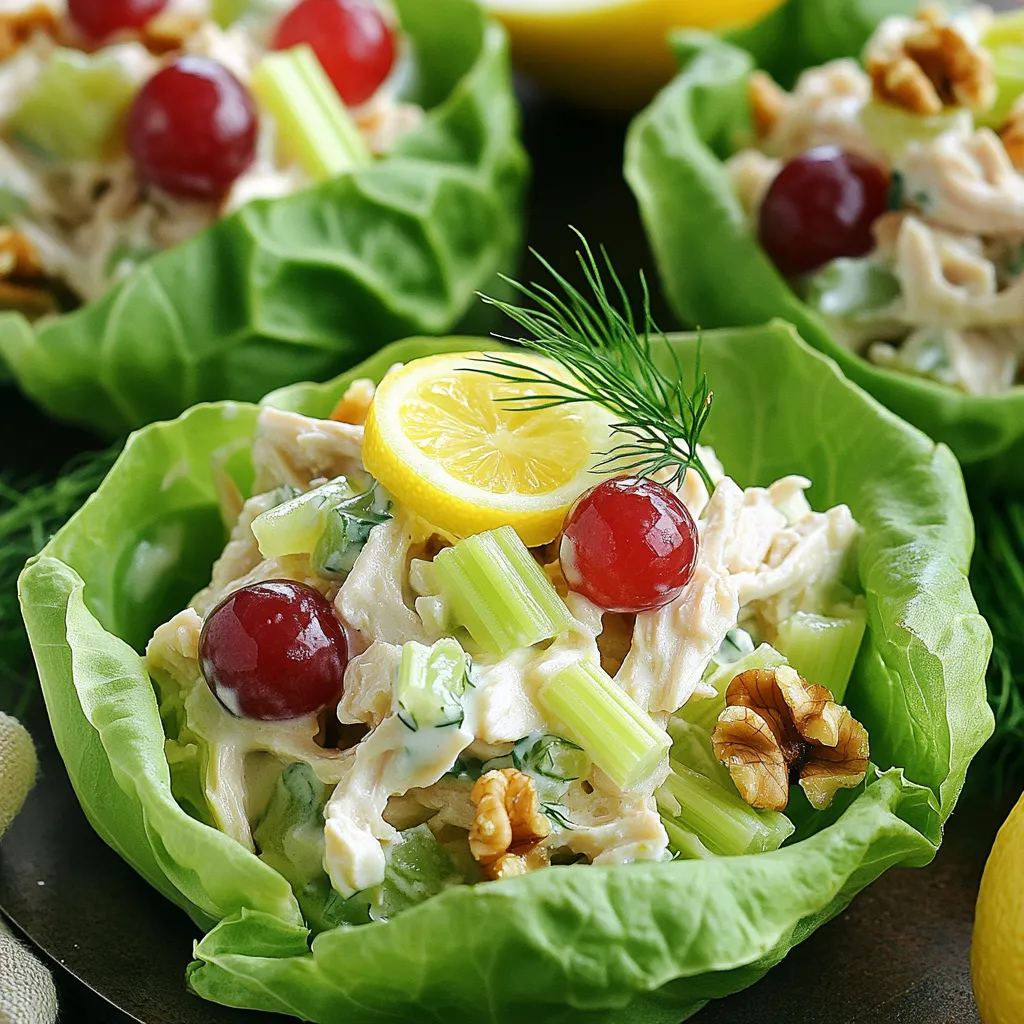
Looking for a fresh and healthy dish that bursts with flavor? My Greek Yogurt Lemon Chicken Salad is just what

Get ready to indulge your taste buds with my Pumpkin Spice Chocolate Truffles! These delightful treats blend creamy chocolate with
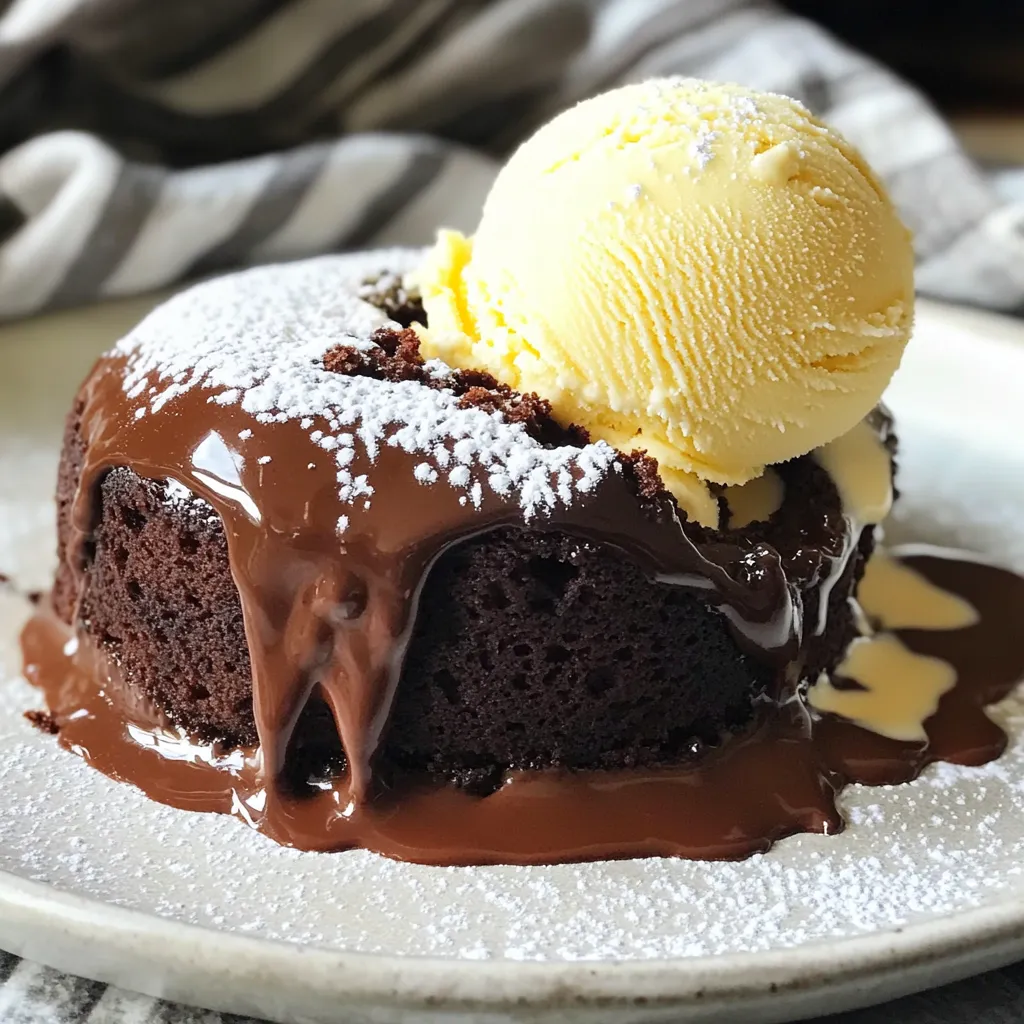
Craving something rich and indulgent? I’ve got just the treat for you! This Slow Cooker Chocolate Lava Cake is a

Craving a sweet treat that’s both easy to make and healthier? Say hello to Air Fryer Maple Glazed Donut Holes!

Get ready to fire up your grill with my Pineapple Teriyaki Chicken Skewers! This easy recipe combines juicy chicken thighs
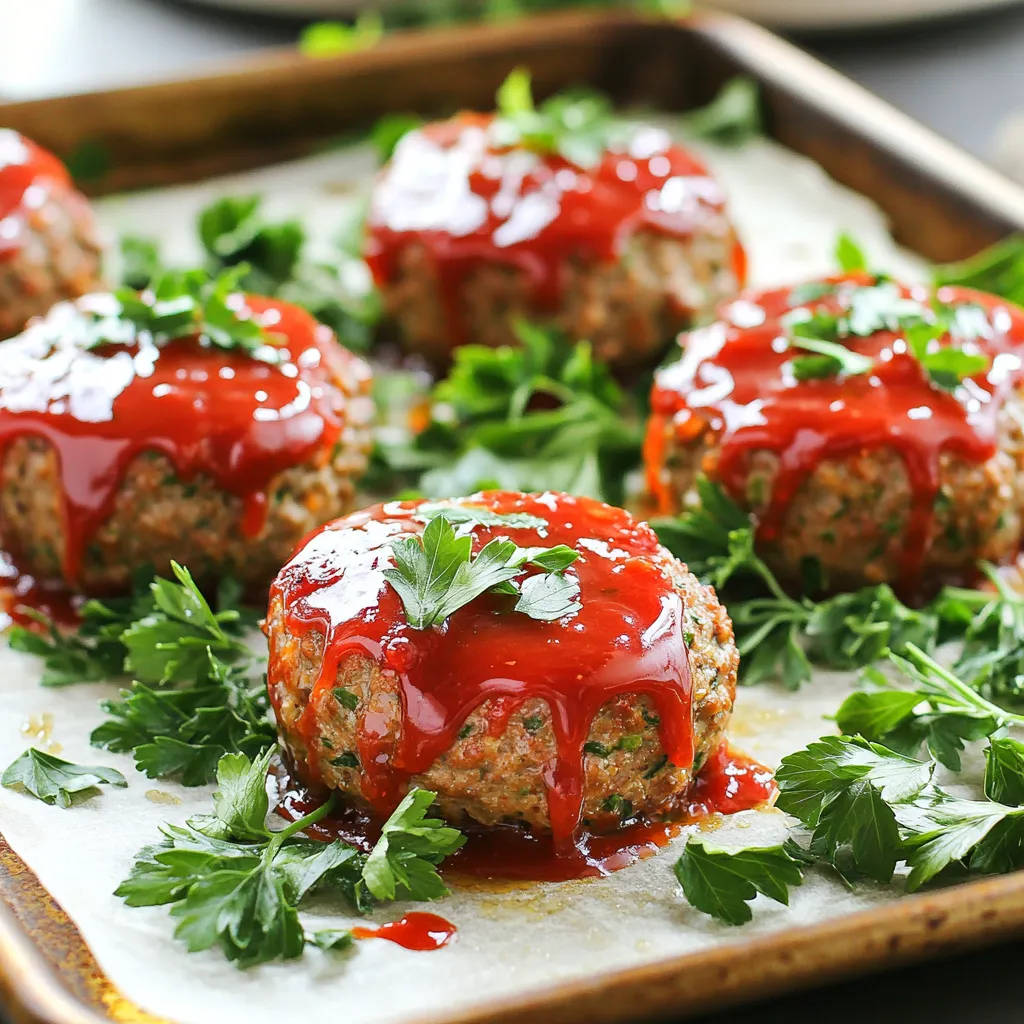
If you love meatloaf but crave a quick twist, you’ve got to try my Sheet Pan Garlic Herb Meatloaf Minis.

Are you ready to spice up your ramen game? My Spicy Sriracha Ramen Eggs recipe is a simple yet flavorful
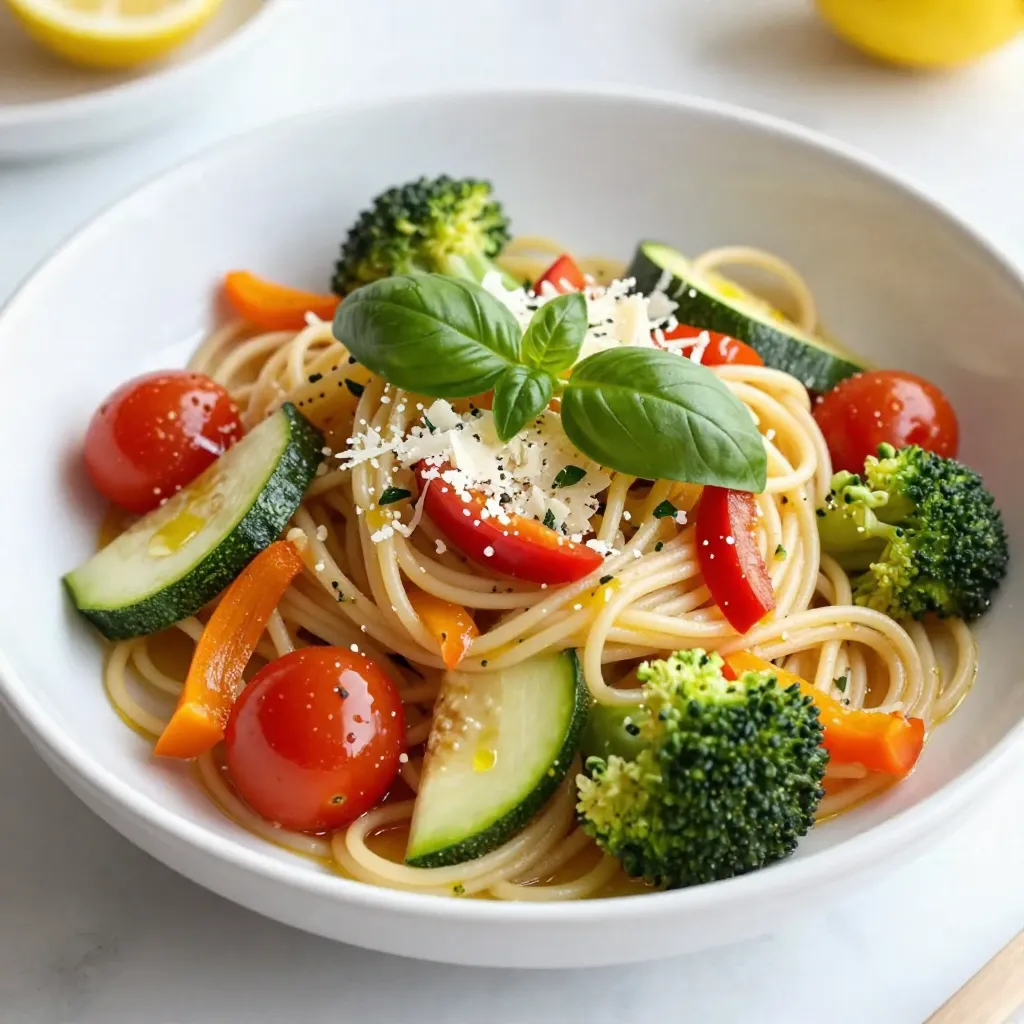
Welcome to the world of vibrant flavors with my Lemon Basil Pasta Primavera! This dish captures summer’s essence in every
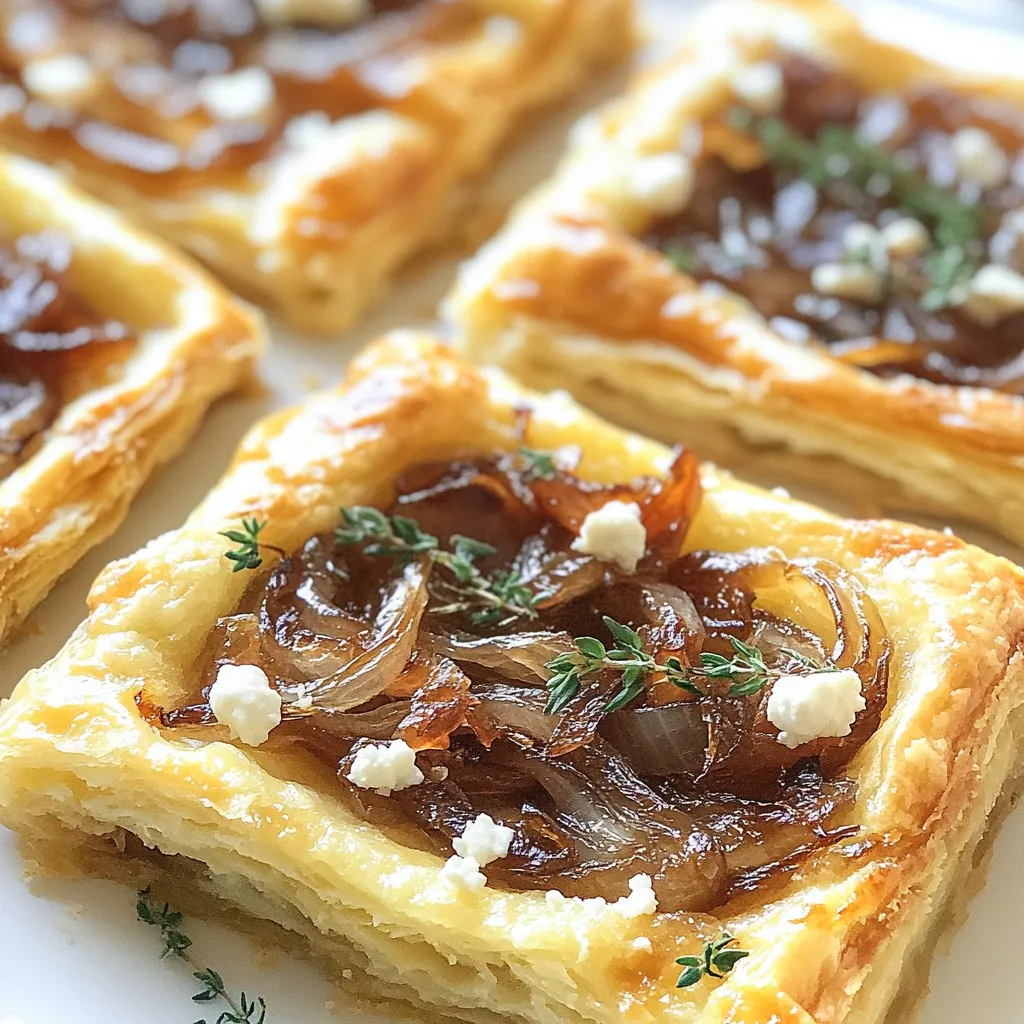
Are you ready to impress your guests with a show-stopping appetizer? The Caramelized Onion Goat Cheese Tart combines rich flavors