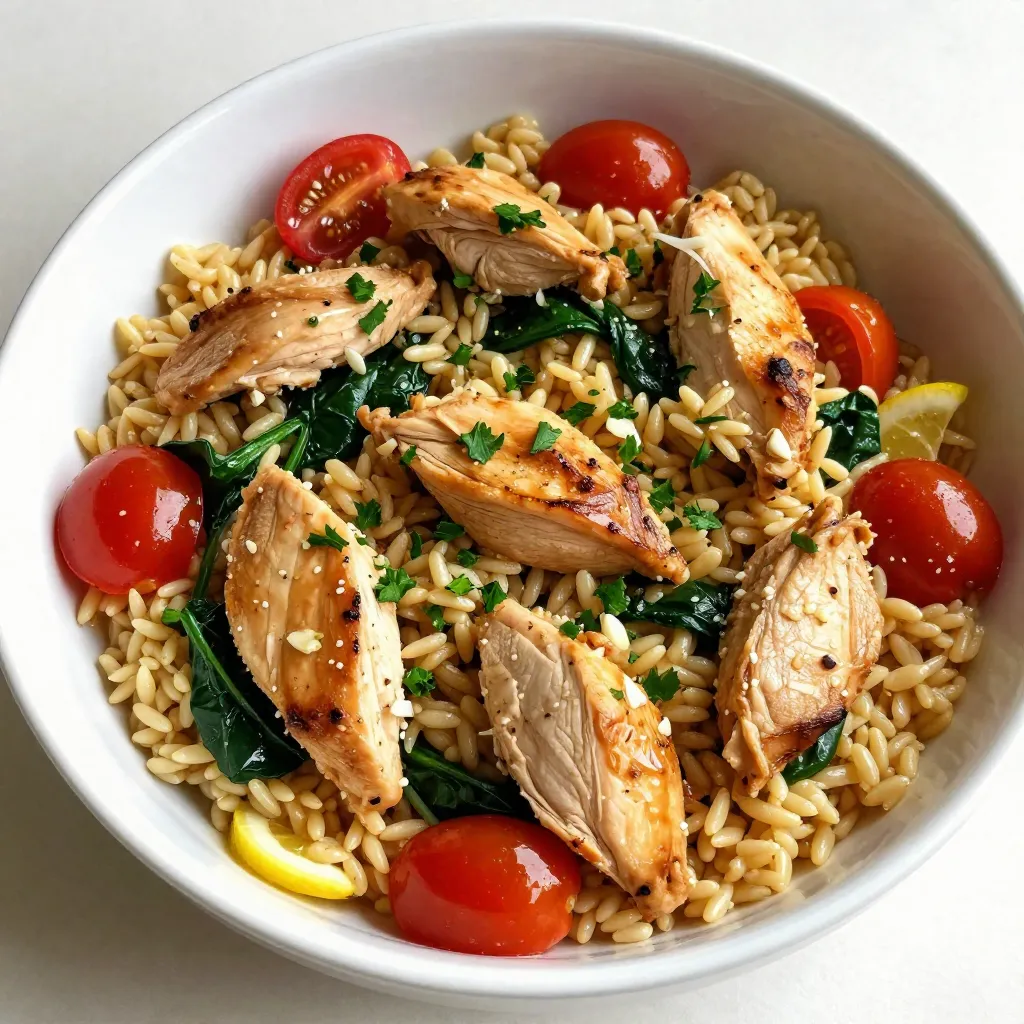
Lemon Garlic Chicken Orzo Skillet Flavorful Delight
Looking for a tasty weeknight meal? Try my Lemon Garlic Chicken Orzo Skillet! This dish is easy to make and

Looking for a tasty weeknight meal? Try my Lemon Garlic Chicken Orzo Skillet! This dish is easy to make and
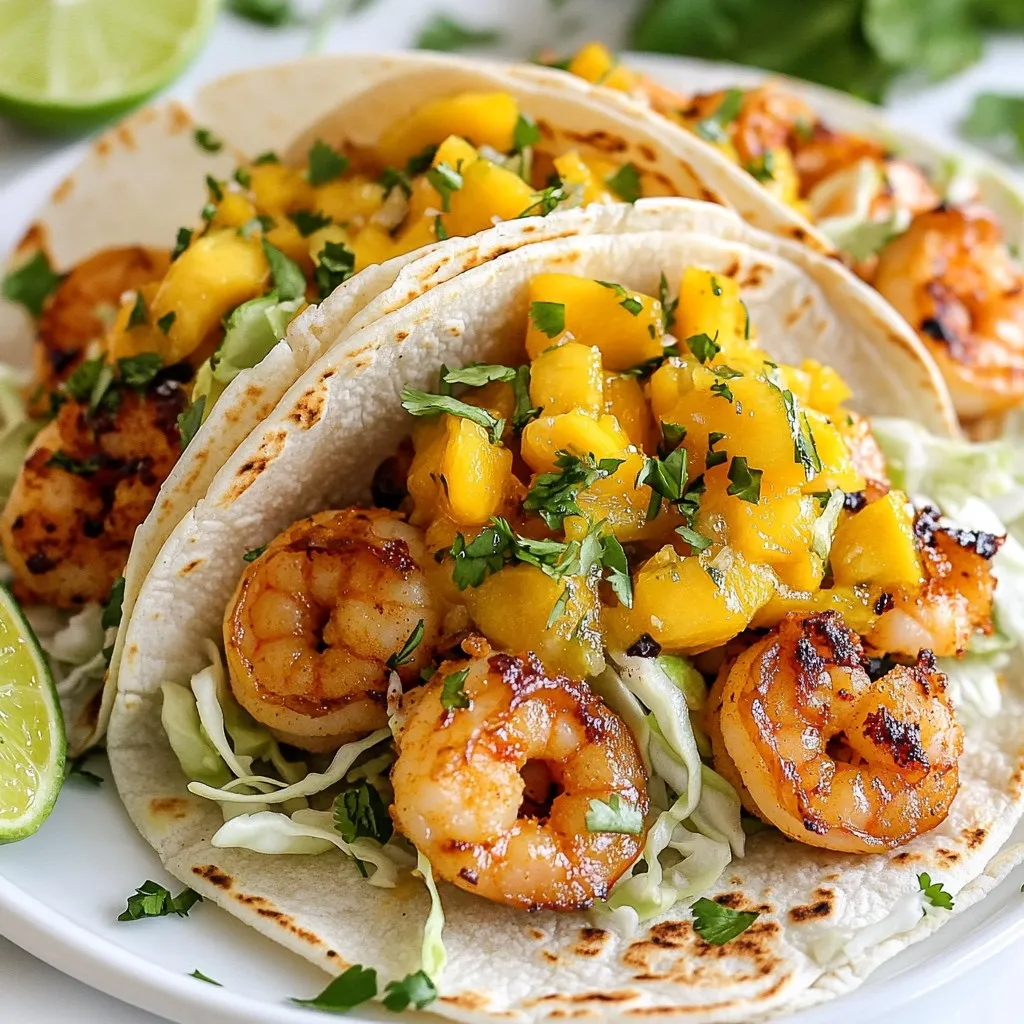
Ready for a burst of flavor? These Coconut Lime Shrimp Tacos offer a tropical twist that’s easy to make. You’ll

Are you ready to spice up your mealtime? Let me share my bold and flavorful Spicy Thai Curry Noodle Soup

Fall is here, and that means it’s time for cozy treats! Imagine sinking your teeth into a warm Caramel Apple
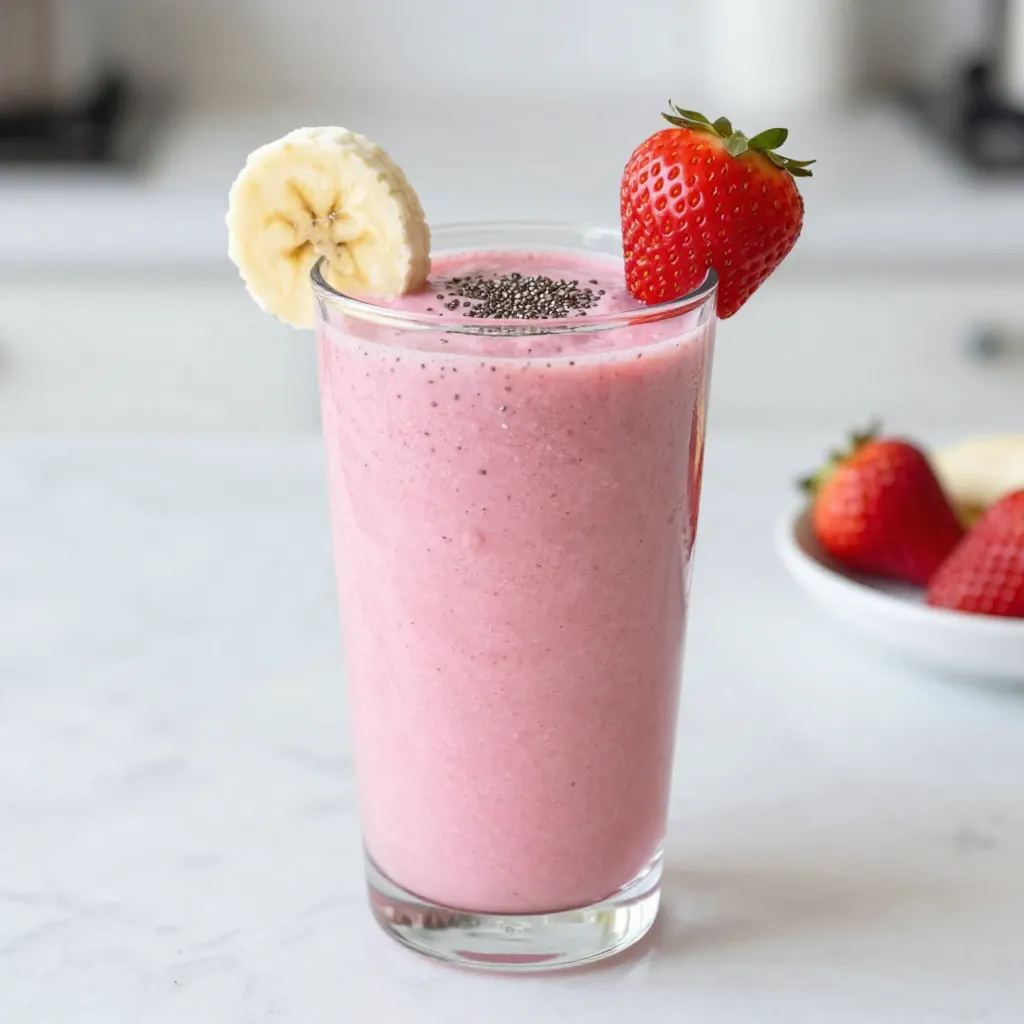
Are you ready to fuel your day with a delicious Strawberry Banana Protein Smoothie? This tasty drink packs a nutrition

Looking for a fun and festive treat? Our Gingerbread Latte Milkshake is here to delight! This creamy drink blends the
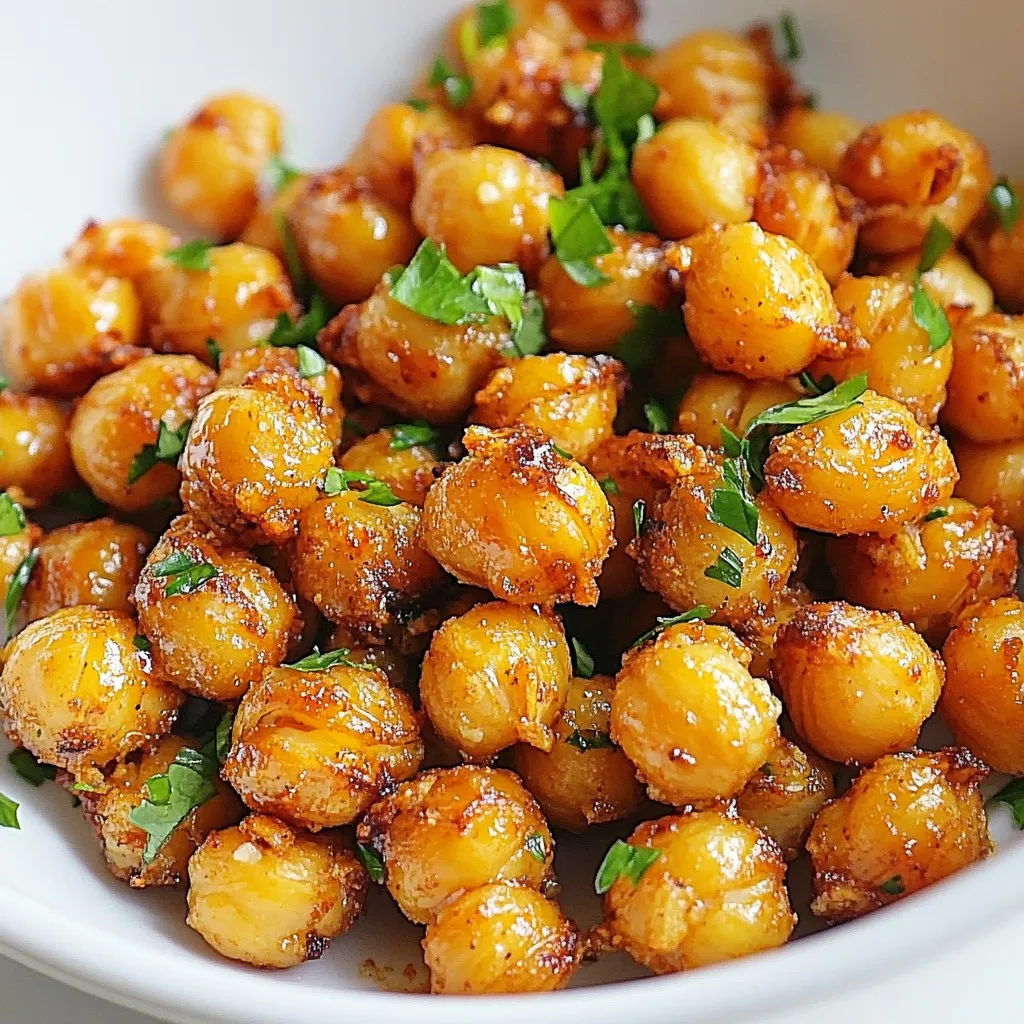
Looking for a tasty and healthy snack? Smoky Paprika Roasted Chickpeas are perfect! They are crunchy, packed with flavor, and

Get ready to impress your taste buds with these Honey Garlic Glazed Meatballs! In this simple and fun recipe, you’ll
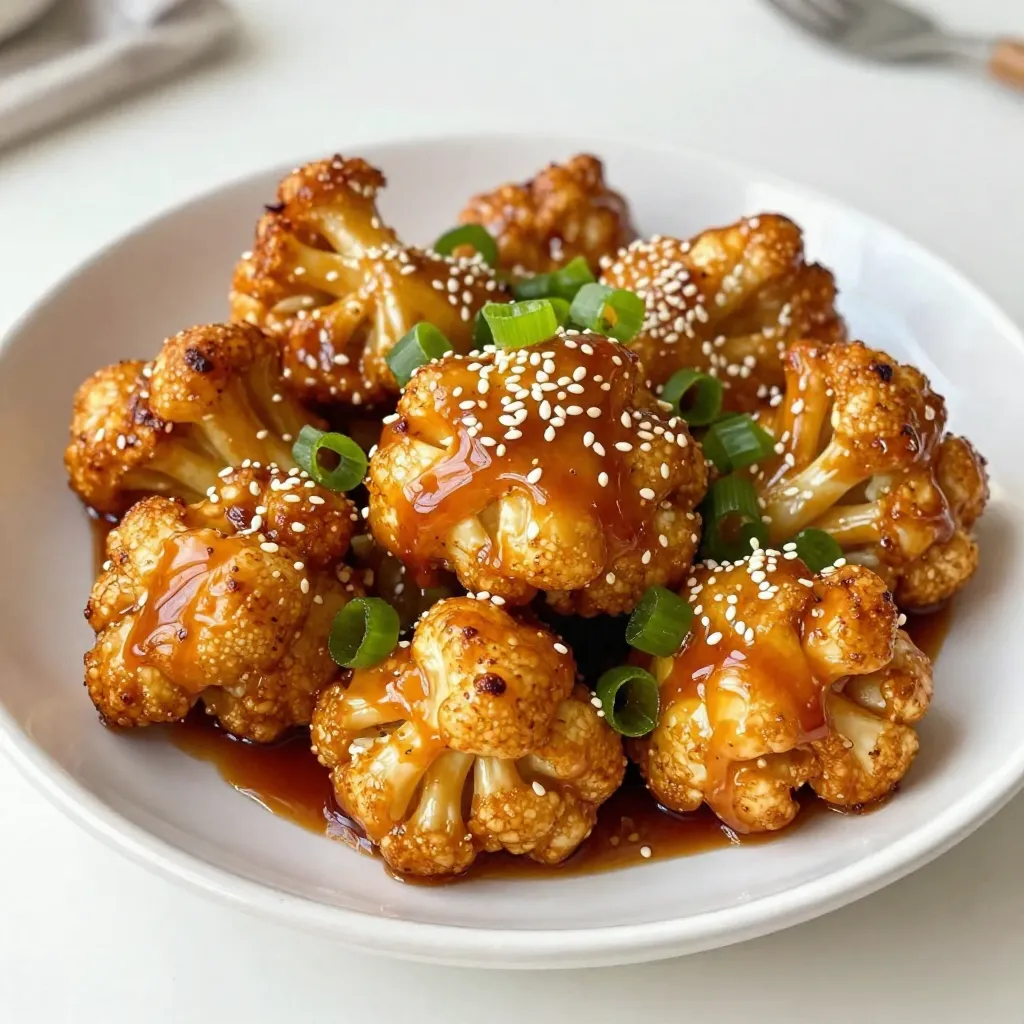
Are you ready to spice up your veggie game? This Spicy Sriracha Honey Cauliflower is bold and zesty—a treat you
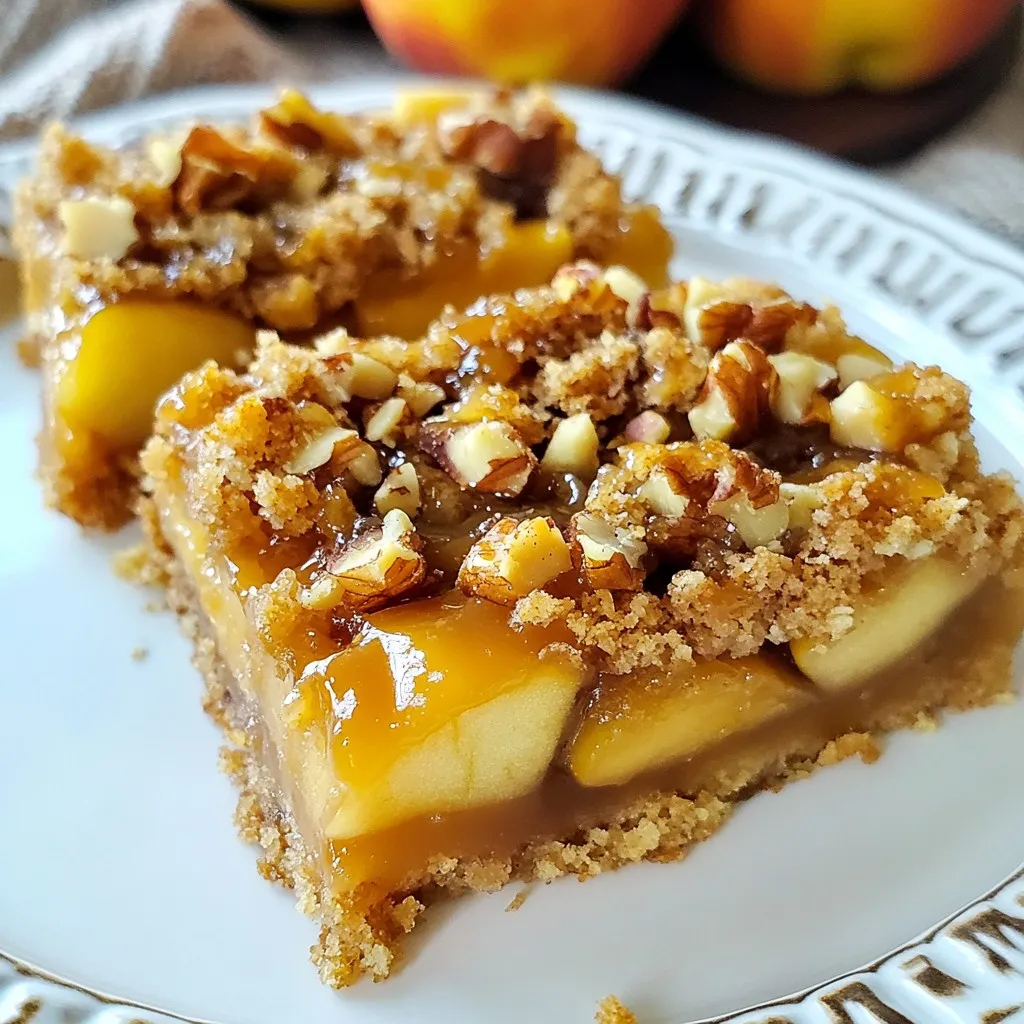
Get ready to enjoy a delicious treat with my Caramel Apple Crumb Bars! These sweet bars blend tender apples with