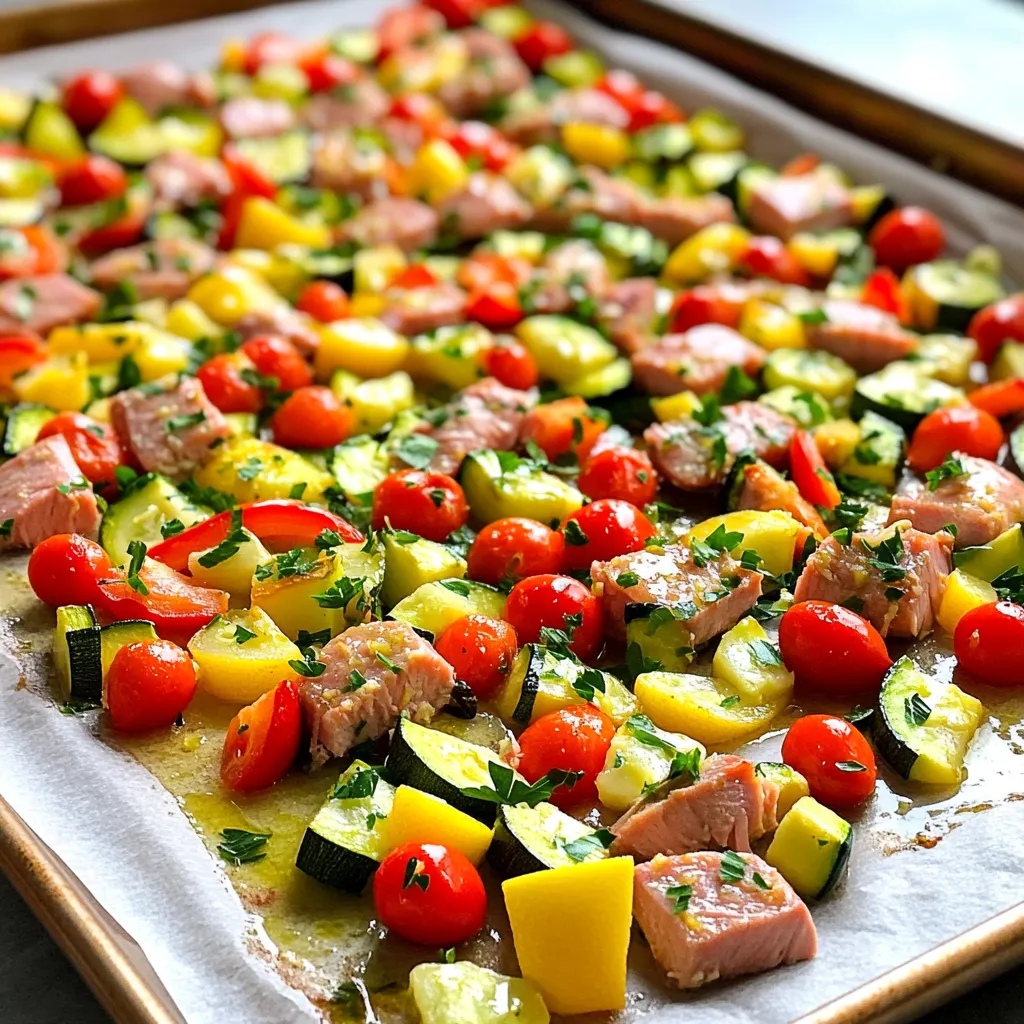
Sheet Pan Lemon Garlic Tuna and Veggies Delight
Looking for a quick, delicious dinner? You’ll love this Sheet Pan Lemon Garlic Tuna and Veggies Delight! With easy steps

Looking for a quick, delicious dinner? You’ll love this Sheet Pan Lemon Garlic Tuna and Veggies Delight! With easy steps
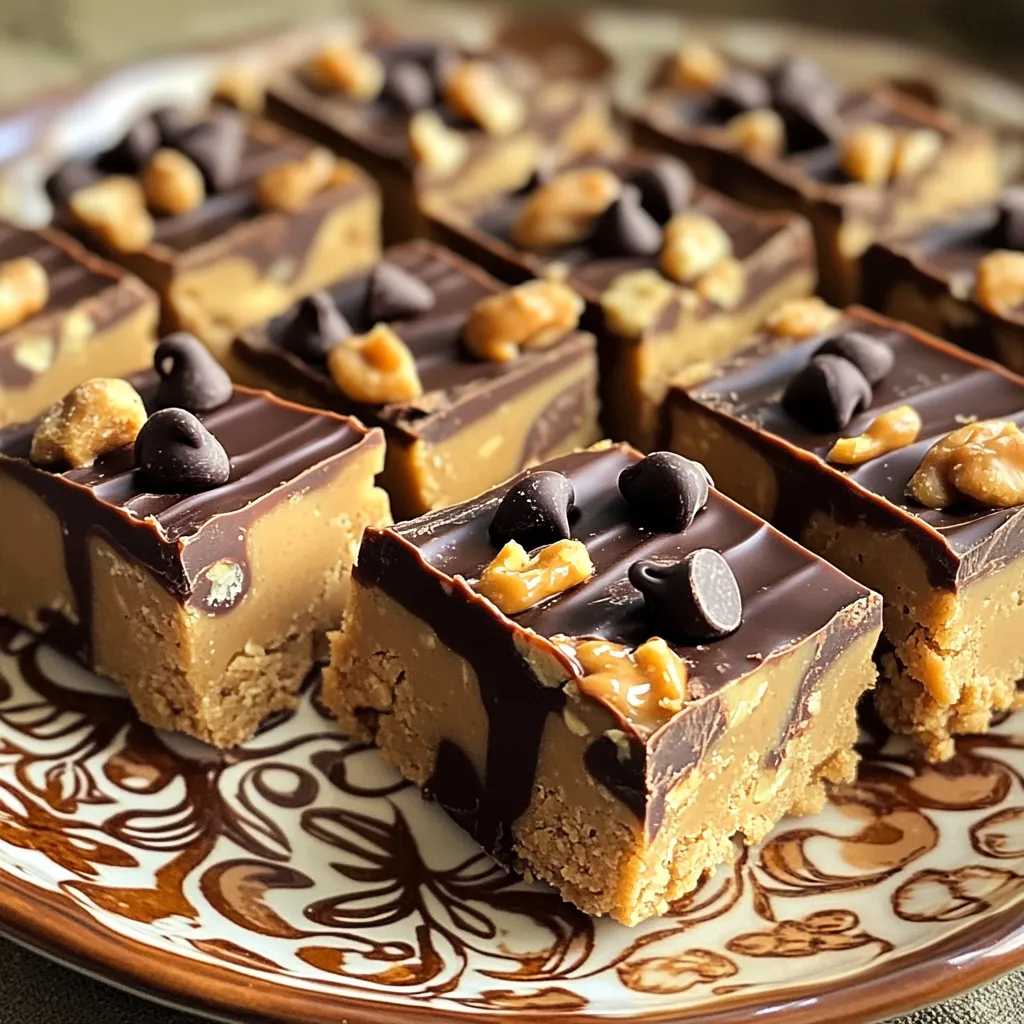
Are you ready to treat yourself to a fun and tasty snack? These No-Bake Cookie Dough Protein Bars are easy
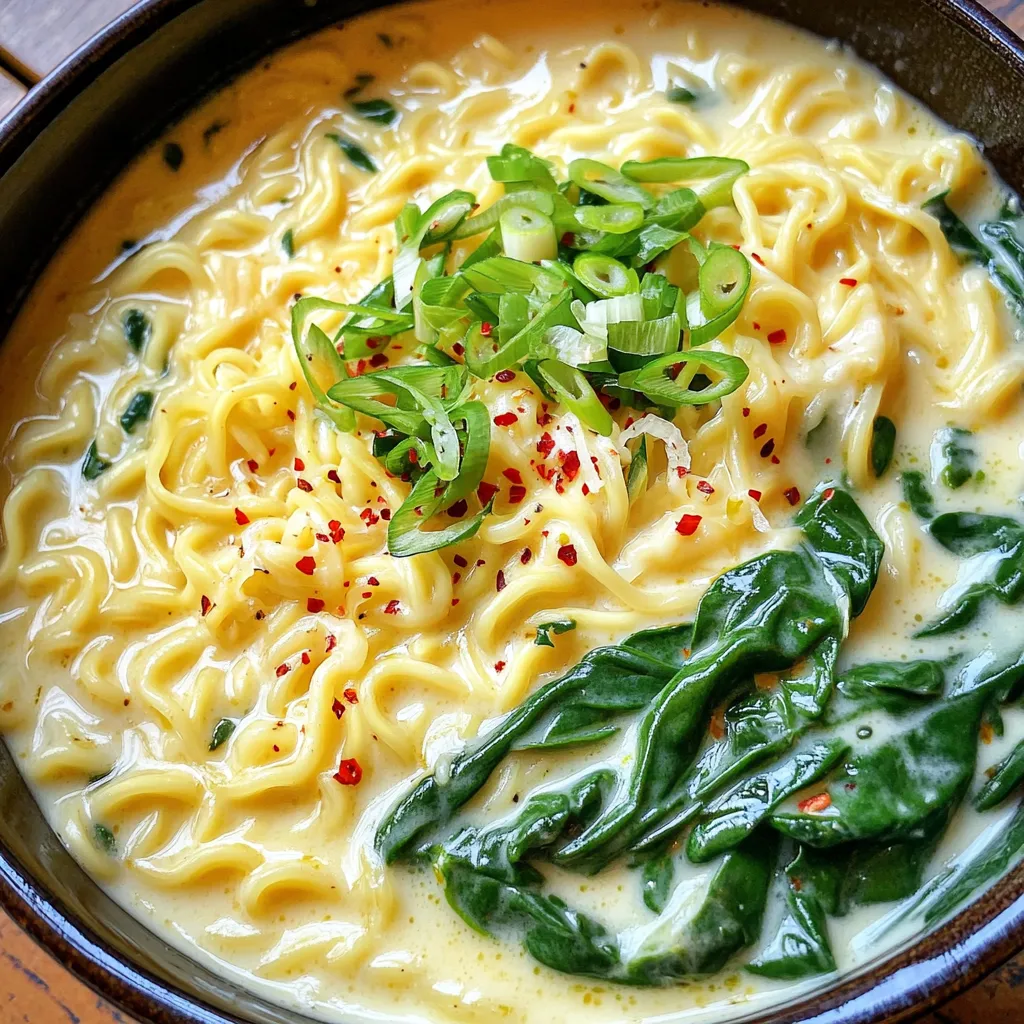
Looking for a quick and tasty meal? This One-Pot Garlic Parmesan Ramen is creamy and only takes minutes to make!
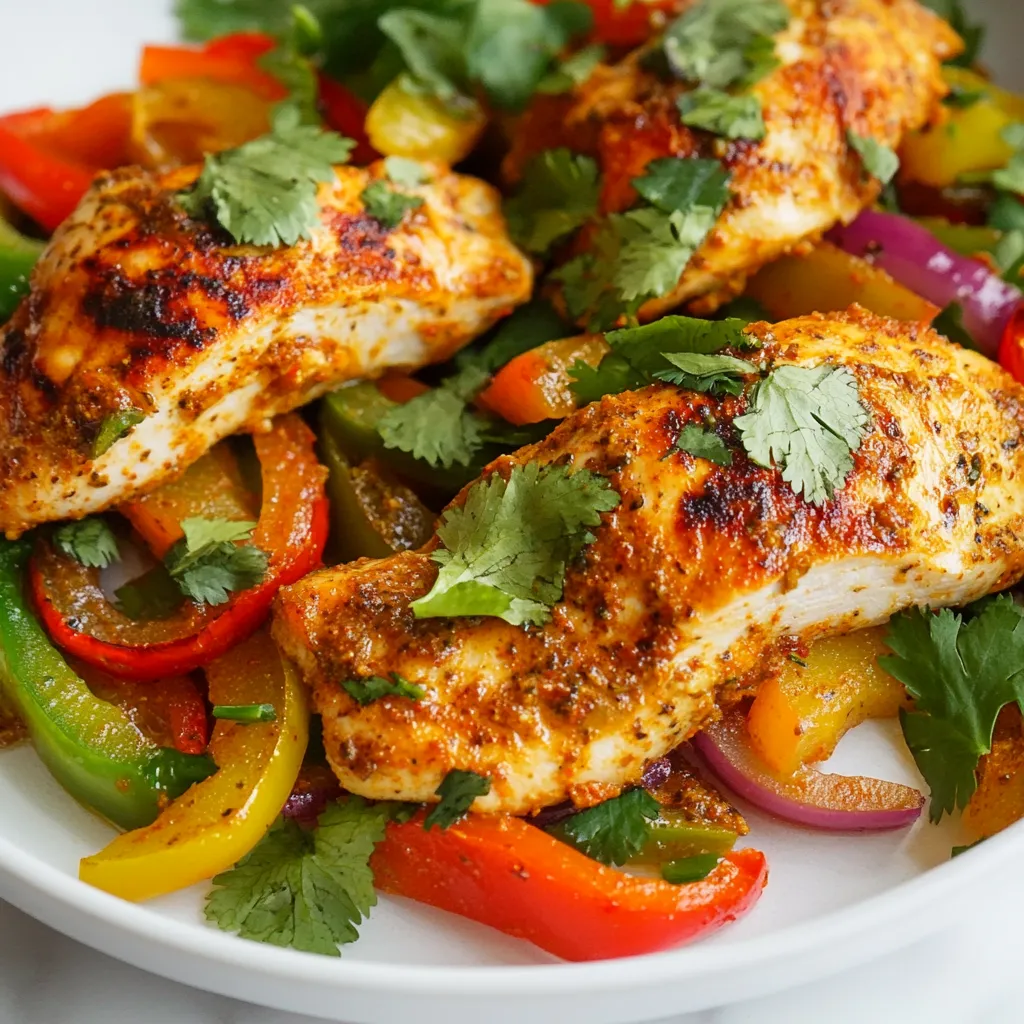
Are you ready to create a vibrant and tasty dinner? My Chili Lime Chicken Skillet packs bold flavors and simple
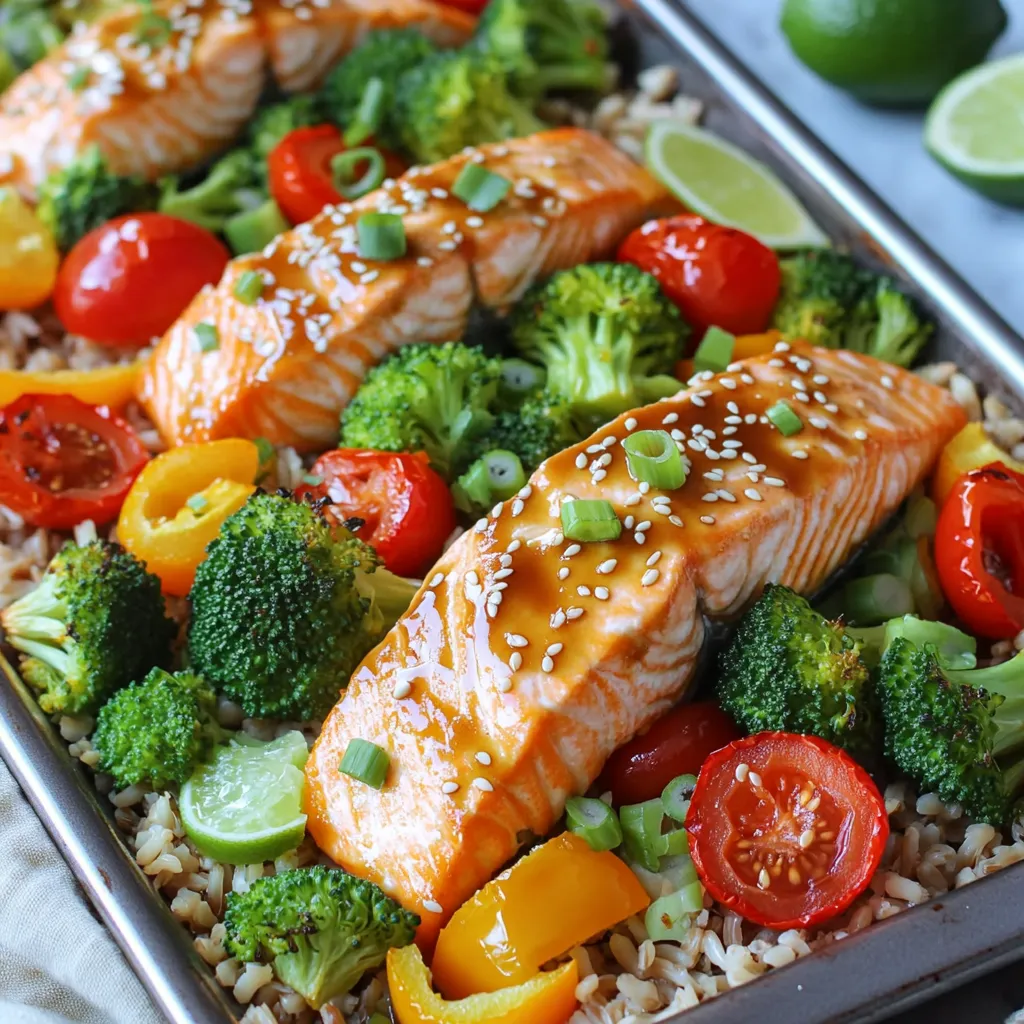
Transform your weeknight dinners with my Sheet-Pan Sesame Ginger Salmon Bowls! This vibrant dish is not just packed with flavor;

As the leaves turn and the air cools, it’s time for a warm, comforting drink. Enter the Cozy Caramel Apple
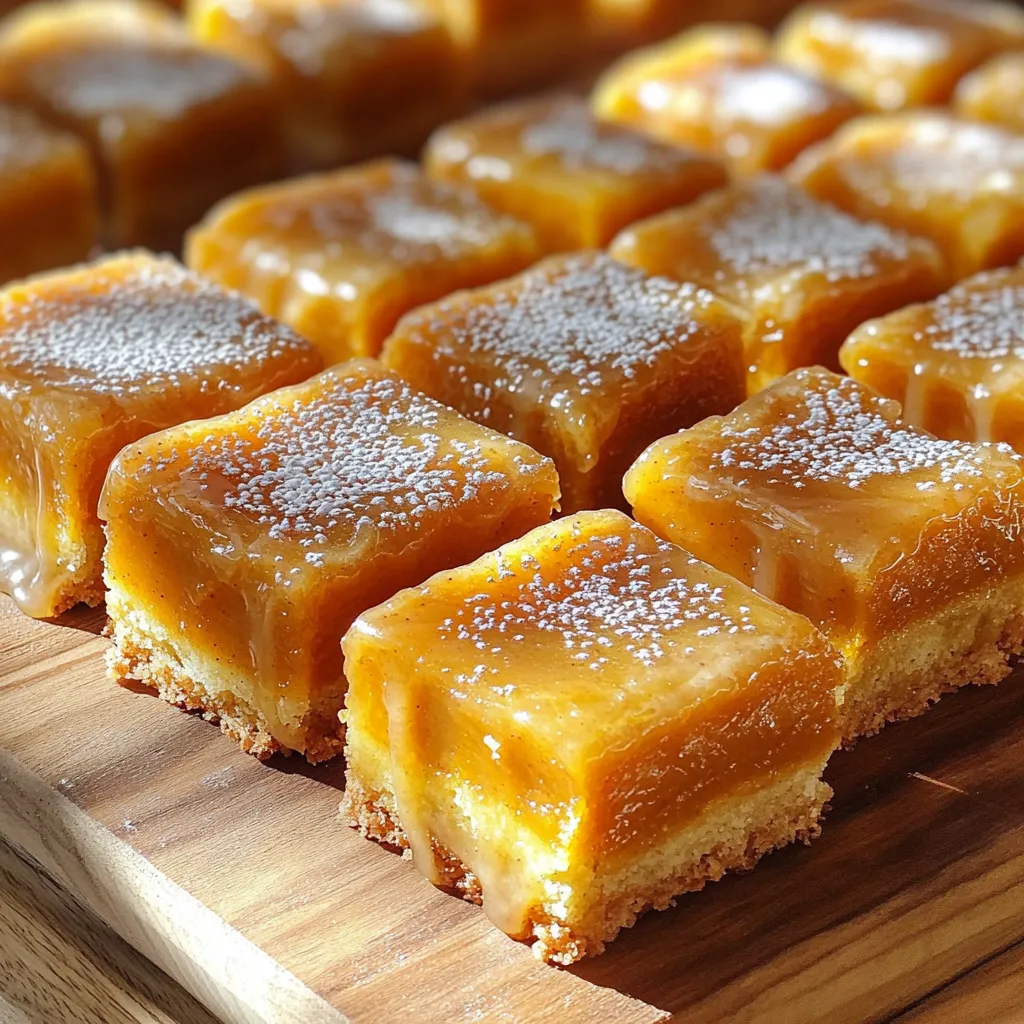
Looking for a mouthwatering dessert that screams fall? Try my Maple Glazed Pumpkin Spice Donut Bars! These bars blend the
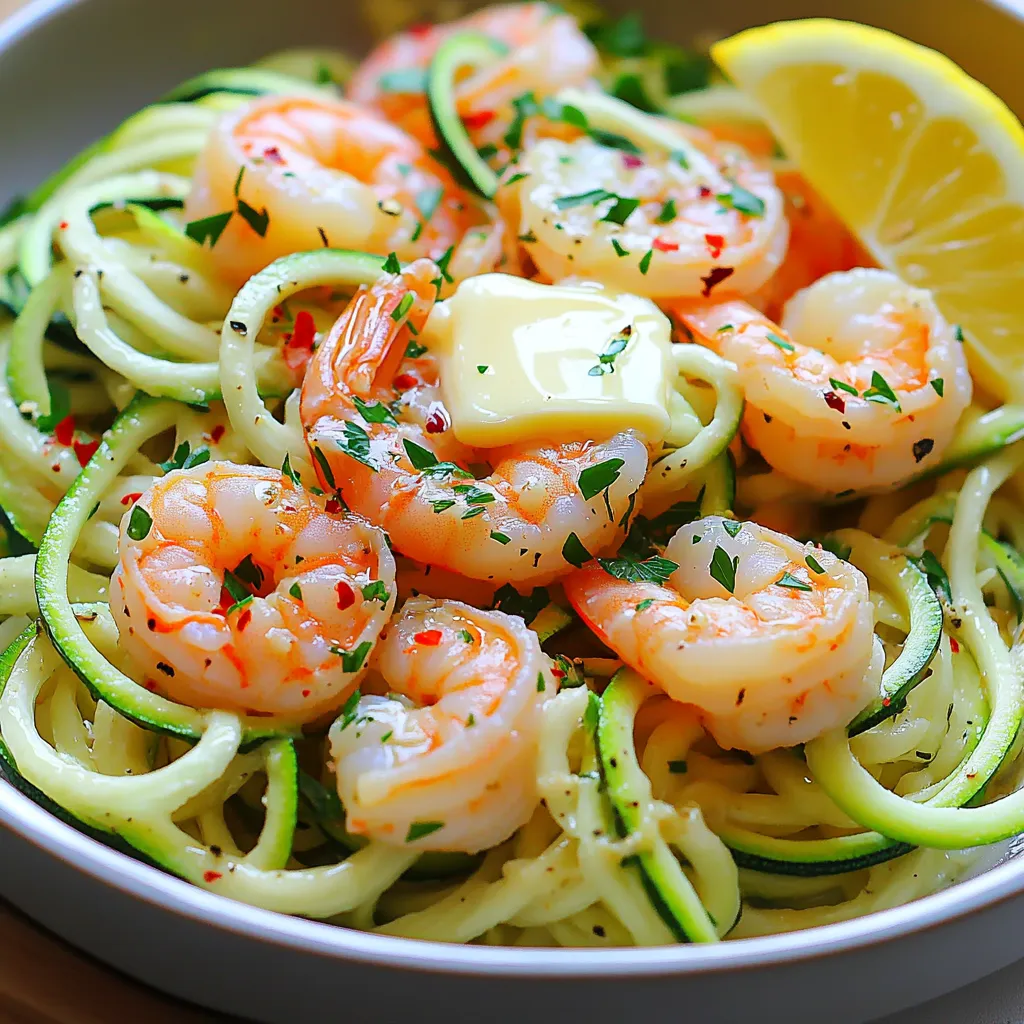
Craving a fast and tasty dinner? You’re in the right place! Minute Garlic Butter Shrimp Zoodles are a perfect blend
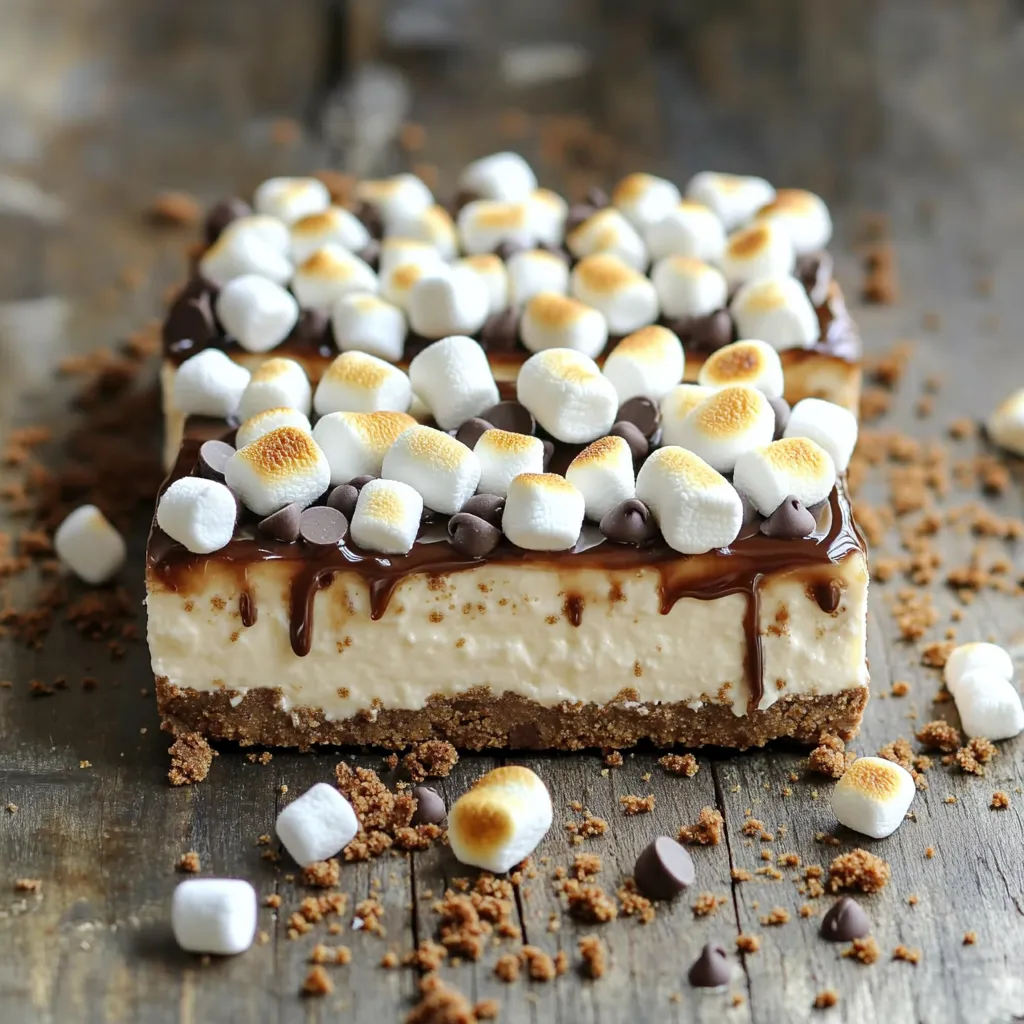
Looking for a sweet treat that hits all the right notes? My No-Bake S’mores Cheesecake Bars are just what you
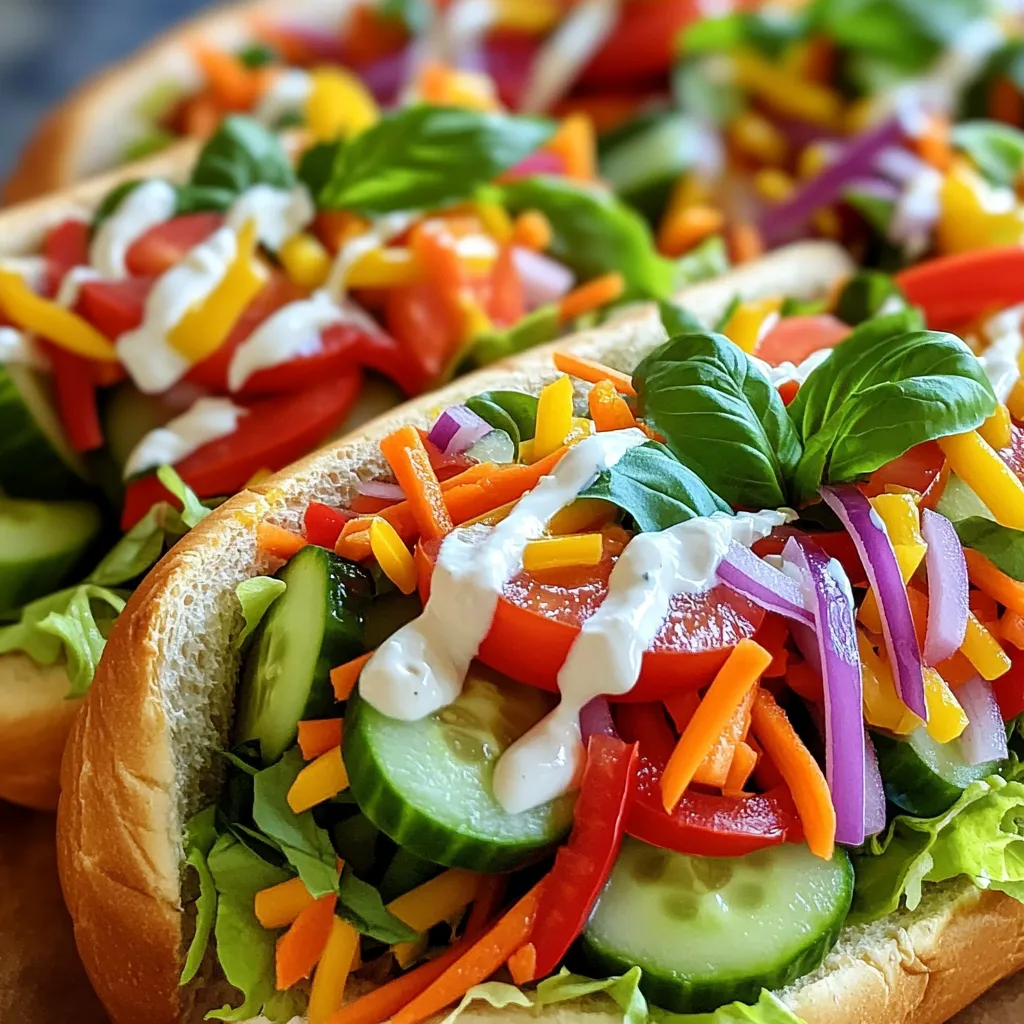
If you’re searching for a fresh and tasty sandwich, look no further! The TikTok Grinder Salad Sandwich is your next