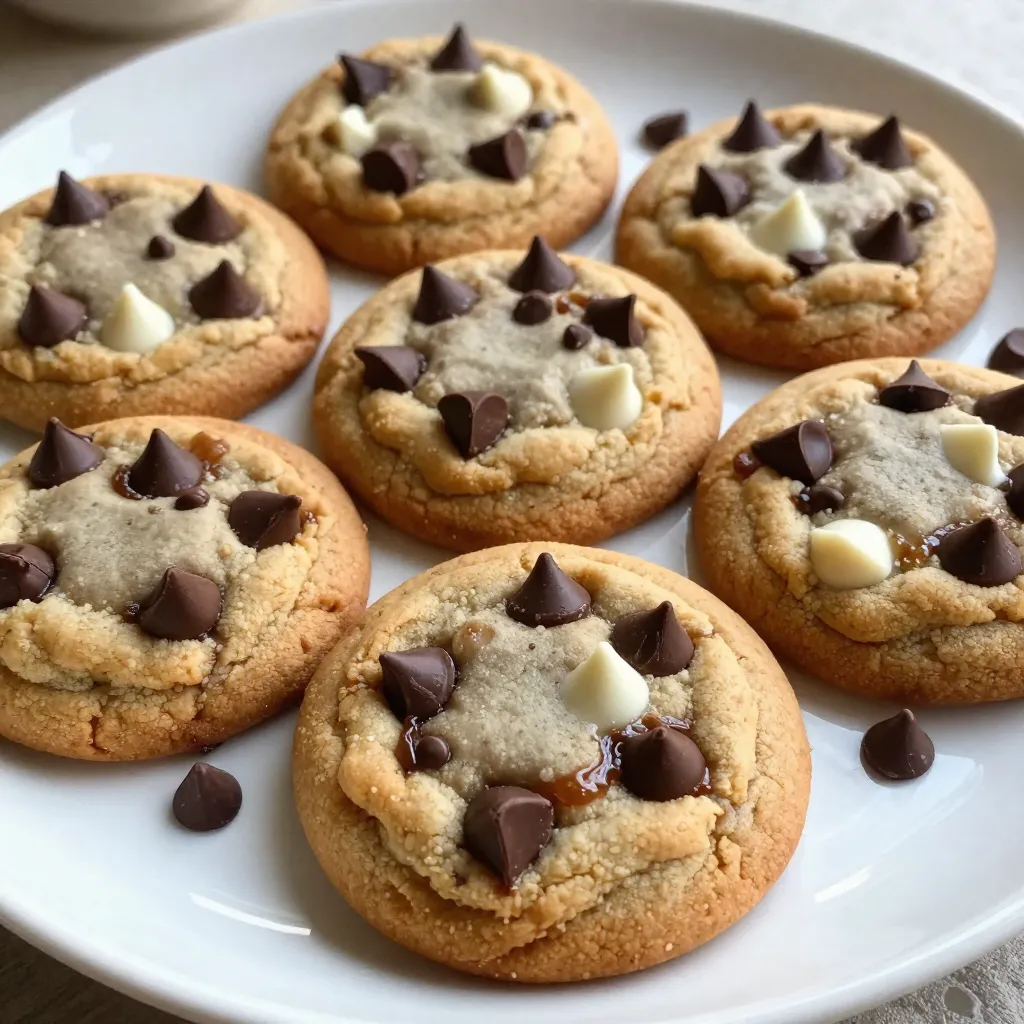
Triple Chocolate Chip Cookies Deliciously Decadent Treat
If you love chocolate, you’re in for a treat! My triple chocolate chip cookies take rich flavor to a whole

If you love chocolate, you’re in for a treat! My triple chocolate chip cookies take rich flavor to a whole
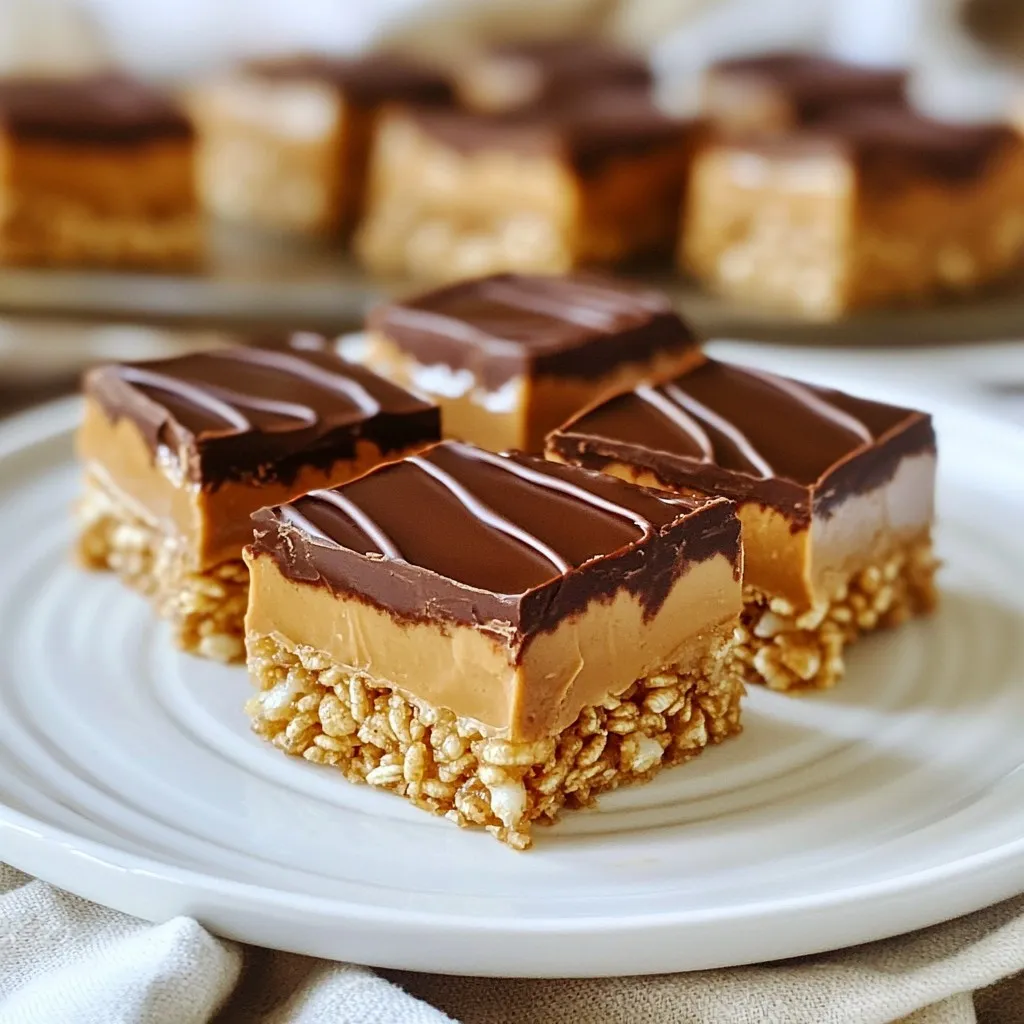
Looking for an easy and healthy treat? These no-bake peanut butter bars are just what you need. With simple ingredients
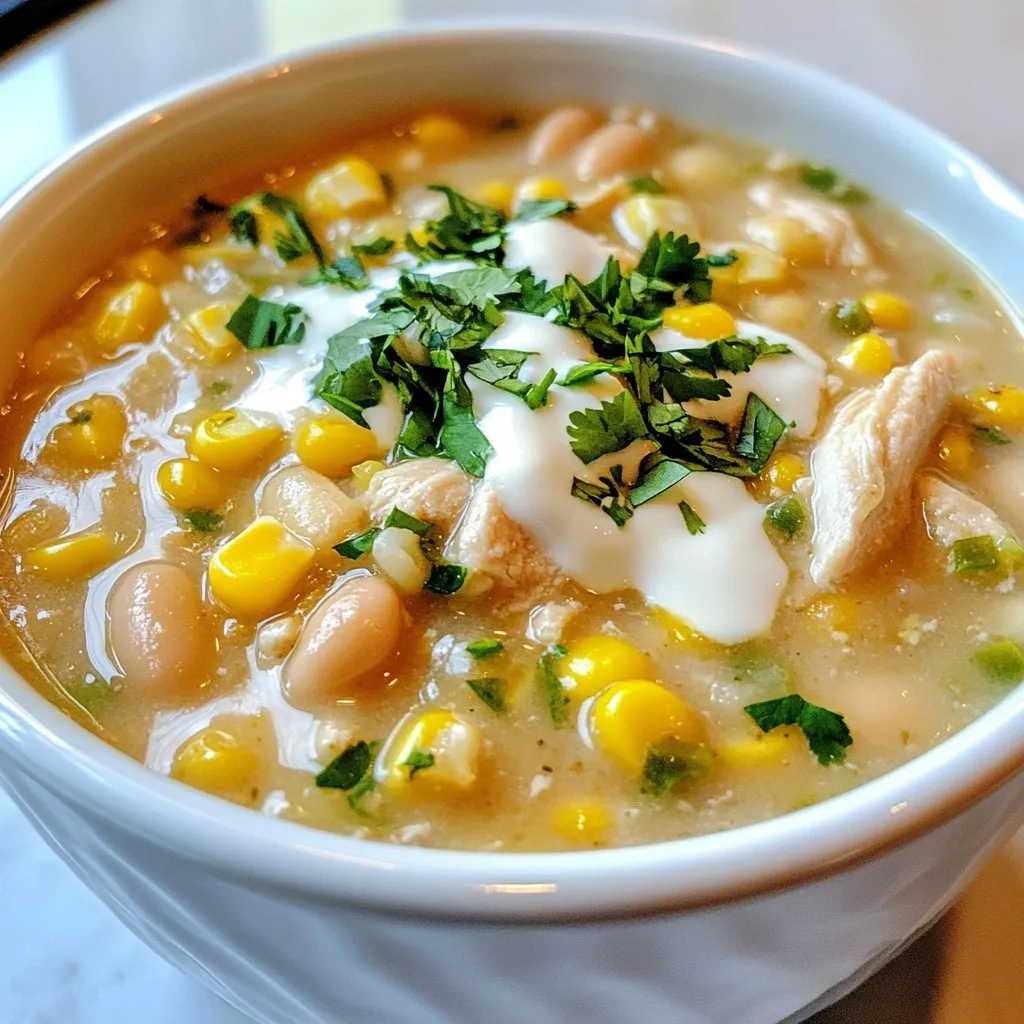
If you’re seeking a warm, tasty meal that’s easy to whip up, look no further! My Creamy Garlic White Chicken
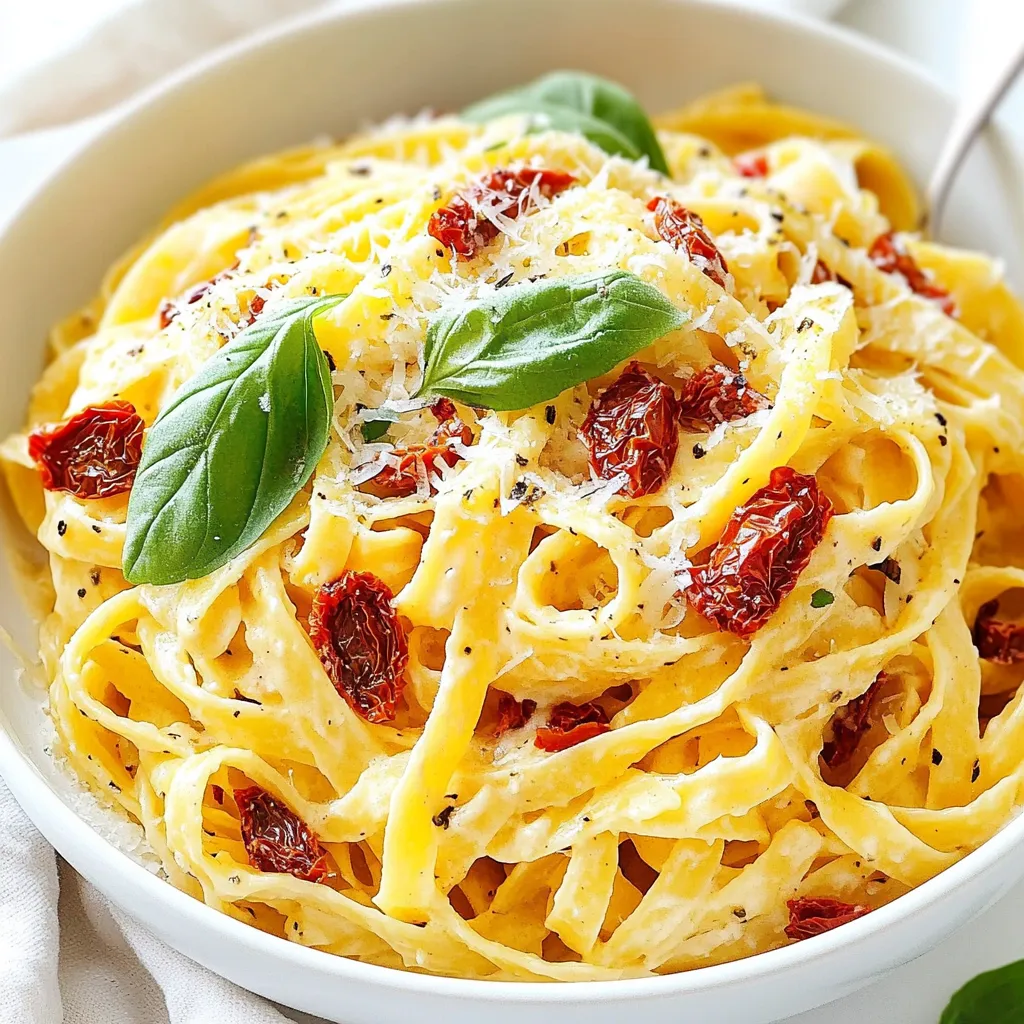
Looking for a quick and tasty pasta dish? My Creamy Sun Dried Tomato Pasta is just what you need! This
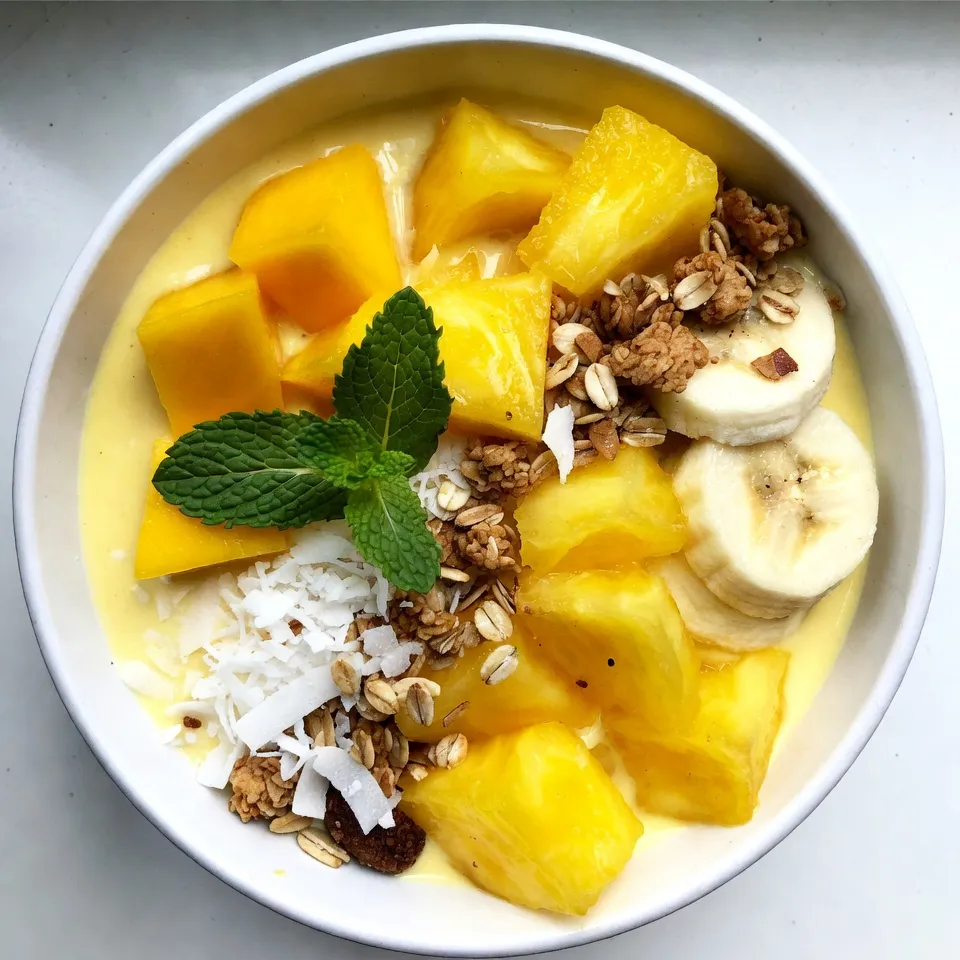
Looking for a delicious way to cool off? My Mango Pineapple Smoothie Bowl is the perfect treat! Bursting with tropical
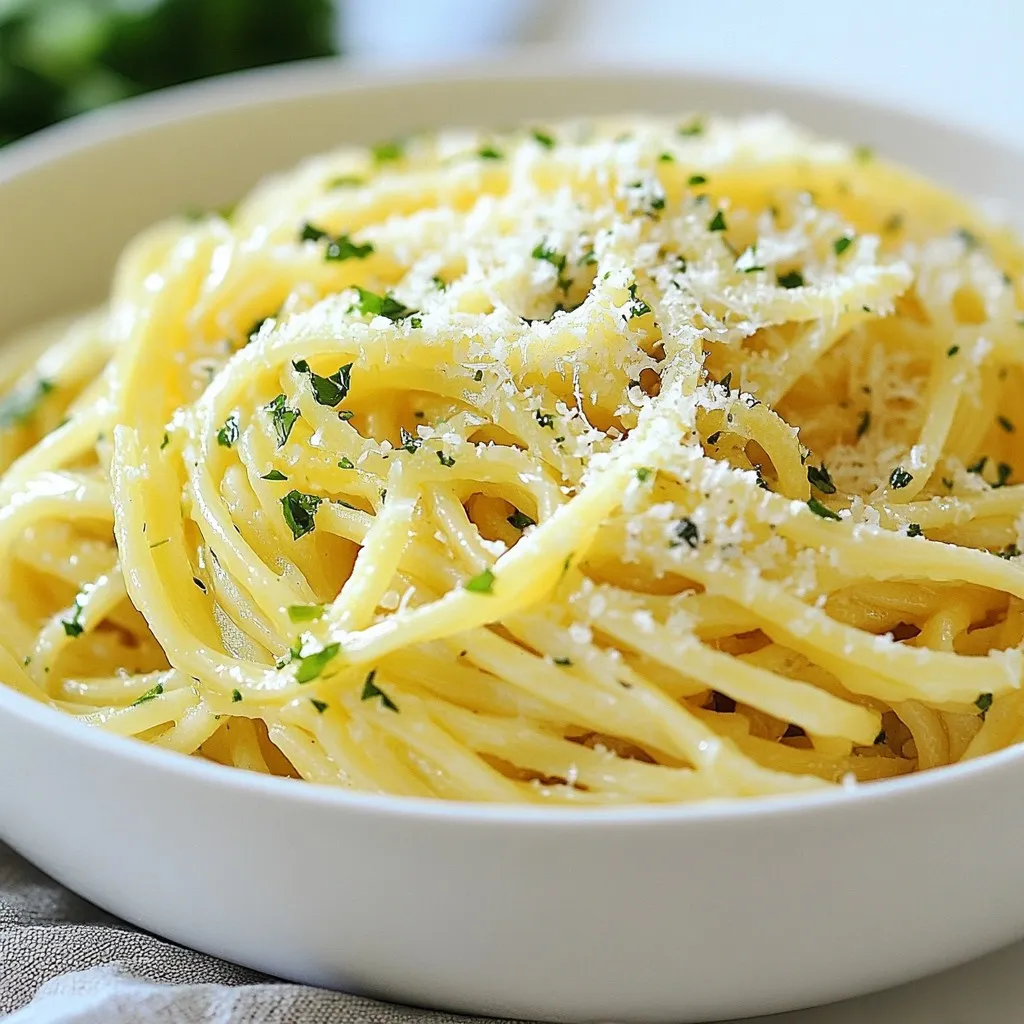
Are you ready to turn simple ingredients into a mouthwatering meal? Garlic Herb Buttered Noodles are easy to make and

Looking for a festive treat that dazzles the taste buds? You’ve found it! Peppermint Chocolate Dipped Oreos combine classic flavors
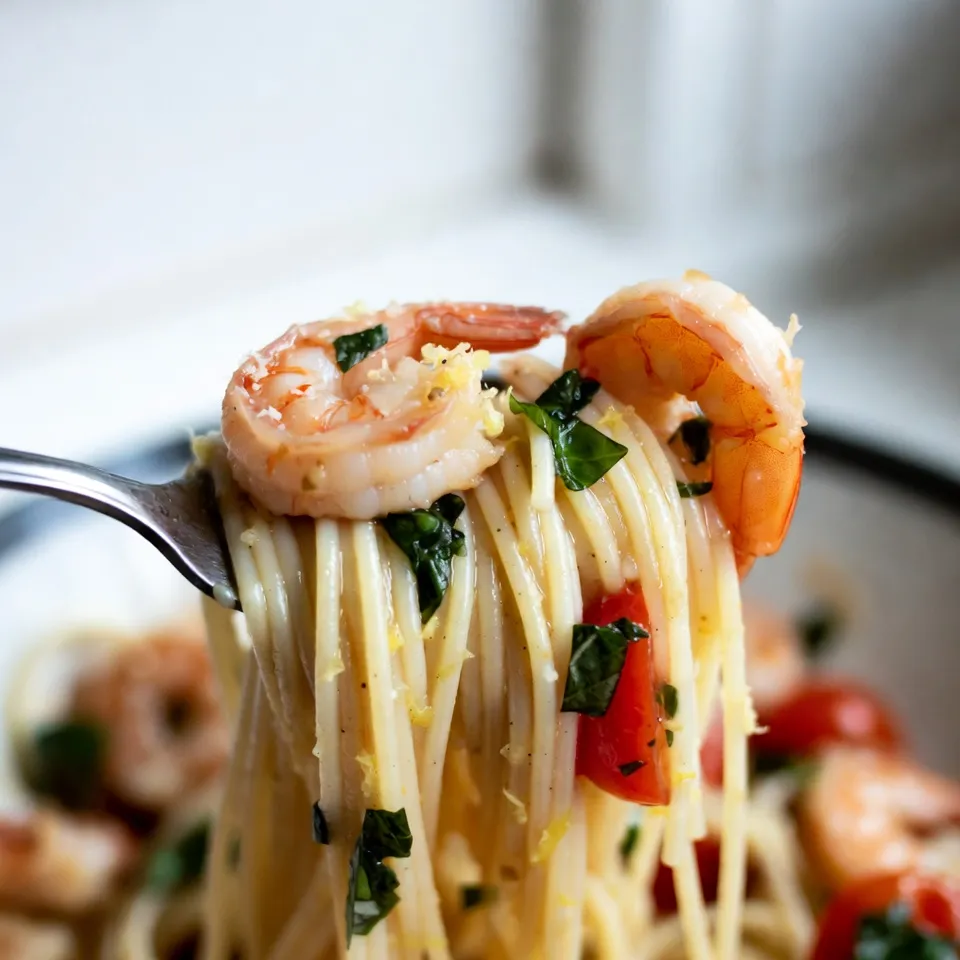
Ready to whip up a quick, tasty meal? This Lemon Basil Shrimp Pasta is just what you need. I’ll share
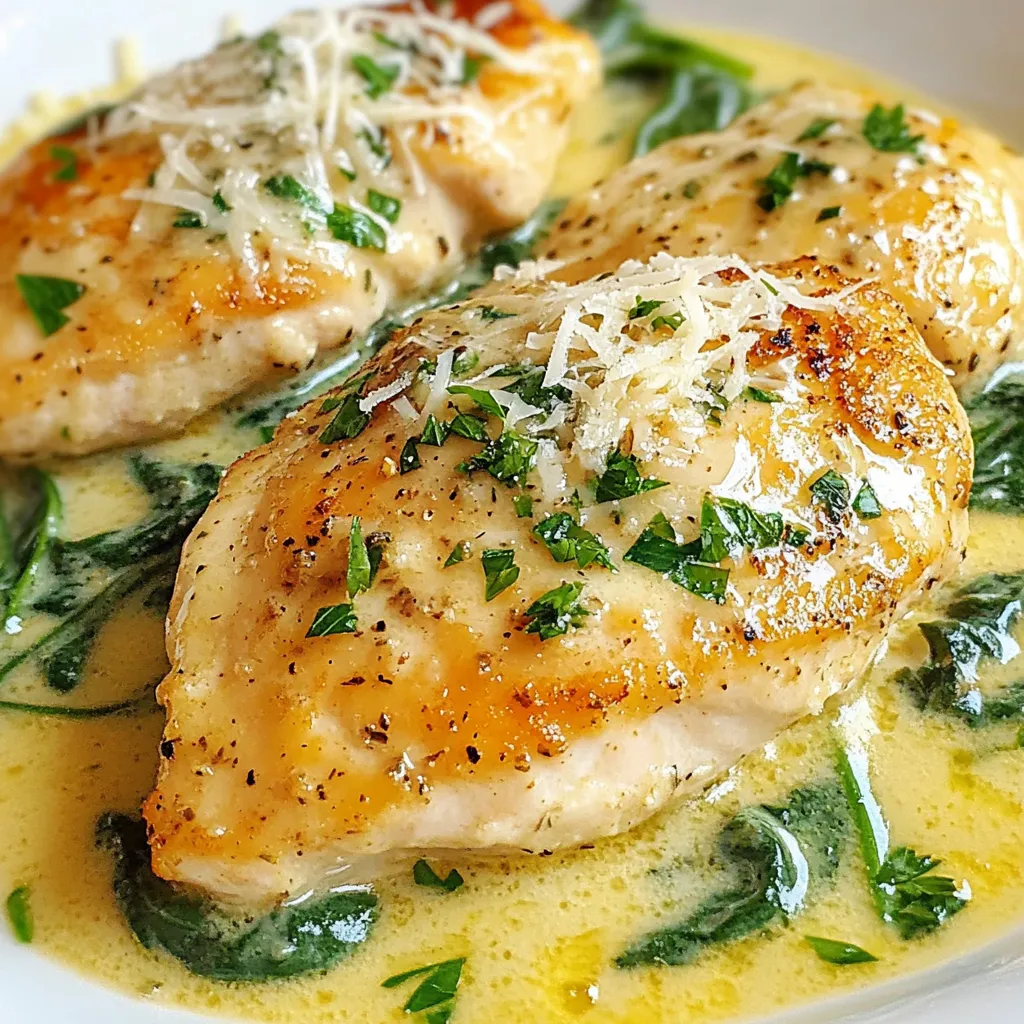
Looking for a delicious and easy dinner idea? You’ll love this Creamy Garlic Spinach Chicken! This dish combines juicy chicken
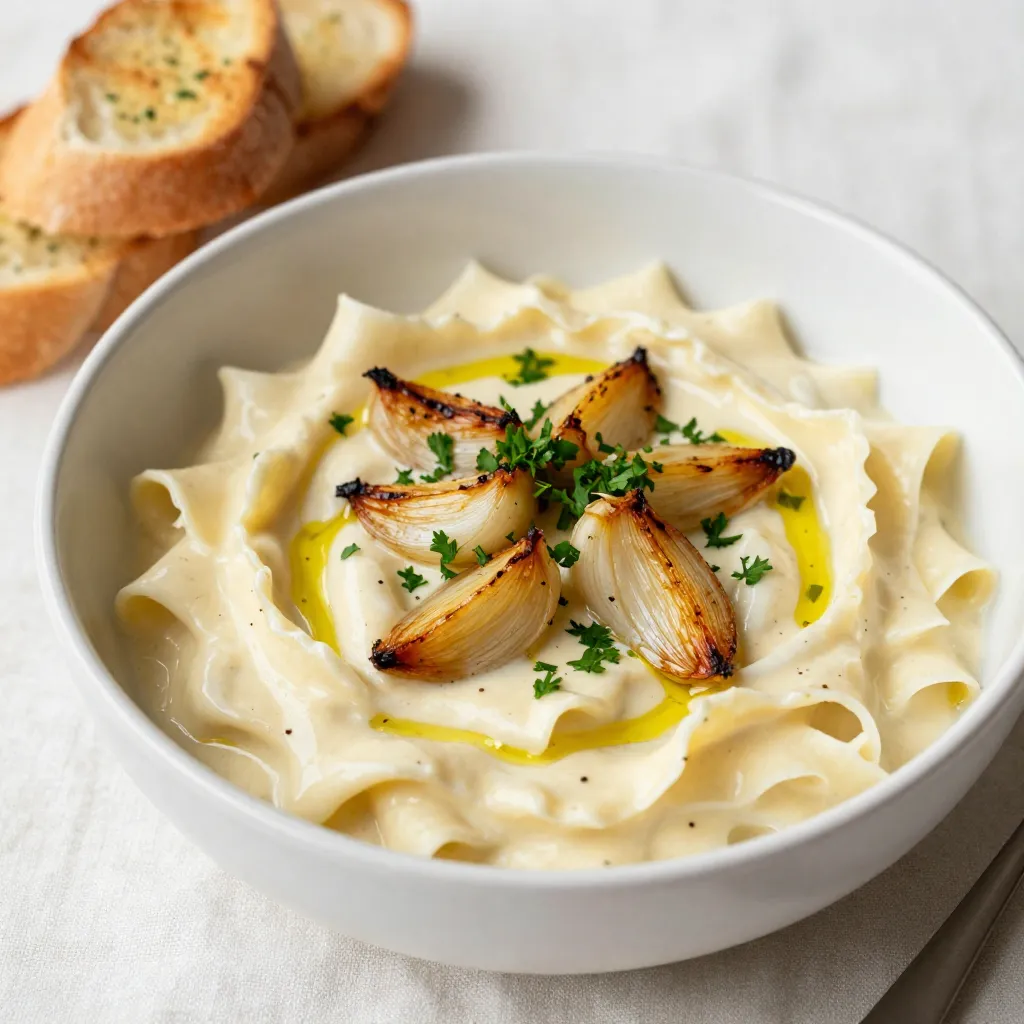
Are you ready to elevate your pasta game with a rich and creamy Roasted Garlic Alfredo Sauce? This sauce not