
Minute Herb Butter Orzo Simple and Flavorful Dish
Are you ready to make a dish that bursts with flavor? Minute Herb Butter Orzo is simple to prepare, yet

Are you ready to make a dish that bursts with flavor? Minute Herb Butter Orzo is simple to prepare, yet
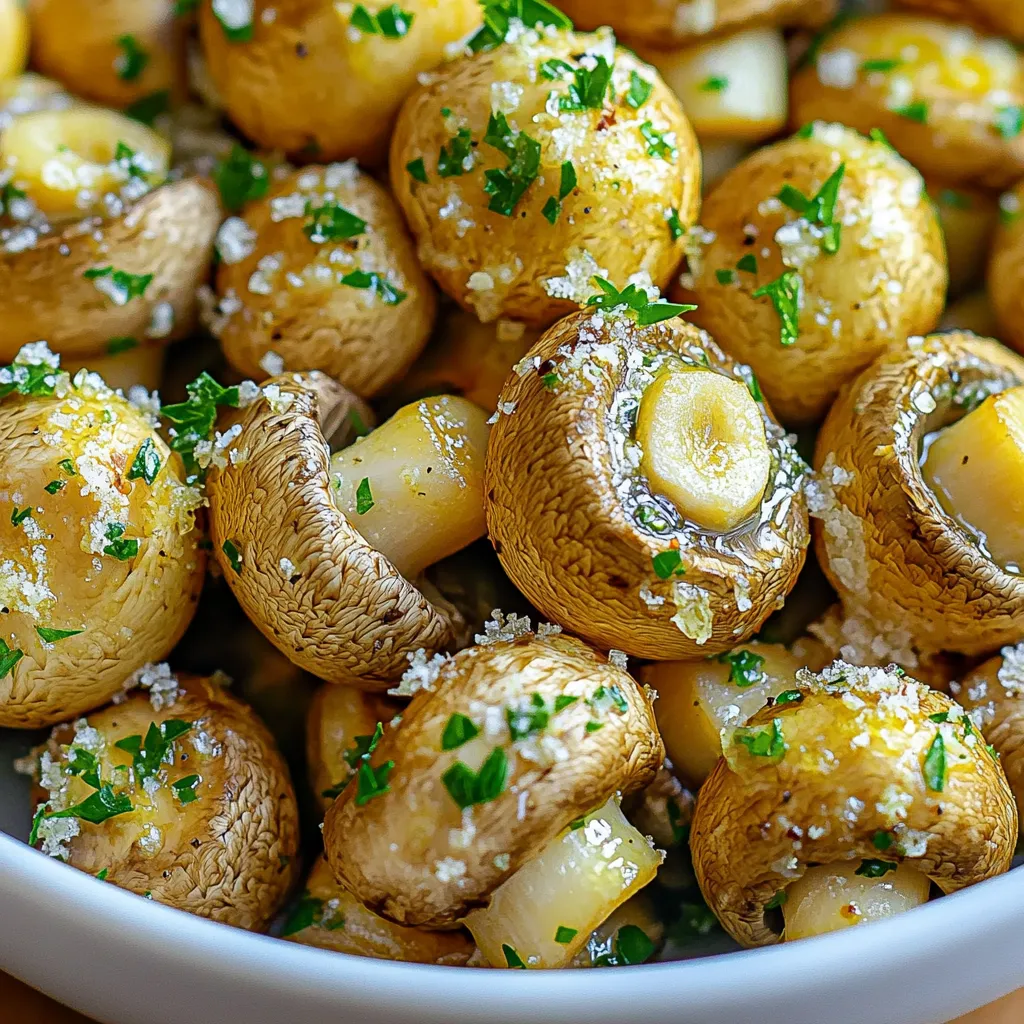
Are you ready to elevate your side dish game? Air Fryer Garlic Parmesan Mushrooms are a tasty and simple dish
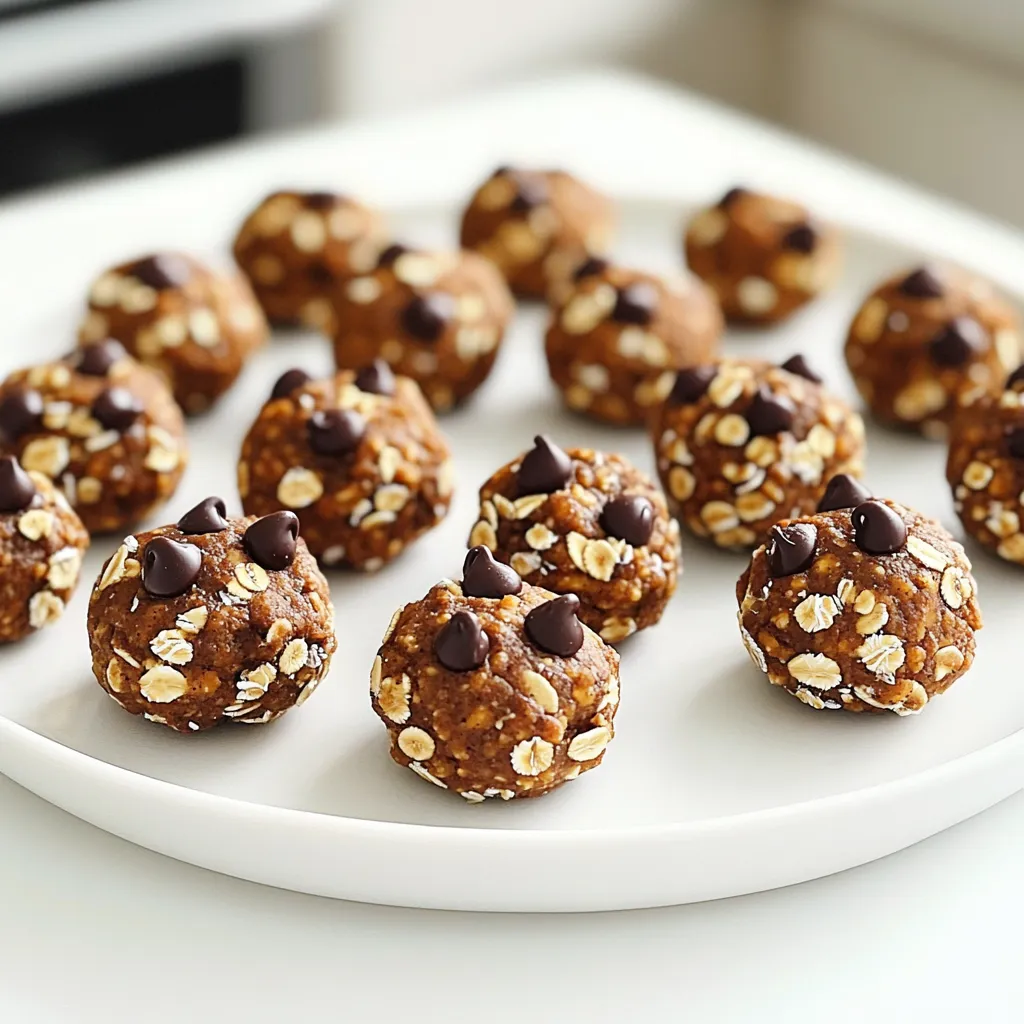
Looking for a quick and tasty snack? You’ll love these No Bake Mocha Pumpkin Energy Bites! This simple recipe uses
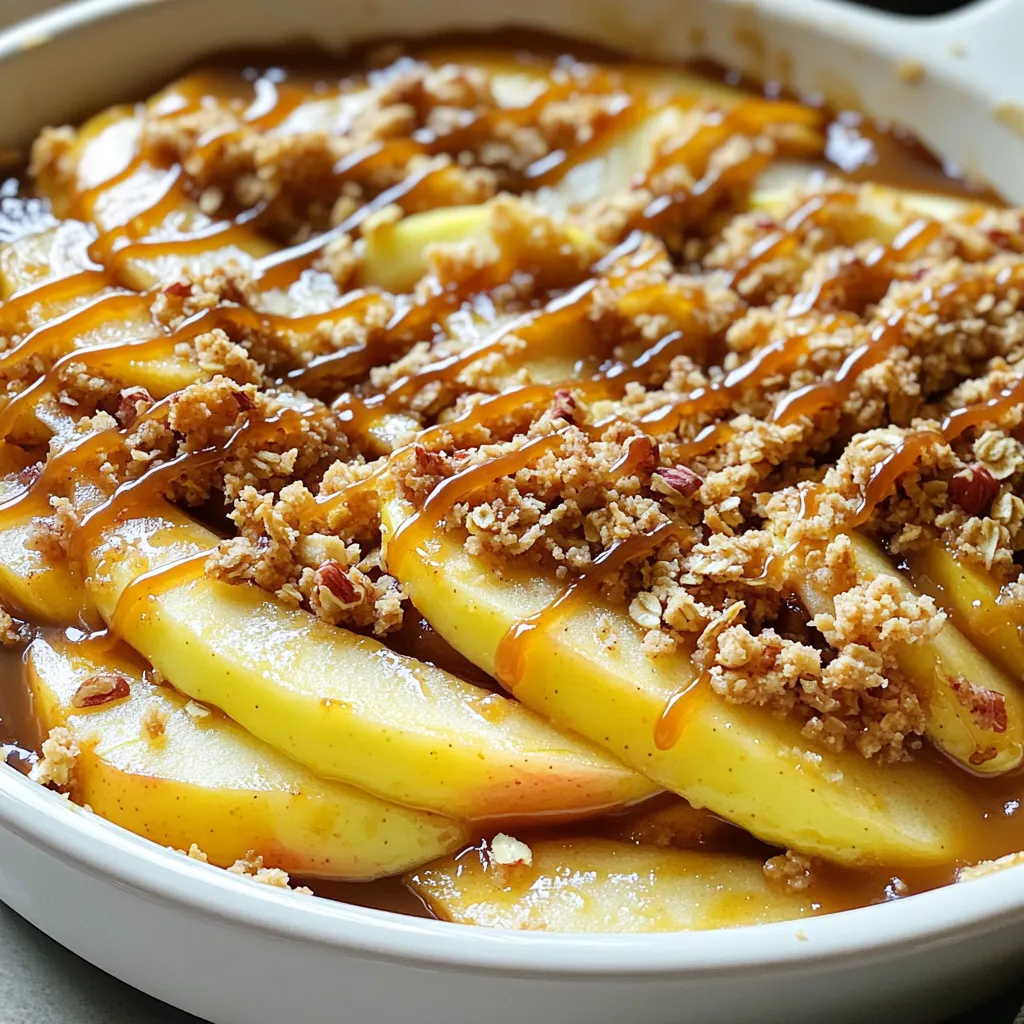
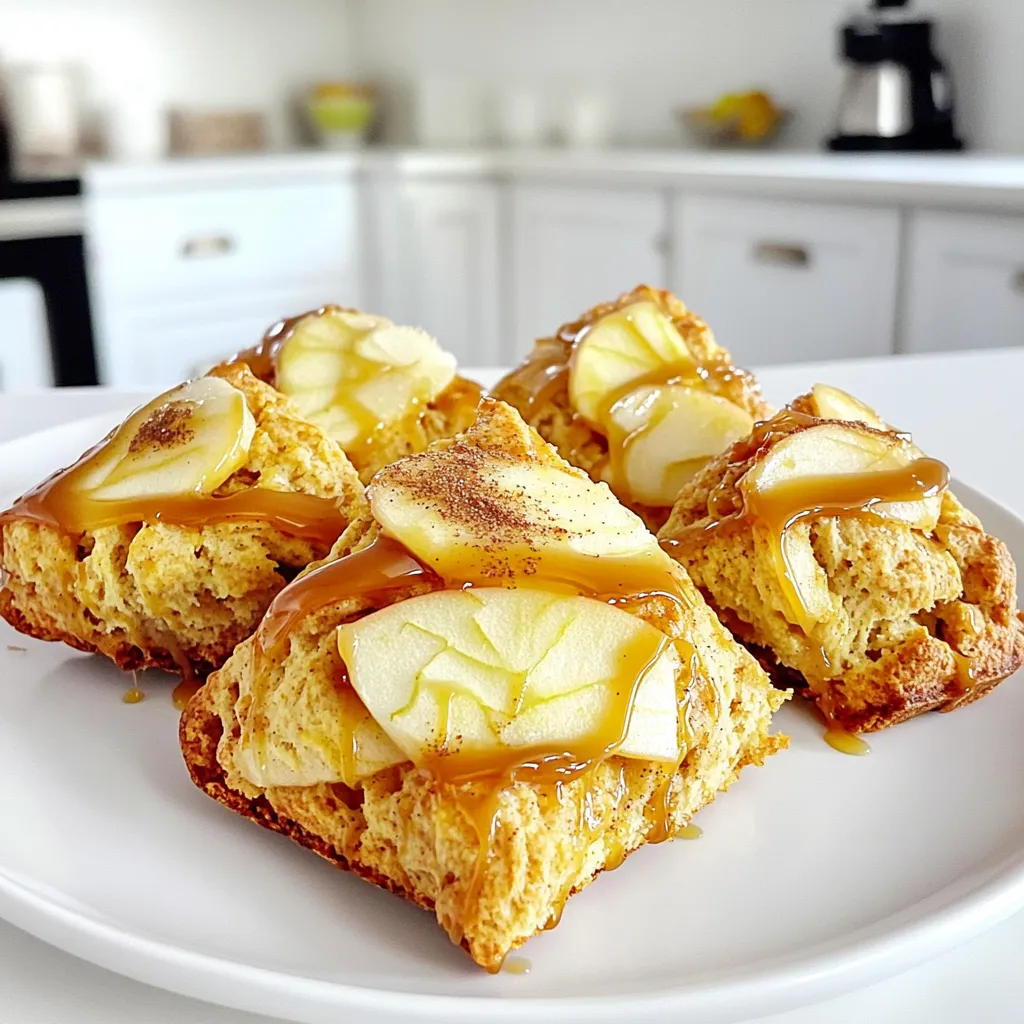
Looking for a simple dessert that packs big flavor? This Caramel Apple Crumble Skillet is the answer! With just a
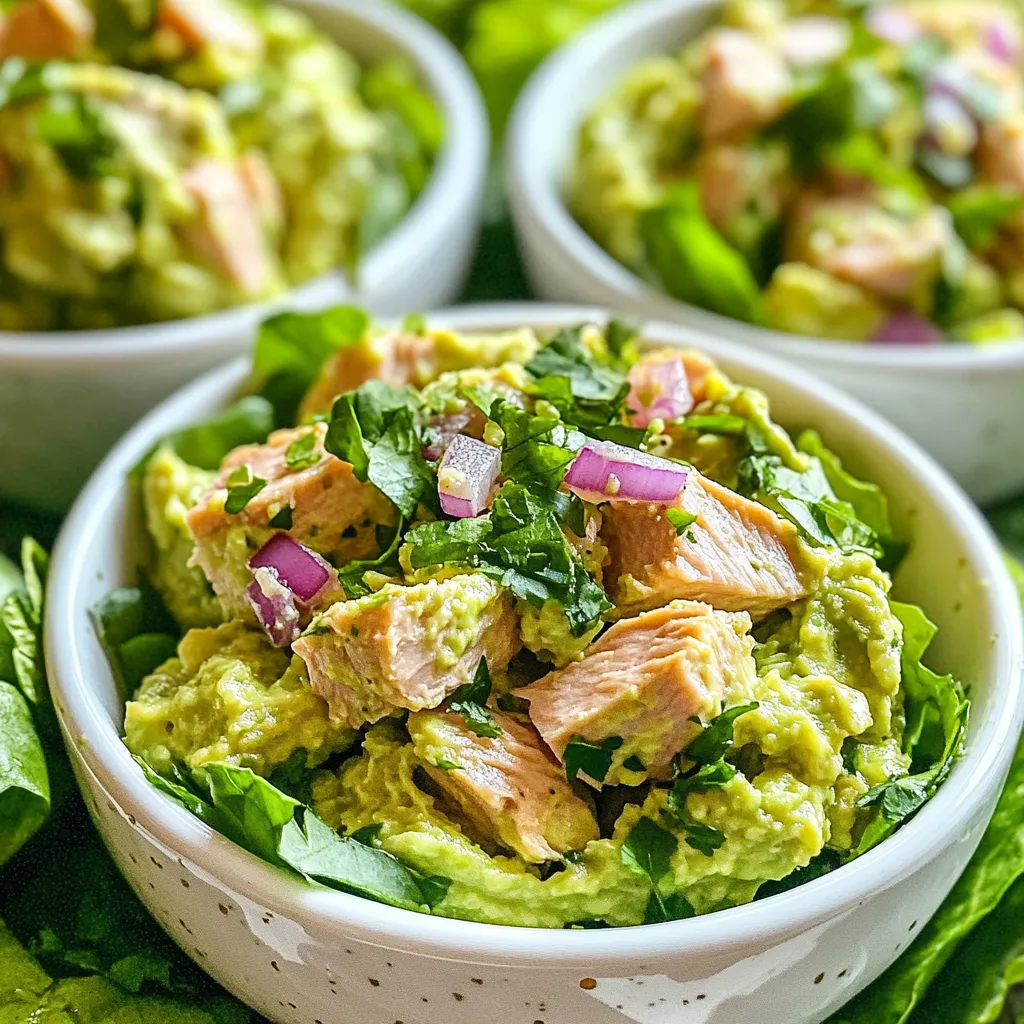
Looking for a fresh twist on your lunch? My Avocado Lime Tuna Salad is both healthy and tasty. This vibrant
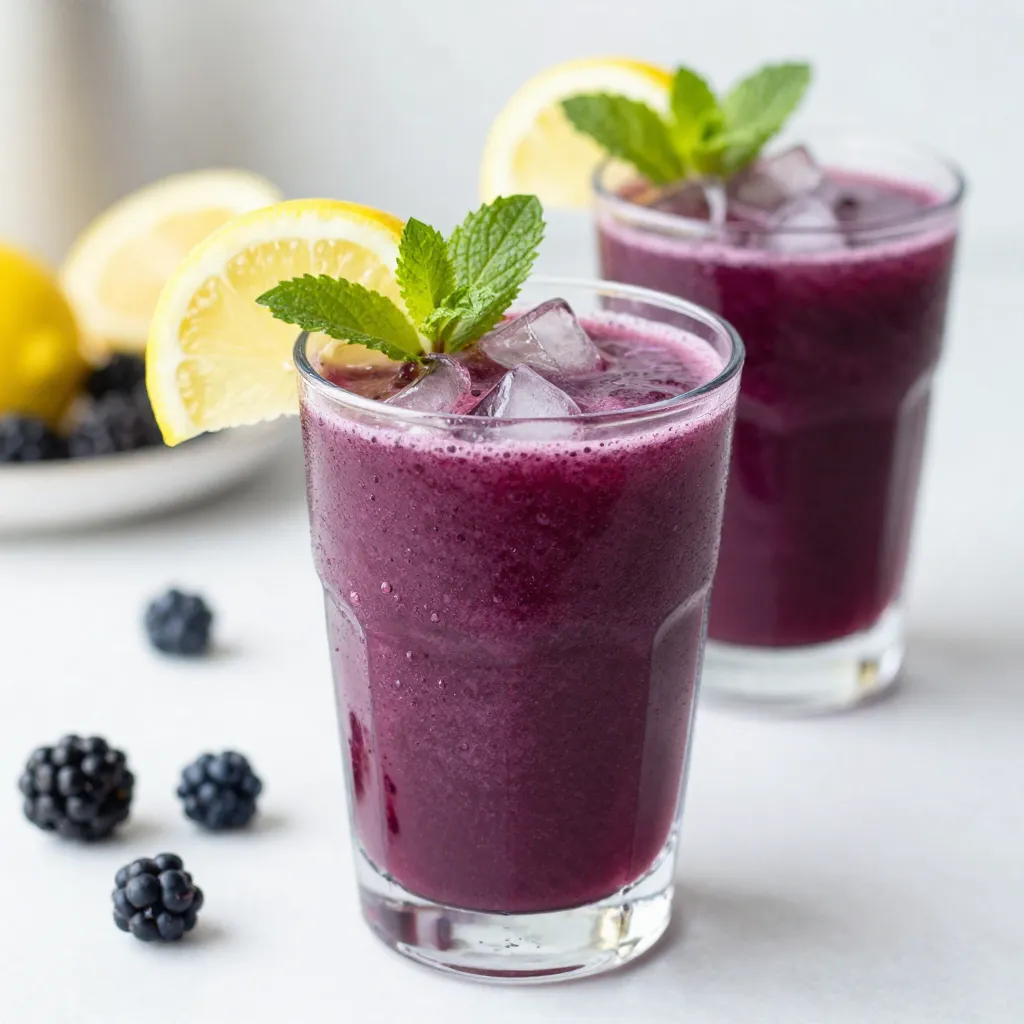
Hot summer days call for something cool and refreshing. Enter the Blackberry Lemonade Slush! This icy treat combines sweet blackberries
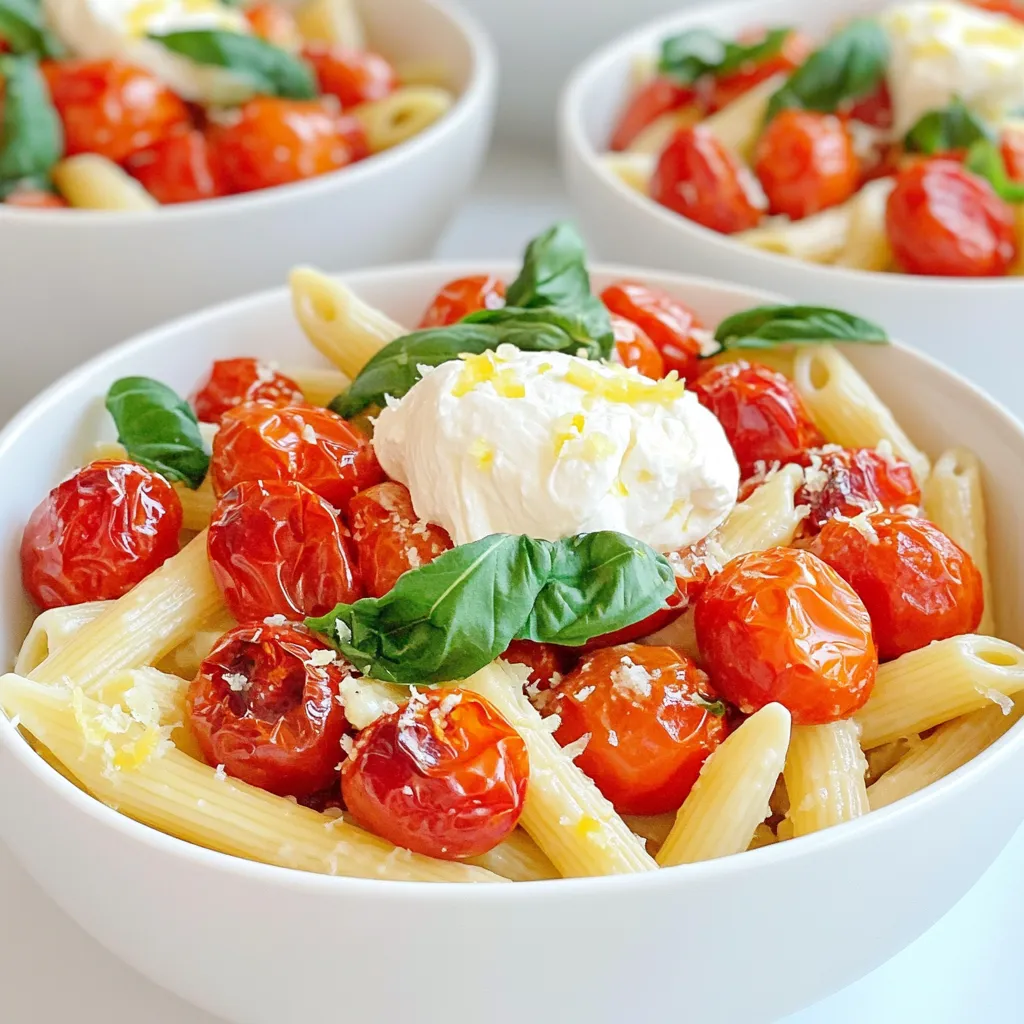
Craving a dish that’s both simple and bursting with flavor? Let me introduce you to Roasted Tomato Burrata Pasta. This
Get ready to treat your taste buds! In this article, I’ll show you how to make the most delightful Caramel
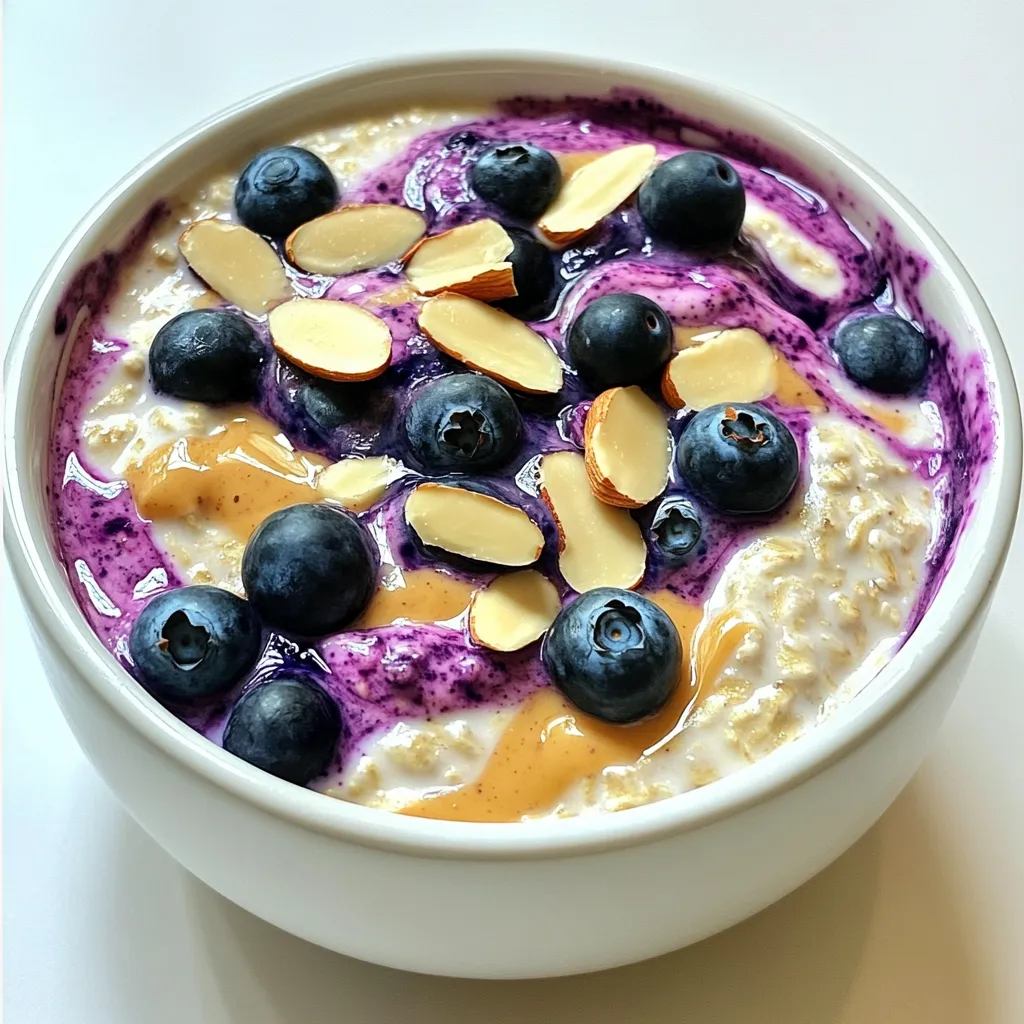
Looking for a quick, tasty, and healthy breakfast? Blueberry Almond Overnight Oats are your answer! With just a few simple
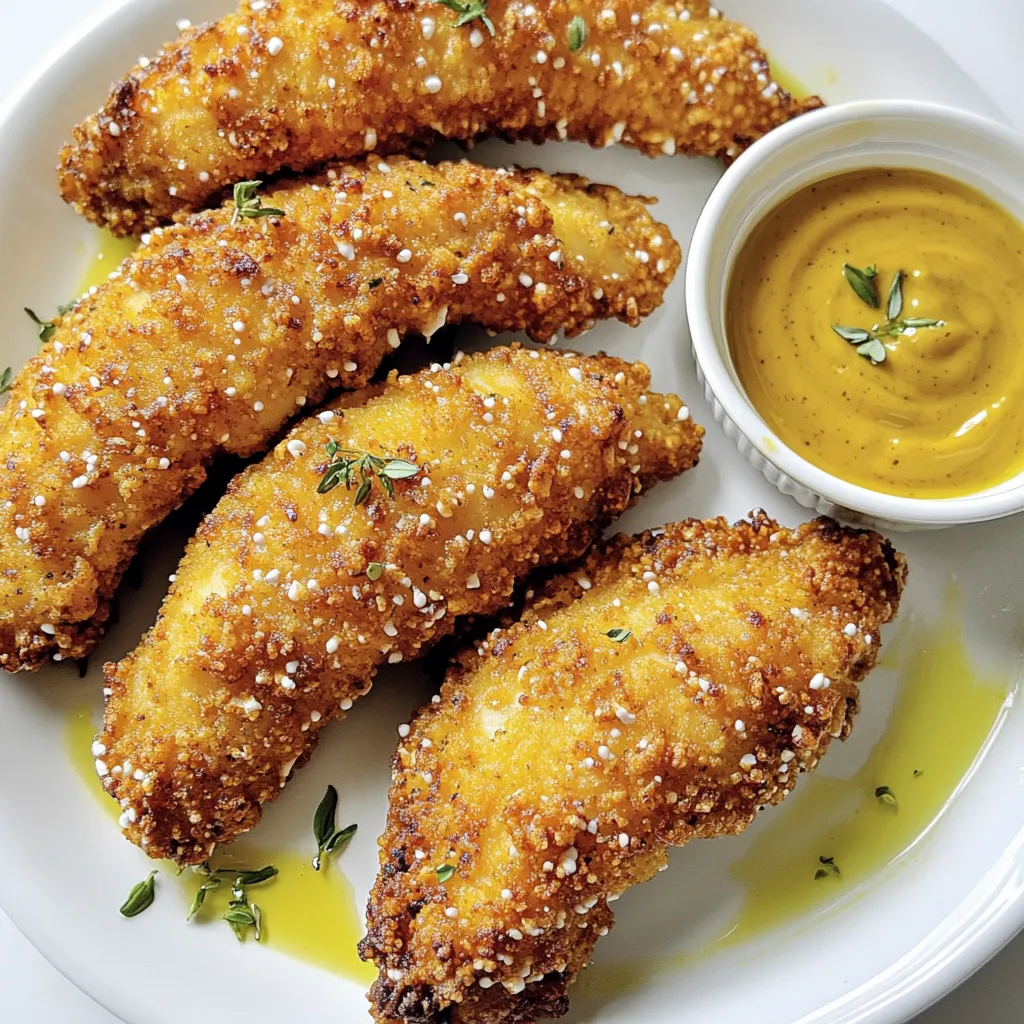
If you love crunchy snacks, get ready for a tasty treat! Honey Mustard Pretzel Chicken Tenders are packed with flavor