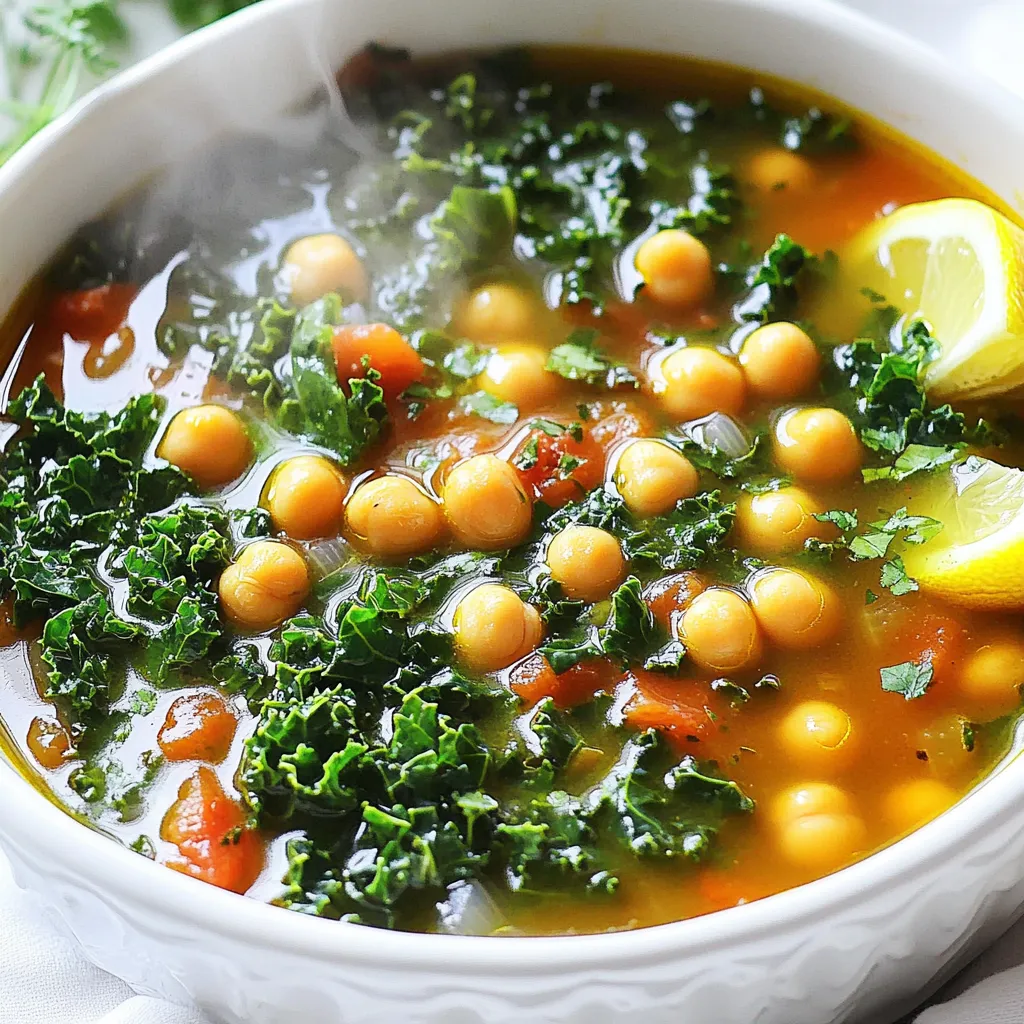
Tuscan Chickpea Kale Soup Hearty and Healthy Delight
Craving a warm, comforting meal that fuels your body? Let me introduce you to Tuscan Chickpea Kale Soup! This dish

Craving a warm, comforting meal that fuels your body? Let me introduce you to Tuscan Chickpea Kale Soup! This dish

If you crave a sweet treat that’s simple to make, you’ll love this Chocolate Covered Strawberry Bark recipe! With just
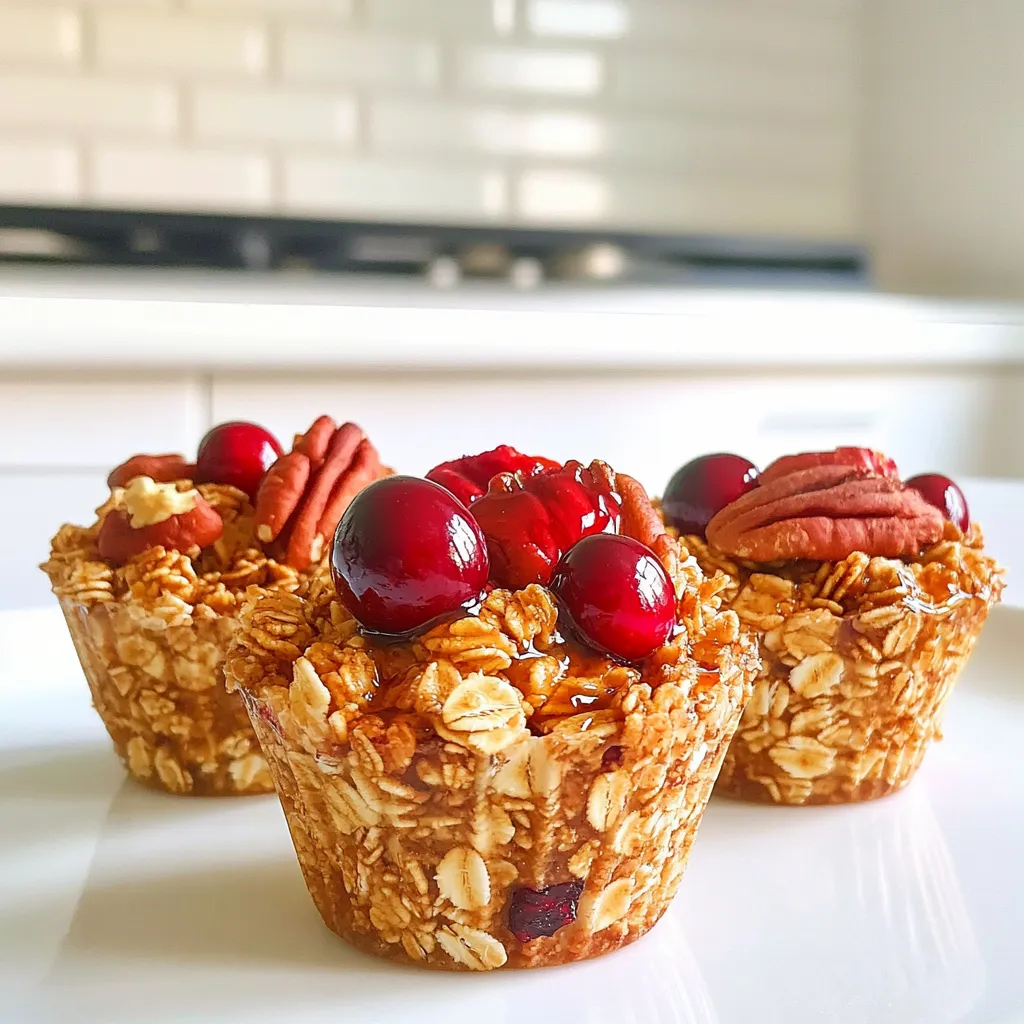
Looking for a tasty, healthy snack? You’ve come to the right place! These Maple Pecan Granola Cups are not just
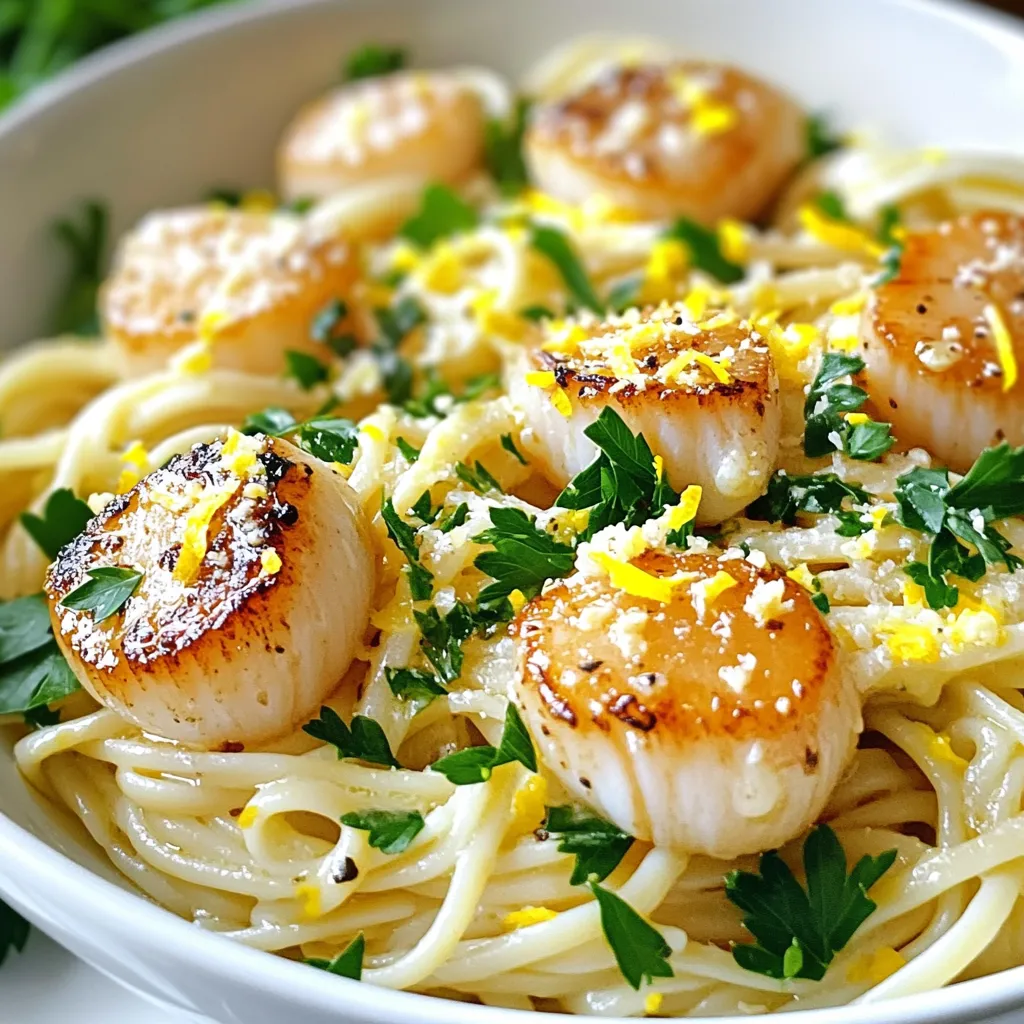
Craving a dish that bursts with flavor? Dive into my Garlic Butter Scallop Linguine! This rich meal combines tender scallops
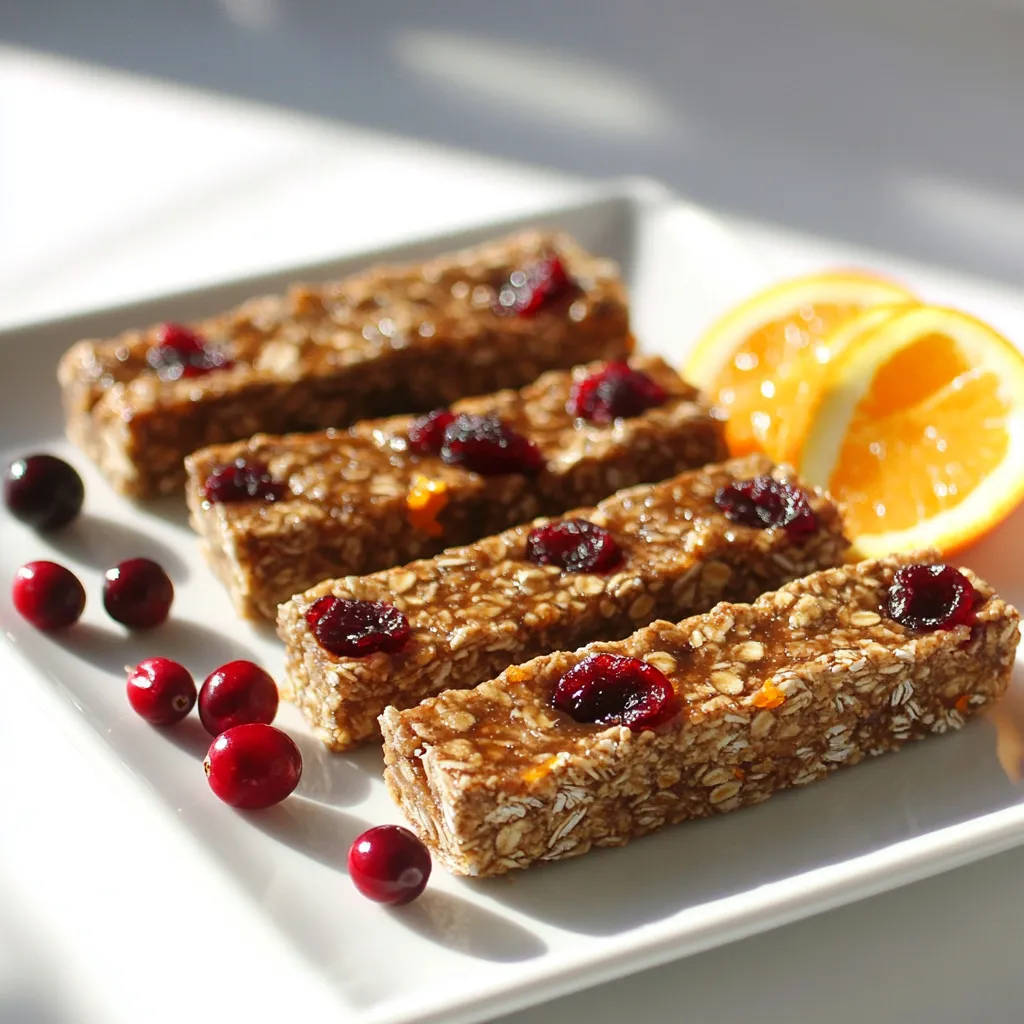
Looking for a quick, healthy snack? Let me introduce you to Cranberry Orange Energy Bars packed with nutrition! These tasty
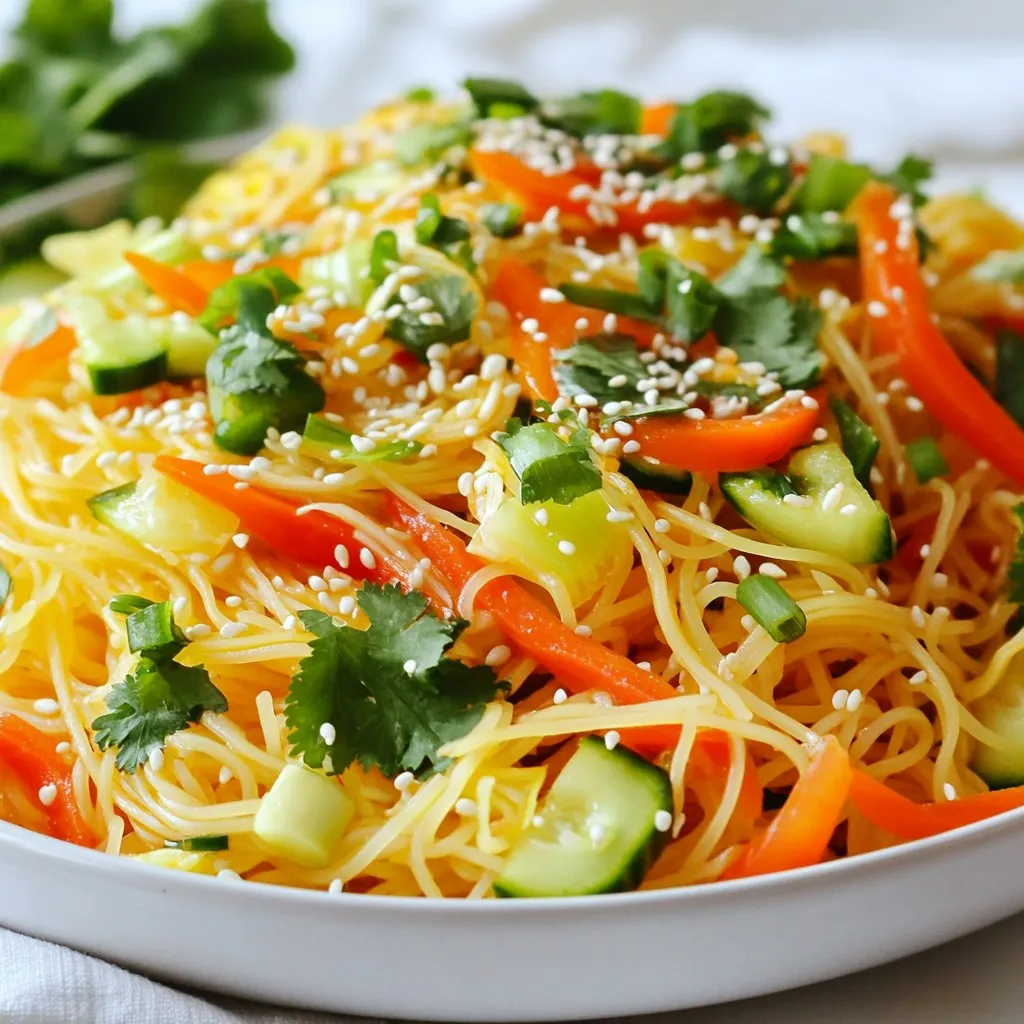
Craving a fresh and quick dish that bursts with flavor? Let me introduce you to my Sweet Chili Sesame Noodle
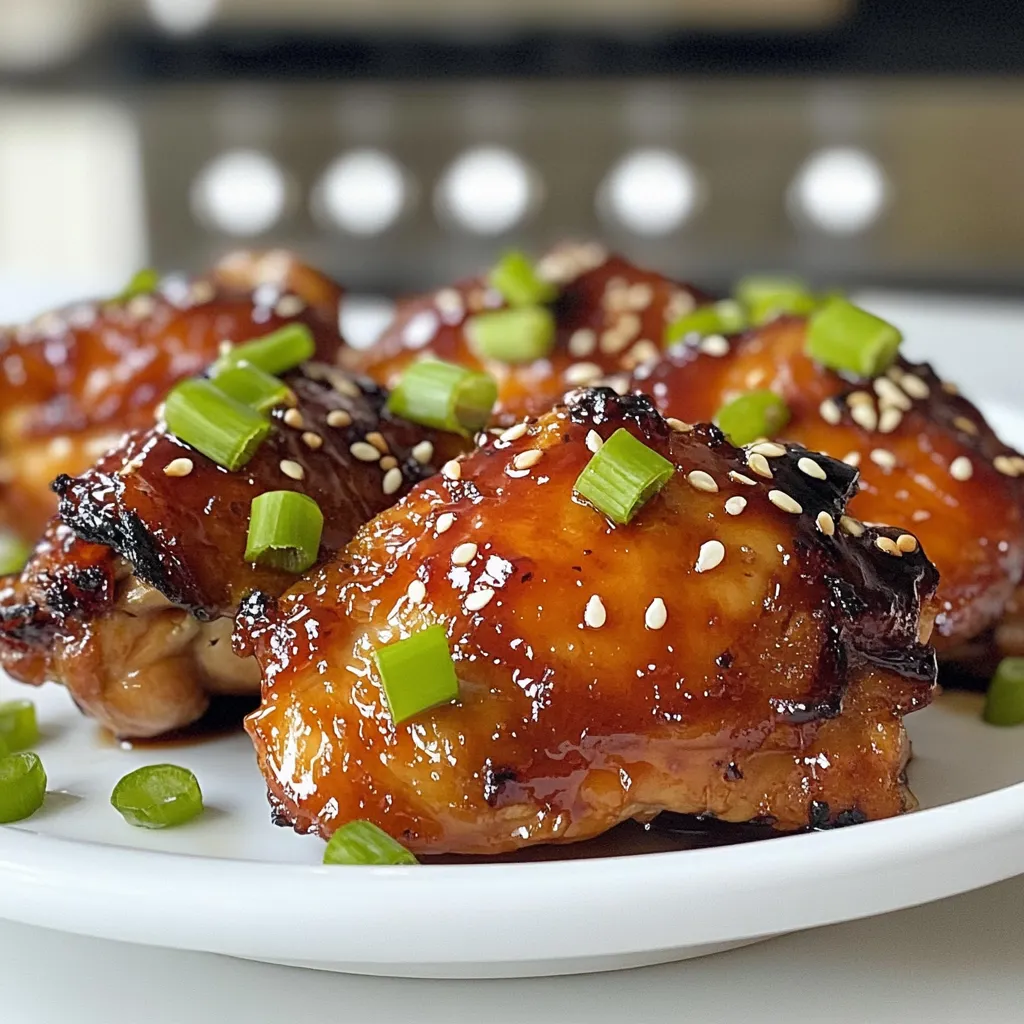
If you’re looking for a dinner that’s easy and bursting with flavor, you need to try my Sweet Teriyaki Chicken
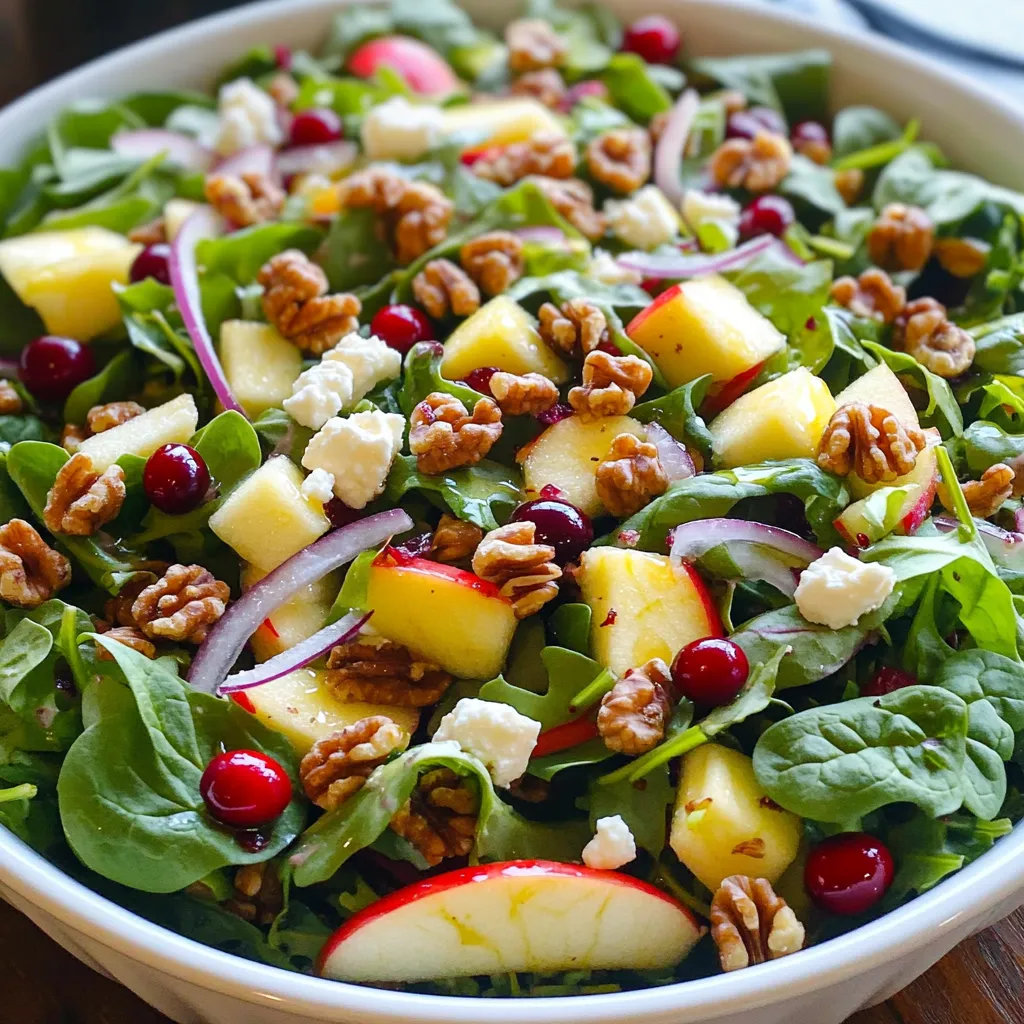
Are you looking for a refreshing and tasty salad that’s easy to make? The Apple Cranberry Walnut Salad combines crunchy
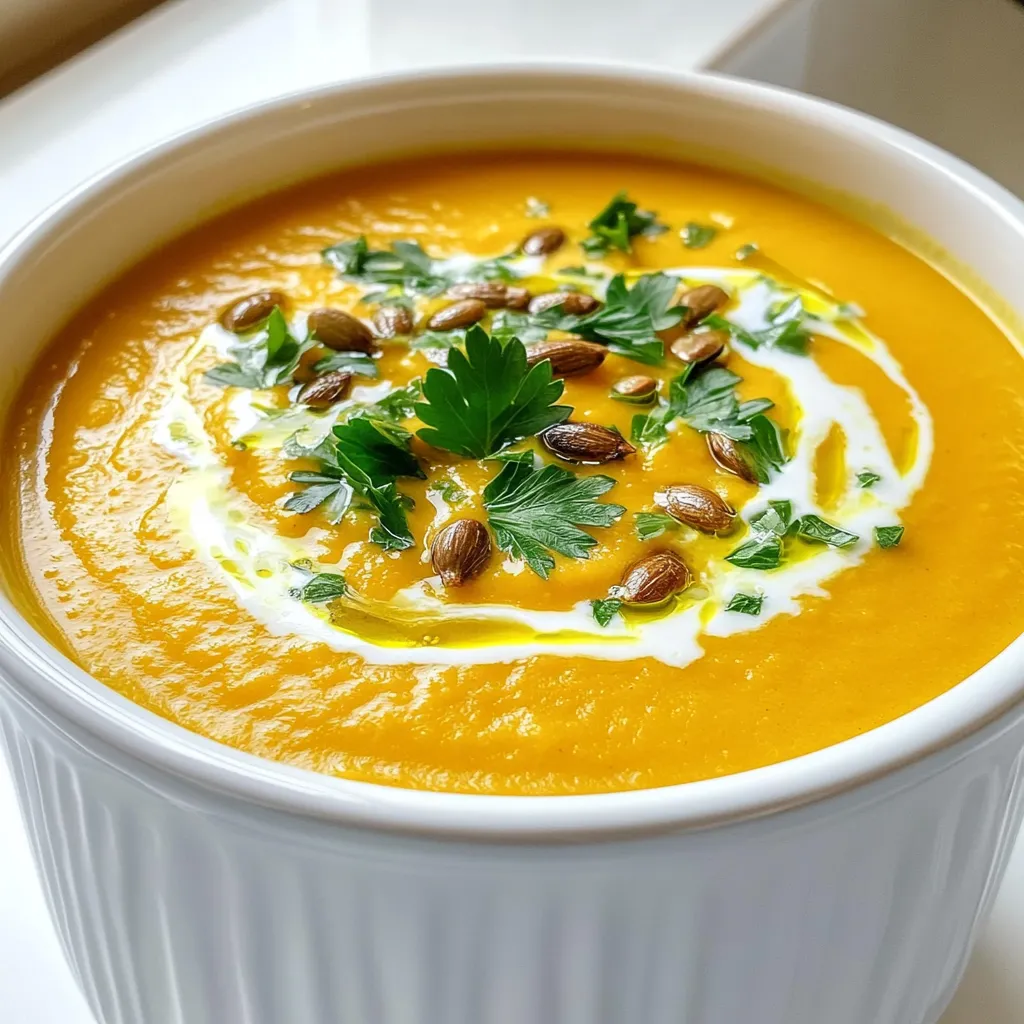
Warm up your kitchen with my Slow Cooker Creamy Pumpkin Soup! This cozy dish blends the rich flavors of pumpkin

If you’re craving a sweet treat that’s easy to make, I’ve got just the recipe for you. Air Fryer Cinnamon