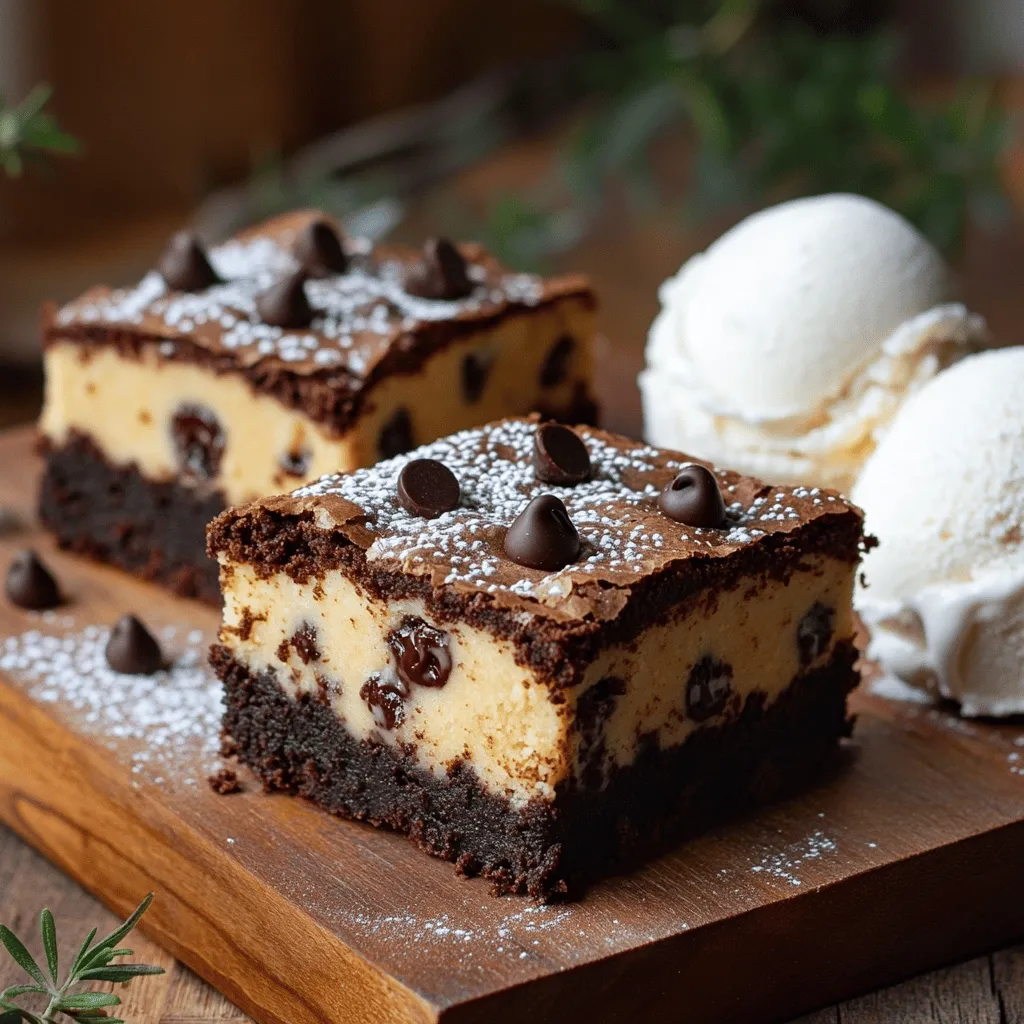
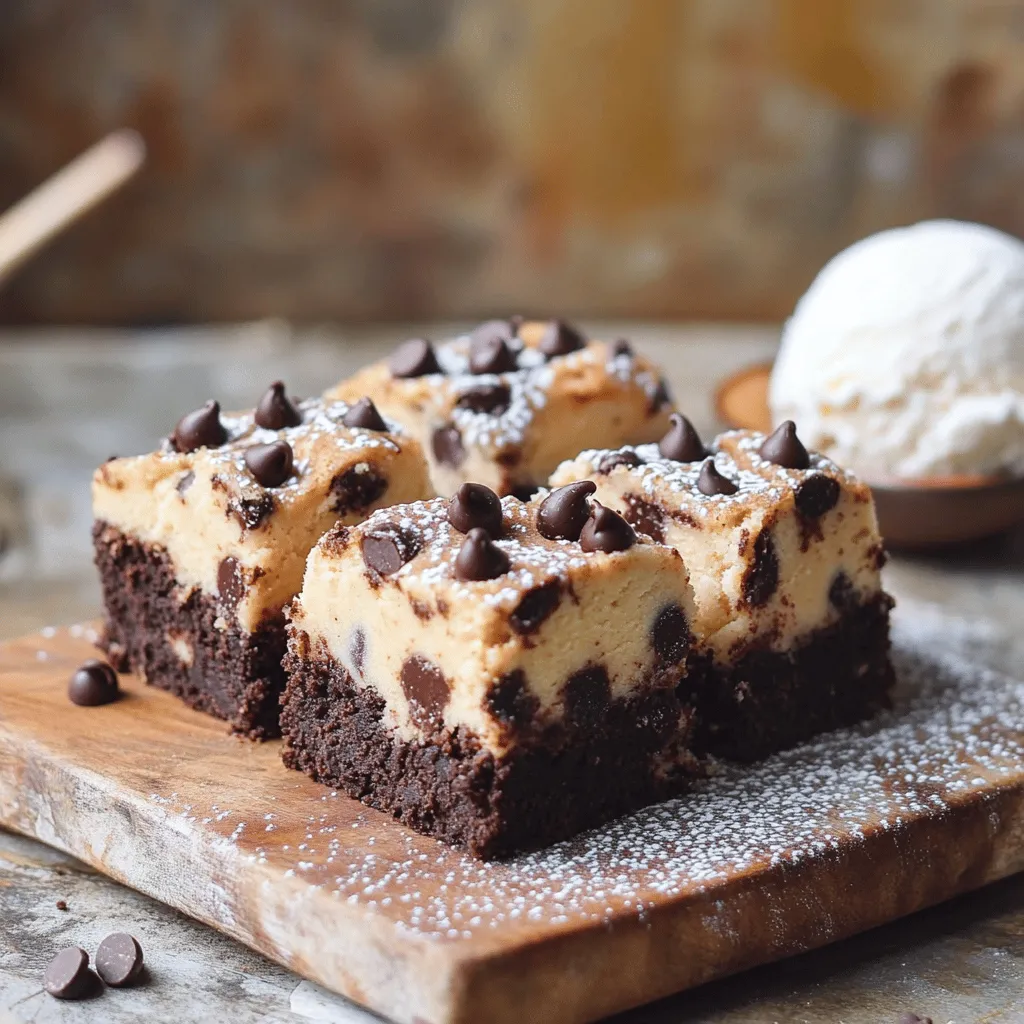
Craving something sweet and decadent? You’re in for a treat! Chocolate Chip Cookie Dough Brownies blend gooey brownies with rich cookie dough, creating a delicious dessert. I’ll share the exact ingredients and step-by-step instructions to whip up this delightful delight. Plus, I’ll offer tips, variations, and storage ideas. Let’s make your kitchen a haven for cookie lovers and brownie fans alike!
Ingredients
Brownie Layer Ingredients
For the brownie layer, you will need:
– 1/2 cup unsalted butter, melted
– 1 cup granulated sugar
– 1/2 cup brown sugar, packed
– 2 large eggs
– 1 teaspoon vanilla extract
– 1/2 cup all-purpose flour
– 1/3 cup unsweetened cocoa powder
– 1/4 teaspoon salt
– 1/4 teaspoon baking powder
– 1/2 cup chocolate chips
Cookie Dough Layer Ingredients
For the cookie dough layer, gather these items:
– 1/4 cup unsalted butter, softened
– 1/4 cup brown sugar, packed
– 1/4 cup granulated sugar
– 1/2 teaspoon vanilla extract
– 1/4 cup all-purpose flour (heat-treated)
– 1/4 teaspoon salt
– 1/2 cup mini chocolate chips
To heat-treat flour, spread it on a baking sheet and bake at 350°F for 5 minutes. Let it cool before mixing.
Tips for Ingredient Substitutions
You can swap ingredients if needed. Here are some ideas:
– Use coconut oil instead of butter for a dairy-free option.
– Substitute brown sugar with coconut sugar for a healthier choice.
– For a gluten-free version, use a gluten-free flour blend instead of all-purpose flour.
– If you dislike chocolate chips, try chopped nuts or dried fruit instead.
These tips can help you create a tasty treat while fitting your needs.
Step-by-Step Instructions
Preparing the Brownie Layer
Start by preheating your oven to 350°F (175°C). Next, grab an 8×8 inch baking pan. Grease it and line it with parchment paper. Leave some paper hanging over the edges for easy removal later. In a large bowl, mix together melted butter, granulated sugar, and brown sugar. Stir until it all blends well. Add the eggs one at a time. Mix well after each egg. Then, stir in the vanilla extract. In another bowl, whisk together flour, cocoa powder, salt, and baking powder. Gradually add this dry mix to the wet ingredients. Be careful, do not overmix. Fold in the chocolate chips. Now, pour your brownie batter into the prepared pan. Spread it evenly across the bottom.
Making the Cookie Dough Layer
In a separate bowl, beat together softened butter, brown sugar, and granulated sugar. Mix until it becomes light and fluffy. Add the vanilla extract next. Now, mix in the heat-treated flour and salt. Stir until a soft dough forms. Gently fold in the mini chocolate chips. This cookie dough layer will be rich and tasty.
Assembling and Baking the Brownies
Drop spoonfuls of the cookie dough on top of the brownie layer. Gently spread it to cover the surface. Use a knife or toothpick to swirl the brownie and cookie dough layers. This creates a lovely look. Bake in the preheated oven for about 25-30 minutes. Check with a toothpick; it should come out mostly clean, with a few crumbs. Once baked, let it cool in the pan for about 10 minutes. Use the parchment overhang to lift it out. Let it cool completely on a wire rack. Finally, slice into squares and enjoy your delicious creation!
Tips & Tricks
Using Quality Chocolate
Choose high-quality chocolate for rich flavor. I like to use semi-sweet chocolate chips. They melt beautifully and add a nice sweetness. Avoid cheap brands; they can ruin your treat. Look for brands that melt well and taste great. This small change makes a big difference.
Ensure a Perfect Swirl
Swirling the brownie and cookie dough layers takes practice. Use a knife or toothpick for this step. Start from the edges and move towards the center. Don’t over-mix; you want to see both layers. A good swirl looks nice and adds texture. It also helps blend the flavors without losing the layers.
Cooling and Storing Properly
Let your brownies cool in the pan for about 10 minutes. Use the parchment paper to lift them out. Cool completely on a wire rack. This keeps them from getting soggy. Store brownies in an airtight container. They stay fresh for up to five days. You can also freeze them for later enjoyment. Just wrap them tightly to prevent freezer burn.
Variations
Flavor Enhancements
You can add fun flavors to your brownies. Try mixing in peanut butter or vanilla extract for a twist. A touch of espresso powder can boost the chocolate flavor. If you love nuts, add chopped walnuts or pecans to the brownie layer. For a fruity kick, mix in some dried cherries or raspberries. You can also use flavored chocolate chips, like mint or caramel, to change things up.
Gluten-Free Options
Making these brownies gluten-free is easy. Simply swap out regular flour for a gluten-free blend. Make sure the blend is a cup-for-cup replacement to keep the texture right. You can also use almond flour for a nutty flavor. Always check that your chocolate chips are gluten-free too. This way, everyone can enjoy this delicious treat!
Additional Toppings Ideas
Top your brownies with even more goodies. Consider drizzling melted chocolate or caramel on top. You can add a sprinkle of sea salt for a sweet and salty mix. For extra crunch, try crushed cookies or nuts. Fresh berries or a scoop of ice cream can elevate each bite. These toppings make your brownies look fancy and taste even better!
Storage Info
Best Ways to Store Leftovers
To keep your brownies fresh, place them in an airtight container. This helps prevent them from drying out. You can leave the container at room temperature for up to three days. If you want to keep them longer, consider refrigerating them. Just note that the brownies may lose some of their soft texture in the fridge.
Freezing for Later Use
Freezing is a great option for longer storage. First, let the brownies cool completely. Then, cut them into squares. Wrap each square tightly in plastic wrap. Next, place the wrapped brownies in a zip-top bag. They will stay fresh for up to three months in the freezer. When you’re ready to enjoy, simply thaw at room temperature.
Reheating Tips for Optimal Enjoyment
To bring back that warm, gooey goodness, reheat the brownies. You can use a microwave for this. Place a brownie on a microwave-safe plate. Heat it for about 15-20 seconds. Check to see if it’s warm enough. If you prefer the oven, preheat it to 350°F (175°C). Place the brownies on a baking sheet and heat for about 5-10 minutes. Enjoy your delicious treat!
FAQs
Can I use regular flour instead of heat-treated flour?
No, you cannot use regular flour. Regular flour can contain harmful bacteria. Heat-treated flour is safe to eat raw. To make heat-treated flour, spread it on a baking sheet. Bake it at 350°F (175°C) for 5 minutes. This kills any germs and makes it safe for cookie dough. Always let it cool before using.
What can I use as a substitute for butter?
You can use coconut oil or vegetable oil. Both give great taste and texture. If you want a dairy-free option, try using apple sauce. It will keep your brownies moist. You can also use margarine, but watch for taste changes. Choose what fits your diet best.
How do I know when the brownies are done baking?
Check the brownies after 25 minutes. Insert a toothpick in the center. It should come out mostly clean. A few crumbs are okay, but avoid wet batter. If it comes out wet, bake for a few more minutes. Do not overbake; they will continue to cook as they cool.
In this blog post, you learned how to make delicious brownie cookie dough bars. We covered ingredients for both layers and offered tips for ingredient swaps. You also found step-by-step guidance for mixing and baking. I shared tricks for perfect results and explained fun variations to try. Proper storage tips help keep your treats fresh. Enjoy your baking adventures! Remember, experimenting with flavors can lead to great new recipes. Happy baking!


