If you crave a dessert that combines rich chocolate and bold coffee, this Chocolate Espresso Lava Cake is for you. Each bite oozes with molten chocolate goodness, making it the perfect treat for any occasion. I’ll guide you through each step, from selecting the right ingredients to mastering that perfect gooey center. So, grab your ramekins and let’s get baking. Your taste buds won’t regret it!
Why I Love This Recipe
- Decadent Flavor: This lava cake combines the rich taste of chocolate with a hint of espresso, creating an indulgent dessert that is perfect for chocolate lovers.
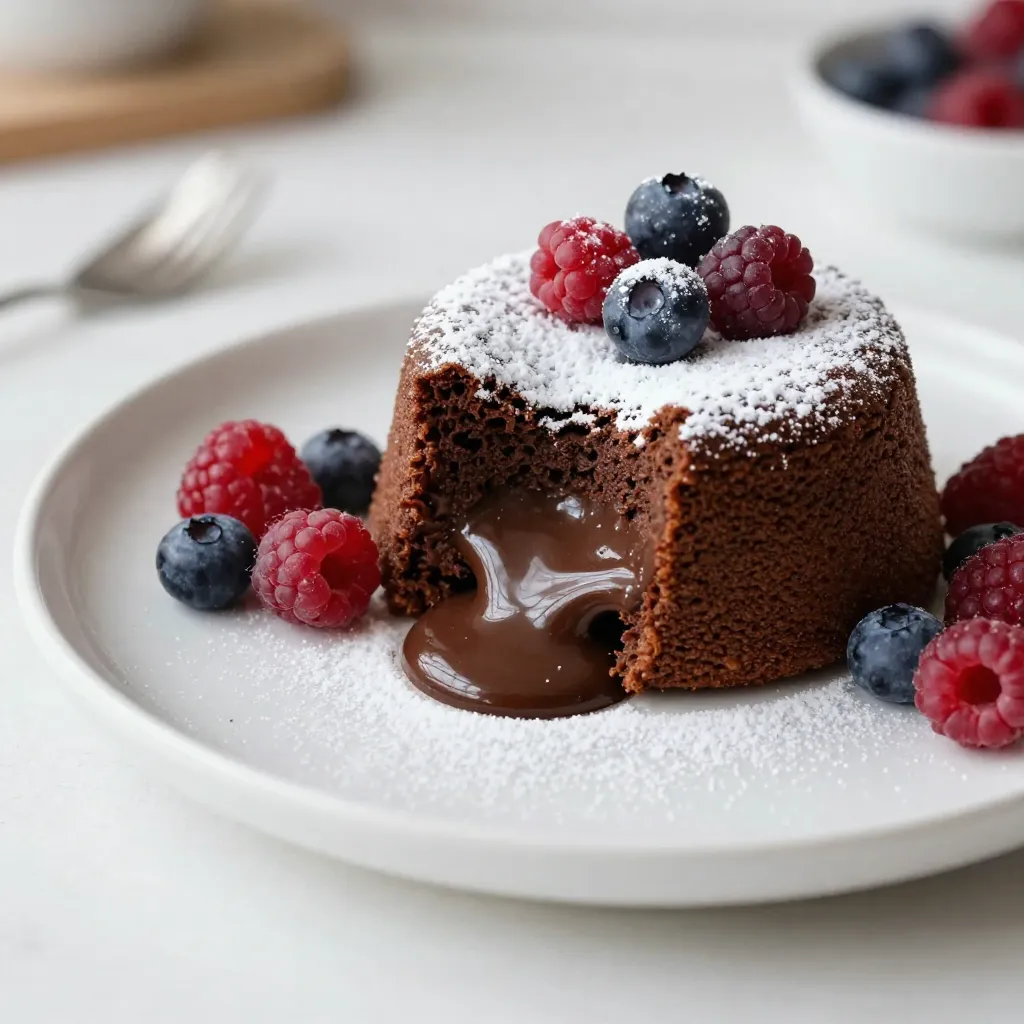
- Impressive Presentation: When inverted, the molten center oozes onto the plate, making it an impressive dessert to serve at dinner parties or special occasions.
- Quick and Easy: With a prep time of just 15 minutes, this recipe is a breeze to whip up, even for novice bakers.
- Customizable: Add your favorite toppings like fresh berries or whipped cream to enhance the dessert and create your own signature twist.
Ingredients
List of Required Ingredients
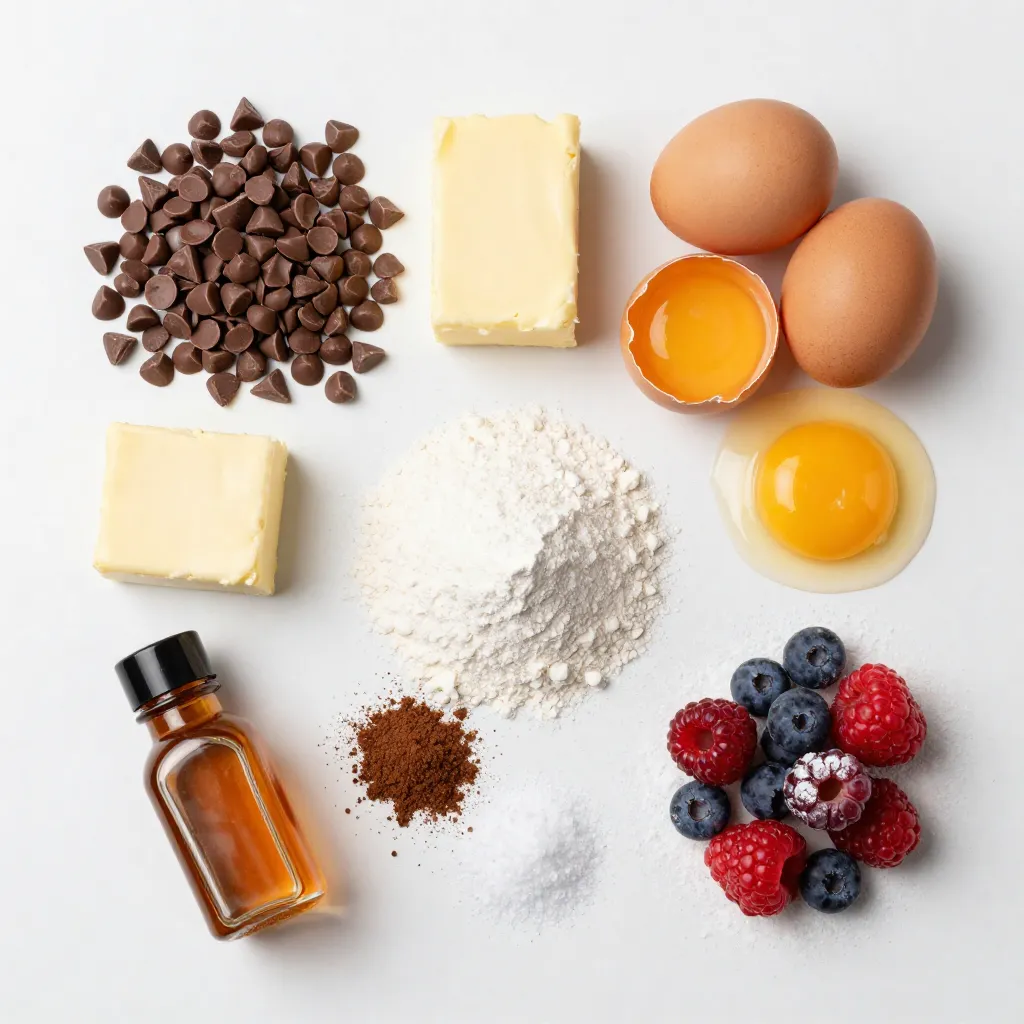
To make the rich Chocolate Espresso Lava Cake, you need the following:
– 1/2 cup unsalted butter
– 1 cup semi-sweet chocolate chips
– 2 large eggs
– 2 large egg yolks
– 1/2 cup granulated sugar
– 1 tablespoon all-purpose flour
– 1 tablespoon espresso powder
– 1 teaspoon vanilla extract
– Pinch of salt
These ingredients work together to create that delightful molten center.
Optional Garnishes
Garnishes can add flair to your lava cake. Here are some ideas:
– Powdered sugar
– Fresh berries
These toppings make the dessert even prettier and tastier.
Ingredient Substitutions
You can swap some ingredients if needed. Here are a few options:
– Use coconut oil instead of butter for a dairy-free cake.
– Dark chocolate can replace semi-sweet chocolate for a bolder taste.
– If you are out of espresso powder, strong coffee can work in a pinch.
These swaps can help you customize the cake to your taste or needs.
Step-by-Step Instructions
Preparation Steps
First, preheat your oven to 425°F (220°C). This step gets your oven ready for baking. Next, take four ramekins and grease them with unsalted butter. Dust them with cocoa powder to stop the cake from sticking.
In a microwave-safe bowl, put 1/2 cup of unsalted butter and 1 cup of semi-sweet chocolate chips. Heat this mixture in 30-second bursts. Stir in between each burst until it becomes smooth.
While that melts, grab a separate bowl. Whisk together 2 large eggs, 2 large egg yolks, and 1/2 cup of granulated sugar. Keep whisking until it thickens and turns a light color.
Once the chocolate mix is ready, pour it into the egg mix. Stir until fully combined. Then add 1 tablespoon of all-purpose flour, 1 tablespoon of espresso powder, 1 teaspoon of vanilla extract, and a pinch of salt. Mix until it’s just combined, but avoid overmixing.
Baking Process
Now, divide the batter evenly among the ramekins. Place the filled ramekins on a baking sheet. Bake them in the preheated oven for 12 to 14 minutes. Look for edges that are firm while the center remains soft.
After baking, take the ramekins out of the oven. Let them rest for 1 minute. Carefully invert each ramekin onto a plate and gently lift them off.
Serving Suggestions
To serve, dust the cakes with powdered sugar. Top with fresh berries if you like. Enjoy this treat right away for the best molten center!
Tips & Tricks
How to Achieve the Perfect Molten Center
To get that perfect molten center, timing is key. Bake the cakes for 12 to 14 minutes. The edges should be firm, but the center must be soft. If you bake too long, the center may cook through. Use a toothpick to check if it’s done. Insert it into the side, not the center. If it comes out clean, it’s overcooked.
Common Mistakes to Avoid
One common mistake is not greasing the ramekins well. Always use butter and dust with cocoa powder. This will help the cakes release easily. Another mistake is overmixing the batter. You want to mix just enough. Overmixing can make the cakes dense. Lastly, don’t skip the resting time after baking. Letting them sit for a minute helps the cakes set.
Best Practices for Preparing Ramekins
When preparing ramekins, start by greasing them. Use unsalted butter to coat the insides. Then, dust them with cocoa powder, not flour. This adds flavor and helps with sticking. Make sure to fill the ramekins evenly. This ensures they bake at the same rate. Lastly, place them on a baking sheet for easy handling.
Pro Tips
- Use Quality Chocolate: The flavor of your lava cake heavily relies on the chocolate you use. Opt for high-quality semi-sweet chocolate chips for the best taste.
- Don’t Overbake: Keep an eye on the cakes as they bake. The center should be soft and gooey, so it’s crucial to pull them out when the edges are set but the middle remains slightly jiggly.
- Let Them Rest: Allow the cakes to rest for just a minute after baking. This helps them hold their shape when you invert them onto plates.
- Experiment with Flavors: Feel free to add a splash of orange liqueur or a pinch of sea salt on top for a unique twist that complements the chocolate and espresso flavors.
Variations
Flavor Additions
You can change the flavor of your lava cake easily. Try adding a splash of orange zest for a citrus twist. You can also mix in a tablespoon of mint extract for a refreshing taste. If you love nuts, fold in some chopped hazelnuts or walnuts. Each addition makes the cake unique and fun.
Gluten-Free Options
If you need a gluten-free version, swap the all-purpose flour for gluten-free flour. This simple change keeps the cake rich and tasty. Just make sure to check that your chocolate chips are gluten-free too. Your friends will love this version just as much!
Serving with Different Sauces
Serving your lava cake with sauce can elevate it. A rich chocolate sauce pairs well and enhances the chocolate flavor. For a fruity touch, try a raspberry sauce. The tartness of the berries balances the sweetness of the cake. You can drizzle caramel sauce for a sweet, buttery flavor. Each sauce adds a new layer of taste.
Storage Info
Proper Storage Techniques
To keep your chocolate espresso lava cakes fresh, store them in the fridge. Place them in an airtight container. This helps keep their rich flavor and moist texture. Make sure they cool completely before sealing them. You can store them for up to three days. If you want to enjoy them later, consider freezing.
Reheating Instructions
When you are ready to eat a lava cake, use the oven for best results. Preheat your oven to 350°F (175°C). Place the lava cake on a baking sheet. Heat it for about 8 to 10 minutes. This method warms the cake without cooking the center more. You can also use a microwave. Heat on low power for about 30 seconds. Check if it’s warm enough, and be careful not to overheat.
Freezing and Thawing Lava Cakes
If you want to freeze your lava cakes, first let them cool completely. Wrap each cake tightly in plastic wrap. Then, place them in a freezer-safe bag. They can stay in the freezer for up to three months. To thaw, move the cakes to the fridge overnight. After thawing, use the reheating instructions to warm them up. This way, they stay delicious and gooey!
FAQs
What if my lava cake doesn’t ooze?
If your lava cake doesn’t ooze, it may have baked too long. The key is to keep the center soft. You want the edges to be firm, but the middle should still jiggle a bit. Next time, try checking it a minute earlier. The perfect time is usually between 12 to 14 minutes. If you notice a rise but no ooze, it might be time to adjust your oven.
Can I make this recipe ahead of time?
Yes, you can prep the batter ahead of time. Mix everything and pour it into the ramekins. Cover them and store them in the fridge for up to 24 hours. Just remember, you’ll need to bake them straight from the fridge. This means adding a minute or two to your baking time. This method makes it easy to impress guests with minimal stress!
How do I know when the lava cake is done baking?
To tell if your lava cake is done, look for these signs. The edges should look firm and the top should be set but soft in the center. You can gently shake the ramekin; if the center jiggles just a little, it’s ready. Trust me, that soft center is what creates the delightful lava effect when you cut into it!
In this blog post, we covered essential ingredients, step-by-step instructions, and helpful tips for making the perfect lava cake. We explored ingredient substitutions and variations, plus how to store your cakes properly. Remember, avoiding common mistakes and using the right techniques can lead to a delicious, gooey center. Try mixing in your favorite flavors or sauces to make this dessert your own. Now you’re ready to impress your friends with your baking skills! Enjoy your tasty creation


