Get ready for a treat! These Chocolate Hazelnut Stuffed Cookies are pure bliss. Imagine biting into a soft cookie, only to find warm, gooey chocolate hazelnut filling inside. My step-by-step guide makes baking easy and fun, whether you’re a newbie or a pro. Let’s dive into the world of flavors and create a delightful dessert that will impress everyone. Your taste buds will thank you!
Why I Love This Recipe
- Decadent Flavor: The combination of chocolate and hazelnuts creates a rich and indulgent taste that is hard to resist.
- Easy to Make: With simple ingredients and straightforward instructions, these cookies can be whipped up in no time.
- Impressive Presentation: Stuffed cookies are always a hit, making them perfect for gatherings or special occasions.
- Customizable: Feel free to add extra nuts, swap chocolate chips for your favorite type, or even include a pinch of sea salt for a gourmet touch.
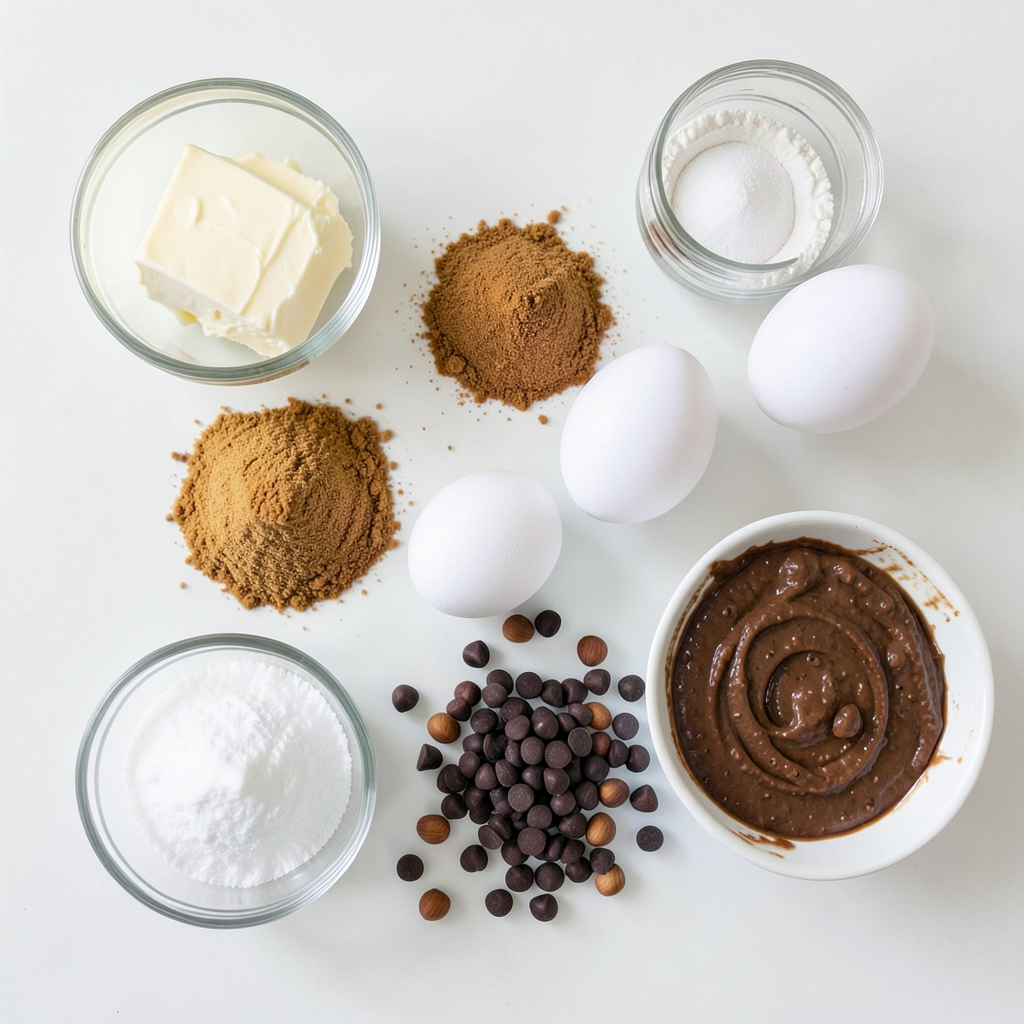
Ingredients
List of Ingredients
- 1 cup unsalted butter, softened
- 1 cup brown sugar
- 1/2 cup granulated sugar
- 2 large eggs
- 1 teaspoon vanilla extract
- 2 1/2 cups all-purpose flour
- 1 teaspoon baking soda
- 1/2 teaspoon salt
- 1 cup chocolate chips
- 1/2 cup chopped hazelnuts
- 3/4 cup chocolate hazelnut spread (like Nutella)
Description of Key Ingredients
The main star here is the chocolate hazelnut spread. It adds a rich, creamy center that melts in your mouth. I love using Nutella, but feel free to choose your favorite brand. Unsalted butter gives the cookies a rich flavor and soft texture. Brown sugar adds moisture and a hint of caramel taste. Granulated sugar helps with browning and sweetness. Eggs bind everything together while also adding moisture. The flour provides structure, and baking soda helps the cookies rise.
Chopped hazelnuts add a crunchy texture and nutty flavor. They pair wonderfully with chocolate. Finally, chocolate chips bring an extra layer of chocolate goodness.
Substitutions for Common Ingredients
If you need to make changes, here are some ideas:
- Butter: You can use coconut oil for a dairy-free version.
- Eggs: Try using flax eggs or applesauce if you want to go vegan.
- Flour: All-purpose flour can be swapped with a gluten-free blend.
- Chocolate Hazelnut Spread: Any nut spread works, like almond or peanut butter.
- Hazelnuts: You can use walnuts or pecans if you prefer.
These swaps keep the cookies tasty while catering to your needs.
Step-by-Step Instructions
Preparation and Preheating
First, preheat your oven to 350°F (175°C). This ensures the cookies bake evenly. While the oven heats, line a baking sheet with parchment paper. This helps prevent sticking and makes cleanup easy.
Mixing the Dough
In a large bowl, cream together 1 cup of softened unsalted butter with 1 cup of brown sugar and 1/2 cup of granulated sugar. Mix until the mixture is light and fluffy. Next, add 2 large eggs one at a time, mixing well after each egg. Then, pour in 1 teaspoon of vanilla extract. In another bowl, whisk together 2 1/2 cups of all-purpose flour, 1 teaspoon of baking soda, and 1/2 teaspoon of salt. Gradually add this dry mix to the wet ingredients. Stir until just combined. Finally, fold in 1 cup of chocolate chips and 1/2 cup of chopped hazelnuts.
Assembling the Stuffed Cookies
Take a tablespoon of dough and flatten it in your palm. Add about 1 teaspoon of chocolate hazelnut spread to the center. Carefully wrap the dough around the spread to form a ball. Be sure to seal the filling inside. Place these dough balls on the prepared baking sheet, leaving space between each for spreading.
Baking and Cooling
Bake the cookies in the preheated oven for 10 to 12 minutes. Watch for a light golden color. The centers might look a bit underbaked. This is okay! Let the cookies cool on the baking sheet for 5 minutes. After that, transfer them to wire racks to cool completely. Enjoy the warm, gooey centers!
Tips & Tricks
Perfecting the Cookie Texture
To achieve the best cookie texture, start with softened butter. It helps mix well with sugars. Cream the butter and sugars until it’s light and fluffy. This step adds air, making your cookies soft. Avoid overmixing the dough after adding flour. Mix until just combined for a tender bite. Let the dough chill for 30 minutes if you want thicker cookies. This helps them hold their shape while baking.
How to Store Leftover Cookie Dough
Store any leftover cookie dough in an airtight container. Wrap it tightly in plastic wrap if you prefer. It keeps well in the fridge for up to three days. For longer storage, freeze the dough. Shape it into balls first, then freeze on a tray. Once firm, transfer them to a freezer bag. They’ll last up to three months. Just bake straight from frozen, adding a couple of extra minutes to the bake time.
Serving Suggestions for Chocolate Hazelnut Stuffed Cookies
Serve your cookies warm for the best taste. Pair them with a glass of milk or coffee. For a fun twist, add a scoop of vanilla ice cream on top. Dust the cookies with powdered sugar for a nice look. You can also serve them with extra chocolate hazelnut spread for dipping. This extra touch makes every bite even more delicious. Enjoy sharing them with friends and family!
Pro Tips
- Use Chilled Dough: Chilling the cookie dough for at least 30 minutes can help prevent the cookies from spreading too much while baking, resulting in thicker, chewier cookies.
- Quality Chocolate Hazelnut Spread: Choose a high-quality chocolate hazelnut spread for a richer flavor. The better the spread, the more delicious the cookies will be!
- Experiment with Nuts: Feel free to substitute the hazelnuts with other nuts like pecans or walnuts for a different flavor profile and texture.
- Don’t Overbake: Keep an eye on the cookies as they bake; they should look slightly underbaked in the center. They will continue to cook on the baking sheet after removing them from the oven.
Variations
Alternative Fillings for the Cookies
You can change the filling to mix things up. Try using peanut butter instead of chocolate hazelnut spread. For a fruity twist, use raspberry or strawberry jam. Each filling brings a unique taste and fun surprise with every bite. You can even blend cream cheese with sugar for a rich, creamy center.
Gluten-Free Options
If you need a gluten-free cookie, it’s easy to swap ingredients. Use gluten-free flour instead of all-purpose flour. Make sure your chocolate hazelnut spread is gluten-free as well. You can also check for gluten-free chocolate chips. These simple switches keep your cookies tasty and safe for everyone.
Differently Shaped Cookies
You can change the shape of your cookies for some fun. Instead of making balls, flatten the dough into bars. This way, you can cut them into squares after baking. Mini cookies are also a great idea. Just use less dough for each cookie. They bake faster and are perfect for sharing!
Storage Info
How to Store Baked Cookies
To keep your chocolate hazelnut stuffed cookies fresh, place them in an airtight container. Make sure they cool completely before storing. This helps keep the cookies soft and chewy. You can layer them with parchment paper to avoid sticking. Keep the container at room temperature for the best taste.
Freezing Instructions
If you want to save your cookies for later, freezing is easy. First, let the cookies cool down. Then, place them in a single layer on a baking sheet. Freeze them for about one hour. After that, transfer the cookies to a freezer bag. Squeeze out any air before sealing. They can stay in the freezer for up to three months.
Shelf Life of Cookies
Baked cookies last about one week at room temperature when stored well. If you freeze them, they stay fresh for about three months. Always check for any signs of spoilage before eating. This way, you can enjoy your chocolate hazelnut stuffed cookies at their best!
FAQs
Can I use a different nut spread instead of chocolate hazelnut spread?
Yes, you can! Feel free to swap in almond, peanut, or sunflower seed spread. Each choice adds its own flavor. Just remember to pick a similar consistency to chocolate hazelnut spread. That way, the cookie still forms well.
How do I know when the cookies are done baking?
Cookies are done when they turn lightly golden around the edges. The centers may look soft or slightly underbaked, which is okay. They will firm up as they cool. Trust your eyes and the timer for perfect results.
Can I make these cookies ahead of time?
Absolutely! You can prepare the dough and chill it in the fridge for up to 24 hours. This helps the flavors develop. You can also scoop the dough into balls and freeze them. Just bake them straight from the freezer when you're ready.
What is the best way to reheat leftover cookies?
To reheat cookies, preheat your oven to 350°F (175°C). Place the cookies on a baking sheet and warm them for about 5-7 minutes. This makes them soft and gooey again. You can also use a microwave for about 10-15 seconds, but the oven gives a better texture.
In this guide, we covered everything you need for making stuffed cookies. You learned about key ingredients, step-by-step instructions, and tips for perfect texture. We also explored variations and storage tips to keep cookies fresh. Remember, these cookies can be fun and flexible. Feel free to experiment with different fillings and shapes. Enjoy the baking process and share these treats with friends and family. Happy baking!