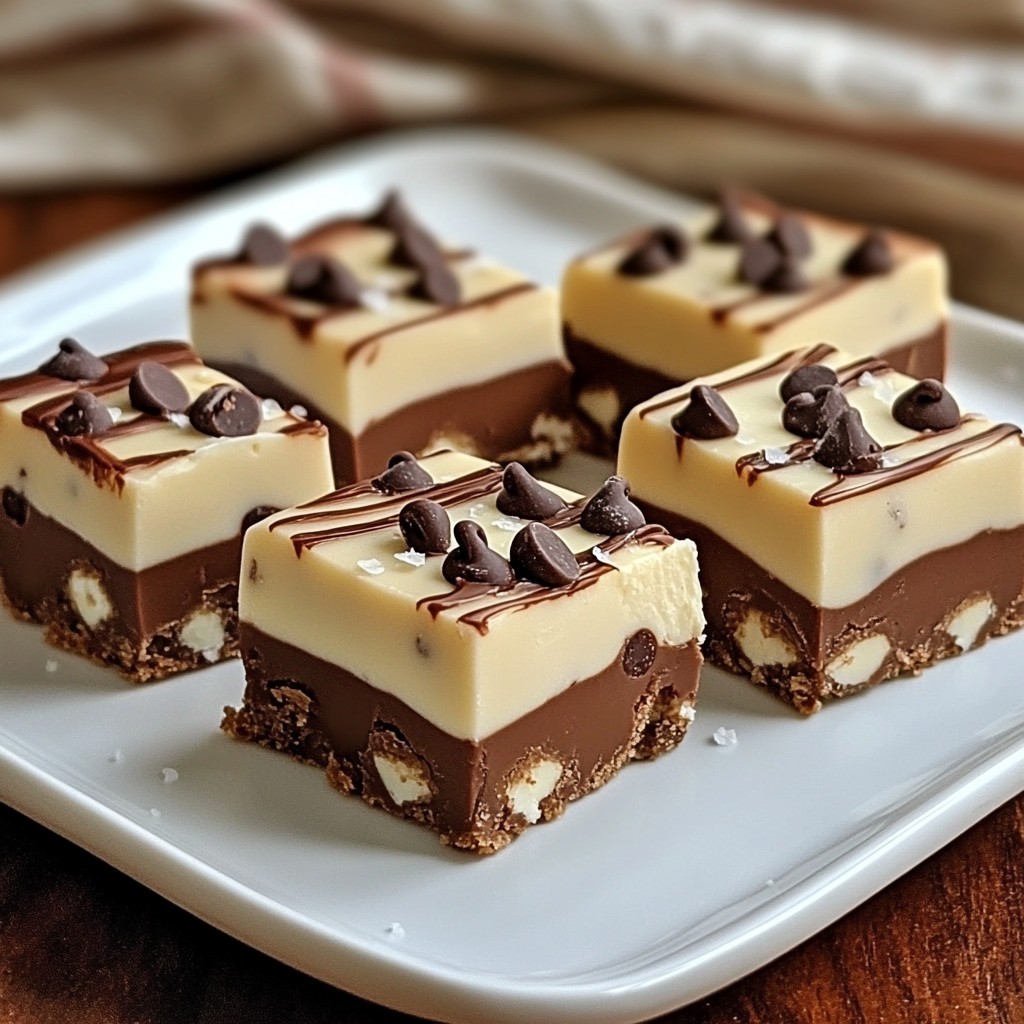
Get ready to indulge in a dessert that combines two favorites: chocolate and peanut butter! My Chocolate Peanut Butter Swirl Cheesecake Delight is rich, creamy, and simply irresistible. You’ll love how easy it is to make this showstopper in your own kitchen. I’ll guide you through each step to create a perfect cheesecake that impresses everyone. Let’s dive into these mouthwatering flavors and start baking!
Why I Love This Recipe
- Decadent Flavor Combination: The rich chocolate and creamy peanut butter create a heavenly blend that is irresistible to dessert lovers.
- Impressive Presentation: The marbled effect of the cheesecake makes for a stunning dessert that is sure to impress your guests.
- Easy to Make: With straightforward steps, even novice bakers can create this delicious cheesecake without any hassle.
- Perfect for Any Occasion: This cheesecake is a crowd-pleaser, ideal for birthdays, holidays, or just a casual family gathering.
Ingredients
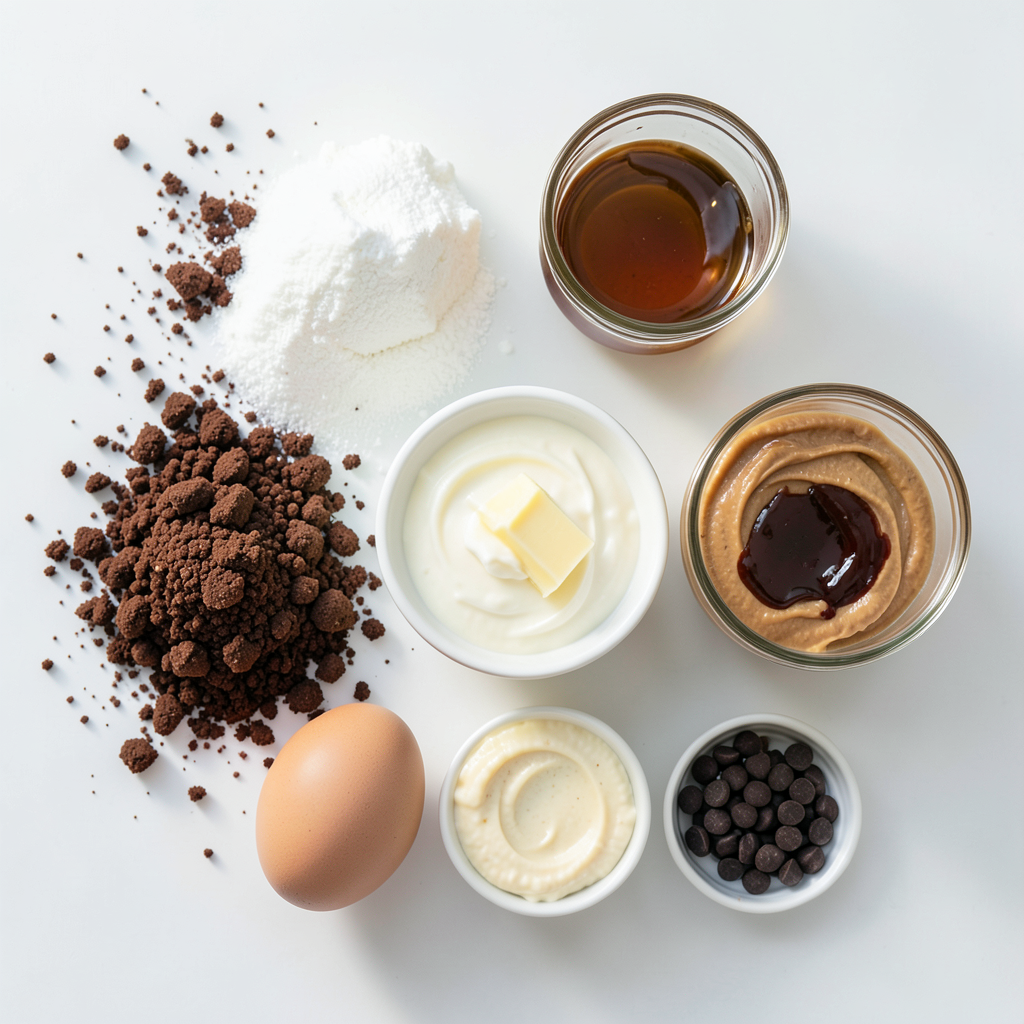
For the crust, you will need:
- 1 ½ cups chocolate cookie crumbs
- ¼ cup sugar
- ½ cup unsalted butter, melted
For the cheesecake filling, gather:
- 24 oz (3 packages) cream cheese, softened
- 1 cup sugar
- 1 teaspoon vanilla extract
- 3 large eggs
- 1 cup sour cream
- ½ cup creamy peanut butter
- ½ cup chocolate chips, melted
These ingredients work together to create a rich, creamy, and indulgent cheesecake. The chocolate cookie crumbs give the crust a sweet and crunchy base. The melted butter helps to bind it all together.
The cream cheese serves as the star of the filling. It provides a smooth texture and tangy flavor. Adding sugar and vanilla enhances the sweetness. As you mix in the eggs, they help to create a fluffy structure.
Sour cream adds moisture and a slight tang, balancing out the sweetness. The creamy peanut butter swirls into the batter, giving a nutty flavor. Finally, melted chocolate chips add a deep chocolate taste, making each bite a delight.
Gather these ingredients, and get ready to create a cheesecake that will impress everyone!
Step-by-Step Instructions
Preparing the crust
1. Preheat your oven to 325°F (160°C). This helps set the crust well.
2. In a mixing bowl, combine:
- 1 ½ cups chocolate cookie crumbs
- ¼ cup sugar
- ½ cup unsalted butter, melted
Mix until all the crumbs are coated in butter.
3. Press this mixture into the bottom of a 9-inch springform pan. Make it firm.
4. Bake the crust for 10 minutes. Then, remove it and let it cool.
Making the cheesecake batter
1. In a large bowl, beat 24 oz of softened cream cheese with an electric mixer. Make it smooth.
2. Gradually add 1 cup sugar and 1 teaspoon vanilla extract. Mix until it’s well combined.
3. Add 3 large eggs, one at a time. Mix on low speed after each addition. Do not overmix!
Combining and swirling flavors
1. Mix in 1 cup of sour cream until smooth. This adds richness to the batter.
2. Divide the batter in half. In one half, mix in ½ cup of creamy peanut butter. In the other half, mix in ½ cup of melted chocolate chips.
3. Pour half of the plain cheesecake batter into the cooled crust.
4. Add the peanut butter layer on top, then pour the remaining plain batter over it.
5. Use a knife or skewer to swirl the layers together. Create a nice marbled effect.
Baking and cooling the cheesecake
1. Bake the cheesecake in the preheated oven for 55-60 minutes. The edges should set, but the center will still jiggle a bit.
2. Turn off the oven and crack the door open. Let the cheesecake cool gradually for about 1 hour.
3. Remove the cheesecake from the oven. Refrigerate it for at least 4 hours, or overnight, before serving.
This chocolate peanut butter swirl cheesecake is sure to impress!
Tips & Tricks
Ensuring the perfect texture
To get a smooth cheesecake, you must mix well but not too much. Start by beating the cream cheese until it's creamy. Then, add the sugar and vanilla. Mix just until combined. When you add the eggs, do this one at a time. Mix on low speed after each egg. This keeps air from getting into the batter, which can cause cracks.
Using room temperature ingredients is key. Cold cream cheese can create lumps. Let your cream cheese sit out for about 30 minutes before you start. This small step makes a big difference in texture.
Presentation ideas
A beautiful presentation makes every dessert shine. Drizzle warm, melted chocolate over each slice before serving. This adds a lovely touch. You can also top each slice with whipped cream. A sprinkle of chopped peanuts gives a nice crunch and looks great on the plate. Serve your cheesecake slices on colorful plates to make them pop. This makes your dessert look as good as it tastes!
Pro Tips
- Use Room Temperature Ingredients: Ensure that your cream cheese and eggs are at room temperature before mixing. This helps create a smoother batter and prevents lumps in your cheesecake.
- Don't Overmix: When adding eggs, mix on low speed just until incorporated. Overmixing can incorporate too much air, leading to cracks in the cheesecake as it bakes.
- Cool Gradually: After baking, allow the cheesecake to cool in the oven with the door cracked. This gradual cooling helps prevent cracks from forming on the surface.
- Chill Overnight: For the best flavor and texture, refrigerate the cheesecake overnight before serving. This allows the flavors to meld and the cheesecake to firm up perfectly.
Variations
Flavor substitutions
You can switch up the nut butter in this recipe. Almond butter or cashew butter work well too. Each nut butter gives a unique flavor. Try them to see which one you like best!
You can also change the crust. Instead of chocolate cookie crumbs, use graham cracker crumbs. This gives a different taste and texture. You can even try crushed pretzels for a salty twist.
Dietary adjustments
If you need a gluten-free option, use gluten-free cookie crumbs for the crust. Many brands offer great choices that taste just as good.
For a sugar-free version, swap regular sugar with your favorite sugar-free sweetener. Just make sure it measures like sugar. This way, you can enjoy the cheesecake without the sugar!
Storage Info
Storing leftovers
To keep your cheesecake fresh, store it in the fridge. Place it in an airtight container. You can also cover it tightly with plastic wrap. This keeps it safe from fridge odors. It’s best to eat leftover cheesecake within five days.
If you want to save it for later, freezing is a good option. Wrap each slice in plastic wrap. Then, place the wrapped slices in a freezer bag. This prevents freezer burn. You can freeze it for up to three months. When you're ready to enjoy it, let it thaw in the fridge overnight.
Serving suggestions
The best way to serve this cheesecake is cold. Take it out of the fridge just before serving. This helps all the flavors shine.
Pair it with something nice to drink. A glass of cold milk goes well. You can also try it with coffee or a rich hot chocolate. For a fun twist, serve it with fresh fruit like strawberries or raspberries. These add a bright touch to each bite.
FAQs
How do I prevent a cracked cheesecake?
To avoid cracks in your cheesecake, follow these tips:
- Use room temperature ingredients. Cold cream cheese can cause cracks.
- Mix gently and avoid overmixing. Overmixing adds air, leading to cracks.
- Bake at a low temperature. This helps the cheesecake cook evenly.
- Allow the cheesecake to cool slowly in the oven. This prevents sudden temperature changes.
Can I make this cheesecake ahead of time?
Yes, you can make this cheesecake ahead of time. Here are some tips:
- Chill the cheesecake in the fridge for at least 4 hours or overnight.
- You can also freeze it. Wrap it well in plastic wrap and foil. It stays good for about 2 months.
What can I substitute for cream cheese?
If you need a cream cheese replacement, try these options:
- Mascarpone cheese works well for a rich flavor.
- Greek yogurt can give a tangy taste and creamy texture.
- Silken tofu blended until smooth is a great dairy-free option.
How do I know when the cheesecake is done?
Look for these signs during baking and cooling:
- The edges should be set, while the center has a slight jiggle.
- When you turn off the oven, leave the door ajar. This helps cool it gently.
- After cooling, the cheesecake should feel firm but not hard.
You have everything you need to make this delicious cheesecake. We covered the crust, filling, and baking tips. You learned how to swirl flavors and present it beautifully. Don't forget about the variations and storage tips for leftovers. With all these insights, you can create a treat that impresses friends and family. Enjoy each bite and share your amazing cheesecake adventures! Your confidence in the kitchen will soar.