Looking for a fresh meal that’s both tasty and healthy? This Crispy Chickpea Salad is just what you need! Packed with flavor and crunch, it’s perfect for lunch or dinner. You’ll love how easy it is to make. I’ll guide you through the key ingredients and tips to achieve that perfect crispiness. Let’s dive into this delicious and nutrient-rich salad together!
Ingredients
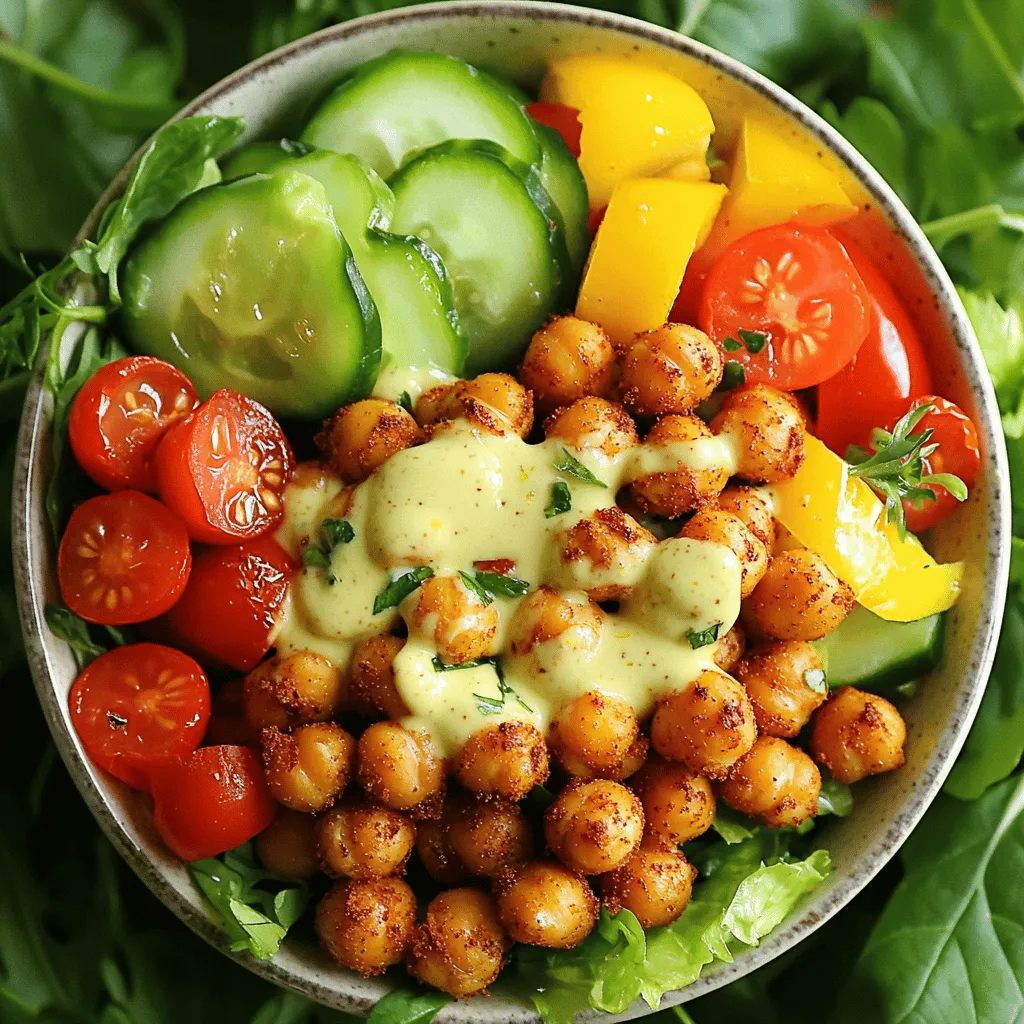
Main Ingredients for Crispy Chickpea Salad
To make a Crispy Chickpea Salad, you need simple and fresh ingredients. Here is what you will need:
– 1 can (15 oz) chickpeas, drained and rinsed
– 2 tablespoons olive oil
– 1 teaspoon smoked paprika
– 1 teaspoon garlic powder
– Salt and pepper to taste
– 1 cup cherry tomatoes, halved
– 1 cucumber, diced
– 1 small red onion, finely chopped
– 1 bell pepper (any color), diced
– 2 cups mixed greens (arugula, spinach, or your choice)
– 1 avocado, sliced
– 2 tablespoons lemon juice
– 2 tablespoons tahini (optional)
These ingredients give the salad its great taste and texture.
Optional Add-Ins and Substitutions
You can customize your salad with fun add-ins. For a crunch, try adding:
– Radishes, sliced thin
– Carrots, shredded
– Olives, sliced
If you want to change the greens, feel free to use kale or romaine. You can also swap chickpeas for black beans or lentils if you like.
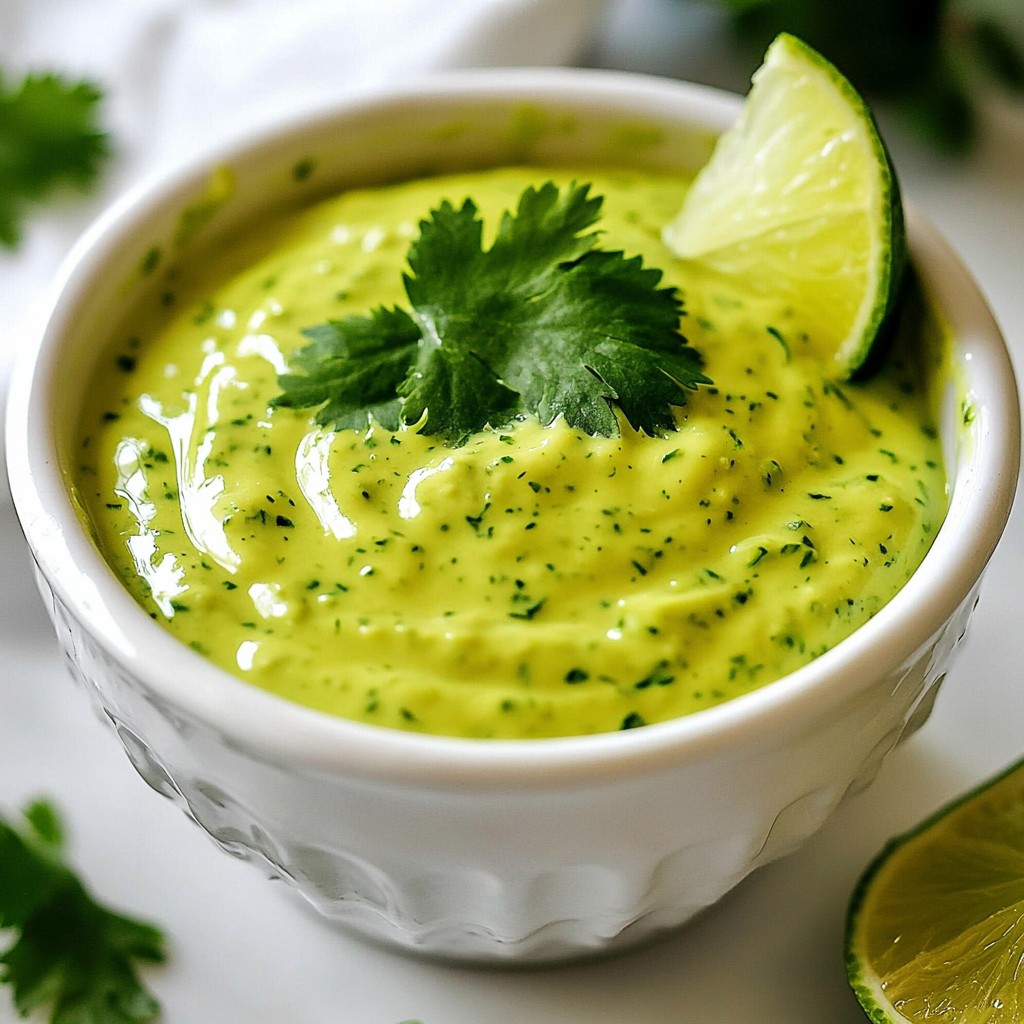
Dressing Options
The dressing makes your salad pop. The basic option is lemon juice mixed with tahini. If you want more flavor, try these:
– Balsamic vinaigrette
– Yogurt dressing
– A simple mix of olive oil and vinegar
Each dressing brings a different taste to your salad. You can mix and match to find your favorite!
Step-by-Step Instructions
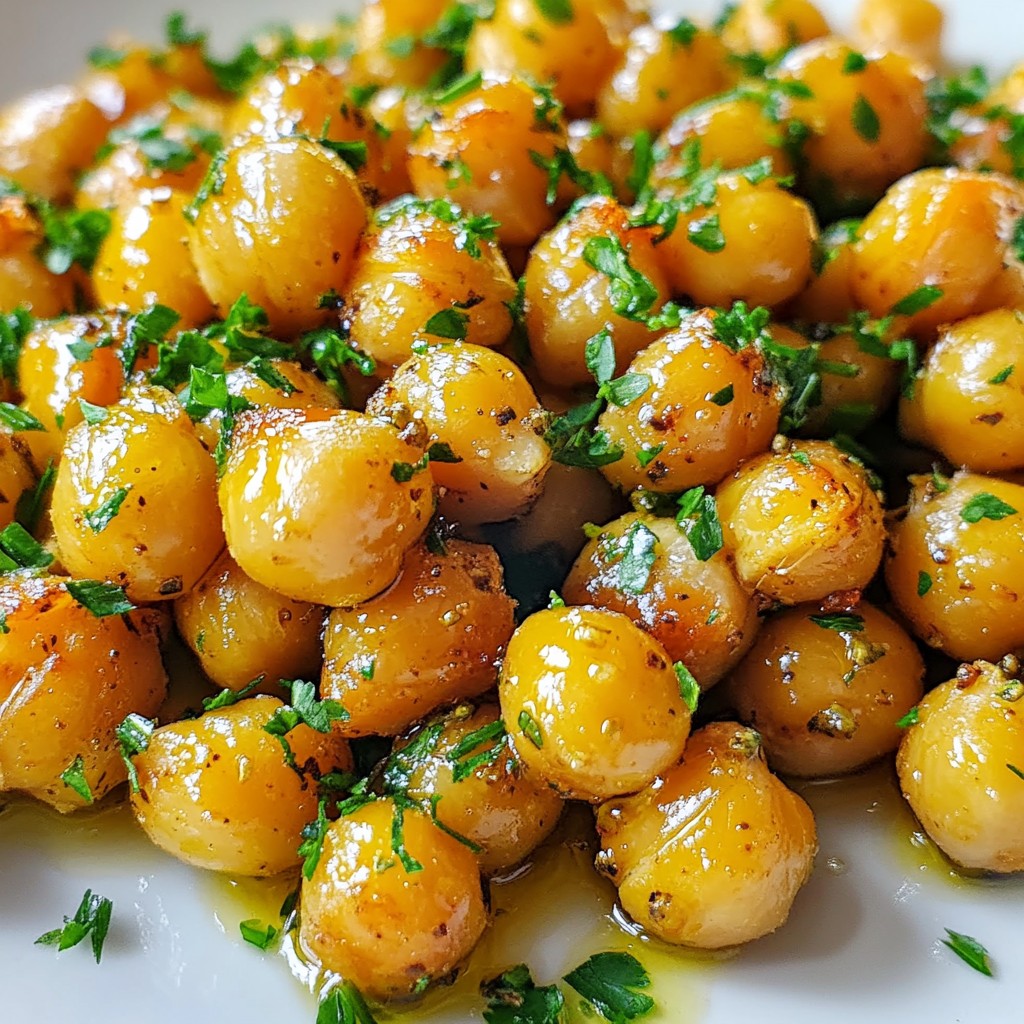
Preparing the Chickpeas
First, I preheat the oven to 400°F (200°C). This step is key for crispy chickpeas. I take one can of chickpeas, drain, and rinse them well. In a bowl, I mix the chickpeas with two tablespoons of olive oil. Then, I add one teaspoon of smoked paprika, one teaspoon of garlic powder, and salt and pepper to taste. Toss the chickpeas until they are fully coated. Next, I spread them in a single layer on a baking sheet lined with parchment paper. I bake them for 25 to 30 minutes. Halfway through, I shake the pan to cook them evenly. They should turn golden brown and crispy.
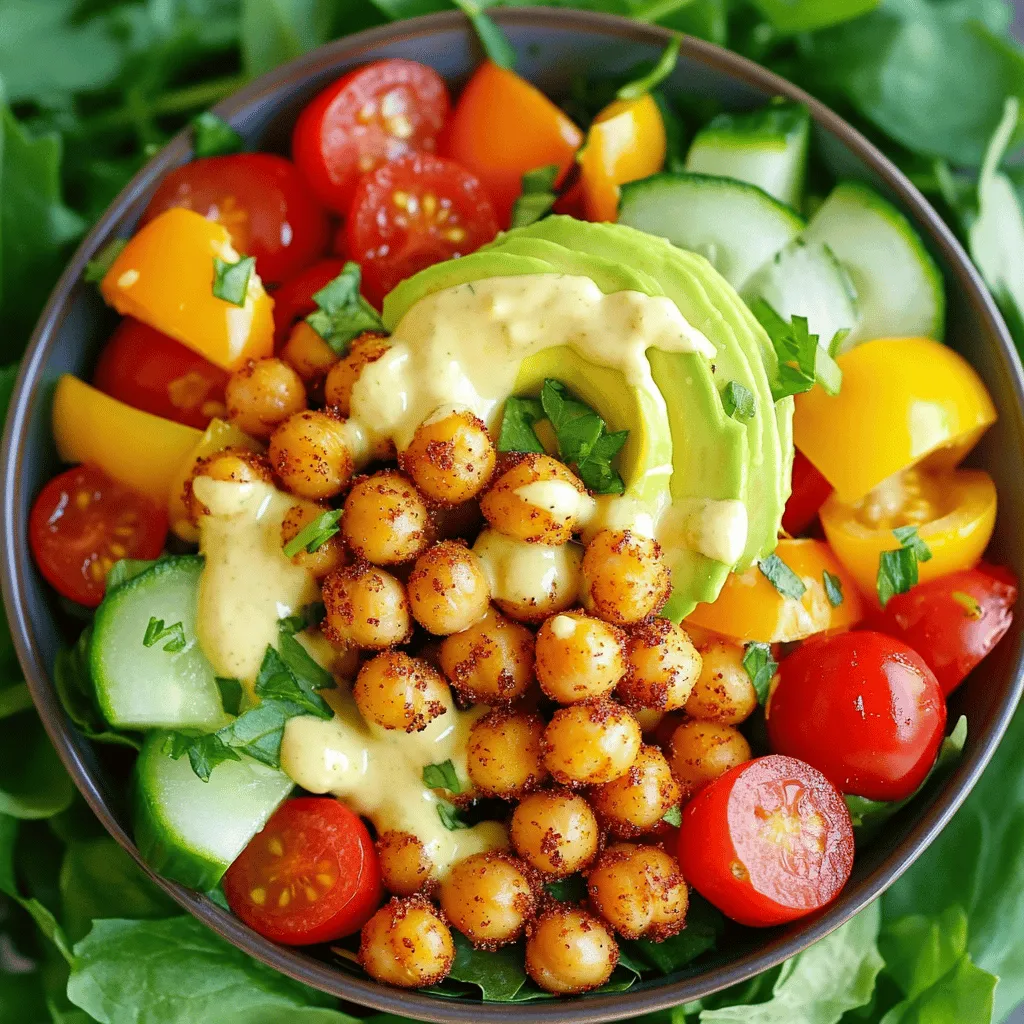
Assembling the Salad
While the chickpeas bake, I prepare the salad. In a large bowl, I combine one cup of halved cherry tomatoes, one diced cucumber, one finely chopped red onion, and one diced bell pepper. These fresh veggies add great color and crunch. Once the chickpeas are done, I let them cool for a few minutes. Then, I add them to my salad mixture. I also toss in two cups of mixed greens and one sliced avocado. Gently mixing everything together ensures each bite is full of flavor.
Dressing the Salad
For the dressing, I whisk together two tablespoons of lemon juice and, if I choose, two tablespoons of tahini in a small bowl. This dressing adds a nice tang to the salad. I drizzle it over the salad and toss again. At this point, I taste the salad and adjust the seasoning with more salt and pepper if needed. To make it look even better, I serve the salad in a large bowl or on individual plates. I like to garnish with fresh herbs or extra crispy chickpeas for a pop of color.
Tips & Tricks
How to Achieve Crispy Chickpeas
To make your chickpeas crispy, start with dry ones. If you use canned chickpeas, drain and rinse them well. Then, dry them with a clean towel. Moisture makes them soggy. Spread them out in a single layer on a baking sheet. Use olive oil and spices for flavor. Bake them at 400°F for 25-30 minutes. Shake the pan halfway for even cooking. This helps them turn golden and crunchy.
Serving Suggestions
I love serving this salad with fresh greens and colorful veggies. You can try cherry tomatoes, cucumbers, and bell peppers. Add sliced avocado for creaminess. If you want extra crunch, sprinkle some seeds or nuts on top. You can also serve it with a side of warm pita bread. This makes a great lunch or dinner.
Nutrition Boosting Tips
Want to make this salad even healthier? Add more veggies! Try grated carrots or shredded red cabbage for extra fiber. You can also mix in some cooked quinoa for protein. Another tip is to use a variety of greens. Arugula and spinach add a peppery taste and nutrients. If you like, add a handful of fresh herbs for flavor.
Variations
Seasonal Ingredients to Try
You can change your crispy chickpea salad based on the season. In spring, add fresh peas or radishes for a crunch. Summer is great for ripe, juicy peaches or sweet corn. In fall, use roasted butternut squash or apples for sweetness. Winter calls for hearty greens like kale or Brussels sprouts. Each season offers new flavors and colors, making your salad exciting all year.
Different Dressing Combinations
While lemon juice and tahini work well, you can try other dressings. A balsamic vinaigrette adds a sweet tang. Ranch dressing gives a creamy touch. You might enjoy a spicy chipotle dressing for a kick. Even a simple olive oil and vinegar mix can brighten the salad. Experiment to find your favorite!
Protein Additions
To make your salad more filling, add protein. Grilled chicken or shrimp pairs nicely with the chickpeas. For a vegetarian option, consider feta cheese or hard-boiled eggs. You can also add cooked quinoa or lentils for extra fiber. These proteins make the salad a complete meal, perfect for lunch or dinner.
Storage Info
How to Store Leftovers
To keep your crispy chickpea salad fresh, store it in an airtight container. Place any leftovers in the fridge within two hours of serving. This helps keep the flavors and textures intact. Make sure to separate the chickpeas from the greens if you want them to stay crispy. The chickpeas can be stored in the same container, but they may lose some crunch.
Best Practices for Reheating Chickpeas
If you want to heat up the chickpeas, the oven is the best choice. Preheat your oven to 400°F (200°C). Spread the chickpeas on a baking sheet. Heat them for about 10-15 minutes, or until they are warm and crispy again. You can also use an air fryer for a quick reheat. Just a few minutes will do the trick.
Shelf Life of Ingredients
The chickpeas can last up to 3-5 days in the fridge. Other salad ingredients vary. Fresh greens may wilt after 2-3 days. Cherry tomatoes and cucumbers usually last up to a week. If you add avocado, it should be eaten within a day or two. For longer storage, consider freezing the chickpeas. They can last for several months in the freezer.
FAQs
Can I make Crispy Chickpea Salad ahead of time?
Yes, you can make this salad ahead of time. The chickpeas stay crispy for a while, but they taste best fresh. If you plan to eat it later, store the chickpeas and salad separately. The veggies will stay crispier this way. You can mix them just before serving. This keeps everything tasty and fresh.
How do I make it vegan-friendly?
This recipe is already vegan-friendly! The chickpeas, veggies, and dressing have no animal products. If you choose to add tahini, it also fits. Just skip any cheese or meat toppings. This salad remains delicious and packed with flavor without animal ingredients.
What can I serve with Crispy Chickpea Salad?
Crispy Chickpea Salad is great on its own or as a side. It pairs well with grilled veggies, quinoa, or rice. You can also serve it with pita bread or flatbreads for a tasty meal. For a protein boost, add some grilled tofu or seitan. Enjoy this salad with your favorite dips or sauces for extra flavor, too.
Crispy Chickpea Salad is a fun dish with many tasty options. You learned about key ingredients, easy steps, and helpful tips. Adding seasonal produce and different dressings can give each salad a unique touch. Remember to store any leftovers properly for later meals. With these guidelines, you can enjoy a healthy and delicious salad anytime. Get creative and make this salad your own! Your kitchen will thank you for it.