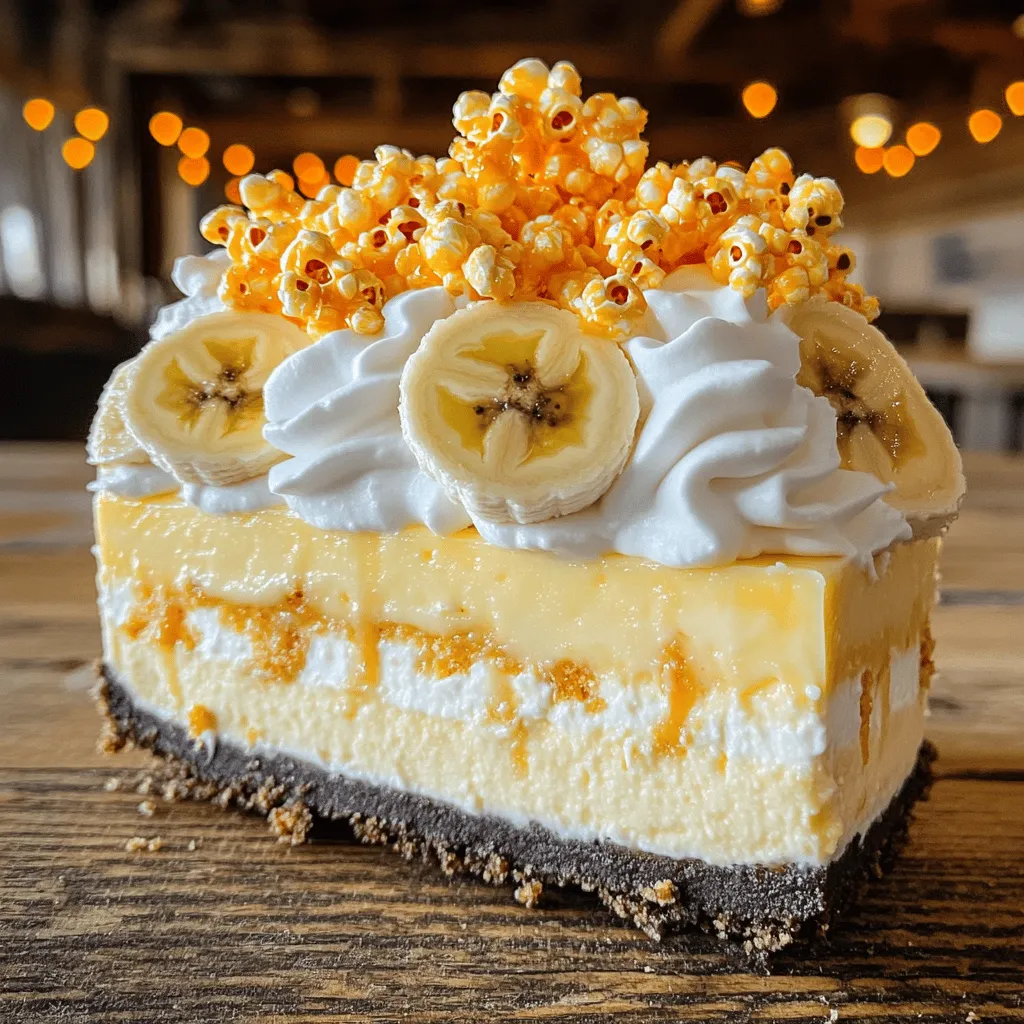
Looking for a dessert that combines your childhood favorite with a grown-up twist? This Delicious Banana Pudding Crunch Cheesecake is just the treat you need. With a creamy, rich blend of bananas and cheesecake, all topped with caramel popcorn, it’s a mouthwatering delight. Let’s dive into the simple ingredients and easy steps that will make this dessert a showstopper at your next gathering. You don’t want to miss this recipe!
Ingredients
To make a delicious Banana Pudding Crunch Cheesecake, gather these simple ingredients:
– 1 ½ cups crushed vanilla wafers
– ½ cup unsalted butter, melted
– 2 cups cream cheese, softened
– 1 cup granulated sugar
– 1 cup sour cream
– 4 large eggs
– 1 teaspoon vanilla extract
– 3 ripe bananas, sliced
– 1 cup banana pudding mix (instant)
– 2 cups milk
– 1 cup whipped cream (store-bought or homemade)
– ½ cup crushed caramel popcorn (for topping)
These ingredients work together to create a creamy, crunchy, and sweet treat. The crushed vanilla wafers form the perfect base, while the bananas add a fresh taste. The pudding mix helps to give it that classic banana pudding flavor, making it a crowd-pleaser.Enjoy each layer as you create a beautiful cheesecake that is sure to impress!
Step-by-Step Instructions
Preparation Steps
– Preheat the oven to 325°F (160°C).
– Prepare the crust by mixing crushed vanilla wafers with melted butter.
Start by preheating your oven. This helps the cheesecake cook evenly. Next, grab a bowl and combine the crushed vanilla wafers and melted butter. Mix them until the crumbs look wet. Press this mixture into the bottom of a 9-inch springform pan. This makes our crust. Bake it for 10 minutes, then let it cool.
Cheesecake Batter Preparation
– Beat cream cheese until smooth, add sugar, then incorporate sour cream, eggs, and vanilla.
– Fold in sliced bananas and create the layers.
In a large bowl, beat the softened cream cheese with an electric mixer. Mix until it’s nice and smooth. Gradually add the sugar. Keep mixing until it blends well. Now, add the sour cream, eggs (one at a time), and vanilla extract. Mix until everything is smooth. Next, gently fold in the sliced bananas. This step adds a yummy banana flavor to your cheesecake.
Baking Process
– Bake and chill the cheesecake following specific time frames to prevent cracking.
Now, it’s time to bake! Pour half of the cheesecake batter into the cooled crust. Spread a layer of banana pudding mixture over it. Then, add the rest of the cheesecake batter. Smooth it out on top. Bake in the oven for 50-60 minutes. The center should be set but still jiggle a bit.
After baking, turn off the oven. Crack the door open and let the cheesecake cool inside for an hour. This helps prevent cracks. Once cooled, let it sit at room temperature for another hour. Then chill it in the fridge for at least 4 hours, or overnight if you can wait.
Tips & Tricks
Perfecting the Cheesecake
To avoid cracks, follow these simple tips:
– Room Temperature Ingredients: Start with cream cheese, eggs, and sour cream at room temperature. This helps mix better.
– Mix Gently: When adding eggs, mix just until combined. Overmixing adds air, which can cause cracks.
– Water Bath: Use a water bath while baking. This keeps the temperature steady and moist.
– Cool Slowly: After baking, turn off the oven. Crack the door and let the cheesecake cool for an hour. This helps prevent sudden temperature changes.
Whipped Cream Alternatives
If you want to switch up the whipped cream, try these:
– Homemade Whipped Cream: Whip heavy cream with sugar until fluffy for a fresh taste.
– Coconut Whipped Cream: Chill coconut milk, then whip the cream on top for a dairy-free option.
– Greek Yogurt: For a tangy twist, use Greek yogurt. It adds creaminess without extra sugar.
Serving Suggestions
Make your cheesecake shine with these presentation ideas:
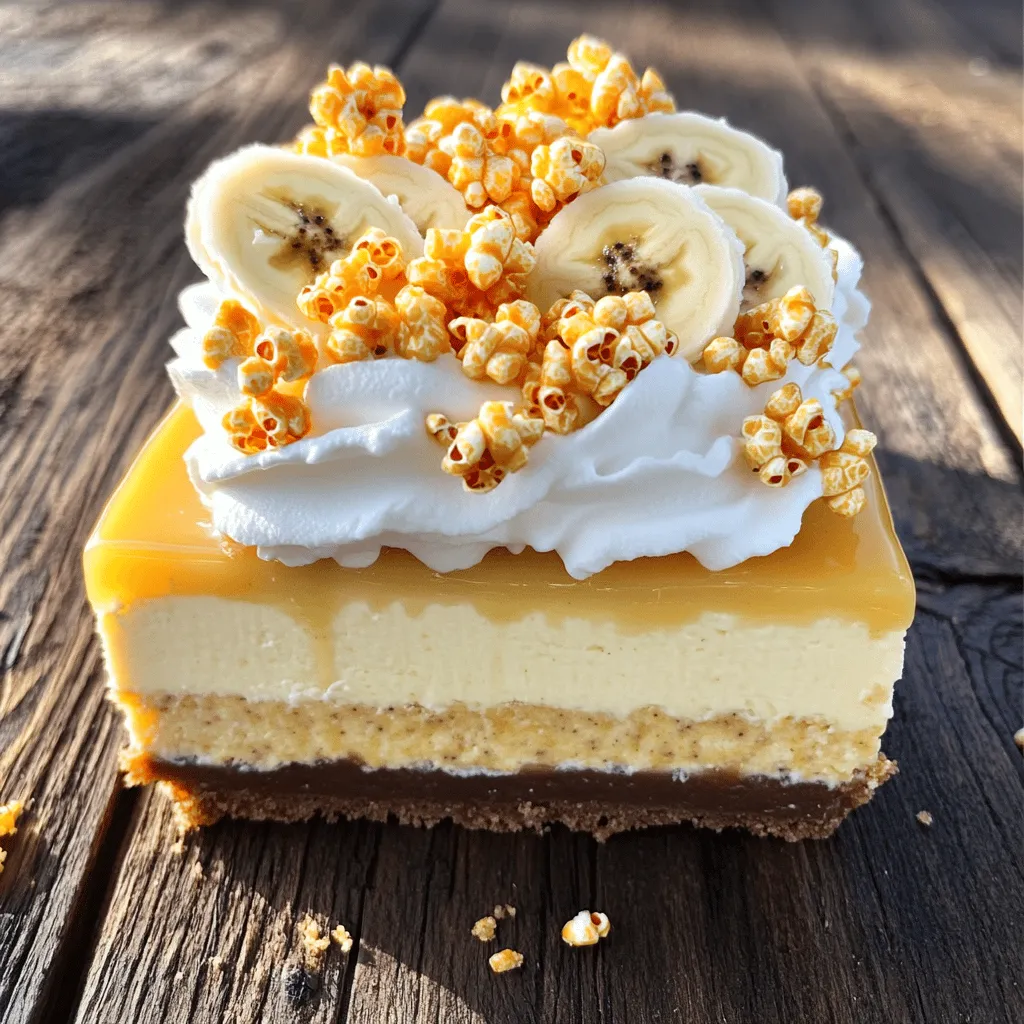
– Garnish: Add banana slices and drizzle caramel sauce over each slice.
– Plate Style: Serve on dessert plates with crushed caramel popcorn sprinkled on top.
– Layered Look: Cut through the layers to show off the banana pudding and cheesecake contrast. This creates a beautiful visual!
Variations
Flavor Enhancements
You can easily change the flavors of your Banana Pudding Crunch Cheesecake. Want a chocolate twist? Add ½ cup of cocoa powder to the cheesecake batter. This gives it a rich, chocolatey flavor that pairs well with bananas. For a caramel touch, swirl in some caramel sauce before baking. This adds a sweet depth and a lovely visual element.
You can also play with fruits. Instead of bananas, try using fresh strawberries or blueberries. Just slice the fruit thinly and fold it into your batter. This gives your cheesecake a fruity burst and a beautiful color.
Gluten-Free Modifications
If you need a gluten-free version, it’s simple. Replace the crushed vanilla wafers with gluten-free cookies or almond flour. Mix the almond flour with melted butter to form your crust. This keeps it tasty and safe for those with gluten issues.
You can also use gluten-free graham crackers. They work well and offer that same great crunch.
Mini Cheesecakes
Want to make individual servings? Use a muffin tin instead of a springform pan. Line each cup with paper liners for easy removal. Fill each cup with the cheesecake batter and pudding layer just like the full-size version.
Bake them for about 20-25 minutes. They should be set but still jiggle slightly in the center. Let them cool, then chill for at least 2 hours before serving. These mini cheesecakes are perfect for parties or a fun dessert option!
Storage Info
Refrigeration
Store your Banana Pudding Crunch Cheesecake in the fridge. First, cover it with plastic wrap or foil. This helps keep it fresh and prevents it from absorbing other smells. It’s best to eat the cheesecake within three days for the best taste. If you have leftovers, cut them into slices. This makes it easy to serve later.
Freezing
To freeze your cheesecake, wrap it tightly in plastic wrap and then in aluminum foil. This double wrapping helps avoid freezer burn. You can freeze it for up to three months. When you’re ready to eat it, move the cheesecake to the fridge. Let it thaw overnight. It will taste fresh and delicious when ready to serve.
Shelf Life
When stored correctly, Banana Pudding Crunch Cheesecake lasts about one week in the fridge. If you freeze it, the taste and texture stay good for three months. Always check for any signs of spoilage before eating. If it looks or smells off, it’s best to toss it. Enjoy your cheesecake while it’s fresh for the best experience!
FAQs
How to make Banana Pudding Crunch Cheesecake from scratch?
To make Banana Pudding Crunch Cheesecake from scratch, gather your ingredients. You need crushed vanilla wafers, butter, cream cheese, sugar, sour cream, eggs, vanilla, bananas, pudding mix, milk, whipped cream, and caramel popcorn. Start by making the crust with crushed wafers and butter. Bake it, then prepare the cheesecake batter by mixing cream cheese, sugar, and other ingredients. Layer the batter with pudding, bake, and chill before serving.
Can I use other types of pudding mixes?
Yes, you can use other types of pudding mixes. Chocolate or vanilla pudding can add different flavors. Just be sure to adjust the ingredients to match the flavor of your pudding mix.
Is it necessary to let the cheesecake chill overnight?
Chilling overnight helps the flavors meld and improves texture. If you have less time, chill for at least four hours. This will still give you a delicious cheesecake.
What can I substitute for bananas if I have allergies?
If you have banana allergies, use applesauce or pureed mango instead. These fruits add moisture and flavor. You can also skip the fruit altogether and make a plain cheesecake.
How can I tell when my cheesecake is done baking?
To tell when your cheesecake is done, look for a slight jiggle in the center. The edges should be set. You can also use a toothpick; it should come out clean when inserted. This ensures a perfectly baked cheesecake.
This blog outlined how to make a delicious Banana Pudding Crunch Cheesecake. We reviewed the key ingredients, from crushed vanilla wafers to ripe bananas. The step-by-step instructions guide you through mixing and baking, ensuring a smooth process. With tips for perfection and storage, you can enjoy your cheesecake longer. Experimenting with flavors, variations, and serving ideas adds fun. Now, you have all you need to create a tasty treat that impresses everyone. Enjoy your baking adventure and make this cheesecake shine at your next gathering!


