Introduction
Garlic Butter Bread Rolls are not just a side dish; they are a culinary delight that has captured the hearts (and taste buds) of many. These rolls are beloved for their warm, soft texture and a flavor profile that elevates any meal. Whether served alongside a hearty pasta dish, a comforting soup, or a fresh garden salad, these rolls add a touch of warmth and indulgence to the dining experience.
Homemade bread rolls are the epitome of comfort food, and there’s something undeniably special about baking them from scratch. The aroma of freshly baked bread wafting through your kitchen is a sensory experience that prepares your family and guests for a delightful meal. This recipe for Garlic Butter Bread Rolls showcases the magic of fresh ingredients, aromatic garlic, and rich butter, making them an irresistible addition to your recipe repertoire.
The Allure of Garlic Butter Bread Rolls
Bread rolls hold a significant place in various culinary traditions across the globe. From the fluffy dinner rolls served in American households to the crusty baguettes of France, bread is a universal staple that brings people together. Garlic Butter Bread Rolls, in particular, embody comfort and warmth, making them a perfect companion for a variety of dishes.
The versatility of these rolls is one of their greatest appeals. They pair beautifully with Italian fare, such as spaghetti and meatballs, or can be served alongside grilled meats and roasted vegetables. Their delightful flavor also complements more casual meals, such as a simple salad or a bowl of chili. No matter the occasion, these rolls are sure to impress.
There’s something inherently comforting about warm, freshly baked bread. The texture is fluffy, the crust is golden, and the savory aroma of garlic and butter fills the air, making it hard to resist. When you pull a roll apart, the soft, pillowy interior reveals itself, beckoning you to take a bite. As you do, the rich buttery flavor, infused with hints of garlic and herbs, envelops your palate, creating an experience that is both satisfying and indulgent.
Understanding the Ingredients
To create the perfect Garlic Butter Bread Rolls, it’s essential to understand the role each ingredient plays in the recipe. Here’s a breakdown of the key components:
All-Purpose Flour
All-purpose flour is the backbone of our bread rolls. It provides the structure and stability necessary for the rolls to rise and hold their shape. The protein content in all-purpose flour, typically around 10-12%, allows for the development of gluten, which gives bread its chewy texture. While bread flour can also be used for a heartier roll, all-purpose flour strikes a perfect balance for this recipe.
Instant Yeast
Yeast is the magic ingredient that makes our bread rise. Instant yeast, specifically, is a fast-acting form of yeast that doesn’t require proofing before use. This means you can mix it directly into the dry ingredients, saving you time and simplifying the process. Instant yeast works quickly to ferment the sugars in the dough, producing carbon dioxide, which causes the dough to rise. This results in light and fluffy rolls that are a delight to eat.
Sugar
Sugar is more than just a sweetener in this recipe; it plays a crucial role in the fermentation process. Yeast feeds on sugar, producing carbon dioxide and alcohol as byproducts. This process not only helps the dough rise but also adds a subtle sweetness to the rolls, enhancing their overall flavor. A small amount of sugar also helps to create a beautiful golden crust when baked.
Salt
Salt is a vital ingredient in bread-making, serving multiple purposes. It enhances the flavor of the rolls and helps to control yeast activity. Without salt, the yeast would ferment too quickly, leading to a dough that doesn’t rise properly. Salt also strengthens gluten, which contributes to the overall texture of the bread. It’s essential to use the right amount of salt; too little can lead to bland rolls, while too much can inhibit the yeast and prevent proper rising.
Warm Water
Warm water is necessary for activating the yeast. The optimal temperature for yeast activation is between 100°F and 110°F (37°C to 43°C). Water that is too hot can kill the yeast, while water that is too cold will slow down the fermentation process. It’s important to ensure that the water is at the right temperature to promote healthy yeast activity and a successful rise.
Unsalted Butter
Unsalted butter adds richness and flavor to the bread rolls. It contributes to the tender texture of the dough while also enhancing the overall taste. Using unsalted butter allows you to control the salt content in your recipe, ensuring a balanced flavor profile. The melted butter is mixed into the dough and brushed on top of the rolls before baking, creating a beautifully golden and flavorful crust.
Garlic
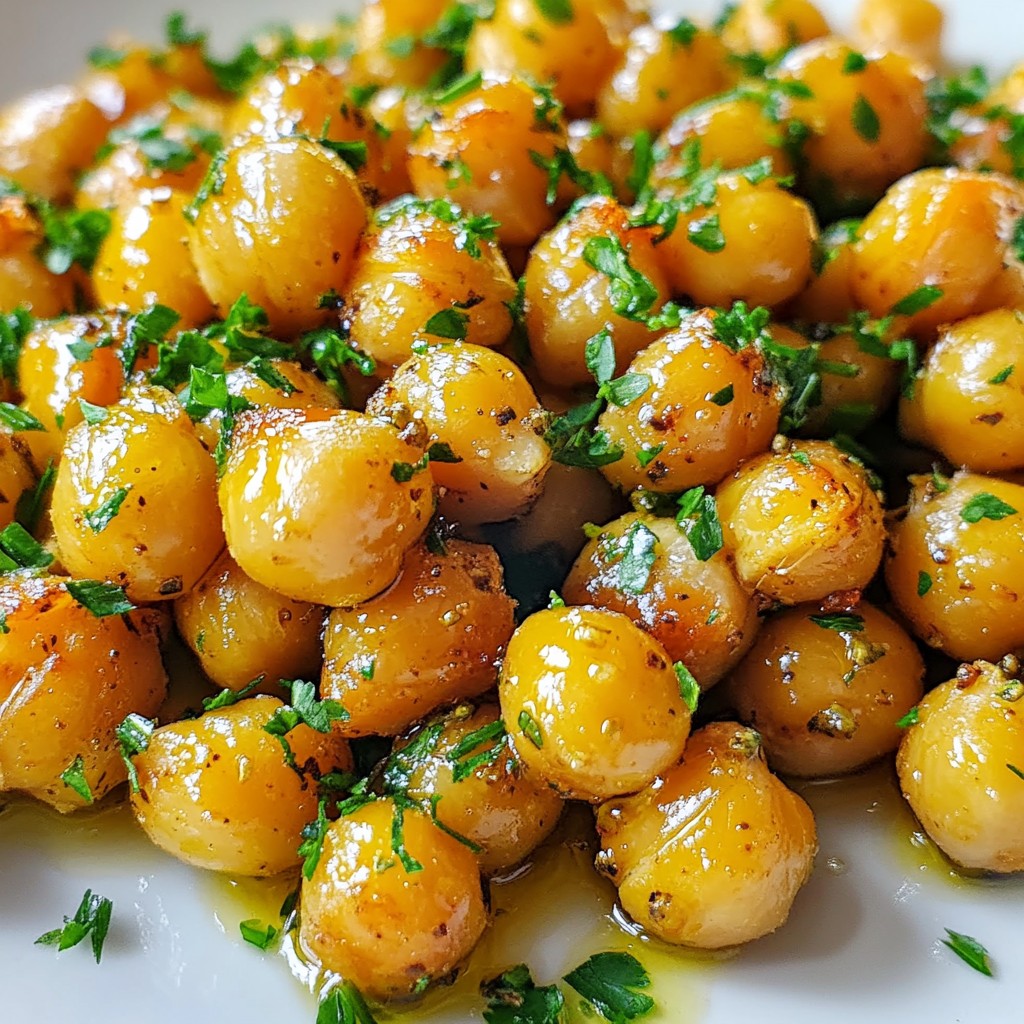
Garlic is the star ingredient in Garlic Butter Bread Rolls, imparting a robust flavor that elevates the dish. Beyond its culinary appeal, garlic also offers several health benefits, including anti-inflammatory properties and potential immune-boosting effects. When incorporated into the butter, garlic infuses the rolls with its distinctive and aromatic essence, making each bite a savory delight.
Fresh Parsley and Italian Seasoning
Fresh parsley and Italian seasoning provide an aromatic touch to the rolls. Fresh parsley adds a burst of color and a subtle herbal flavor, while Italian seasoning, a blend of dried herbs such as basil, oregano, and thyme, complements the garlic beautifully. These ingredients enhance the overall flavor profile, making the rolls even more irresistible.
Red Pepper Flakes (Optional)
For those who enjoy a little heat, red pepper flakes can be added to the garlic butter mixture. This optional ingredient introduces a mild spiciness that contrasts nicely with the richness of the butter and the savory garlic. It’s an easy way to customize the flavor of your rolls according to your preferences.
Step-by-Step Guide to Making Garlic Butter Bread Rolls
Now that we’ve covered the ingredients, let’s dive into the step-by-step process of making Garlic Butter Bread Rolls. This guide will walk you through each phase, ensuring that you achieve the perfect texture and flavor.
Preparation of the Dough
1. Mixing Dry Ingredients: In a large mixing bowl, combine the all-purpose flour, instant yeast, sugar, and salt. Whisk the dry ingredients together until well blended. This step ensures that the yeast and salt are evenly distributed throughout the flour.
2. Combining Wet Ingredients: In a separate bowl, melt the unsalted butter and allow it to cool slightly. Add the warm water to the melted butter, ensuring the temperature is within the optimal range for yeast activation. Mix well.
3. Forming the Dough: Create a well in the center of the dry ingredients and pour the wet mixture into the well. Using a wooden spoon or a dough scraper, gently mix the ingredients until a shaggy dough begins to form. Be careful not to overmix at this stage; you want to bring the dough together without kneading it just yet.
Techniques for Mixing and Kneading the Dough
4. Kneading the Dough: Transfer the shaggy dough onto a lightly floured surface. Knead the dough for about 8-10 minutes until it becomes smooth and elastic. The kneading process develops the gluten, which is crucial for achieving the desired texture. If the dough is too sticky, sprinkle in a little more flour as needed, but avoid adding too much to ensure the rolls remain soft.
5. Achieving the Right Consistency: The dough should be slightly tacky but not overly sticky. It should spring back when gently pressed with your finger. This indicates that the gluten has developed properly and that the dough is ready for the next step.
The Science Behind Rising Dough
6. First Rise: Once the dough has been kneaded to perfection, place it in a lightly greased bowl, cover it with a clean kitchen towel or plastic wrap, and let it rise in a warm, draft-free area. This first rise, also known as fermentation, allows the yeast to produce carbon dioxide, causing the dough to double in size. This process typically takes about 1 to 1.5 hours, depending on the temperature.
7. Punching Down the Dough: After the dough has risen, gently punch it down to release the trapped air. This step is essential as it redistributes the yeast and helps create a more consistent texture in the rolls.
8. Shaping the Rolls: Divide the dough into equal portions, typically ranging from 8 to 12 rolls, depending on your preference for size. Shape each portion into a smooth ball by tucking the edges under and rolling it into a round shape. Place the shaped rolls on a greased baking sheet, ensuring they are spaced apart to allow for further rising.
Explanation of the Fermentation Process
9. Second Rise: Cover the shaped rolls with a kitchen towel and allow them to rise again for about 30-45 minutes. This second rise helps the rolls become light and airy, ensuring a tender texture once baked. You can preheat your oven during this time, allowing it to reach the ideal baking temperature.
As the dough rises, it undergoes the fermentation process, where the yeast continues to produce carbon dioxide, causing the rolls to expand. This is a crucial step in achieving fluffy, well-structured bread rolls.
By following these steps diligently, you will be well on your way to creating mouthwatering Garlic Butter Bread Rolls that are sure to become a staple in your kitchen. The combination of freshly baked bread, aromatic garlic, and rich butter makes these rolls a delightful addition to any meal, elevating your dining experience to new heights. Stay tuned for the following sections, where we will delve into the finishing touches, baking process, and expert tips for achieving the best results.
Tips to Create the Ideal Environment for Rising
Creating the perfect environment for your Garlic Butter Bread Rolls to rise is essential for achieving that fluffy and light texture everyone craves. Yeast thrives in warm, draft-free settings. Here are some effective tips:
1. Use Warm Water: When activating your yeast, ensure the water temperature is around 110°F (43°C). This warmth encourages yeast activity. Too hot, and you risk killing the yeast; too cold, and it won’t activate.
2. Draft-Free Zone: Find a warm spot in your kitchen, like near the oven or in a closed microwave (without the microwave turned on). This helps maintain a consistent temperature, promoting even rising.
3. Cover the Dough: Use a clean kitchen towel or plastic wrap to cover the bowl with the dough. This prevents the dough from drying out and creates a warm, humid environment for the yeast to work its magic.
4. Humidity Matters: If your kitchen is particularly dry, consider placing a pan of hot water in the oven (turned off) to create steam, which can help the dough rise more effectively.
Making the Garlic Butter Mixture
The star of the show, aside from the bread itself, is undoubtedly the garlic butter mixture. This simple but flavorful addition elevates the rolls to a whole new level. Here’s how to make it:
1. Ingredients: You’ll need unsalted butter, finely minced garlic, and a sprinkle of salt. Optional additions include fresh herbs like parsley or thyme for an extra burst of flavor.
2. Preparation: Melt the butter gently in a small pan over low heat. Once melted, add the minced garlic. Cook for just 1-2 minutes until fragrant but not browned; you want the garlic to infuse the butter without losing its fresh flavor. Remove from heat and stir in salt to taste.
Importance of Texture and Flavor Balance
Achieving the right texture and flavor balance in Garlic Butter Bread Rolls is crucial. The rolls should be soft and airy inside, complemented by a rich, buttery exterior.
1. Airy Interior: The combination of proper ingredients and the fermentation process contributes to a light texture. Be cautious not to over-knead the dough, which can develop gluten too much and lead to denser rolls.
2. Rich Flavor: The garlic butter not only enhances the flavor but also adds moisture to the crust, which contrasts beautifully with the airy interior. The balance of flavors from the garlic, butter, and any herbs you choose should be harmonious, making each bite delightful.
Suggestions for Variations
While the classic garlic butter rolls are heavenly, don’t hesitate to experiment with variations:
– Herbs: Add fresh herbs like rosemary, basil, or dill to the garlic butter for an aromatic twist. Dried herbs can also work well if fresh isn’t available.
– Spices: Consider incorporating spices such as smoked paprika or crushed red pepper flakes for a hint of heat. This adds an unexpected flair that can elevate the rolls further.
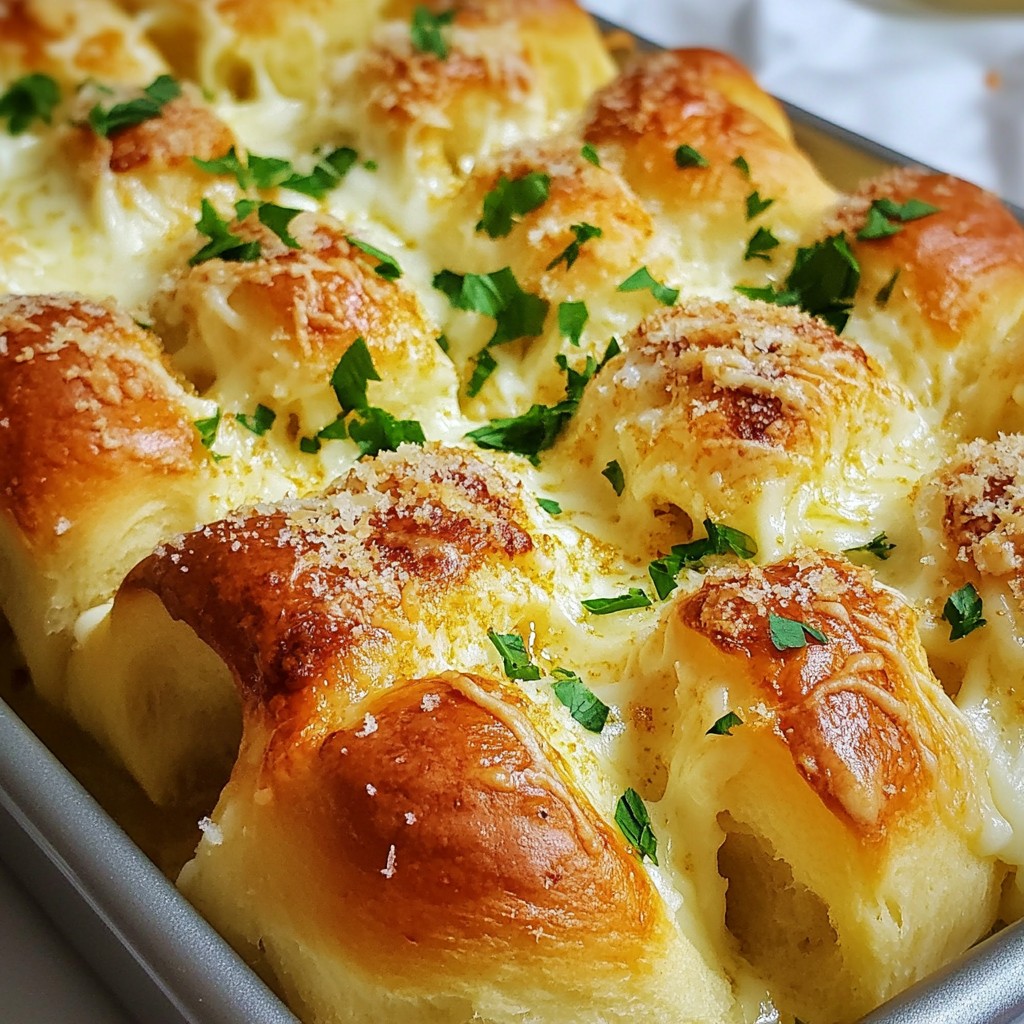
– Cheese: Mixing in some grated Parmesan or cheddar into the dough or sprinkling it on top before baking can provide a delightful cheesy flavor.
Shaping and Baking the Rolls
Shaping the rolls properly is key to ensuring they rise well and maintain their structure during baking. Here are step-by-step techniques to achieve perfect rolls:
1. Dividing the Dough: Once your dough has risen, gently punch it down to remove excess air. Divide the dough into equal portions (about 12-16 pieces) using a bench scraper or sharp knife.
2. Shaping: Take each piece and gently stretch it into a round shape. Tuck the edges under to form a smooth ball, which helps create surface tension. This tension is crucial for achieving height during the second rise.
3. Handling Dough Gently: Avoid overworking the dough, as this can deflate it. Handle with care to retain as much air as possible, which will result in fluffier rolls.
4. The Second Rise: After shaping, place the rolls on a baking sheet lined with parchment paper, leaving space between each. Cover them again and allow them to rise for about 30-45 minutes. This step is crucial for developing that light, airy texture.
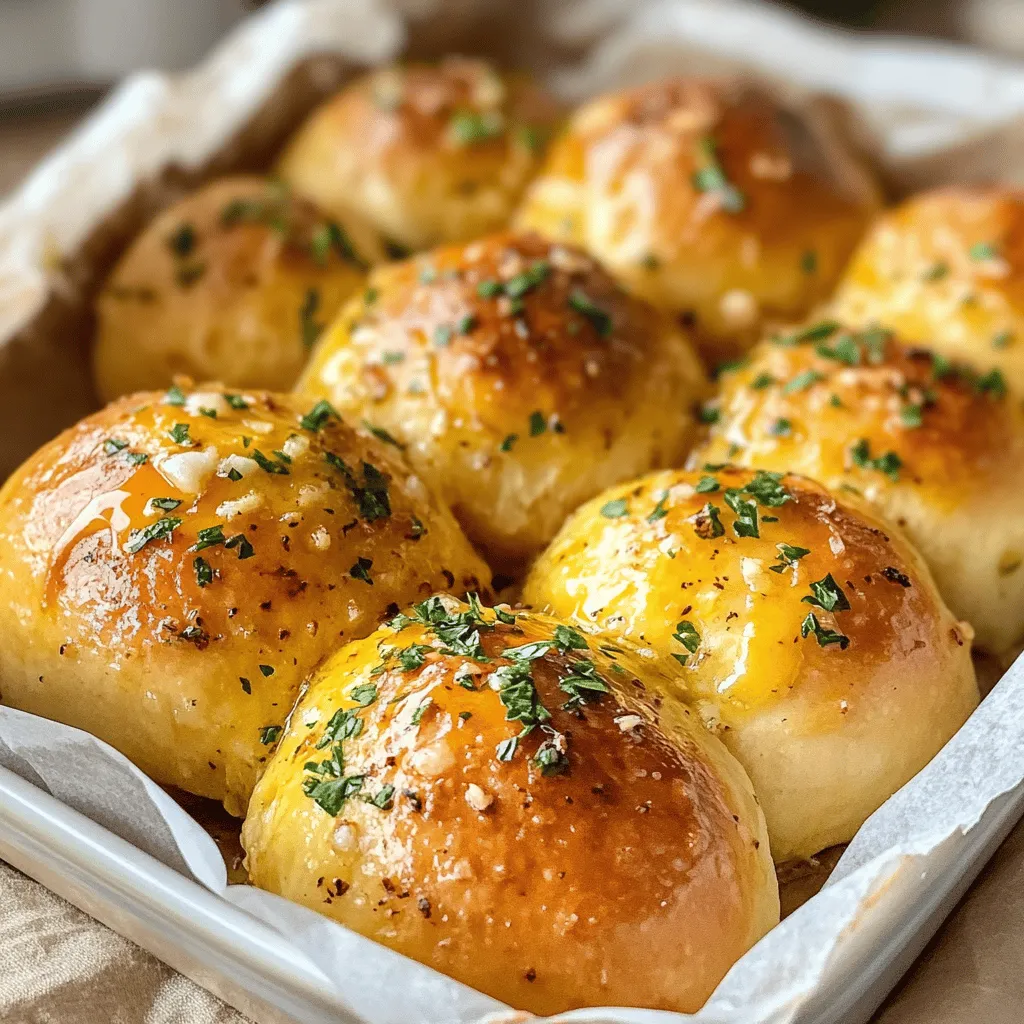
5. Pre-Baking Preparation: Before baking, brush the tops of each roll with the garlic butter mixture. This not only adds flavor but also creates a beautiful golden crust.
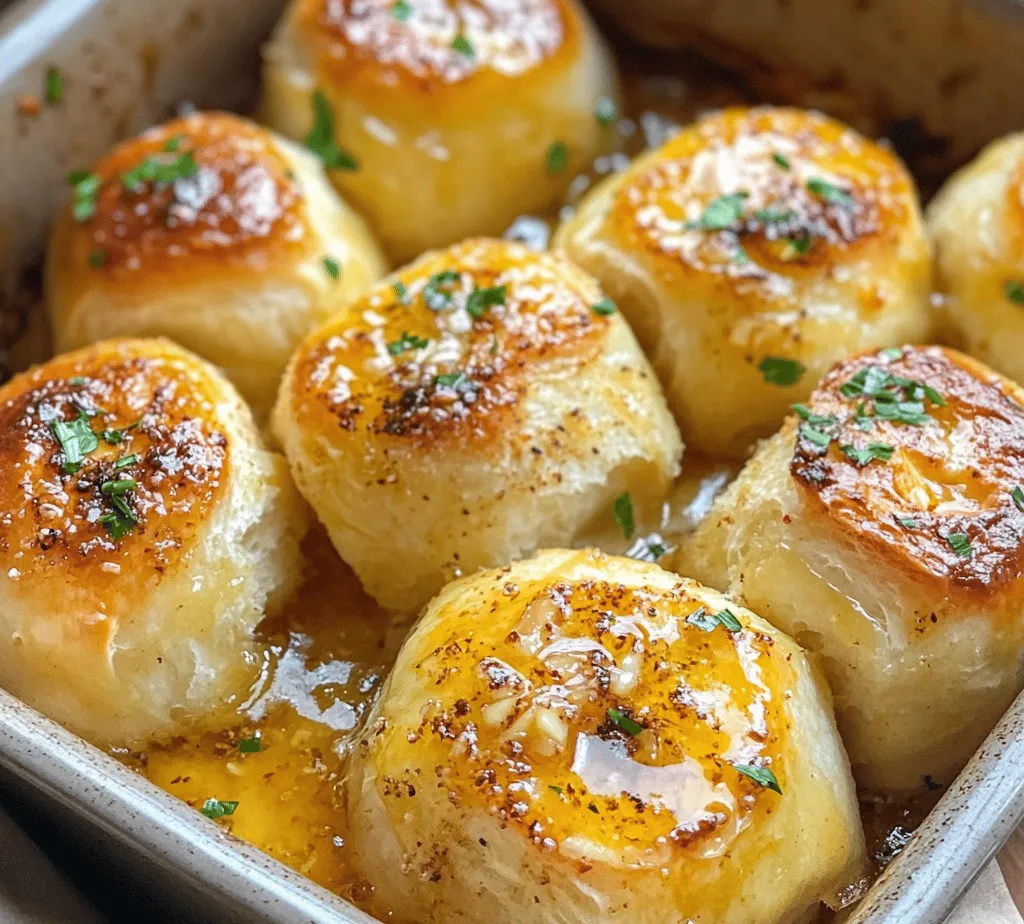
6. Baking Process: Preheat your oven to 375°F (190°C). Bake the rolls for 20-25 minutes or until they are golden brown and sound hollow when tapped on the bottom. The aroma will fill your kitchen, making it hard to resist.
7. Indicators of Doneness: Check your rolls towards the end of the baking time. They should be a deep golden color, and if you tap the bottom of a roll, it should sound hollow. If you have a kitchen thermometer, the internal temperature should reach around 190°F (88°C).
Serving Suggestions and Pairings
Once your Garlic Butter Bread Rolls are baked and cooled slightly, they’re ready to serve! Here are some delightful serving suggestions:
– With Soups: These rolls pair beautifully with creamy soups like tomato bisque or hearty vegetable soup. Their buttery flavor complements the richness of the broth.
– Accompanying Salads: Serve them alongside fresh salads—think Caesar or mixed greens. The rolls can be used to scoop up salad dressing, adding a satisfying touch.
– Main Dishes: Garlic Butter Bread Rolls work well as a side dish for roasted meats, pasta, or any dish with sauce. They can be the perfect vehicle for soaking up delicious juices.
– Creative Uses for Leftovers: If you find yourself with leftover rolls, don’t fret! Slice them in half and make sandwiches, or cube them for homemade croutons. They can also be used as a base for garlic bread or served alongside a cheese platter.
Nutritional Information
Understanding the nutritional content of your Garlic Butter Bread Rolls can help you enjoy them mindfully. Here’s a breakdown:
– Calories: Each roll typically contains around 150-200 calories, depending on the size and the amount of butter used.
– Macronutrients: The rolls offer a balance of carbohydrates, fats (from the butter), and a small amount of protein.
– Health Considerations: While these rolls are delicious, they are best enjoyed in moderation due to their calorie density and butter content.
Tips for Making the Recipe Healthier
If you’re looking to lighten up your rolls without sacrificing flavor, consider these modifications:
1. Whole Wheat Flour: Substitute half of the all-purpose flour with whole wheat flour for added fiber and nutrients.
2. Reduce Butter: Use a bit less butter in the garlic mixture, or substitute some of it with olive oil for a healthier fat option.
3. Add Vegetables: Incorporate finely grated zucchini or carrots into the dough for added moisture and nutrients.
Conclusion
Making Garlic Butter Bread Rolls at home is a rewarding experience that brings joy to both the baker and those who get to enjoy them. The delightful aroma that fills your kitchen, the satisfaction of pulling warm rolls out of the oven, and the pleasure of sharing them with loved ones create lasting memories.
Whether you serve them alongside your favorite soup, use them in creative recipes, or enjoy them fresh out of the oven, these rolls are a versatile addition to any meal. So roll up your sleeves, gather your ingredients, and dive into the delightful world of baking. Your taste buds will thank you!