Introduction
Exploring the world of homemade pizza is a delightful journey that combines creativity, flavor, and the comforting aroma of fresh dough baking in your kitchen. With each stretch and fold of the dough, you are not just preparing a meal, but crafting an experience that brings family and friends together. Among the myriad of pizza recipes out there, Gordon Ramsay’s Perfect Homemade Pizza Dough Recipe stands out with its straightforward yet effective approach. This recipe guarantees a fantastic base for your favorite toppings, ensuring that each pie is not only delicious but also a testament to your culinary skills.
Homemade pizza is more than just a meal; it’s a canvas for creativity. You can experiment with an endless variety of toppings, from traditional marinara and mozzarella to gourmet options like prosciutto and arugula. However, the foundation of every great pizza lies in its dough. The right dough can elevate your pizza from good to extraordinary, providing the perfect balance of flavor and texture. In this article, we will delve into the intricacies of making this fantastic pizza dough, from understanding the ingredients to mastering the kneading and rising techniques that will elevate your pizza-making game.
Understanding the Ingredients
The Foundation of Great Pizza Dough
Before we dive into the step-by-step instructions for crafting the perfect pizza dough, it’s essential to understand the role each ingredient plays in the final product. The combination of these ingredients creates a robust dough that is easy to work with and yields a delicious crust.
– Strong White Bread Flour: The choice of flour is crucial in pizza dough making. Strong white bread flour is the best option for pizza as it has a higher protein content compared to all-purpose flour. This higher protein level contributes to the dough’s elasticity and chewiness, which are key characteristics of a great pizza crust. The gluten formed during kneading gives the dough structure and allows it to rise beautifully.
– Salt: Salt is more than just a flavor enhancer; it also plays a vital role in the dough’s structure. It strengthens the gluten network, resulting in a better texture. Additionally, salt helps to control yeast activity, ensuring that the dough rises at a steady rate without becoming too airy.
– Instant Yeast: For those who prefer a quicker approach to pizza making, instant yeast is a convenient option. Unlike traditional yeast, it doesn’t require proofing in water before being added to the dough. Instant yeast activates quickly and helps the dough rise efficiently, making it an excellent choice for busy home cooks.
– Olive Oil: Adding olive oil to your pizza dough not only enriches the flavor but also contributes to the dough’s tenderness. It creates a softer texture and adds a lovely aroma that enhances the overall pizza experience.
– Lukewarm Water: The temperature of the water is critical for yeast activation. Lukewarm water, ideally around 100°F (38°C), is perfect for stimulating yeast growth. If the water is too hot, it can kill the yeast; if it’s too cold, the yeast will remain dormant, leading to poor rising.
– Sugar: While sugar is optional, it can be beneficial for yeast performance. A small amount of sugar helps to feed the yeast and can lead to a quicker rise, resulting in a lighter and airier crust.
Step-by-Step Instructions for Perfect Pizza Dough
Now that we’ve covered the fundamental ingredients that make up Gordon Ramsay’s Perfect Homemade Pizza Dough Recipe, let’s move on to the detailed instructions that will guide you through the process.
Mixing the Dry Ingredients
The first step in making pizza dough is to mix the dry ingredients properly. This is crucial because it ensures that the salt and flour are evenly distributed, which affects the flavor and texture of the dough.
1. Measure the Flour and Salt: Begin by measuring out strong white bread flour and adding it to a mixing bowl. The general ratio is about 4 cups of flour to 1 teaspoon of salt, but this can vary based on your preferences and the specific recipe you are following.
2. Combine the Ingredients: To properly distribute the salt, sprinkle it evenly over the flour. Using a whisk or fork, gently mix the flour and salt together to ensure an even distribution. This step is essential because if the salt comes into direct contact with the yeast, it can inhibit its activity.
3. Creating a Well: Once the dry ingredients are mixed, create a well in the center of your flour mixture. This will serve as a reservoir for adding the wet ingredients, allowing for a more effective mixing process.
Activating the Yeast
Activating the yeast is a crucial step that determines whether your dough will rise properly.
1. Prepare the Yeast: If using instant yeast, you can add it directly to the flour mixture without activation. However, if you prefer to use fresh or active dry yeast, dissolve it in lukewarm water along with a pinch of sugar. Allow it to sit for about 5-10 minutes until it becomes frothy; this indicates that the yeast is alive and ready to work.
2. Combine the Yeast with Water: Once your yeast is activated, pour it into the well you’ve created in the flour mixture. Add the lukewarm water and olive oil to the same well. The liquid ingredients should be at the right temperature to activate the yeast effectively, so ensure they are lukewarm, not hot.
Combining Ingredients for Dough Formation
With the dry and wet ingredients prepared, it’s time to bring them together into a cohesive dough.
1. Mixing Techniques: Use a wooden spoon to gently mix the flour into the liquid, starting from the edges of the well and gradually incorporating more flour as you go. This method helps to avoid a messy kitchen and keeps the ingredients contained in the bowl.
2. Using Your Hands: Once the mixture starts to come together, switch to using your hands. This will allow you to feel the texture of the dough and ensure that all the flour is properly incorporated. If the dough feels too sticky, don’t be afraid to sprinkle a little extra flour into the mix gradually.
Kneading: The Key to Elasticity
Kneading is a crucial step that develops the gluten in the dough, giving it the elasticity needed for a perfect pizza crust.
1. Kneading Process: Transfer the dough to a lightly floured surface and begin kneading. Push the dough away from you with the heel of your hand, fold it over itself, and then rotate it a quarter turn. Repeat this process for about 8-10 minutes. Proper kneading should result in a smooth and elastic dough that springs back when lightly pressed.
2. Troubleshooting Sticky Dough: If at any point the dough becomes too sticky, you can add a small amount of flour gradually. Be careful not to add too much, as this can lead to a dry dough. The goal is a slightly tacky but manageable texture.
The Rising Process
Allowing the dough to rise is essential for developing flavor and achieving the perfect texture.
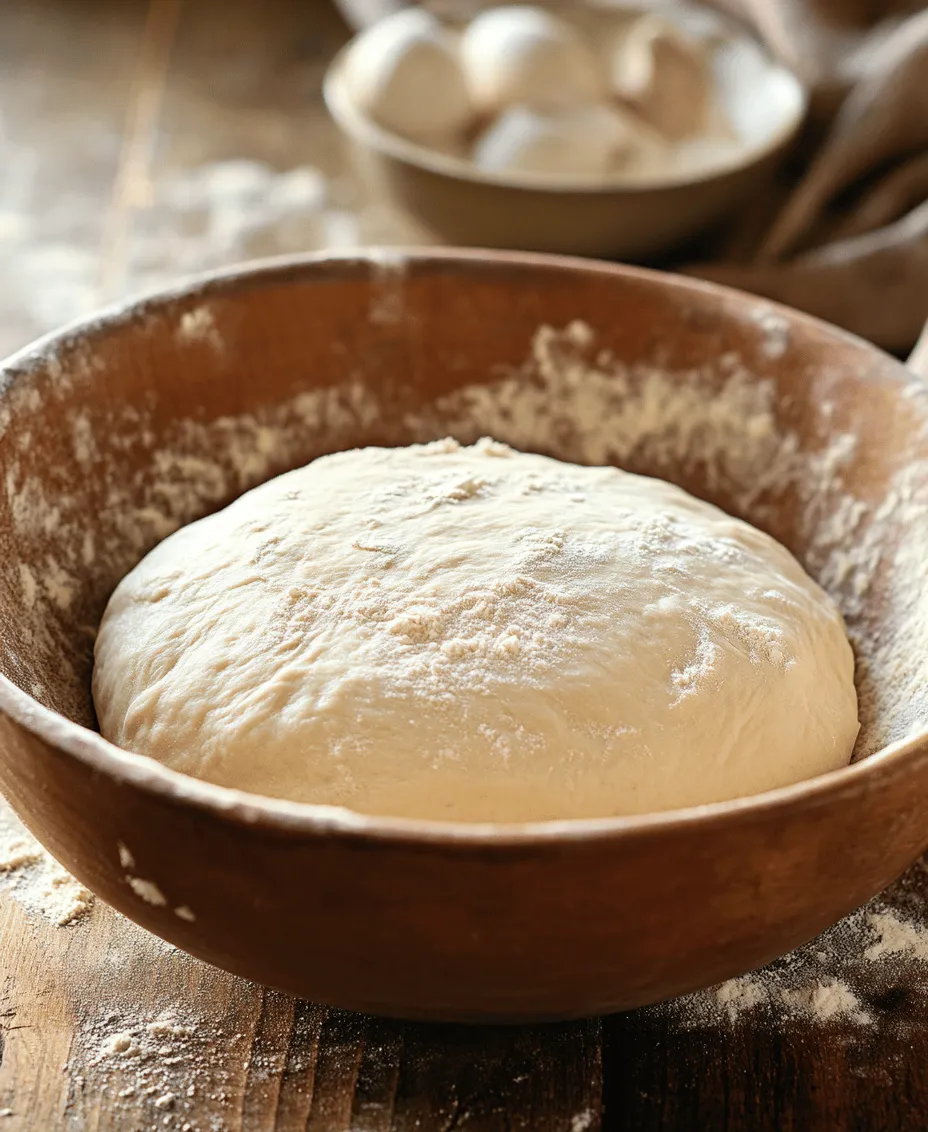
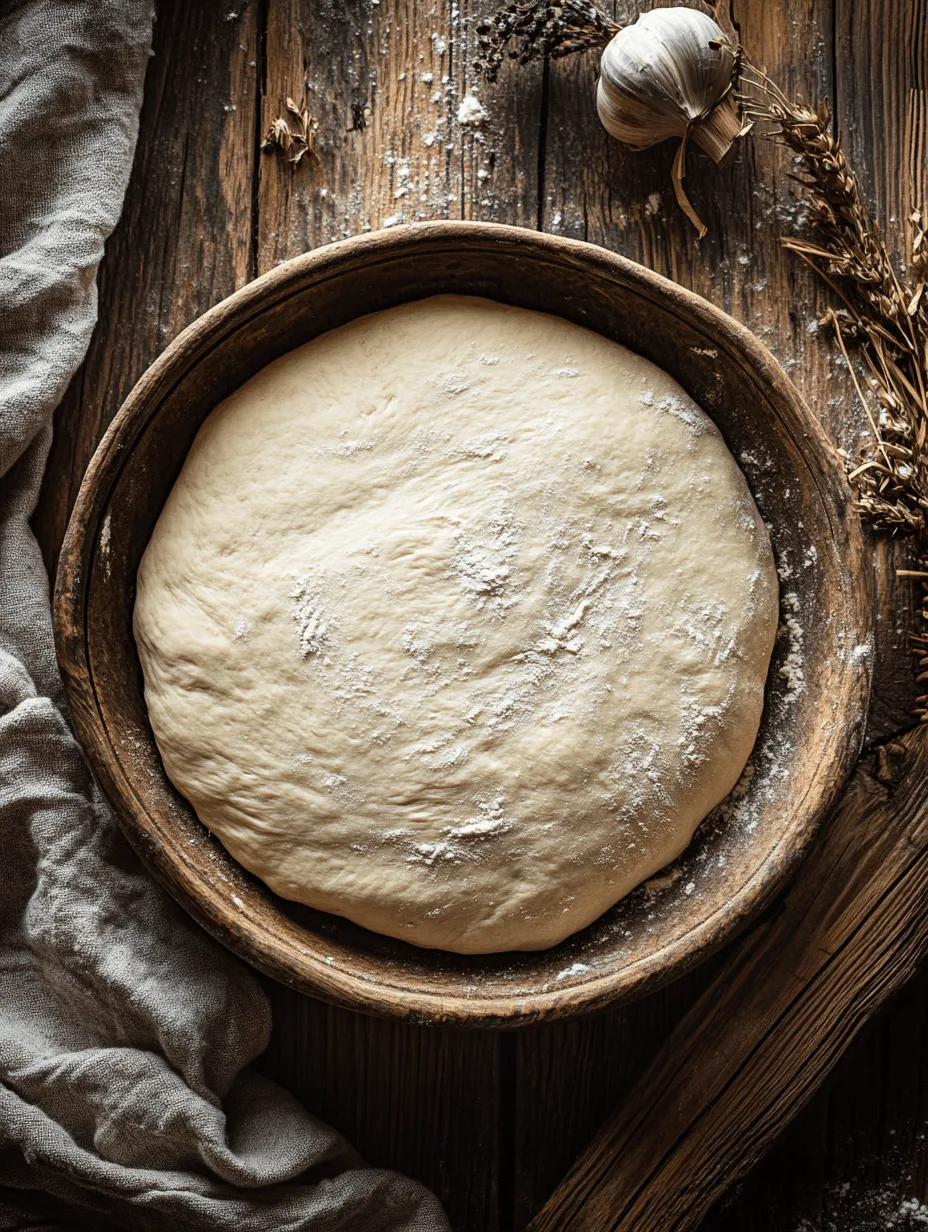
1. Ideal Conditions for Rising: Once your dough is kneaded, shape it into a ball and place it in a lightly oiled bowl, turning it to coat the surface with oil. Cover the bowl with a damp cloth or plastic wrap to create a warm, humid environment. This will help the dough rise effectively.
2. Understanding Punch-down Techniques: After about 1-2 hours, or when the dough has doubled in size, it’s time to punch it down. This involves gently deflating the dough to release excess air and redistribute the yeast. Simply press down on the dough with your fist, and then allow it to rest for another 10-15 minutes before shaping it for your pizza.
Shaping and Rolling Out the Dough
Once your dough has risen and been punched down, it’s time to shape it for your pizza creation.
1. Dividing the Dough: Depending on how large you want your pizzas, you can divide the dough into smaller portions. For a standard pizza, a portion of about 250-300 grams is ideal. Roll each portion into a ball and let them rest for about 10 minutes. This resting period allows the gluten to relax, making it easier to roll out.
By following these steps, you will have successfully created a perfect base for your homemade pizza. Whether you’re planning to top it with classic ingredients like tomato sauce and mozzarella or experimenting with gourmet toppings, this dough will provide the ideal canvas for your culinary creativity. Stay tuned for the next part of this article, where we will cover the exciting process of shaping, rolling, and baking your pizza to perfection.

Determining Portion Sizes Based on Pizza Size Preferences
When it comes to making homemade pizza, understanding portion sizes is crucial for achieving the right balance between crust and toppings. This recipe yields enough dough for two large pizzas or four medium-sized ones. For those who prefer personal-sized pizzas, you can divide the dough into smaller portions, allowing for customized toppings and flavors for each individual.
If you opt for larger pizzas, consider stretching the dough to about 12-14 inches in diameter. For smaller personal pizzas, aim for 6-8 inch rounds. This flexibility not only caters to different appetites but also provides an opportunity to experiment with various toppings.
Tips for Keeping Dough Portions Manageable
Handling pizza dough can be a bit tricky, especially if you’re not accustomed to working with yeast-based mixtures. To keep your dough portions manageable, here are a few practical tips:
1. Weigh Your Dough: After the dough has risen, use a kitchen scale to divide it into equal portions. This ensures consistency across all pizzas.
2. Use Plastic Wrap: If you’re not using all the dough at once, wrap the unused portions tightly in plastic wrap and store them in the refrigerator for up to 24 hours. Alternatively, freeze for longer storage.
3. Keep Your Work Surface Floured: Dust your countertop with flour before rolling out the dough. This prevents sticking and makes the handling process smoother.
Rolling Techniques
Rolling out pizza dough is an art that can be mastered with a few simple techniques.
Achieving the Desired Thickness: Tips and Tricks
The thickness of your pizza crust can significantly affect the overall texture and flavor. Here are some tips for achieving that perfect thickness:
– Start with Room Temperature Dough: After allowing your dough to rest at room temperature for about 30 minutes, it will be easier to roll out. Cold dough tends to resist stretching.
– Use Your Hands: Begin by pressing the dough into a flat disk with your hands. Use your fingers to gently stretch the edges while rotating the dough.
– Rolling Pin Technique: When using a rolling pin, apply even pressure and roll from the center outwards. Rotate the dough a quarter turn every few rolls to maintain a circular shape.
The Importance of Dusting Flour to Prevent Sticking
Flour is your best friend when it comes to handling pizza dough. Dust your work surface and the rolling pin generously with flour to prevent sticking. If you notice the dough begins to stick, lift it gently and add more flour underneath. This will help maintain the integrity of your dough while rolling it out.
Preparing for Baking
Once your dough is rolled out and ready, it’s time to prepare for baking.
Preheating Your Oven
Preheating your oven is a critical step in achieving that perfect homemade pizza.
Why High Temperatures Are Essential for Pizza Perfection
Pizza is best cooked at high temperatures, ideally between 475°F to 500°F (245°C to 260°C). This allows the crust to bake quickly, developing a crispy exterior while keeping the inside soft and chewy.
The Benefits of Using a Pizza Stone
Investing in a pizza stone can elevate your pizza-making game. A pizza stone absorbs moisture and distributes heat evenly, giving your crust a perfect finish. Place the stone in the oven during the preheating phase to ensure it reaches the same high temperature as the oven itself.
Transferring the Dough
After your dough is rolled and your oven is preheated, it’s time to transfer the dough to your baking surface.
How to Move Rolled-Out Dough onto a Baking Surface
To avoid tearing your dough during transfer, there are a couple of effective methods:
– Parchment Paper: Roll out your dough on a piece of parchment paper. This allows you to easily slide the entire pizza onto a baking sheet or pizza stone without the risk of tearing.
– Pizza Peel: If you have a pizza peel, dust it with flour and carefully lay the rolled-out dough on it. This will enable a smooth transfer to the hot stone in the oven.
Topping Your Pizza
Now comes the fun part—topping your pizza!
Choosing the Right Sauce
The sauce you use can greatly influence the flavor of your pizza.
Tomato-Based vs. White Sauces: Flavor Profiles and Combinations
– Tomato Sauce: A classic choice, tomato sauce provides a tangy flavor that pairs well with a range of toppings. Opt for a simple marinara or a more complex sauce with herbs and spices.
– White Sauce: For a creamier option, consider using a white sauce, such as Alfredo or a garlic-infused oil. This works wonderfully with toppings like spinach, mushrooms, and chicken.
How to Spread Sauce Evenly
Using a ladle or the back of a spoon, spread your sauce evenly on the rolled-out dough, leaving about half an inch around the edges. This will create a nice crust when baked.
Selecting Cheese and Other Toppings
Choosing the right cheese and toppings can elevate your pizza from good to extraordinary.
Popular Cheese Options and Their Melting Properties
– Mozzarella: The classic choice for its meltability and mild flavor. Fresh mozzarella will provide a deliciously creamy texture.
– Parmesan: Adds a nutty flavor and can be sprinkled on top for an extra layer of taste.
– Provolone: This cheese melts well and gives a nice sharpness to your pizza.
Balancing Flavors and Textures with Toppings
When selecting toppings, consider a balance of flavors and textures. For example, if you choose a rich sauce, pair it with lighter toppings like arugula or grilled vegetables. Additionally, remember that less is more; overloading your pizza can lead to a soggy crust.
Baking Your Pizza
With your toppings in place, it’s time to bake your pizza.
Timing and Temperature
Baking at the Right Temperature for an Ideal Crust
Place your pizza in the preheated oven or on the hot pizza stone. Bake for about 10-12 minutes, depending on your oven’s capabilities and the thickness of your crust.
Recognizing When Your Pizza Is Done: Visual Cues
Your pizza is ready when the crust is golden brown and the cheese is bubbling and slightly browned. If the edges are crisp and the sauce is visibly simmering, it’s time to take it out.
Cooling and Slicing
Once your pizza is baked to perfection, it’s essential to let it rest before slicing.
The Importance of Letting Pizza Rest Before Slicing
Allow your pizza to cool for about 5 minutes after removing it from the oven. This resting period helps the cheese set a bit, making it easier to slice and eat without the toppings sliding off.
Techniques for Cutting Pizza for Perfect Slices
Using a sharp pizza cutter or a sharp knife, slice your pizza into equal portions. Start from the center and cut outward to ensure each slice has a fair share of toppings.
Conclusion
Making Gordon Ramsay’s Perfect Homemade Pizza Dough is a fulfilling experience that not only results in a delicious meal but also allows you to connect with the art of cooking. By understanding the ingredients, mastering the techniques, and embracing your creativity in topping choices, you can enjoy the satisfaction of serving homemade pizza to family and friends.
Whether it’s a classic Margherita or a creative combination of flavors, this recipe serves as a foundation for countless delicious possibilities in your kitchen. With practice, you’ll be able to impress everyone with your homemade pizza, bringing the taste of Italy right into your home. So roll up your sleeves, preheat that oven, and get ready to create a masterpiece that will have everyone coming back for more.


