Introduction
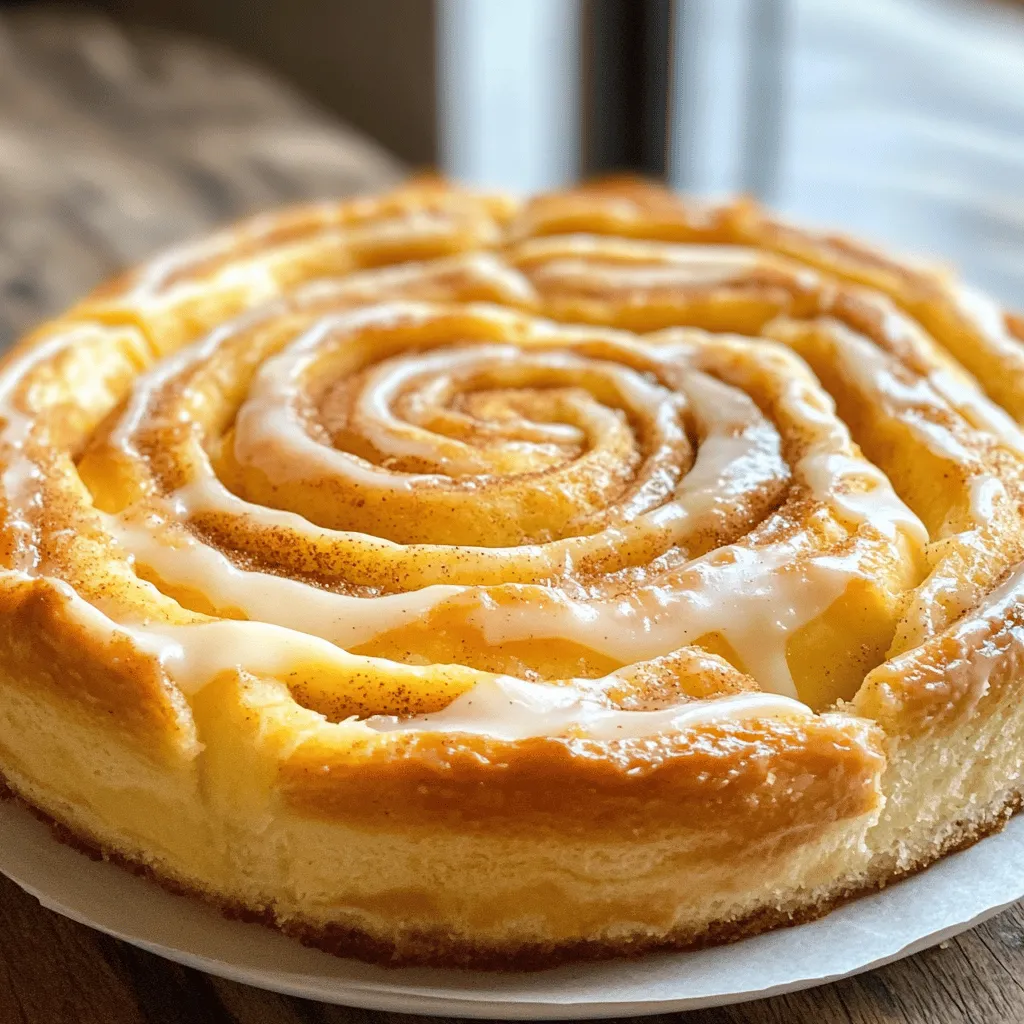
Cinnamon rolls have long held a special place in the hearts and stomachs of many. Whether enjoyed at breakfast, as an afternoon treat, or a delightful dessert, these soft, sweet rolls are a beloved comfort food that evokes feelings of warmth and nostalgia. The aroma of freshly baked cinnamon rolls wafting through the kitchen is a memory cherished by many, often linked to family gatherings, holiday celebrations, or simply cozy mornings at home.
There’s something uniquely satisfying about crafting cinnamon rolls from scratch. The process of mixing, kneading, and rolling the dough is not just a culinary task; it’s an experience that brings people together. “Heavenly Cinnamon Rolls Delight” is the ultimate guide for anyone looking to recreate this classic treat in their own kitchen. This step-by-step recipe will not only guide you through the process but also impart the tips and techniques that make homemade cinnamon rolls truly irresistible.
The Allure of Cinnamon Rolls
Cinnamon rolls have a rich history that traces back centuries. Although their precise origins are debated, many believe they were first created in Sweden, where they are known as “kanelbullar.” This sweet pastry quickly gained popularity across Europe and eventually made its way to North America, where it has become a staple in bakeries and home kitchens alike. Different cultures have embraced cinnamon rolls, leading to an array of regional variations—from the sticky, caramel-covered versions found in the southern United States to the decadent cream cheese frosted rolls popular in many coffee shops.
Despite the myriad of store-bought options available today, nothing quite compares to homemade cinnamon rolls. The difference lies not only in the freshness of the ingredients used but also in the love and care infused into the baking process. While store-bought rolls may save time, they often lack the tender texture and rich flavor that comes from handcrafting the dough and filling. When you make your cinnamon rolls from scratch, you have complete control over the ingredients, allowing you to tailor them to your taste preferences.
Ingredients Breakdown
To achieve the heavenly taste and texture of cinnamon rolls, every ingredient plays a critical role. Here’s a detailed look at what you’ll need for this recipe:
– All-Purpose Flour: The backbone of the dough, all-purpose flour provides the necessary structure and texture. It has the right balance of protein to create a fluffy yet sturdy roll that can hold the filling without falling apart.
– Granulated Sugar: This ingredient not only sweetens the dough but also contributes to the browning of the rolls as they bake. A touch of sugar in the dough enhances the overall flavor, making every bite delightful.
– Active Dry Yeast: The star of the show when it comes to leavening, active dry yeast is what helps your cinnamon rolls rise. It ferments the sugars in the dough, producing carbon dioxide and resulting in a light and airy texture.
– Salt: Often overlooked, salt is crucial for enhancing the flavor of the rolls. It also helps to regulate the activity of the yeast, preventing it from fermenting too quickly and ensuring a gradual rise.
– Whole Milk: Using whole milk enriches the dough, adding moisture and a creamy texture. It helps create a tender crumb that melts in your mouth.
– Unsalted Butter: This ingredient is essential for both the dough and the filling. Butter adds richness and flavor, contributing to the overall decadence of the cinnamon rolls.
– Eggs: Eggs provide structure and moisture to the dough, enriching it and helping achieve a soft, fluffy texture. They also contribute to the golden color of the finished rolls.
– Brown Sugar and Cinnamon: The classic filling combination, brown sugar adds moisture and a deep caramel flavor, while cinnamon brings warmth and depth. This mixture is what elevates your cinnamon rolls from ordinary to extraordinary.
– Powdered Sugar, Milk, and Vanilla Extract: These ingredients come together to create a luscious icing that finishes off your cinnamon rolls perfectly. The combination of these components results in a sweet, creamy topping that complements the spiced filling beautifully.
Preparing the Dough
Activating the Yeast
The first step in making heavenly cinnamon rolls is activating the yeast, which is crucial for achieving that light and fluffy texture. To begin, measure out your active dry yeast and place it in a small bowl.
Add warm water—ideally between 100°F to 110°F (37°C to 43°C)—to the yeast. This temperature range is important because water that is too hot can kill the yeast, while water that is too cool may not activate it effectively. Stir gently to combine, then let it sit for about 5 to 10 minutes. During this time, you should see the mixture begin to froth and bubble, indicating that the yeast is alive and ready to work its magic.
Mixing and Kneading the Dough
Once your yeast is activated, it’s time to mix the dough. In a large mixing bowl, combine the all-purpose flour, granulated sugar, and salt. Create a well in the center and pour in the activated yeast mixture, whole milk, melted unsalted butter, and eggs. Using a wooden spoon or a spatula, mix until a shaggy dough forms.
Now, transfer the dough onto a lightly floured surface. It’s time to knead! Kneading is essential for developing gluten, which gives the rolls their structure. To knead, fold the dough over itself and push it down with the palm of your hand. Rotate the dough a quarter turn and repeat this process. Continue kneading for about 8 to 10 minutes until the dough is smooth and elastic.
You’ll know the dough is ready when it springs back slightly when poked and feels soft, yet not sticky. If the dough is too sticky, sprinkle in a little more flour as needed, but be careful not to add too much, as it can lead to dense rolls.
The Importance of the First Rise
After kneading, shape the dough into a ball and place it in a greased bowl, turning it to coat. Cover the bowl with a clean kitchen towel or plastic wrap, and let it rise in a warm, draft-free area until it doubles in size—about 1 to 2 hours. The ideal temperature for rising is around 75°F to 80°F (24°C to 27°C).
This first rise is crucial; it allows the yeast to ferment and produce carbon dioxide, which creates air pockets in the dough, resulting in tender, fluffy rolls. You can expedite the rising process by placing the dough in a slightly warmed oven (turned off) or near a sunny window, but avoid letting it get too hot.
Creating the Filling
While the dough is rising, you can prepare the cinnamon-sugar filling. In a medium bowl, combine brown sugar and ground cinnamon. The ratio of sugar to cinnamon can be adjusted based on your preference for sweetness and spice, but a common starting point is 1 cup of brown sugar to 2 tablespoons of cinnamon. Mixing these two ingredients will create the aromatic filling that will swirl through your cinnamon rolls.
Once the dough has risen, it’s time to roll it out and spread the filling. After punching down the dough to release any air bubbles, transfer it to a lightly floured surface. Roll it out into a rectangle, approximately 16 x 12 inches. Spread softened unsalted butter evenly over the surface of the dough, leaving a small border around the edges. Then, sprinkle the cinnamon-sugar mixture generously over the buttered dough, ensuring even coverage for that signature flavor in every bite.
You are now on your way to creating delicious, homemade cinnamon rolls that will surely delight everyone who has the pleasure of tasting them. As we continue with this comprehensive recipe, each step brings you closer to enjoying these sweet, heavenly treats that are perfect for any occasion. Stay tuned for detailed folding, cutting, and baking instructions in the next part of our journey!
Techniques for Rolling Out Dough to the Perfect Rectangle
To create the ideal cinnamon roll, start by rolling out the dough into a perfect rectangle. This uniform shape is crucial for achieving even rolls. Begin by lightly flouring your work surface and your rolling pin to prevent sticking. Take the dough and gently press it into a flat disc, then use your rolling pin to expand the dough outward. Roll from the center towards the edges, applying even pressure while rotating the dough a quarter turn every few rolls. This helps maintain a rectangular shape. Aim for a thickness of about 1/4 inch; too thin, and the rolls may not hold their shape, too thick, and they won’t bake through properly.
Tips on Evenly Spreading Butter and the Filling for Maximum Flavor
Once you have your dough rolled into a rectangle, the next step is to spread the filling. For the butter, use softened, unsalted butter for the best flavor. Start by placing dollops of butter across the surface of the dough, then use a spatula or the back of a spoon to evenly spread the butter all the way to the edges. This ensures every bite of your cinnamon rolls is rich and flavorful.
Next, sprinkle your cinnamon sugar filling over the butter. To maximize flavor, use a mixture of brown sugar and ground cinnamon. Start from one end of the rectangle and sprinkle it evenly across the surface, making sure to cover every inch. A generous layer will create those delightful sweet swirls inside your rolls.
Shaping the Rolls
Now that your filling is in place, it’s time to roll and cut the dough into uniform pieces. Begin by starting at one edge of the rectangle and carefully rolling the dough tightly towards the opposite edge. A tight roll is essential for ensuring that the rolls maintain their shape and rise well during baking. As you roll, try to keep the edges even to avoid any gaps in your rolls.
Once you reach the end, pinch the seam closed to secure the roll. Use a sharp knife or a bench scraper to cut the rolled dough into uniform pieces. Aim for approximately 1.5 to 2 inches in width. Visualizing the process can help you maintain consistency; think of the size you want each roll to be and cut accordingly.
The Second Rise
After shaping your rolls, it’s time for the second rise, a critical step in achieving fluffy, light cinnamon rolls. This rise allows the yeast to work its magic, creating air pockets in the dough that will result in a tender texture. Place your rolls in a greased baking dish, making sure they are spaced apart to allow for expansion.
To keep your rolls warm during this stage, cover them with a clean kitchen towel or plastic wrap. This creates a warm, humid environment that helps the dough rise effectively. Allow the rolls to rise for about 30 to 45 minutes, or until they’ve doubled in size. You can also place the rolls in a slightly warm oven (about 100°F) for an extra boost, but ensure they are covered to prevent drying out.
Baking the Rolls
Preheat your oven to 350°F (175°C) while your rolls are finishing their second rise. Once they have risen sufficiently, it’s time to bake them. Place the dish in the preheated oven and set a timer for about 25 to 30 minutes. The rolls are done when they are golden brown on top, and a toothpick inserted into the center comes out clean.
As they bake, the aroma of cinnamon and sugar will fill your kitchen, creating an inviting atmosphere. Keep an eye on the rolls towards the end of the baking time, as every oven behaves differently. The key visual cues for doneness are a golden color and a delightful aroma that hints at caramelization.
Making the Icing
While the rolls are baking, it’s the perfect time to prepare the icing. In a mixing bowl, combine powdered sugar, vanilla extract, and milk. Start with a cup of powdered sugar and gradually add milk, whisking until you achieve a smooth, pourable consistency. If the icing is too thick, add a little more milk, one teaspoon at a time. Conversely, if it’s too thin, incorporate more powdered sugar until it reaches your desired consistency.
For an extra flavor twist, consider adding a pinch of salt or a dash of maple syrup to your icing. Once your rolls are out of the oven, drizzle the warm icing over them. The warmth of the rolls will help the icing melt slightly, enhancing the flavor and allowing it to seep into the swirls.
Serving Suggestions
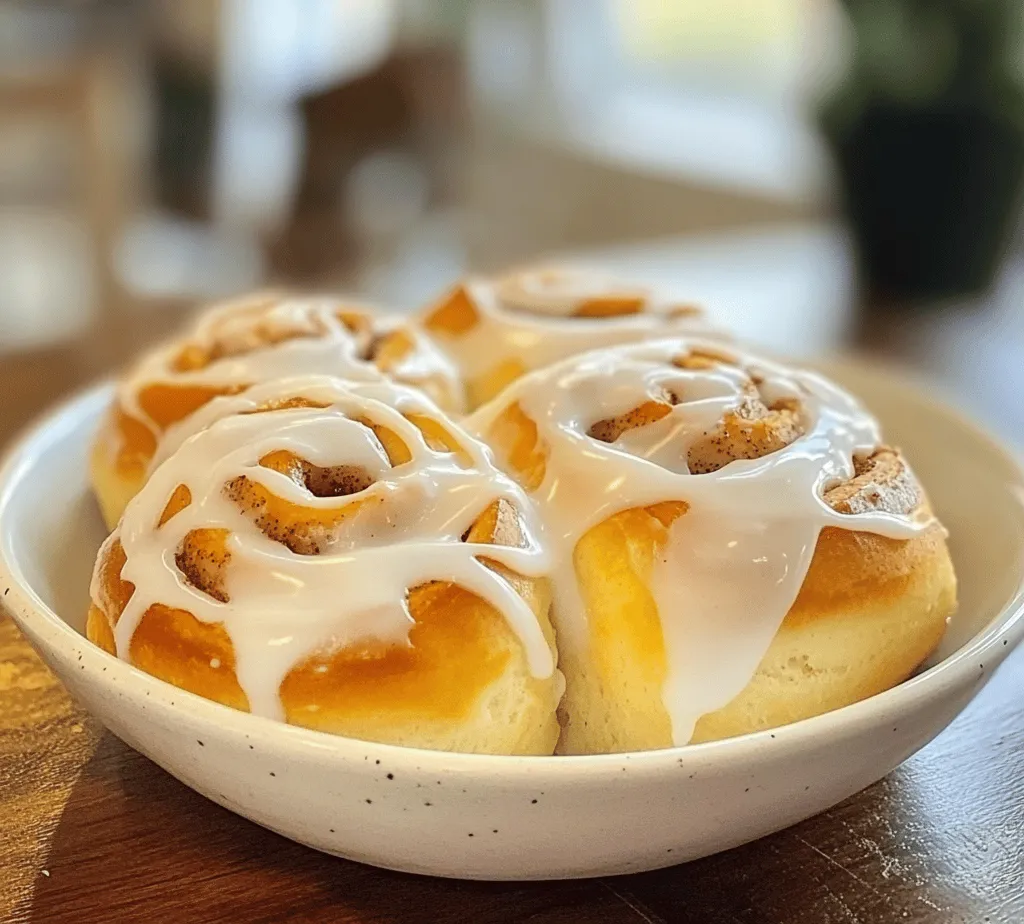
Cinnamon rolls are incredibly versatile and can be enjoyed in various settings. Serve them fresh out of the oven for breakfast, alongside a cup of coffee or tea for a delightful brunch, or as a sweet dessert after dinner. They pair beautifully with a variety of beverages; a rich, dark coffee or a spiced chai tea can complement the sweetness of the rolls perfectly.
For a more indulgent experience, consider serving the rolls with a side of whipped cream or a scoop of vanilla ice cream. You can also add fresh fruit, such as strawberries or raspberries, for a refreshing contrast to the warm, gooey rolls.
Storing and Reheating Leftovers
If you happen to have any leftover cinnamon rolls, it’s essential to store them correctly to maintain their freshness. Allow the rolls to cool completely, then transfer them to an airtight container or wrap them tightly in plastic wrap. They can be stored at room temperature for up to two days or in the refrigerator for about a week.
To reheat, preheat your oven to 350°F (175°C) and place the rolls on a baking sheet. Cover them with aluminum foil to prevent drying out and warm them for about 10-15 minutes. Alternatively, you can microwave individual rolls for about 15-20 seconds, but be cautious not to overheat, as this can lead to a tough texture.
Nutritional Information
When indulging in delicious cinnamon rolls, it’s helpful to be mindful of their nutritional content. A typical serving of cinnamon rolls (one roll) contains approximately 300-400 calories, depending on the ingredients used and portion size. They are high in carbohydrates and sugars, primarily due to the flour and sweet fillings.
For those with dietary restrictions, modifications can be made. For a vegan option, substitute dairy milk with almond or oat milk, and use a plant-based butter alternative. You can also explore gluten-free flour blends if gluten is a concern. These adjustments can help accommodate various dietary needs while still delivering a delightful cinnamon roll experience.
Conclusion
There is something undeniably joyful about making and savoring homemade cinnamon rolls. The process is not just about baking; it’s about creating a warm, inviting atmosphere filled with the comforting aroma of cinnamon and sugar. Whether enjoyed fresh from the oven or reheated later, these delightful treats evoke feelings of nostalgia and warmth.
We encourage you to try this recipe for Heavenly Cinnamon Rolls Delight and share your experiences. There’s a special kind of magic in baking that brings people together, and your homemade cinnamon rolls might just become a cherished tradition in your home. As you indulge in each gooey, sweet bite, take a moment to savor the satisfaction of creating something delicious and nourishing from scratch. Enjoy the journey of baking and the joy that comes from sharing your creations with loved ones.


