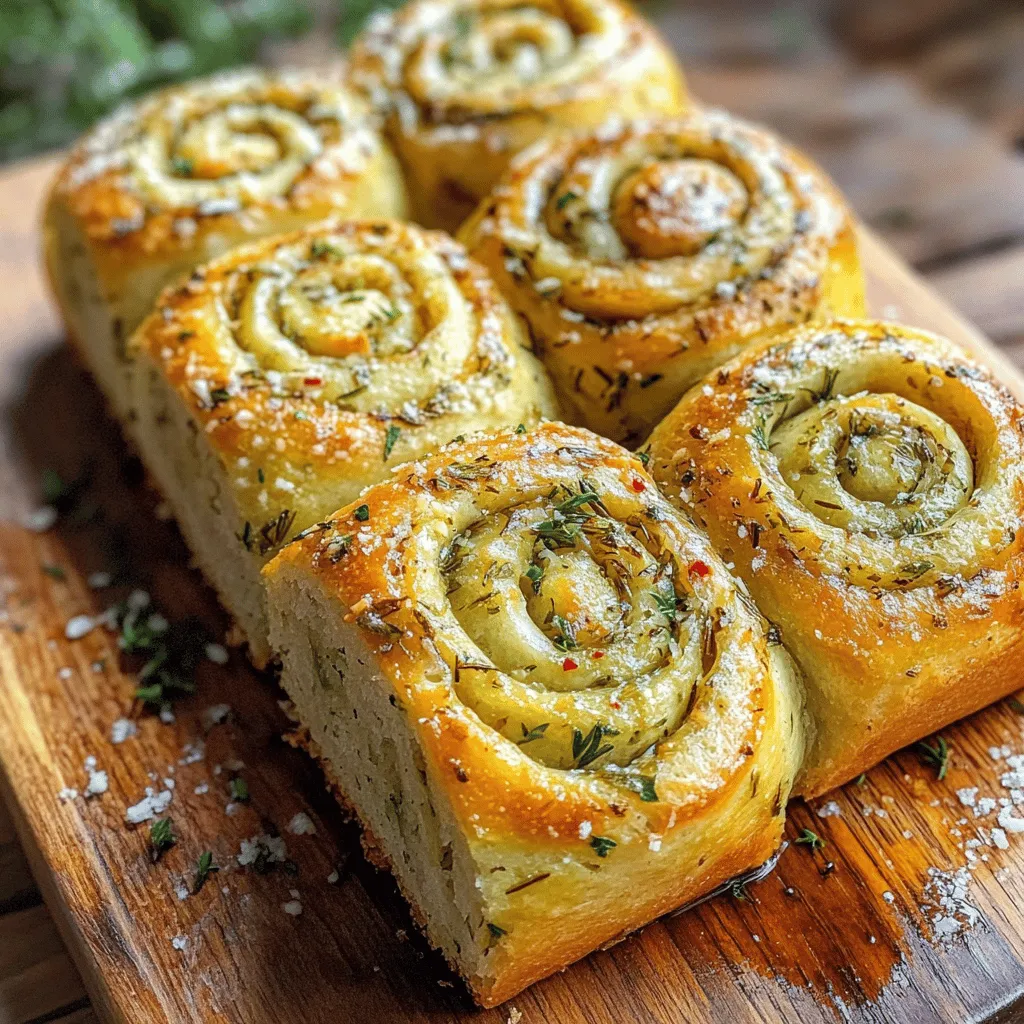
Welcome to the tasty world of Herb & Garlic Swirl Rolls! These rolls burst with flavor and will wow your guests. With fresh herbs and buttery goodness, they are a crowd favorite. I’ll guide you through selecting the right ingredients, preparing the dough, and creating the perfect filling. By the end, you’ll know how to bake these scrumptious rolls to perfection. Let’s get started on your new favorite recipe!
What Ingredients Do You Need for Herb & Garlic Swirl Rolls?
To make herb and garlic rolls, you need simple yet fresh ingredients. Here is a list of what you will need.
What are the Essential Ingredients?
The base of your rolls starts with 3 cups of all-purpose flour. You will also need 1 packet of active dry yeast. Warmed milk, about 1 cup, helps the yeast grow. A quarter cup of sugar adds a touch of sweetness. Don’t forget ½ teaspoon of salt and ¼ cup of melted unsalted butter. For the flavor, use ¼ cup of finely chopped fresh parsley and 2 tablespoons of fresh rosemary. Five cloves of minced garlic bring in a strong taste. Lastly, ¼ cup of grated Parmesan cheese, along with black pepper, rounds out the flavor.
Are There Any Variations to Consider?
You can change the herbs to suit your taste. For a twist, try basil or thyme instead of parsley and rosemary. You can also add a bit of cheese, like mozzarella, for a gooey filling. If you like spice, consider adding red pepper flakes. These small changes can make your rolls unique and fun.
How Do Fresh Herbs Enhance Flavor in Rolls?
Fresh herbs brighten the taste of your rolls. They add a fragrant aroma and a burst of flavor with every bite. Parsley and rosemary are great choices. Their earthy notes blend well with garlic. This mix creates a delightful taste that is hard to resist. Using fresh herbs makes your rolls stand out and adds a homemade touch.
How Do You Prepare the Dough for Herb & Garlic Swirl Rolls?
Making the dough from scratch is simple and fun. First, gather your ingredients. For this recipe, you will need flour, yeast, sugar, warm milk, butter, and salt.
What Steps Should You Follow for Dough Preparation?
Start by mixing the warm milk, sugar, and yeast in a small bowl. Let it sit for about five to ten minutes until it gets frothy. This step wakes up the yeast. Then, in a large bowl, mix the flour, salt, and melted butter. Make a well in the center. Pour in the frothy yeast mixture. Stir it until the dough forms.
How Do You Knead Dough to the Perfect Consistency?
Kneading dough is key for good rolls. Dust your hands and workspace with flour. Take the dough and push it down with the heel of your hand. Fold it over and repeat this for about five to seven minutes. You want the dough to feel smooth and elastic. If it’s too sticky, add a little flour.
What is the Importance of Proofing the Dough?
Proofing is when you let the dough rise. Put the kneaded dough in a greased bowl and cover it with a damp cloth. Let it sit in a warm spot for about one hour. This step is crucial. The dough will double in size, making your rolls light and fluffy. It helps develop the flavor too. After proofing, you’re ready to fill and shape your rolls.
What is the Filling for the Herb & Garlic Swirl Rolls?
Herb & garlic swirl rolls have a rich and tasty filling. The main ingredients include garlic and herb seasoning, which create a bold flavor. This filling combines fresh herbs, garlic, and cheese. I often use parsley and rosemary for their bright taste. The garlic brings a punch that makes these rolls stand out.
What Ingredients Create the Perfect Filling?
To make the perfect filling, you need a few key ingredients. Start with fresh parsley and rosemary, finely chopped. Next, add minced garlic for that strong flavor. Grated Parmesan cheese adds creaminess and depth. I also like to sprinkle in black pepper for a bit of heat. A touch of red pepper flakes can make it even more exciting. This mix creates a filling that is cheesy and herbaceous.
How Can You Customize the Filling to Suit Your Taste?
You can easily customize the filling to match your taste. If you love other herbs, try basil or thyme instead. For a smoky flavor, add some smoked paprika. Want it creamier? Mix in some cream cheese. You can also change the cheese; try mozzarella or cheddar for a different twist. The key is to keep the balance of flavors, so don’t add too many strong ingredients at once.
What Are Some Popular Pairings for This Filling?
These rolls pair well with many dishes. They go great with soups, especially creamy ones. Serve them alongside salads for a fresh contrast. You can also enjoy them with pasta dishes, adding a lovely texture. For a simple snack, just dip them in olive oil or balsamic vinegar. Each bite of the herb and garlic swirl rolls brings a delightful taste that complements your meal.
How Do You Shape and Bake the Swirl Rolls?
To shape your rolls, start with a rectangle of dough. Roll it out into a large rectangle on a floured surface. I like to aim for about 12×18 inches. This size helps to create a nice swirl. After rolling, spread your flavorful filling evenly over the dough. The filling holds the key to flavor in these rolls.
Next, you want to roll the dough up tightly from one edge. This step is crucial. It ensures that your rolls have nice, tight swirls. Pinch the seam to seal it. Then, slice the log into 12 equal pieces. Each slice should be about 1 to 1.5 inches thick. Place them cut-side up in a greased baking dish.
To ensure even baking for fluffy rolls, give them room to rise. Cover the rolls lightly with plastic wrap. Let them rest for another 30 minutes. This second rise makes them soft and fluffy. While they rise, preheat your oven to 350°F (175°C).
When you think they are ready, look for signs. The rolls should look puffy and fuller. A light touch should leave a small dent, showing they have risen well.
Before baking, brush the tops with an egg wash. This gives them a lovely golden color. Bake for 20-25 minutes until they turn golden brown. The aroma of garlic and herbs will fill your kitchen. These rolls will be a delightful treat for any meal.
What Are the Best Ways to Serve Herb & Garlic Swirl Rolls?
Herb & garlic swirl rolls shine as a side dish. They pair well with soups like tomato or minestrone. The warm, buttery rolls complement the rich flavors of these soups. You can also serve them with a fresh salad. A simple green salad with vinaigrette balances the rolls’ richness.
For a heartier meal, try serving them with pasta. The garlic and herbs in the rolls match well with creamy or marinara sauces. You can even slice the rolls in half and make mini sandwiches. Stuff them with roasted vegetables or meats for a fun twist.
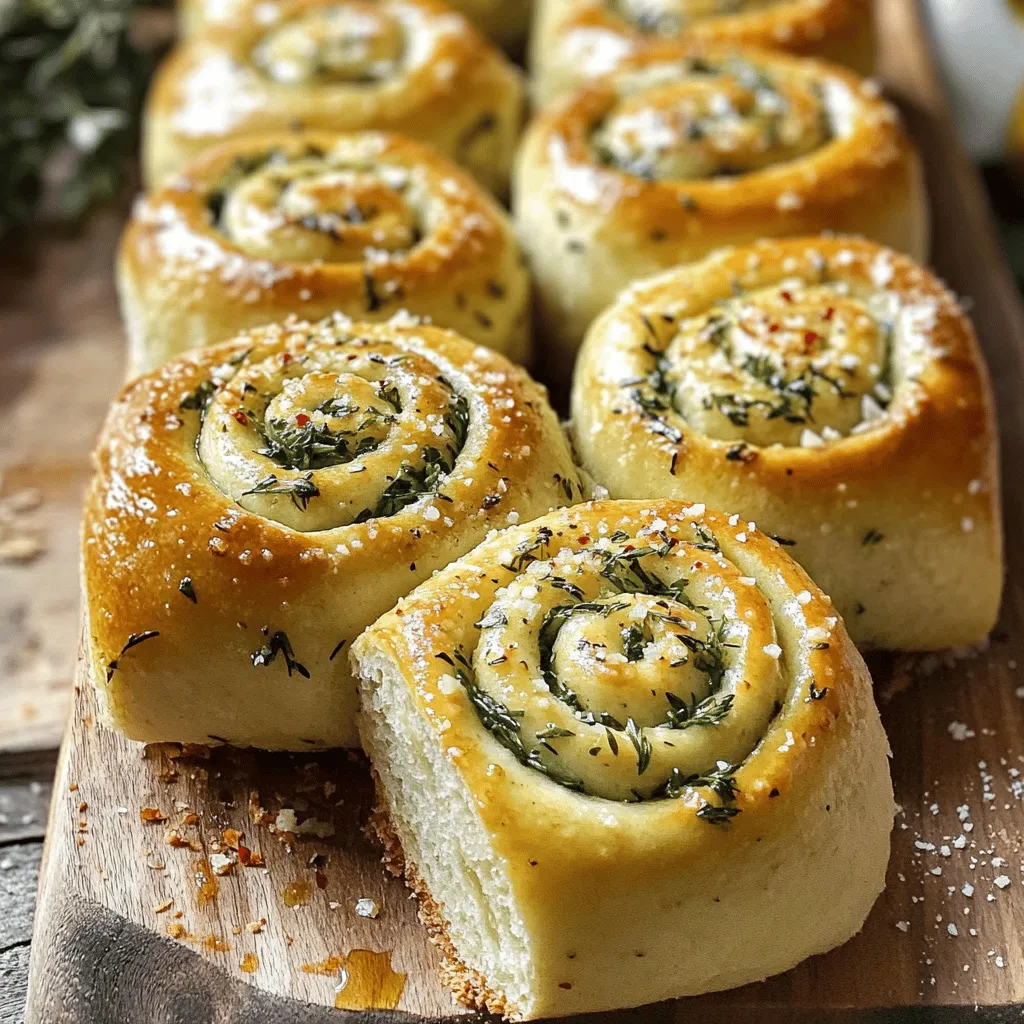
To elevate your presentation, use a wooden board. Arrange the rolls in a circle or spiral for a festive look. You can drizzle a bit of olive oil on the board. Add a sprinkle of fresh herbs for color. This adds a rustic feel to your table setting.
For unique serving suggestions, try serving with flavored butters. A herb-infused butter or a spicy garlic butter can take the rolls to new heights. You can also serve them with dips like hummus or tzatziki. These add a nice contrast to the savory rolls.
Finally, consider making a garlic roll appetizer. Slice the rolls into bite-sized pieces and serve with a side of marinara sauce. This makes for a fun party snack.
How Do You Store Leftover Herb & Garlic Swirl Rolls?
Storing leftover herb and garlic swirl rolls is simple. To keep them fresh, place them in an airtight container. Line the container with a paper towel to absorb moisture. This helps prevent sogginess. You can also wrap each roll in plastic wrap. This keeps them safe and fresh for longer.
If you want to freeze the rolls, wait until they cool completely. Place them in a freezer-safe bag or container. Remove as much air as possible to avoid freezer burn. You can freeze them for up to three months. This way, you can enjoy that fresh taste later.
When you are ready to eat, thaw the rolls in the fridge overnight. To reheat, preheat your oven to 350°F (175°C). Place the rolls on a baking sheet. Cover them with foil to keep them moist. Heat for about 10-15 minutes. This keeps the rolls soft and warm.
To ensure the best texture, avoid using the microwave for reheating. Microwaving can make the rolls tough or chewy. Following these tips will help you enjoy those tasty herb and garlic rolls even after the first day.
Herb and garlic swirl rolls combine rich flavors and a simple process. We discussed essential ingredients, steps for preparing dough, and how to shape and bake these rolls for a perfect result. Customize the filling to suit your taste and serve them alongside your favorite dishes.
These rolls are not just tasty; they are easy to make and store. Enjoy every bite and impress your family or guests! Happy baking!