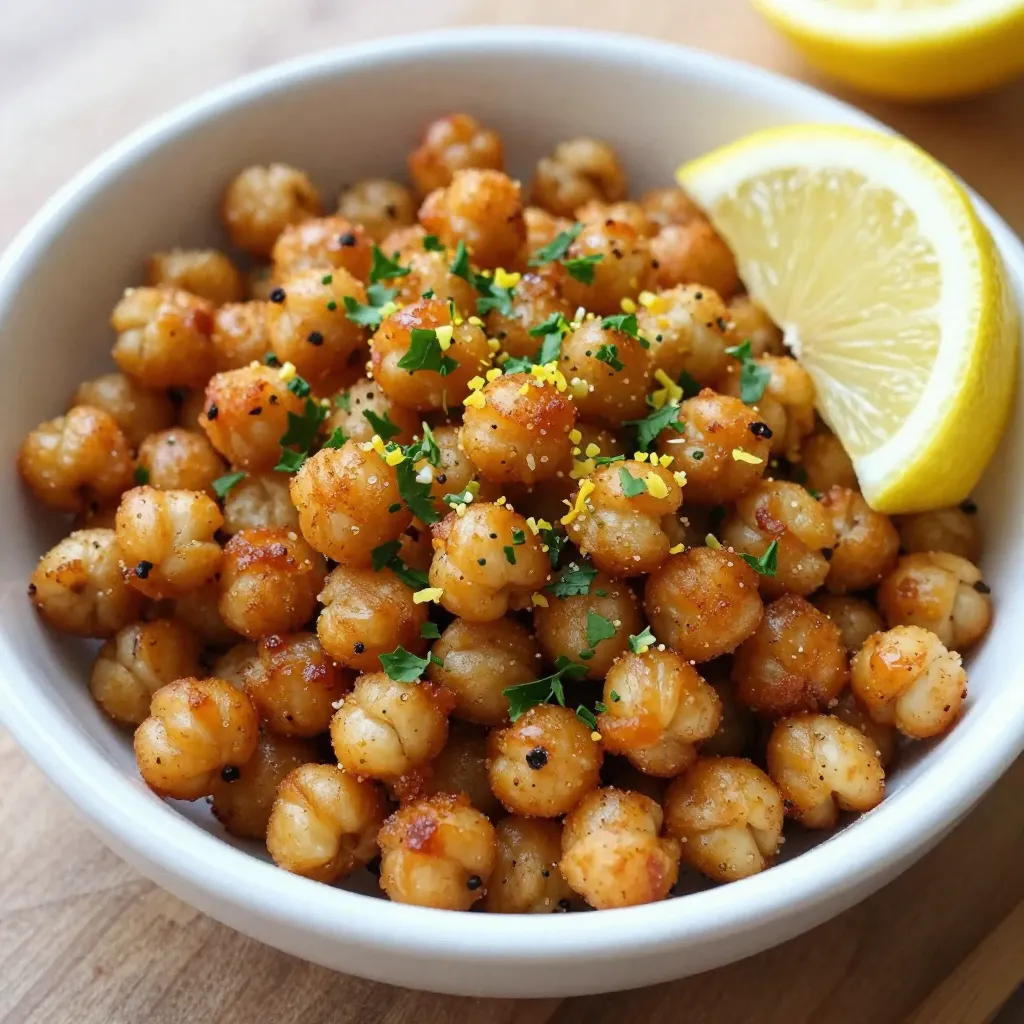
Looking for a quick and tasty snack? Try my Lemon Garlic Roasted Chickpeas! These crispy bites are packed with flavor and easy to make. Just a few simple ingredients, roasted to perfection, can transform your snack time. Plus, they’re great for sharing or topping your favorite meals. Get ready to enjoy a healthy treat that’s crunchy, zesty, and simply irresistible! Let’s dive into the delicious details.
Why I Love This Recipe
- Crispy Texture: The roasted chickpeas achieve a delightful crunch, making them an addictive snack.
- Bright Flavor: The combination of lemon and garlic brings a zesty and aromatic flavor profile that is irresistible.
- Healthy Snack: Chickpeas are packed with protein and fiber, making this recipe a nutritious choice for a guilt-free treat.
- Versatile Use: These crispy chickpeas can be enjoyed on their own or as a flavorful topping for salads and bowls.
Ingredients
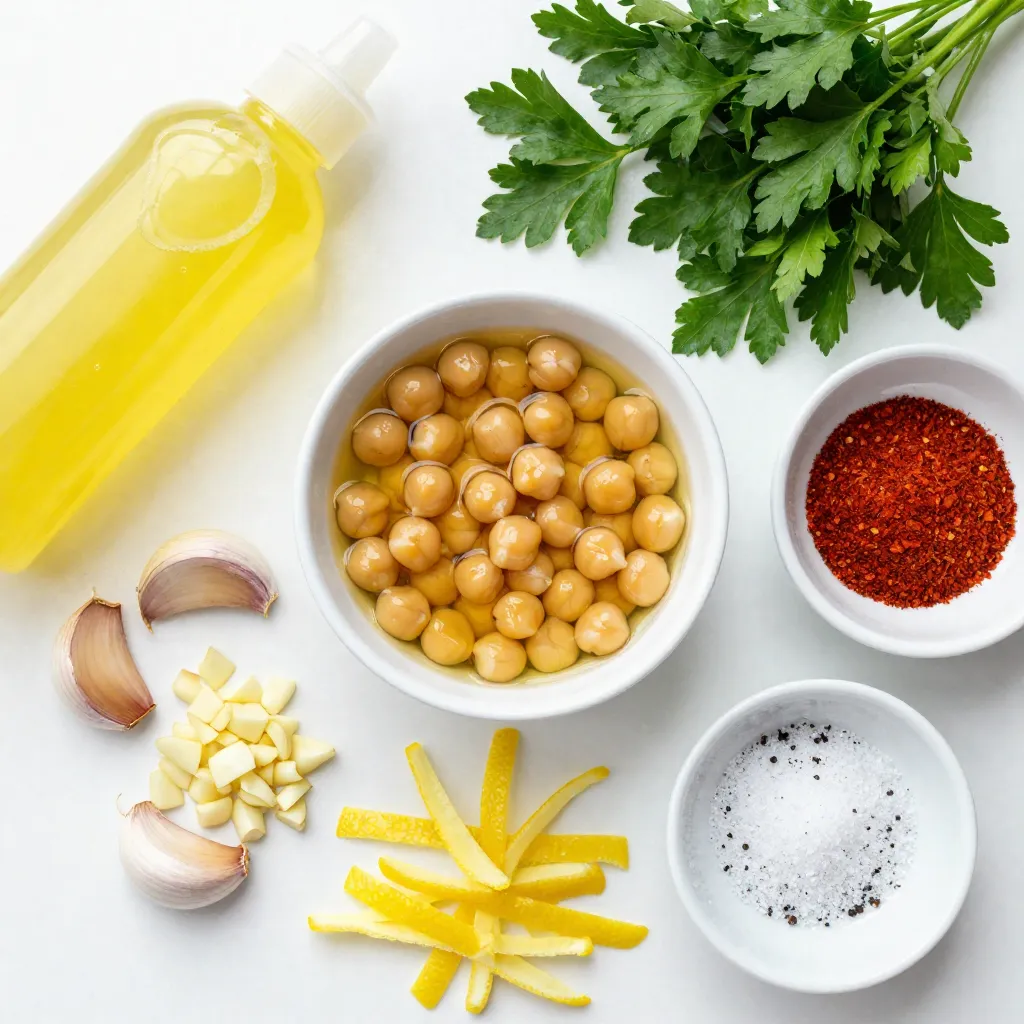
To make Lemon Garlic Roasted Chickpeas, you will need the following items:
– 1 can (15 oz) chickpeas, drained and rinsed
– 2 tablespoons olive oil
– 2 tablespoons lemon juice
– 3 cloves garlic, minced
– 1 teaspoon smoked paprika
– 1 teaspoon ground cumin
– ½ teaspoon sea salt
– ¼ teaspoon black pepper
– Zest of 1 lemon
– Fresh parsley, chopped (for garnish)
These simple ingredients create a tasty snack that is both healthy and satisfying. Chickpeas serve as a great base because they are high in protein and fiber. The lemon juice and zest add a bright flavor, while garlic brings a savory touch. The spices, like smoked paprika and cumin, enhance the overall taste. This recipe is easy to prepare and offers a crunchy texture that makes it hard to resist. Plus, you can enjoy these chickpeas on their own or as a fun topping for salads.
Step-by-Step Instructions
Preparation Steps
1. Preheat your oven to 400°F (200°C). This high heat helps the chickpeas turn crispy.
2. Take the can of chickpeas, drain it, and rinse them well under cool water. This removes extra salt and helps them get clean.
3. Pat the chickpeas dry with a paper towel. Make sure they are really dry; this step is key for crispiness.
4. In a mixing bowl, add the chickpeas, olive oil, lemon juice, minced garlic, smoked paprika, ground cumin, sea salt, and black pepper. Toss everything together until the chickpeas are well coated.
Roasting Instructions
1. Spread the chickpeas in a single layer on a baking sheet lined with parchment paper. This helps them roast evenly.
2. Place the baking sheet in the oven. Roast the chickpeas for 25-30 minutes. Halfway through, stir them to ensure they brown evenly.
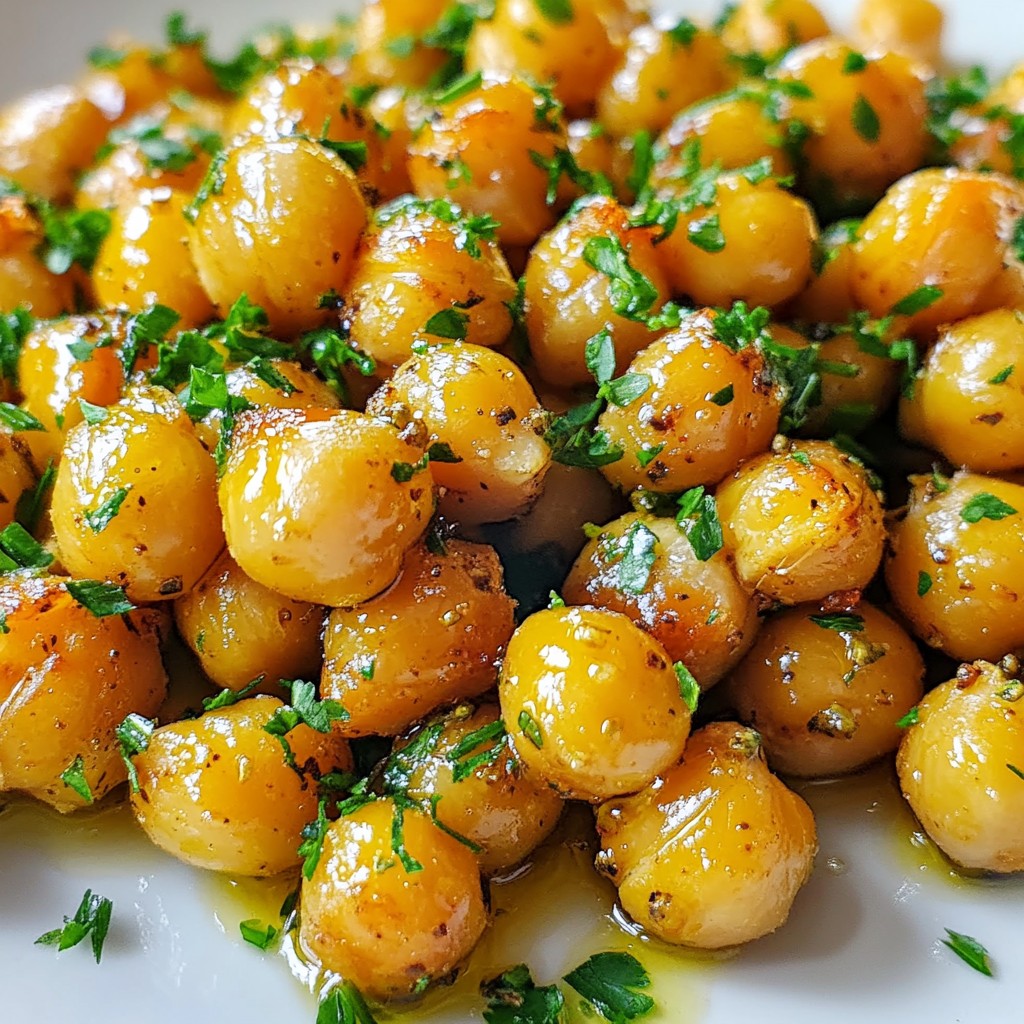
3. To know when they’re done, check for a golden brown color and a crunchy texture. If they look and feel crispy, they are ready!
4. As soon as they come out of the oven, sprinkle lemon zest over the hot chickpeas. This adds a fresh and zesty flavor.
5. Let the chickpeas cool slightly before serving. You can garnish with chopped fresh parsley for a pop of color.
This simple method brings out delicious flavors and a satisfying crunch. Enjoy your crispy lemon garlic roasted chickpeas!
Tips & Tricks
Achieving Perfect Crispiness
To make crispy lemon garlic roasted chickpeas, start by patting them dry. After rinsing, use a paper towel to remove excess moisture. This step is key. Dry chickpeas roast better and get crispier.
Next, use the right oven techniques. Preheat your oven to 400°F (200°C). This high heat helps the chickpeas crisp up quickly. Spread the seasoned chickpeas in a single layer on a baking sheet. If they overlap, they will steam instead of roast.
Flavor Enhancements
You can add more flavor with spices. Try adding cayenne pepper for heat or rosemary for a fresh taste. Smoked paprika already gives a nice depth, but feel free to experiment with your favorites.
Adjusting seasoning is easy. After roasting, taste the chickpeas. If they need more salt or spice, sprinkle it on right away. The heat from the chickpeas helps the flavor stick better. Remember, you can always add more but can’t take away!
Pro Tips
- Dry Chickpeas Well: Ensuring the chickpeas are thoroughly dried before roasting is key to achieving that perfect crispiness.
- Adjust Seasoning: Feel free to experiment with your favorite spices or herbs to customize the flavor of the chickpeas to your liking.
- Monitor Roasting Time: Keep an eye on the chickpeas as they roast; oven temperatures can vary, and you want them golden and crispy, not burnt.
- Serve Immediately: For the best texture and flavor, enjoy the roasted chickpeas right after they come out of the oven while they’re still warm.
Variations
Flavor Variations
You can easily change the flavor of roasted chickpeas. For a spicy kick, add cayenne or chili powder. Just a pinch can bring heat. Mix it in with the other spices. This makes a fun snack for those who love spice.
For a fresh twist, try an herb-infused version. Use Italian herbs like oregano and basil. These herbs add a nice green taste. Adjust the amounts to your liking. This version pairs well with salads or pasta.
Serving Suggestions
Roasted chickpeas make a great snack on their own. You can also pair them with dips like hummus or yogurt. They add crunch and flavor. This makes your snack time more exciting.
You can also use them in meals. Add chickpeas to salads for extra texture. They work well in grain bowls too. Just sprinkle them on top to give your dish a nice crunch. Enjoy the versatility of this tasty snack!
Storage Info
Storing Leftovers
To keep your lemon garlic roasted chickpeas fresh, store them in an airtight container. Glass or plastic containers work well. Avoid using paper bags, as they let moisture in. When stored properly, roasted chickpeas can last for about 3 to 5 days in the fridge. If you notice any signs of sogginess, it is best to toss them out.
Reheating Tips
Reheating roasted chickpeas can be tricky. To regain their crispiness, spread them on a baking sheet. Preheat your oven to 350°F (175°C) and place the chickpeas in for about 10 minutes. This will bring back the crunch. You can also use an air fryer for a quicker option. Consume leftovers within a week for the best flavor and texture. Enjoy them as a snack or sprinkle them on salads for added crunch!
FAQs
Common Questions About Roasted Chickpeas
How do I make roasted chickpeas extra crunchy?
To make roasted chickpeas extra crunchy, start by drying them well. After rinsing, pat them with a paper towel. This step removes moisture. Also, use a high temperature, around 400°F (200°C). Spread them out in a single layer on the baking sheet. Stir them halfway through roasting for even crispness.
Can I use dried chickpeas instead of canned?
Yes, you can use dried chickpeas. However, you’ll need to soak and cook them first. Soak them overnight in water. Then, boil them until they are tender. Once cooked, drain and rinse them. Now, you can season and roast them just like canned chickpeas.
How long can I store roasted chickpeas?
You can store roasted chickpeas for about a week. Keep them in an airtight container at room temperature. If you want to keep them longer, place them in the fridge for up to two weeks. Just remember, they may lose some crunchiness over time. Reheat them in the oven to bring back some crispiness.
Roasted chickpeas are a healthy snack that’s easy to make. In this post, we explored the simple ingredients and step-by-step instructions to create a crunchy delight. You learned tips to boost crispiness and flavor variations for everyone’s taste. Remember, you can store leftovers and reheat them for the same great taste. Enjoy your roasted chickpeas as a snack, on salads, or in grain bowls. Now, get cooking and savor this tasty trea