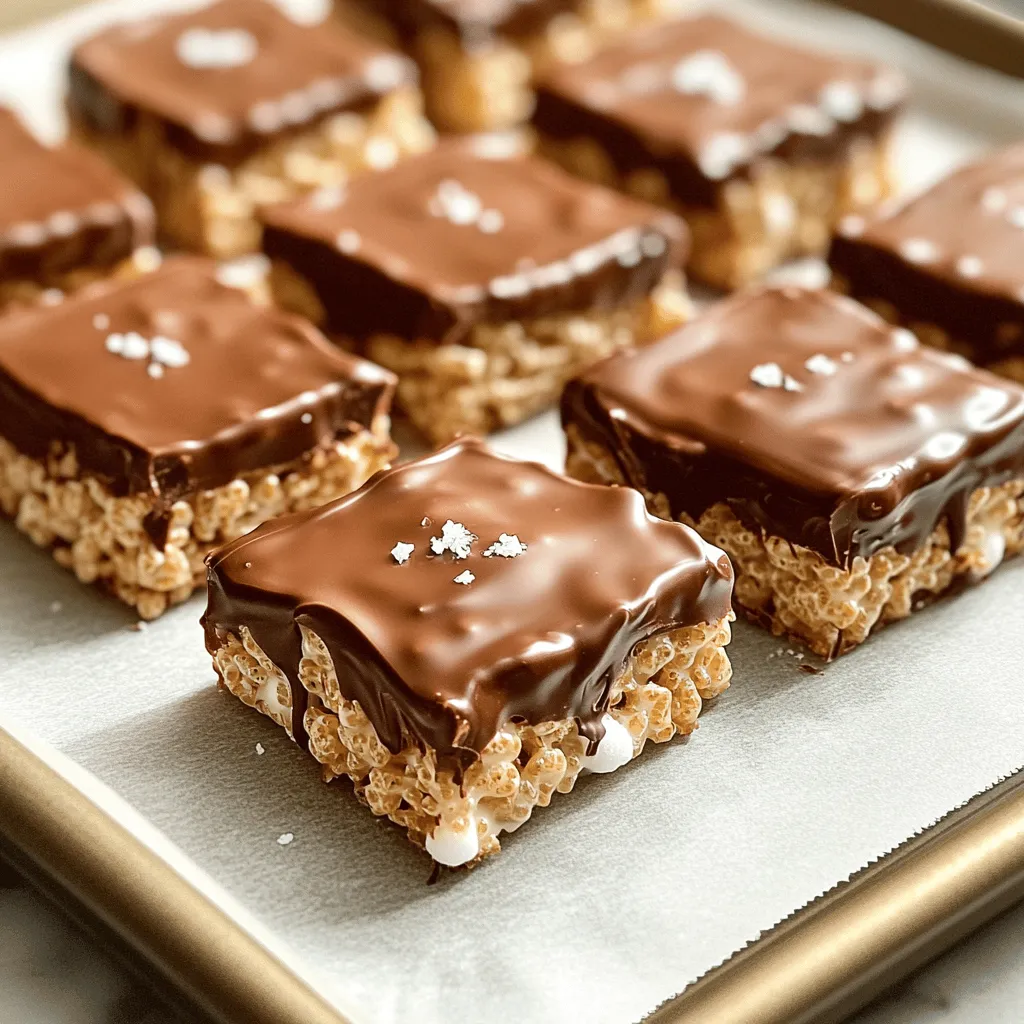
Are you ready to whip up a treat that’s quick, fun, and oh-so-delicious? No-Bake Chocolate Covered Rice Krispie Treats are a perfect choice. With just a few simple ingredients, you can create a crunchy, chocolatey delight that everyone will love. In this guide, I’ll share easy steps, helpful tips, and fun variations. Let’s dive into the sweet world of no-bake treats!
Why I Love This Recipe
- Quick and Easy: This no-bake recipe comes together in just 15 minutes, making it perfect for last-minute cravings or gatherings.
- Kid-Friendly: Kids love getting involved in the kitchen, and making these treats is a fun activity that everyone can enjoy.
- Decadent Chocolate Coating: The rich semi-sweet chocolate coating adds a delicious layer of flavor that elevates the classic Rice Krispie treat.
- Customizable: Feel free to mix in your favorite add-ins like nuts, sprinkles, or dried fruit for a unique twist on this classic treat.
Ingredients
Primary Ingredients Required
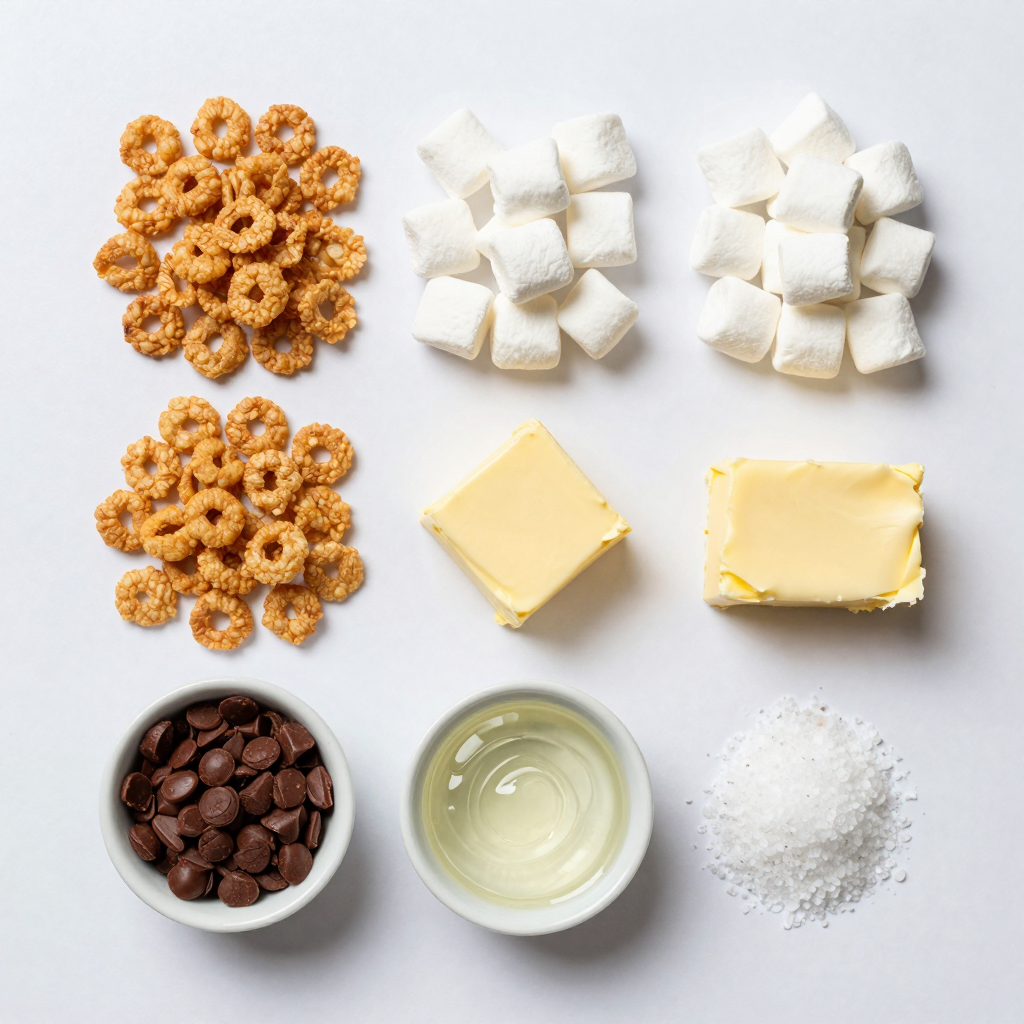
To make these no-bake treats, gather these key ingredients:
– 4 cups Rice Krispies cereal
– 3 cups mini marshmallows
– 3 tablespoons unsalted butter
– 1 teaspoon vanilla extract
– 1 cup semi-sweet chocolate chips
– 2 tablespoons coconut oil (for the chocolate coating)
– Sea salt (for garnish)
These ingredients work together to create that sweet, crispy delight we all love.
Optional Add-ins
You can enhance your treats with these optional add-ins:
– 1 cup peanut butter (mix with marshmallows for a nutty flavor)
– ½ cup chopped nuts (like almonds or walnuts)
– ½ cup sprinkles (for extra fun and color)
– ½ teaspoon sea salt (added to the mix for a salty-sweet contrast)
Feel free to mix and match to suit your taste!
Tools and Equipment Needed
To prepare your treats, you’ll need some basic tools:
– Large saucepan
– Spatula (for mixing and pressing)
– 9×13 inch baking dish
– Parchment paper
– Microwave-safe bowl (for melting chocolate)
– Baking sheet (for cooling treats)
Having these tools ready will make the process smooth and easy.
Step-by-Step Instructions
Preparing the Marshmallow Mixture
Start by melting 3 tablespoons of unsalted butter in a large saucepan over low heat. Stir it gently until it melts. Next, add 3 cups of mini marshmallows. Keep stirring until they melt and become smooth. This should take a few minutes. Once melted, remove the saucepan from the heat. Stir in 1 teaspoon of vanilla extract for flavor.
Forming the Treats
Now it’s time to mix in the Rice Krispies. Quickly add 4 cups of Rice Krispies cereal to the melted marshmallow mixture. Use a spatula to fold the cereal in gently. Make sure every piece is coated. Line a 9×13 inch baking dish with parchment paper. Leave some paper hanging over the sides. This makes it easy to lift the treats out later. Pour the Rice Krispies mixture into the dish. Press it down firmly to make an even layer. Let it cool at room temperature for about 30 minutes.
Coating with Chocolate
While the treats cool, start melting the chocolate. In a microwave-safe bowl, combine 1 cup of semi-sweet chocolate chips and 2 tablespoons of coconut oil. Heat it in the microwave in 30-second intervals, stirring after each interval. Stop when the chocolate is smooth. Once the Rice Krispies treats are set, lift them out using the parchment paper. Cut them into squares or rectangles. Dip each treat into the melted chocolate, making sure to coat it fully. Place the treats back on a baking sheet lined with parchment. While the chocolate is warm, sprinkle a pinch of sea salt on top. Finally, refrigerate the treats for about 15 minutes until the chocolate firms up.
Pro Tips
- Use Fresh Ingredients: Always use fresh mini marshmallows and quality chocolate for the best flavor and texture.
- Don’t Overheat the Chocolate: When melting chocolate, do it in short intervals and stir well to avoid burning.
- Press Firmly: Make sure to press the Rice Krispies mixture firmly into the baking dish to ensure they hold together well.
- Experiment with Toppings: Feel free to get creative with toppings like crushed nuts or sprinkles for added texture and flavor.
Tips & Tricks
Best Practices for Melting Chocolate
To melt chocolate well, use a microwave-safe bowl. Start with 30-second bursts. Stir after each burst. This keeps the chocolate from burning. You want a smooth and shiny mix. Adding coconut oil helps. It makes the chocolate silky and easy to coat.
How to Achieve a Firm Texture
For a firm texture, press the Rice Krispie mixture down hard in the pan. Use a spatula to flatten it evenly. Let it cool completely for about 30 minutes. The longer you wait, the firmer it gets. This helps each treat hold its shape better when you dip it in chocolate.
Suggestions for Even Coating
For an even coat, dip each treat in chocolate quickly. Use a fork to lift them out. Tap the fork gently on the bowl’s edge to remove extra chocolate. Place the treats on parchment paper right away. Sprinkle sea salt on top while the chocolate is still warm. This adds flavor and looks great!
Variations
Flavor Variations (Peanut Butter, Mint)
You can boost your Rice Krispie treats with fun flavors. For peanut butter, mix in 1 cup of creamy peanut butter with the melted marshmallows. This adds a nutty taste and a rich texture. If you love mint, try adding 1 teaspoon of mint extract to the melted marshmallows. You could also fold in crushed peppermint candies for a tasty crunch.
Alternative Toppings (Crushed Nuts, Sprinkles)
Toppings can change your treats in fun ways. Crushed nuts like almonds or walnuts add a nice crunch and flavor. Simply sprinkle them on top of the chocolate before it sets. Sprinkles are another fun option, especially for kids. They make your treats look colorful and festive. Just add them while the chocolate is warm to help them stick.
Dietary Adaptations (Gluten-Free, Vegan)
You can still enjoy these treats if you have dietary needs. To make them gluten-free, check that your Rice Krispies are labeled as gluten-free. For a vegan version, swap the butter for coconut oil and use vegan marshmallows. You can also choose dairy-free chocolate chips for the coating. This way, everyone can enjoy these tasty delights!
Storage Info
How to Store Leftovers
To keep your No-Bake Chocolate Covered Rice Krispie Treats fresh, place them in an airtight container. You can store them at room temperature for up to three days. If your home is warm, the treats may soften. In that case, store them in the fridge.
Freezing Guidelines
Want to save some for later? You can freeze these treats! Wrap each piece in plastic wrap, then put them in a freezer bag. They can last up to two months in the freezer. When you’re ready to eat, let them thaw at room temperature for about 30 minutes.
Best Serving Practices
When serving, cut the treats into squares or rectangles. Place them on a nice plate for a fun look. If you want, sprinkle a little sea salt on top for extra flavor. These treats are great for parties or snacks. Enjoy them fresh for the best taste!
FAQs
What is the best way to cut Rice Krispie treats?
The best way to cut Rice Krispie treats is with a sharp knife. First, let the treats cool completely. Use parchment paper to lift them out of the dish. Place them on a cutting board. Lightly grease the knife with butter to prevent sticking. Cut into squares or rectangles for nice, clean edges.
Can I make these treats ahead of time?
Yes, you can make these treats ahead of time. They stay fresh for up to one week. Store them in an airtight container at room temperature. You can also freeze them for longer storage. Just wrap them well before placing them in the freezer. Thaw them at room temperature when ready to enjoy.
How do I prevent the chocolate from melting?
To prevent the chocolate from melting, coat the treats with chocolate while it’s still warm. Use a microwave to melt chocolate chips and coconut oil. Stir in short bursts to avoid overheating. Once coated, place the treats in the fridge to set. Keep them in a cool, dry place until serving. Avoid direct sunlight or heat sources to keep the treats firm.
We’ve covered the key ingredients needed for your Rice Krispie treats, from the basics to fun add-ins. I shared step-by-step instructions to help you make these treats perfectly every time. You now have useful tips for melting chocolate and achieving that firm texture. Don’t forget to try different flavors and toppings to mix things up.
Store your treats properly for the best taste later. With these guidelines, you can enjoy making and sharing delicious Rice Krispie treats. Happy cooking!


