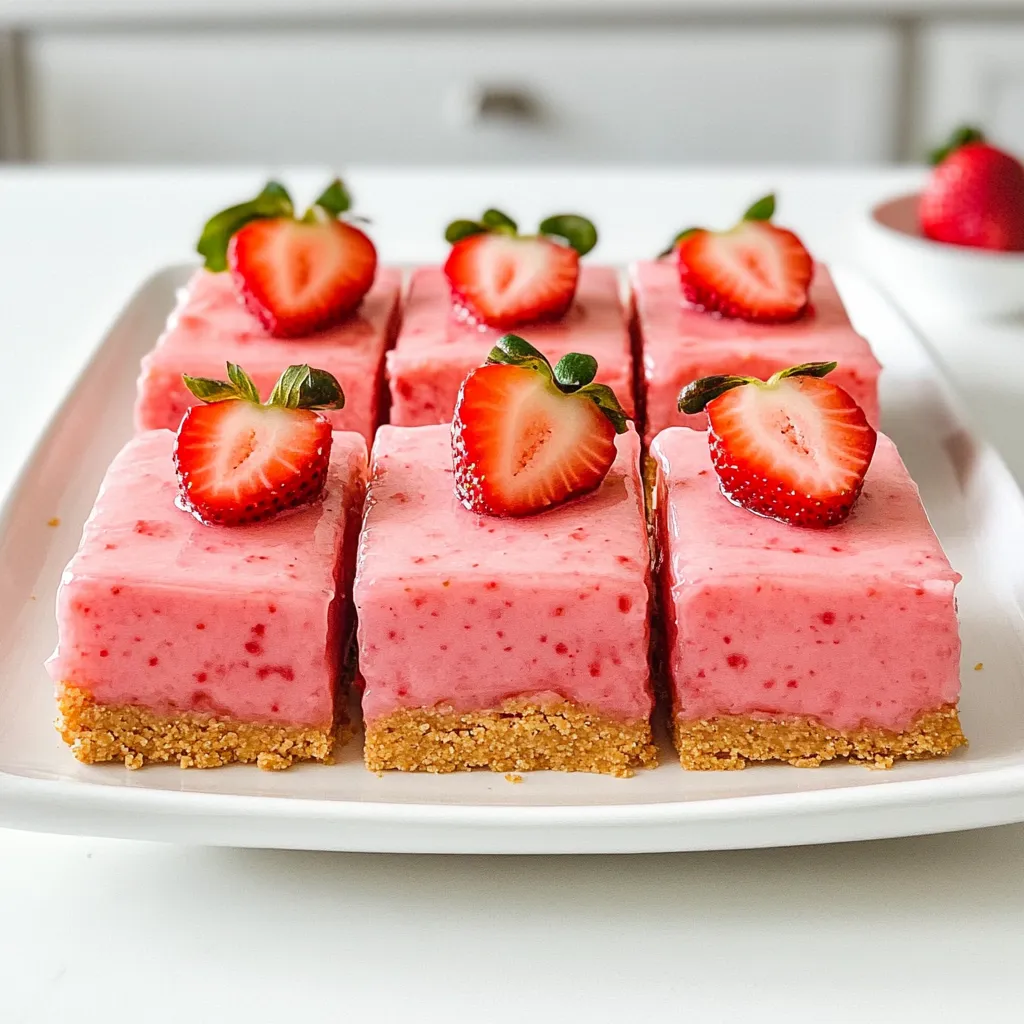
Looking for a refreshing summer treat that’s simple to make? You’ve come to the right place! These No Bake Strawberry Lemonade Bars burst with sweet and tangy flavors. Whether you’re hosting friends or just treating yourself, this easy recipe comes together quickly. I’ll walk you through the ingredients, instructions, and tips for perfecting these bars. Let’s dive into a delicious adventure that will cool you down and brighten your day!
Why I Love This Recipe
- Refreshing Flavor: The combination of fresh strawberries and tangy lemon creates a delightful burst of flavor that is perfect for warm days.
- No Baking Required: This recipe is incredibly easy as it requires no baking, making it a quick and hassle-free dessert option.
- Visually Appealing: The vibrant colors of the strawberry lemonade bars make them a beautiful addition to any dessert table.
- Perfect for Any Occasion: Whether it’s a summer picnic or a family gathering, these bars are a hit with everyone and perfect for any occasion.
Ingredients
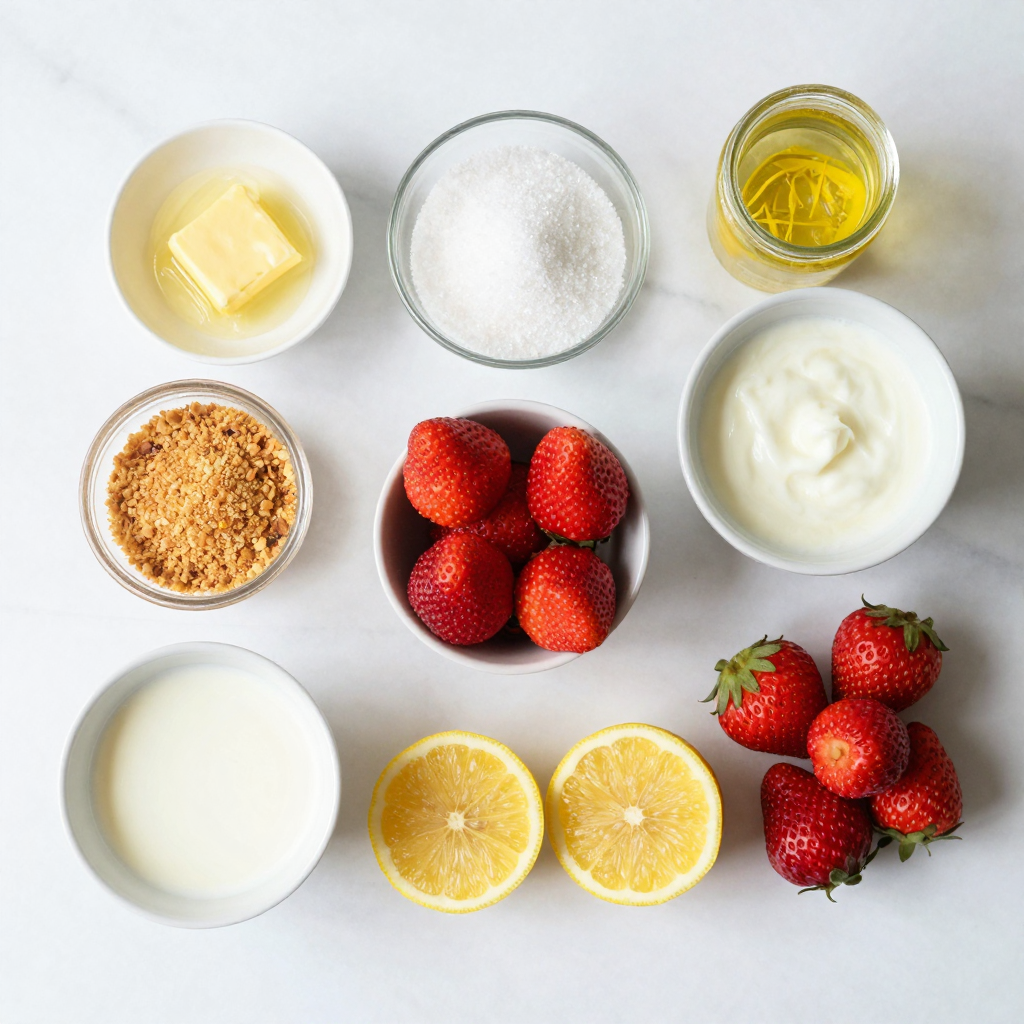
Complete list of ingredients
– 1 cup graham cracker crumbs
– 1/2 cup unsalted butter, melted
– 1/4 cup granulated sugar
– 1 cup fresh strawberries, pureed
– 1/2 cup fresh lemon juice (about 4-5 lemons)
– 1 cup sweetened condensed milk
– 1/2 teaspoon lemon zest
– Fresh strawberries for garnish
These ingredients create a bright, sweet, and tangy treat. The graham cracker crumbs form a crunchy base. The melted butter helps bind the crumbs together. Granulated sugar sweetens the crust nicely. Fresh strawberries add fruitiness, and lemon juice brings a zesty kick. Sweetened condensed milk gives the filling creaminess. Lemon zest adds extra flavor. Finally, fresh strawberries on top make each bar look great.
Substitutions for common allergens
If you need to avoid gluten, use gluten-free graham crackers. You can also swap unsalted butter for coconut oil to make it dairy-free. Instead of sweetened condensed milk, use coconut cream for a non-dairy version. For sugar, try using honey or maple syrup. These swaps will keep the bars tasty while fitting your needs.
Tips for choosing fresh ingredients
When picking strawberries, look for bright red ones with no dark spots. They should smell sweet and fresh. For lemons, choose ones that feel heavy for their size. This means they have lots of juice. Fresh ingredients make a big difference in flavor. Always wash your fruits well before using them. This ensures they are clean and safe to eat.
Step-by-Step Instructions
Detailed preparation process
To make no bake strawberry lemonade bars, start with the crust. In a medium bowl, mix 1 cup of graham cracker crumbs, 1/2 cup of melted unsalted butter, and 1/4 cup of granulated sugar. Stir until it looks like wet sand. Next, press the crumb mix into the bottom of a 9×9-inch baking dish. Make sure it is even and flat. Chill this crust in the fridge while you prepare the filling.
For the filling, blend 1 cup of fresh strawberries into a puree. In another bowl, whisk together this puree, 1/2 cup of fresh lemon juice, 1 cup of sweetened condensed milk, and 1/2 teaspoon of lemon zest. Mix until smooth. Pour this mixture over the chilled crust. Spread it evenly with a spatula. Cover the dish with plastic wrap and refrigerate for at least 4 hours.
Once set, cut the bars into squares. Garnish each with a slice of fresh strawberry. This adds a nice touch!
Tips for pressing the crust
Pressing the crust down is key. Use the back of a measuring cup to compact the crumbs. This helps the crust hold together. Start from the center and work your way out to the edges. Make sure it is even, with no gaps. A good crust gives the bars a nice base.
If you want a firmer crust, add a bit more butter. You can also bake the crust for 10 minutes at 350°F if you prefer a baked flavor. Just let it cool before adding the filling.
How to achieve the perfect filling consistency
For a great filling, mix the ingredients well. The sweetened condensed milk helps create a creamy texture. Make sure your strawberry puree is smooth. If there are lumps, blend it again.
Whisk the filling until it is combined. This ensures the flavors mix well. If the mixture is too thick, add a bit more lemon juice. The right consistency makes the bars easy to slice after chilling. Enjoy the sweet and tangy flavor of summer!
Pro Tips
- Use Fresh Ingredients: Always opt for fresh strawberries and lemons to enhance the flavor of your bars.
- Chill Thoroughly: Allow the bars to set in the refrigerator for the full 4 hours to ensure they are firm and hold their shape.
- Customize the Sweetness: Adjust the amount of sweetened condensed milk based on your sweetness preference; you can add less for a tarter flavor.
- Garnish Creatively: Experiment with different garnishes like mint leaves or lemon zest for added color and flavor contrast.
Tips & Tricks
How to enhance flavor profiles
To boost the taste of your bars, try using fresh ingredients. Fresh strawberries add a bright flavor. Use ripe strawberries for the best sweetness. Add more lemon zest for a tangy kick. You can also mix in a bit of vanilla extract. This will give your bars a warm note that pairs well with fruit.
Common mistakes to avoid
One common mistake is not pressing the crust firmly. This can lead to a crumbly base. Use the back of a measuring cup to pack it down well. Another mistake is not chilling the bars long enough. They need at least four hours in the fridge to set properly. Finally, be careful not to overmix the filling. This can make it too runny. Mix just until smooth for the best results.
Recommended kitchen tools for success
You don’t need many tools for this recipe. A medium bowl works great for mixing. A spatula helps spread the filling evenly. A 9×9-inch baking dish is perfect for the bars. Make sure to have a measuring cup for accurate portions. Lastly, a whisk is key for blending the filling ingredients. These tools will help you create tasty bars with ease.
Variations
Options for different fruit flavors
You can change the fruit in this recipe to match your taste. Instead of strawberries, try fresh blueberries, raspberries, or peaches. Each fruit gives a unique twist to the bars. For blueberries, use blueberry puree. For raspberries, mash them well before adding. If you want a peach flavor, blend fresh peaches into a smooth puree. Adjust the lemon juice to keep the balance of tangy and sweet.
Dietary adaptations (vegan, gluten-free)
Making these bars vegan is simple! Swap the sweetened condensed milk for coconut cream. Use vegan butter instead of regular butter. For gluten-free options, choose gluten-free graham crackers. Check the labels to ensure all ingredients are free from gluten. These swaps keep the bars tasty and friendly for different diets.
Adding toppings for extra texture
Toppings can change the whole look and feel of your bars. Try adding crushed nuts like almonds or walnuts for crunch. You can also sprinkle shredded coconut on top. Fresh fruit slices add color and flavor. Drizzle some melted dark chocolate for a sweet touch. These toppings make your no-bake bars not only fun but also more delicious!
Storage Info
Best practices for refrigerating
To keep your no bake strawberry lemonade bars fresh, store them in the fridge. Use an airtight container to prevent drying out. Make sure to place parchment paper between layers if stacking. This keeps the bars from sticking together. Chill them for at least four hours before serving. This helps them set properly and enhances the flavors.
Freezing instructions and tips
You can freeze these bars for longer storage. Cut them into squares before freezing. Wrap each piece in plastic wrap, then place them in a freezer-safe bag. This prevents freezer burn. To enjoy later, thaw them in the fridge overnight. This ensures they stay creamy and delicious.
Shelf life of the bars
These bars last about one week in the fridge. Keep an eye on the freshness of the strawberries. If they start looking dull, it is time to enjoy them. When frozen, they can last up to three months. Just remember to label your container with the date. This helps you keep track of freshness.
FAQs
Can I use frozen strawberries?
Yes, you can use frozen strawberries. Just thaw them first. Drain any extra liquid before you puree them. This step keeps the filling from getting too runny. Using frozen strawberries can save you time in the kitchen. They still give great flavor!
How long do no bake strawberry lemonade bars last?
These bars last about one week in the fridge. Store them in an airtight container to keep them fresh. If you want to enjoy them longer, consider freezing them. They freeze well and can last up to three months.
Can I make this recipe ahead of time?
Yes, you can make these bars ahead of time! They are perfect for parties or picnics. Make them the day before, and let them set in the fridge. This way, you can enjoy your time with friends and family.
This blog post covered everything you need for no-bake strawberry lemonade bars. We shared the best ingredients, tips for preparation, and ways to enhance flavors. You learned how to store them properly and answered common questions. Remember, fresh ingredients make a big difference. Avoid common mistakes to ensure success. With these steps and tips, you can make these bars your own. Enjoy experimenting with flavors and variations to find your favorite. Happy baking!


