Get ready to dive into a sweet and chewy treat! Peanut Butter Chocolate Rice Krispie Treats are a delicious combination of creamy peanut butter, rich chocolate, and crunchy cereal. You won't believe how easy they are to make! In this post, I’ll guide you through simple steps, share tips for success, and offer fun variations. Let’s whip up a batch that will impress everyone from kids to adults!
Why I Love This Recipe
- Quick to Make: This recipe takes just 15 minutes of prep time, making it a perfect last-minute treat for any occasion.
- Irresistible Flavor: The combination of peanut butter and chocolate creates a rich, decadent flavor that everyone loves.
- Customizable: You can easily add your favorite mix-ins, such as nuts or dried fruits, to make it your own!
- Gooey Goodness: The mini marshmallows add an extra layer of gooeyness that makes each bite even more enjoyable.
Ingredients
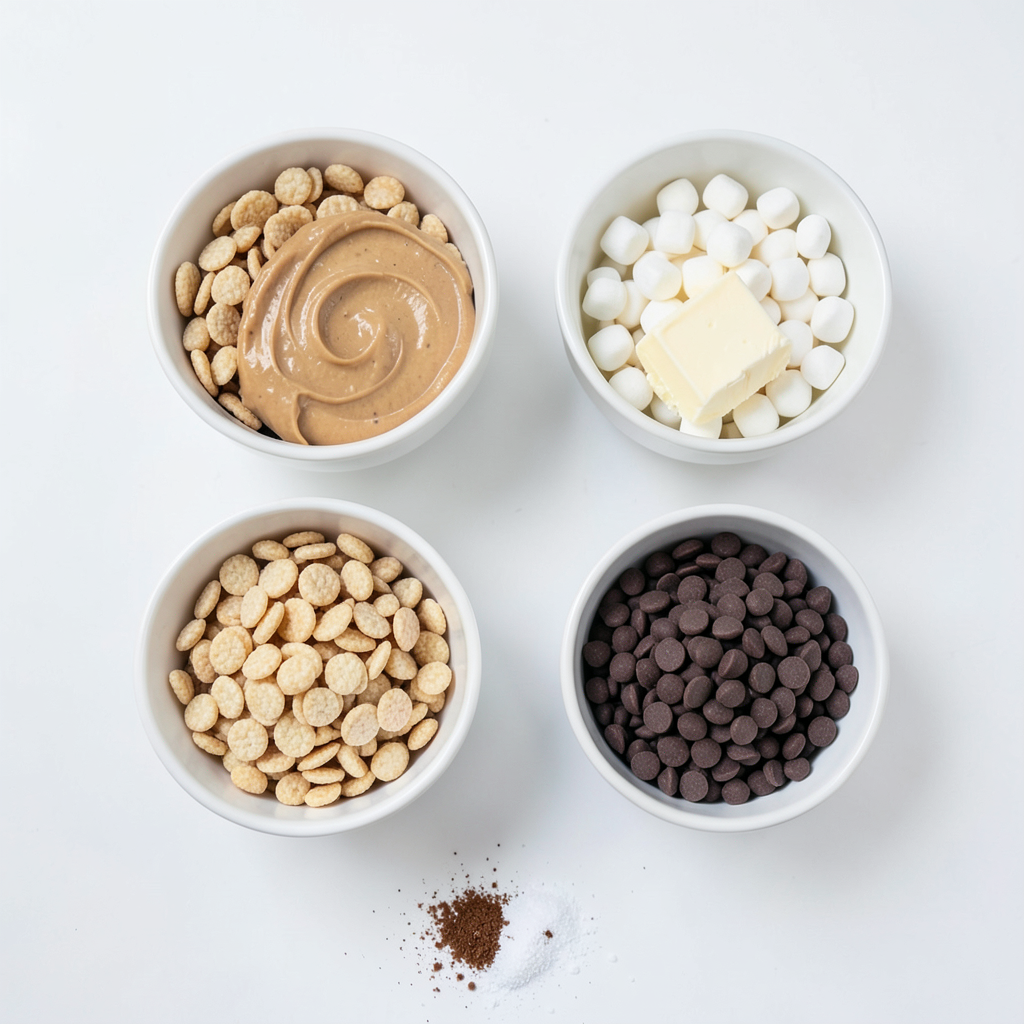
To make Peanut Butter Chocolate Rice Krispie Treats, you need simple ingredients. Each one adds to the great taste. Here’s what you need:
- 4 cups Rice Krispies cereal
- 1 cup creamy peanut butter
- 1 cup semi-sweet chocolate chips
- 1/2 cup unsalted butter
- 1 teaspoon vanilla extract
- 1 cup mini marshmallows (optional for added gooeyness)
- A pinch of salt
Rice Krispies cereal gives a nice crunch. Creamy peanut butter brings rich flavor. Semi-sweet chocolate chips add sweetness. Unsalted butter helps everything blend well. Vanilla extract gives a warm touch. Mini marshmallows make it extra soft. A pinch of salt balances the sweetness.
These ingredients work together for a tasty treat. Each bite bursts with flavor. You can find these items at any grocery store. Now that you know the ingredients, let’s get cooking!
Step-by-Step Instructions
Preparation Steps
1. Melting the butter and peanut butter: Start by grabbing a medium saucepan. Put it on low heat. Add the unsalted butter and creamy peanut butter. Stir them together until they melt and blend. This mix should be smooth and creamy.
2. Mixing in chocolate and marshmallows: Once melted, take the saucepan off the heat. Add the semi-sweet chocolate chips. Stir until they melt and mix well. If you want gooey treats, toss in the mini marshmallows. Keep stirring until they start to soften.
3. Incorporating Rice Krispies: Now, take your Rice Krispies cereal. Pour it into the chocolate mix slowly. Stir well so every piece of cereal gets coated. A pinch of salt helps bring out the flavor.
4. Pressing the mixture into the baking dish: Grab a 9x13 inch baking dish. Lightly grease it with some butter or cooking spray. Pour the mixture into the dish. Use a spatula or your damp hands to press it down firmly. Make sure it’s packed tightly.
5. Chilling the treats: Let your treats sit at room temperature for about 30 minutes. If you want them faster, pop them in the fridge for 15-20 minutes. This helps them set perfectly.
Follow these simple steps, and you’ll have a batch of tasty Peanut Butter Chocolate Rice Krispie Treats in no time!
Tips & Tricks
Perfecting Texture
To get the right texture in your Peanut Butter Chocolate Rice Krispie Treats, focus on mixing well. You want every Rice Krispie to be coated in that sweet, gooey blend. Stir gently but thoroughly. If you want softer treats, add mini marshmallows. They make the mixture even more gooey.
For non-stick removal, grease your baking dish well. Use butter or cooking spray. You can also dampen your hands. This helps when pressing the mixture into the pan. I find that using a spatula works too, but your hands can be more effective.
Not everyone likes the same level of sweetness. To adjust the sweetness, try using less chocolate. You can also add a pinch of salt to balance out flavors. If you like it sweeter, add more chocolate chips or marshmallows. Taste as you go to find your perfect mix!
Pro Tips
- Use Fresh Ingredients: Ensure your peanut butter and chocolate chips are fresh for the best flavor and texture in your treats.
- Experiment with Chocolate: Try using dark chocolate or white chocolate for a different flavor profile, or mix them for a fun twist.
- Don’t Overheat: Melt the butter and peanut butter over low heat to prevent burning, which can lead to a bitter taste.
- Perfectly Pack the Mixture: When pressing the mixture into the pan, use damp hands or a spatula to prevent sticking and ensure a compact treat.
Variations
Ingredient Substitutions
You can have fun with this recipe by changing a few ingredients. First, try using crunchy peanut butter instead of creamy. This swap gives your treats a nice texture. The bits of peanuts add a delightful crunch.
Next, think about alternative chocolate options. You can use dark chocolate or even milk chocolate chips. Each type brings a different flavor. If you want a unique taste, try adding white chocolate. It blends well with peanut butter.
You can also mix in nuts or dried fruit. Chopped almonds or walnuts add a nutty flavor. Dried cranberries or raisins bring sweetness. These additions make your treats even more exciting.
Feel free to get creative. Each variation can change the taste and texture of your treats. Enjoy making your own special version!
Storage Information
Best Practices for Storing
- Room temperature storage: You can keep these treats at room temperature. Place them in an airtight container. They will stay fresh for about 3-5 days. Keep them away from sunlight and heat.
- Refrigeration tips: If you want them to last longer, try the fridge. They can stay good for up to a week. Just make sure to use an airtight container. This will help them stay soft and fresh.
- Freezing for longer shelf life: For even more time, you can freeze these treats. Wrap them tightly in plastic wrap, then place them in a freezer bag. They can last for 2-3 months in the freezer. When ready to eat, thaw them in the fridge overnight. Enjoy them fresh!
FAQs
Can I make these treats ahead of time?
Yes, you can make these treats a day or two ahead. Store them in an airtight container. This keeps them fresh and chewy. Just remember to let them cool completely before you pack them away.
What can I substitute for Rice Krispies?
You can use any puffed rice cereal. Cornflakes also work well. If you want a gluten-free option, try gluten-free puffed rice or even puffed quinoa. Each choice gives a new twist to the treats.
How do I fix hard Rice Krispie treats?
If your treats turn out hard, you can try a few things. First, you can add a bit more butter or peanut butter when melting. If they are already made, heat them in the microwave for a few seconds. This softens them up. You can also add a few mini marshmallows on top and heat again. This trick adds gooeyness and makes them softer.
You learned how to make delicious Rice Krispie treats using simple ingredients. I shared easy steps to help you create a perfect treat every time. You also discovered tips for great texture and fun variations to try. Lastly, I covered how to store your treats so they stay fresh.
Enjoy making these tasty snacks! With practice, you'll master this fun recipe quickly.