Introduction
Nut breads have long been cherished for their deliciously rich flavors and versatility, making them a delightful addition to any meal. These hearty loaves can serve as a comforting breakfast, a satisfying afternoon snack, or even a sophisticated accompaniment to a cheese platter at a dinner party. Among the myriad of nut bread recipes, the Pistachio Dream Nut Bread stands out, captivating taste buds with its unique flavor profile and delightful texture.
This Pistachio Dream Nut Bread is not just a treat for the palate; it also carries an inviting aroma that fills your kitchen as it bakes, enticing everyone to gather around. Every slice offers a perfect balance of nutty goodness and a hint of sweetness, making it ideal for both casual snacking and special occasions. Whether served warm with a pat of butter or enjoyed on its own, this bread is sure to become a favorite in your home.
The best part? This recipe is remarkably easy to prepare, even for novice bakers. With just a few simple steps, you can create a loaf that looks and tastes like it came from a gourmet bakery. So, roll up your sleeves, and let’s dive into the world of Pistachio Dream Nut Bread!
Understanding the Ingredients
Pistachios: Nature’s Green Delight
At the heart of this delectable bread are pistachios, often celebrated as nature’s green delight. These little gems are not only delicious but also packed with nutritional benefits. Rich in healthy fats, protein, and antioxidants, pistachios can contribute positively to your overall health. They are known to promote heart health, aid in weight management, and provide a good source of vitamins and minerals.
When selecting pistachios for your baking endeavors, it’s essential to choose the best quality. Look for unsalted varieties to maintain control over the saltiness of your bread. Unsalted pistachios allow the natural flavor and creaminess of the nut to shine through, enhancing the overall taste of the Pistachio Dream Nut Bread. Avoid any that appear stale or have an off smell, as freshness is key to achieving that delightful nutty flavor.
Baking Essentials
Alongside pistachios, several essential baking ingredients play a crucial role in the success of your Pistachio Dream Nut Bread. Let’s explore these components to understand their importance in creating a perfect loaf.
– Flour: The foundation of your bread, flour provides structure. All-purpose flour is typically used in this recipe, offering the ideal balance of protein to create a tender crumb while still maintaining stability.
– Baking Powder and Baking Soda: These leavening agents work together to help the bread rise. Baking powder provides a quick rise, while baking soda reacts with acidic ingredients to produce carbon dioxide, contributing to the bread’s fluffiness.
– Salt: A pinch of salt is essential for enhancing flavors. It helps to balance the sweetness and brings out the rich nuttiness of the pistachios.
– Sugar: The type of sugar you use can significantly impact the flavor and moisture of your bread. Granulated sugar adds sweetness without altering the texture, while brown sugar introduces a hint of caramel flavor and extra moisture due to its molasses content.
– Eggs: Eggs are essential in baking, providing structure, moisture, and richness. They help bind the ingredients together and contribute to the overall texture of the bread.
– Buttermilk: This ingredient adds moisture and a slight tang, resulting in a tender crumb. The acidity of buttermilk also helps activate baking soda, enhancing the rise of the bread.
– Cardamom (Optional): For those looking to add a unique twist, consider incorporating cardamom. This fragrant spice complements the nuttiness of the pistachios and elevates the overall flavor profile of the bread.
Step-by-Step Instructions for Baking Pistachio Dream Nut Bread
Preparation
Before diving into the mixing and baking, it’s crucial to prepare your workspace. Start by preheating your oven to 350°F (175°C). This ensures that your bread will bake evenly and rise well. While the oven is heating, prepare your loaf pan by greasing it with butter or non-stick cooking spray. You could also line it with parchment paper for easier removal after baking.
Mixing the Dry Ingredients
With your oven heating up, it’s time to focus on the dry ingredients. In a medium mixing bowl, combine the all-purpose flour, baking powder, baking soda, and salt. Whisk these ingredients together until they are well mixed. This step is vital for ensuring even distribution of the leavening agents and salt throughout the flour. Uneven mixing can lead to inconsistent rising and flavor in your finished bread.
Creaming the Butter and Sugars
In a separate large mixing bowl, begin the creaming process by combining softened butter, granulated sugar, and brown sugar. Using an electric mixer or a whisk, beat the mixture on medium speed until it becomes light and fluffy. This process typically takes about 2-4 minutes. Creaming the butter and sugars not only incorporates air into the mixture, resulting in a lighter texture, but it also helps to dissolve the sugars for a smoother batter.
Once the butter and sugars are well creamed, it’s time to incorporate the eggs and vanilla extract. Add the eggs one at a time, mixing well after each addition. The eggs should be at room temperature for optimal incorporation. Finally, add in the vanilla extract, which will lend a warm, aromatic flavor to the bread.
Incorporating Eggs and Vanilla
After thoroughly mixing in the eggs and vanilla, it’s time to combine the wet and dry ingredients. Gradually add the dry mixture to the creamed butter and sugar mixture, alternating with the buttermilk. Start with a third of the dry ingredients, mix until just combined, then add half of the buttermilk, and repeat until all ingredients are blended together. Be careful not to overmix, as this can lead to a dense texture. The batter should be thick and slightly lumpy, with flecks of pistachios visible throughout.
As a final touch, gently fold in the chopped pistachios, ensuring they are evenly distributed throughout the batter. This will give your Pistachio Dream Nut Bread that delightful nutty crunch in every bite.
With the mixture ready, you are now prepared to transfer it to the prepared loaf pan and get ready for the baking magic to happen.
—
This introduction and initial steps offer a comprehensive overview of the Pistachio Dream Nut Bread recipe, setting the stage for the subsequent steps to complete this delightful baking adventure. Stay tuned for the continuation, where we will delve into the final steps of baking, cooling, and serving this scrumptious nut bread.
Adding Eggs and Vanilla
To elevate your Pistachio Dream Nut Bread to new heights, the next step involves incorporating eggs and vanilla extract into your batter. Begin by cracking two large eggs into your mixing bowl. Eggs play a crucial role in the structure and moisture of your bread, so it’s essential to ensure they are fully incorporated. Using a whisk or an electric mixer, beat the eggs until they are well combined and fluffy. This process not only helps in blending the eggs but also introduces air into the mixture, which contributes to a lighter texture.
After the eggs are well mixed, add in one teaspoon of pure vanilla extract. The aroma and flavor of vanilla will enhance the overall taste of your bread, providing a warm and inviting backdrop to the nutty flavors of pistachios. Continue mixing thoroughly until the mixture is smooth and homogeneous. This step is vital; inconsistencies in mixing can lead to uneven texture in the final bread, so take your time to achieve the perfect blend.
Combining Wet and Dry Mixtures
Next comes the critical stage of combining your wet and dry ingredients. Start by preparing your dry ingredients, which should include the flour, baking powder, baking soda, and a pinch of salt. In a separate bowl, you should have your previously mixed wet ingredients, which now include the egg and vanilla mixture.
To achieve optimal blending, it’s important to alternate adding the wet and dry mixtures. Begin by adding about one-third of the dry ingredients to the wet mixture. Gently mix until just combined; it’s okay if there are a few lumps. Then, add half of the remaining wet ingredients, mixing until just incorporated. Repeat this process, ending with the dry ingredients. This method prevents overmixing, which can lead to a dense bread. Always remember to mix gently; the goal is to combine the ingredients without activating too much of the gluten in the flour, which could result in a tougher texture.
Folding in Pistachios
With your batter now ready, it’s time to introduce the star ingredient—chopped pistachios. Using a spatula, carefully fold in one cup of finely chopped pistachios. Folding is a gentle technique that helps keep the nuts intact while ensuring they are evenly distributed throughout the batter. To fold, slide the spatula into the mixture at the bottom of the bowl and lift it over the top, turning the batter as you go. Repeat this motion until the pistachios are well incorporated, but be cautious not to overmix. You want to maintain the delightful crunch of the pistachios in every slice of your bread.
Baking the Bread
Now that your batter is perfectly mixed, it’s time to bake the Pistachio Dream Nut Bread. Preheat your oven to 350°F (175°C). While the oven is heating, prepare your loaf pan by greasing it with butter or lining it with parchment paper to ensure easy removal after baking.
Pour the batter into the prepared loaf pan, smoothing the top with a spatula. This step not only helps with even baking but also gives your bread a polished look. Place the loaf pan in the center of the preheated oven for about 50-60 minutes. To check for doneness, insert a toothpick into the center of the bread; if it comes out clean or with just a few moist crumbs, your bread is ready. Keep an eye on the bread towards the end of the baking time to prevent over-browning. If the top starts to darken too quickly, you can cover it loosely with aluminum foil.
Presentation and Serving Suggestions
Visual Appeal
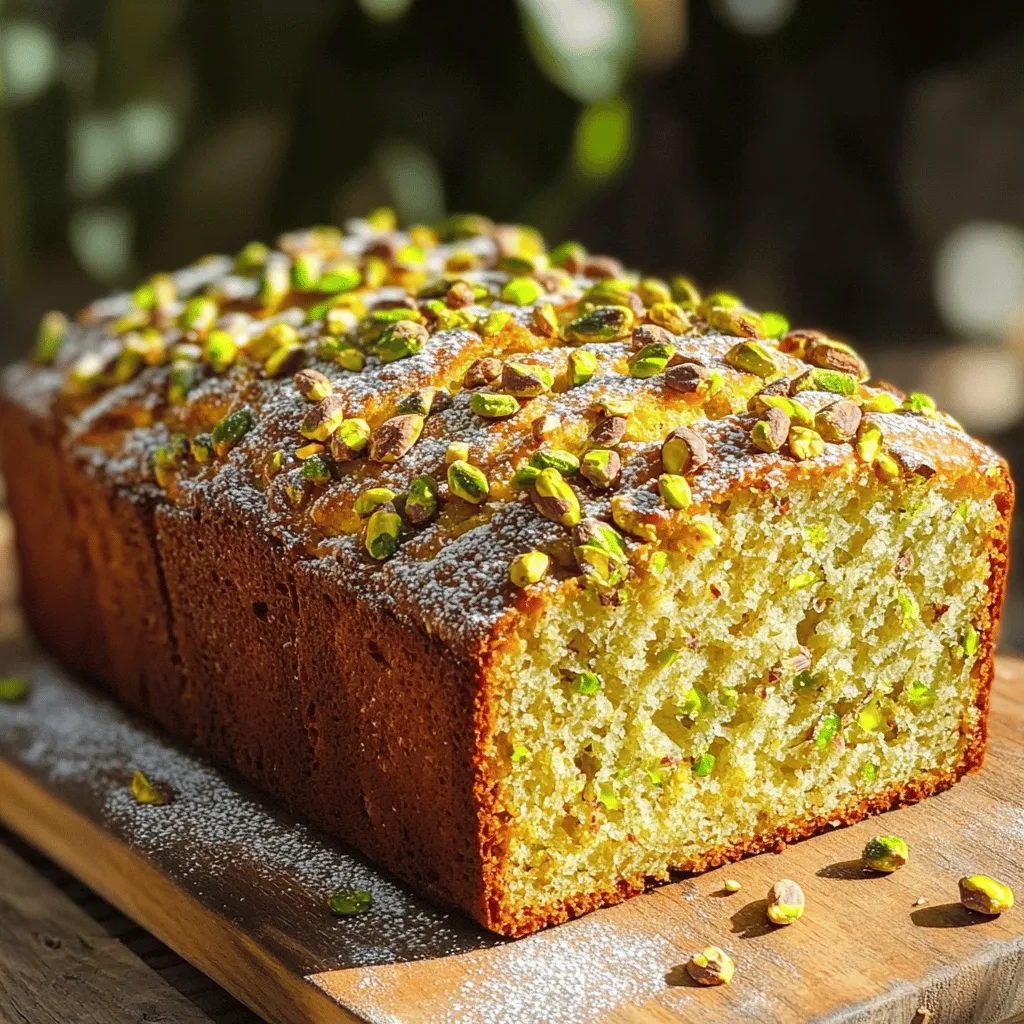
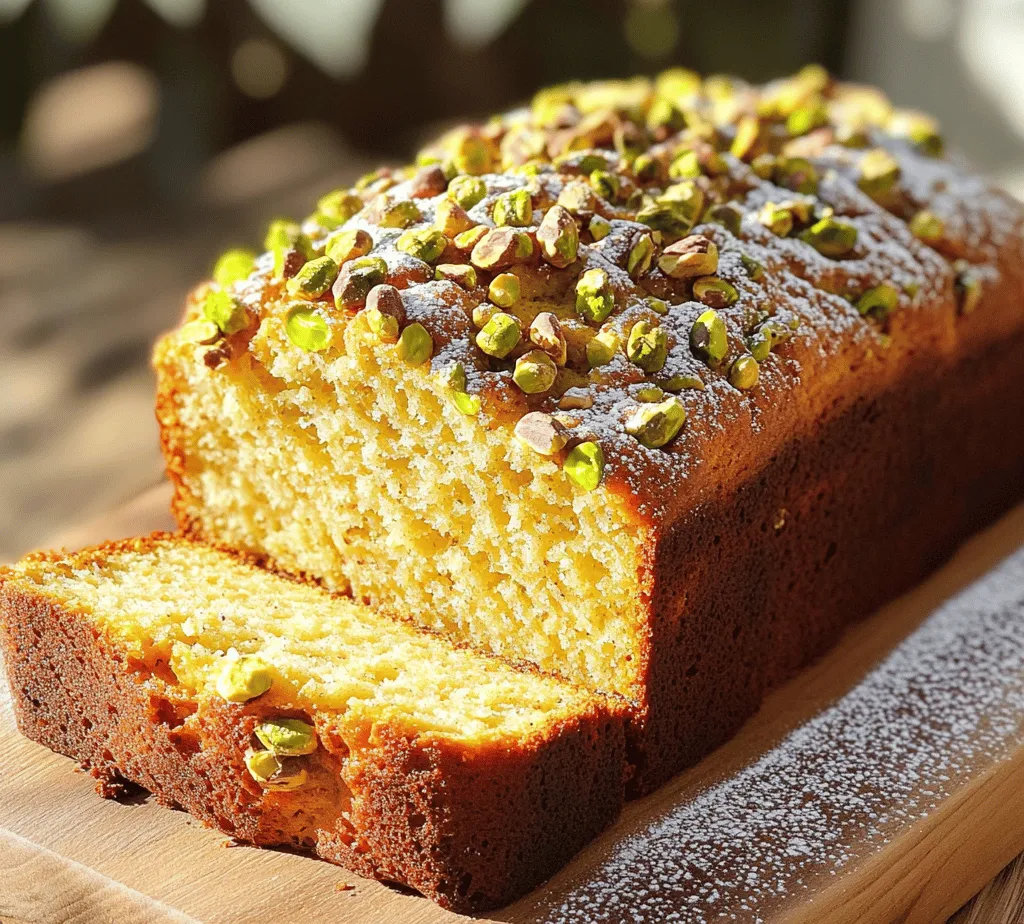
Once your Pistachio Dream Nut Bread has cooled for about 10-15 minutes in the loaf pan, carefully transfer it to a wire rack to cool completely. This cooling step is essential to ensure the bread maintains its shape. Once cooled, slice the loaf into even pieces. For an inviting presentation, you can garnish each slice with a sprinkle of finely chopped pistachios and a light dusting of powdered sugar. This not only enhances the visual appeal of the bread but also adds a touch of sweetness that complements the nutty flavors beautifully.
Pairing Ideas
To take your Pistachio Dream Nut Bread to the next level, consider pairing it with various accompaniments. A spread of cream cheese offers a creamy contrast that balances the textures. Alternatively, fruit preserves or jams, particularly those with berry or citrus flavors, provide a delightful sweetness that enhances the overall tasting experience. For a more indulgent treat, serve the bread with a side of whipped cream or a dollop of mascarpone cheese.
Storage Tips
If you find yourself with leftovers (which is rare, considering how delicious this bread is), proper storage is key to maintaining its freshness. Allow the bread to cool completely before wrapping it in plastic wrap or aluminum foil. Store it at room temperature for up to three days. For longer storage, consider freezing the bread. Wrap it tightly and place it in a freezer-safe bag, where it can last for up to three months. To enjoy, simply thaw the bread at room temperature or pop slices in the toaster for a warm, delicious treat.
The Nutritional Benefits of Pistachio Dream Nut Bread
Beyond its delightful taste, Pistachio Dream Nut Bread offers several nutritional benefits. Pistachios are packed with essential nutrients, including protein, fiber, and healthy fats. They are also a rich source of antioxidants, which help combat oxidative stress in the body. The inclusion of whole eggs in the recipe adds valuable protein and essential vitamins.
Incorporating this bread into your diet can be a balanced choice. While it serves as a delightful treat, it can also provide a nourishing option when paired with nutritious spreads or enjoyed as part of a balanced breakfast. For those looking to customize the recipe, consider adding different nuts, such as walnuts or almonds, or spices like cinnamon or nutmeg for varied flavor profiles that suit your taste preferences.
Conclusion
Baking Pistachio Dream Nut Bread is not just about creating a delectable treat; it’s an experience that can bring joy in the kitchen. The process of mixing, baking, and finally savoring your creation is a rewarding journey that allows for creativity and personalization. This versatile bread can be enjoyed at any time of day, whether as a comforting breakfast, a delightful brunch dish, or a sweet ending to a meal.
Encourage yourself to explore different variations of this recipe, adding your unique twist to it. Baking can be a wonderful way to bond with family and friends, creating cherished memories over shared meals. So roll up your sleeves and dive into the delightful world of baking; you might just find that Pistachio Dream Nut Bread becomes a beloved staple in your kitchen.


