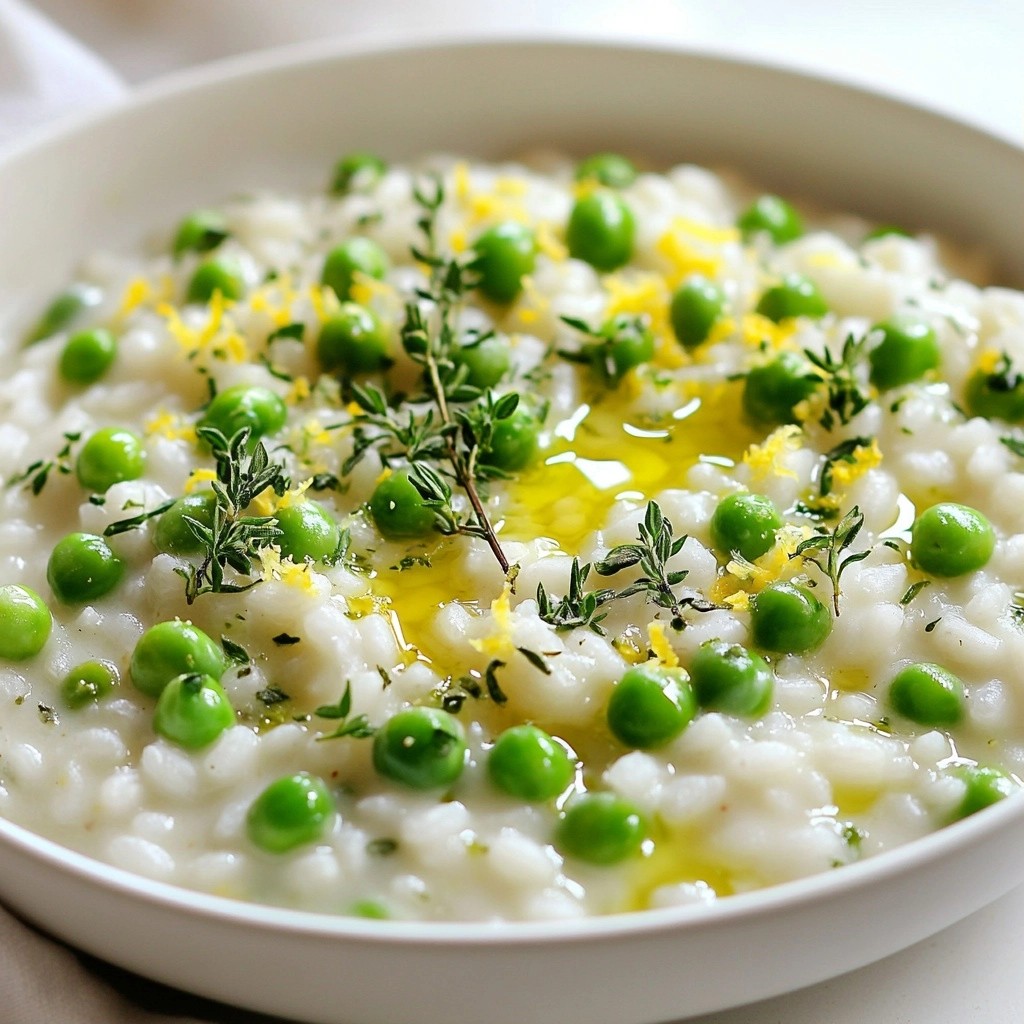
Looking for a quick side dish that packs a flavor punch? Try my Lemon Thyme Quinoa Pilaf! This dish is simple to make and brightens any meal with its zesty lemon and fresh thyme. Whether you're serving up grilled chicken or a veggie stir-fry, this recipe perfectly complements any dish. Stick around as I share the easy steps, tips, and variations to make it your own!
Why I Love This Recipe
- Fresh and Flavorful: This quinoa pilaf is bursting with the bright flavors of lemon and the aromatic essence of thyme, making it a refreshing side dish.
- Easy to Prepare: With just a few simple ingredients and straightforward steps, this recipe comes together quickly, perfect for busy weeknights.
- Healthy and Nutritious: Quinoa is a protein-packed grain, and combined with fresh herbs and vegetables, it makes for a wholesome meal option.
- Versatile Dish: This pilaf can be served as a side dish or a light main course, and it pairs wonderfully with a variety of proteins and vegetables.
Ingredients
Main Ingredients for Lemon Thyme Quinoa Pilaf
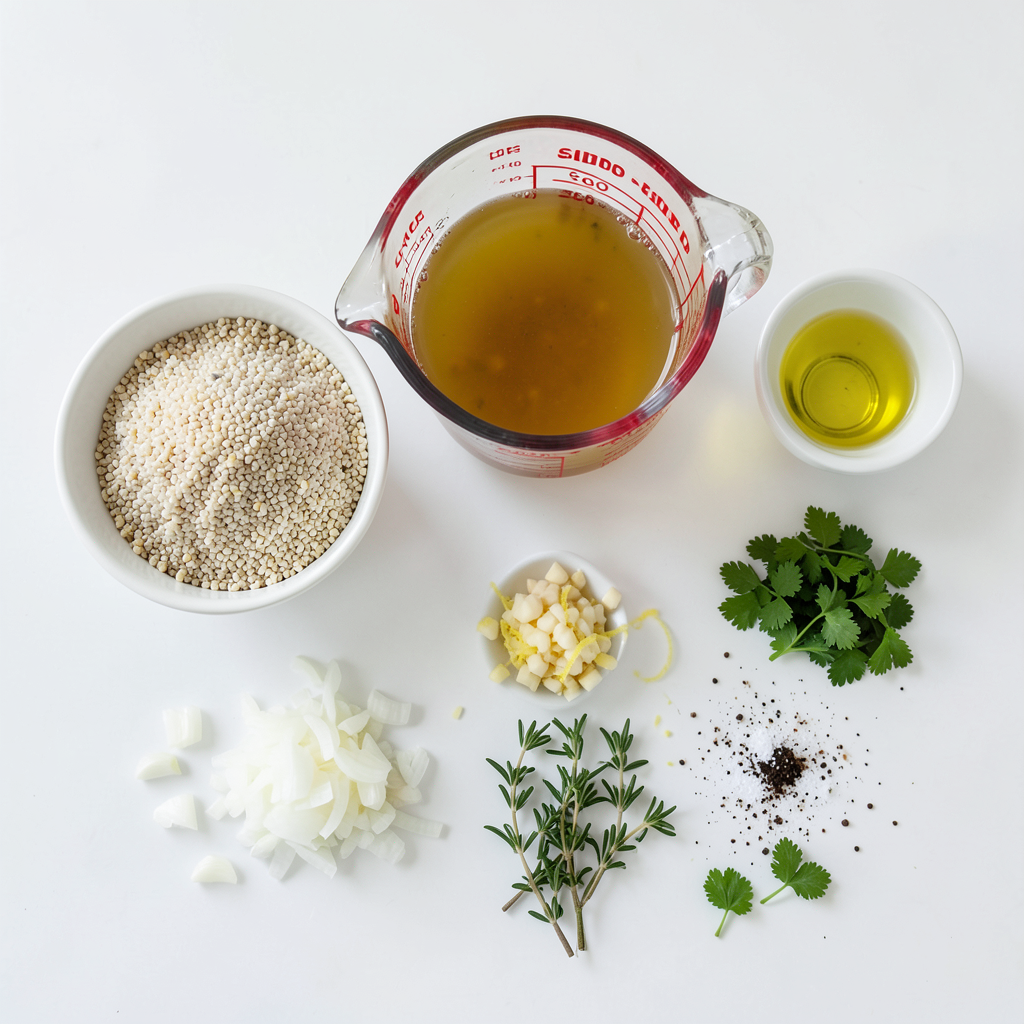
To make this tasty quinoa pilaf, gather these main items:
- 1 cup quinoa, rinsed
- 2 cups vegetable broth
- 1 tablespoon olive oil
- 1 small onion, finely chopped
- 2 cloves garlic, minced
- Zest of 1 lemon
- Juice of 1 lemon
- 1 teaspoon fresh thyme leaves (or 1/2 teaspoon dried thyme)
- Salt and pepper to taste
These ingredients work together to create a bright and flavorful dish. Quinoa is a great base. It’s light and fluffy when cooked right. The broth adds depth, while the lemon gives it a fresh kick.
Optional Ingredients for Enhanced Flavor
You might want to add a few optional ingredients to boost the taste even more:
- 1/2 cup diced bell peppers
- 1/4 cup chopped walnuts or almonds
- 1/4 teaspoon red pepper flakes
These extras can give your pilaf more texture and flavor. Bell peppers add a sweet crunch. Nuts add a satisfying crunch, while red pepper flakes can spice things up. Choose what you like best!
Recommended Garnishes
Garnishes can elevate your dish. Here are some great options:
- Fresh parsley, chopped
- Lemon wedges
- Extra thyme leaves
Chop fresh parsley for a pop of color. Lemon wedges let guests add more zest. Extra thyme leaves can enhance the herb flavor. These garnishes make your pilaf look and taste even better!
Step-by-Step Instructions
Preparing the Base Ingredients
To start, gather all your ingredients. You need quinoa, vegetable broth, olive oil, onion, garlic, lemon zest, lemon juice, thyme, salt, and pepper. Rinse the quinoa well. This step helps remove the bitter coating called saponin. In a saucepan, heat the olive oil over medium heat. Add the finely chopped onion and cook for 3-4 minutes until soft. The onion should look clear. Next, add the minced garlic and cook for 1 more minute. This brings out its great smell.
Cooking the Quinoa Pilaf
Now it's time to add the rinsed quinoa to the pan. Stir it for about 2 minutes. This toasting step adds a nice, nutty flavor. After that, pour in the vegetable broth. Add the lemon zest, lemon juice, and thyme. Bring this mixture to a boil. Once it bubbles, turn the heat down low. Cover the pan and let it cook for 15 minutes. The quinoa will absorb all the liquid and become fluffy. Once done, take it off the heat and let it sit for another 5 minutes. This resting time helps the quinoa finish cooking.
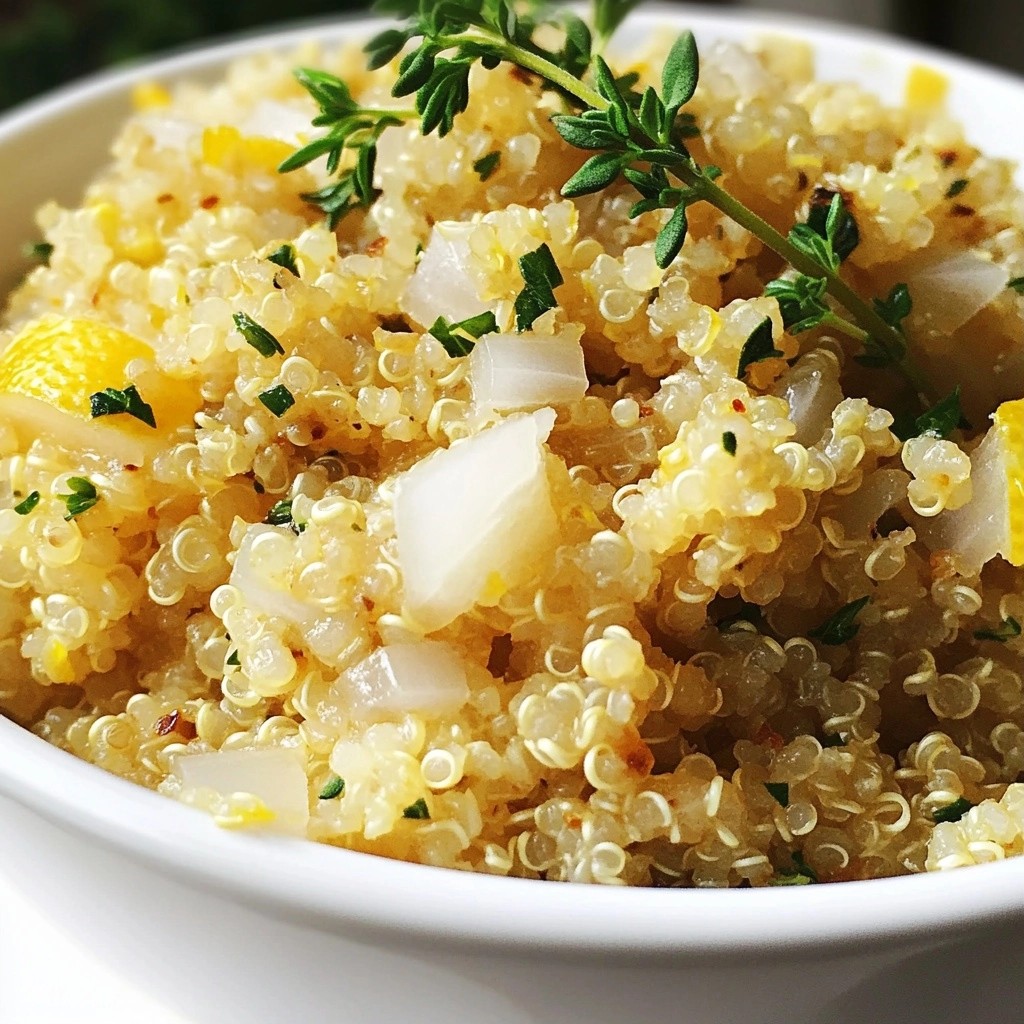
Final Touches before Serving
After resting, fluff the quinoa with a fork. This makes it light and airy. Season with salt and pepper to taste. You can adjust the flavors as you like. For a fresh touch, sprinkle chopped parsley on top. It adds color and a nice taste. Now, your Lemon Thyme Quinoa Pilaf is ready to serve!
Tips & Tricks
How to Properly Rinse Quinoa
Rinsing quinoa is key. It removes the bitter coating called saponin. Place the quinoa in a fine mesh strainer. Rinse it under cold water for about 30 seconds. Use your hands to stir the quinoa. This helps wash away any residue. Make sure to drain it well before cooking. A good rinse makes your pilaf taste fresh and clean.
Adjusting Cooking Time for Different Quinoa Types
Most quinoa cooks in about 15 minutes. However, some types may need more time. White quinoa is quick, while red and black take a bit longer. Always check the package for specific times. If using a different type, start checking for doneness at 15 minutes. The quinoa should be fluffy and the grains should look like tiny spirals.
Enhancing Flavor with Additional Herbs
You can boost the flavor of your pilaf with extra herbs. Fresh herbs like parsley, dill, or basil add great taste. You can also try spices like cumin or paprika for a twist. Adding these can make your dish more exciting. Just make sure to balance the flavors. Start with a small amount, taste, and adjust as needed.
Pro Tips
- Rinse the Quinoa: Always rinse quinoa under cold water before cooking to remove its natural coating, called saponin, which can give it a bitter taste.
- Toast the Quinoa: To enhance the nutty flavor, toast the rinsed quinoa in the saucepan for a couple of minutes before adding the broth.
- Adjusting Liquid: If you prefer a creamier texture, add a little more broth or water during the cooking process.
- Herb Variations: Feel free to mix and match herbs! Fresh basil or dill can be great alternatives if you're looking for a twist on the flavor.
Variations
Adding Vegetables to the Pilaf
You can make Lemon Thyme Quinoa Pilaf even more colorful and tasty by adding veggies. Try bell peppers, carrots, or peas. Just chop them small and add them when you cook the onion. This makes the dish more filling and healthy. You can also use spinach or kale for a green twist. They add great flavor and nutrients.
Protein-Packed Additions
For a heartier meal, think about adding protein. Chickpeas, black beans, or cooked chicken work well. If you want a vegetarian option, add tofu. You can mix in canned beans right at the end. If using chicken, cook it separately first and stir it in before serving. This will give you a balanced dish that can stand alone.
Citrus Twist with Different Juices
Want to change the flavor? Use different citrus juices. Lime or orange juice can add a fresh taste. Just swap them out for the lemon juice in the recipe. The zest from these fruits also works well. This small change can make your pilaf taste new and exciting, perfect for any meal.
Storage Info
How to Store Leftovers
After enjoying your Lemon Thyme Quinoa Pilaf, let it cool. Place the leftover pilaf in an airtight container. Store it in the fridge for up to three days. This keeps it fresh and tasty for your next meal.
Freezing Recommendations
If you want to save some for later, freezing works well. Portion the quinoa pilaf into freezer-safe bags. Squeeze out any air before sealing. You can freeze it for up to three months. When you're ready, it will be like a quick meal waiting for you.
Reheating Instructions
To reheat, you can use the microwave or the stove. For the microwave, place the pilaf in a bowl. Add a splash of water to keep it moist. Microwave it for about 1-2 minutes. Stir halfway through. On the stove, heat it gently in a pan over low heat. Stir often until warm. Enjoy your pilaf just as fresh as when you made it!
FAQs
Can I use chicken broth instead of vegetable broth?
Yes, you can use chicken broth. It adds a rich flavor. Just swap it in one-for-one. If you want a vegan dish, stick with vegetable broth.
Is this recipe gluten-free?
Yes, this recipe is gluten-free. Quinoa is a great grain for those avoiding gluten. It’s safe for people with gluten allergies.
What can I serve with Lemon Thyme Quinoa Pilaf?
You can serve this pilaf with grilled chicken or fish. It pairs well with roasted veggies too. Try it alongside a fresh salad for a complete meal.
How long does cooked quinoa stay fresh in the fridge?
Cooked quinoa lasts about 5 days in the fridge. Store it in an airtight container. Make sure it cools before you put it in the fridge.
In this post, we explored making a tasty Lemon Thyme Quinoa Pilaf. We covered key ingredients, cooking steps, and helpful tips. You learned about variations like adding veggies or proteins to boost nutrition. Plus, we shared how to store leftovers and answered common questions.
Now, you can enjoy this healthy dish any time. Experiment with flavors, and make it your own!