Introduction
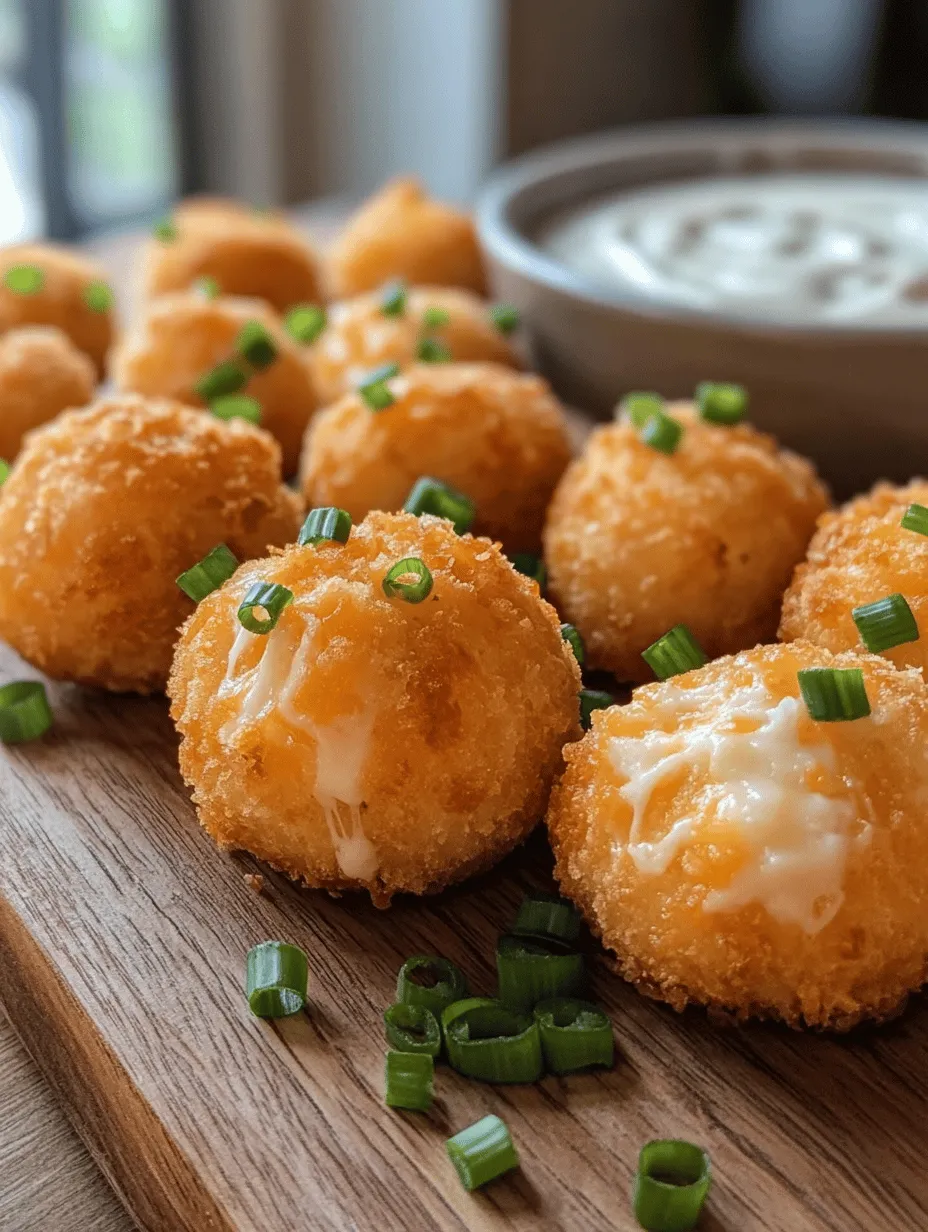
When it comes to party snacks, few options can rival the savory, creamy delight of Spicy Jalapeño Popper Cheese Balls. This recipe marries the rich, velvety texture of cheese with the fiery heat of fresh jalapeños, creating a flavor explosion that tantalizes the taste buds. Perfect for any occasion—be it a lively game day, a cozy gathering with friends, or simply satisfying a craving—these cheese balls are a crowd-pleaser that everyone will love.
But what makes these spicy cheese balls so irresistible? Not only are they easy to make, but they also embody a perfect balance of flavors and textures. The creamy filling is complemented by a crunchy exterior, making each bite a delightful experience. In this article, we’ll guide you through the step-by-step process of creating these delicious popper cheese balls, explore their history and significance in American cuisine, and offer tips for perfecting your snack game.
Understanding the Appeal of Spicy Jalapeño Popper Cheese Balls
Exploring the Flavor Profile
One of the most compelling aspects of Spicy Jalapeño Popper Cheese Balls is their harmonious flavor profile. Let’s break down the components that contribute to their mouthwatering taste:
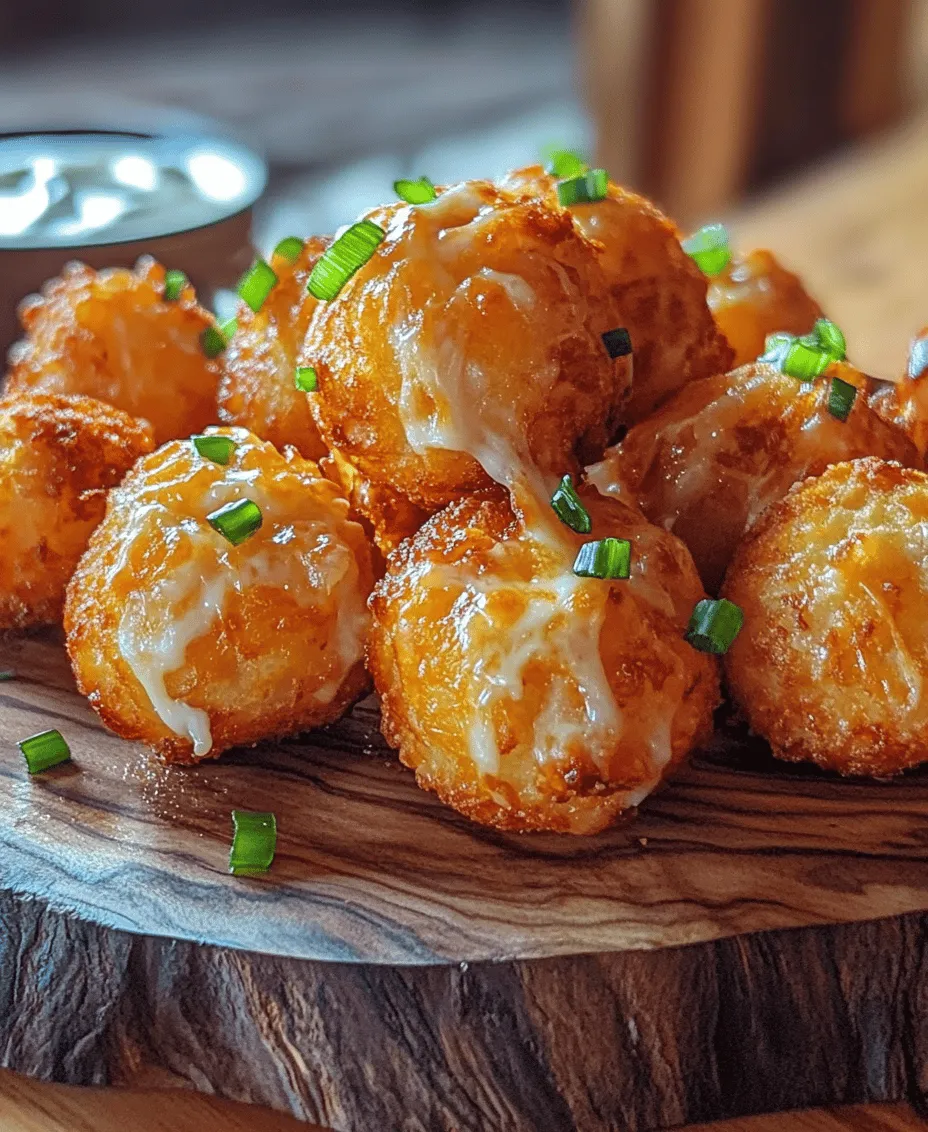
– Creamy and Cheesy Base: At the heart of each cheese ball is a luxurious blend of cream cheese and shredded cheeses. This creamy foundation provides a rich, satisfying base that melds beautifully with the other ingredients.
– The Spicy Kick from Jalapeños: Fresh jalapeños lend an unmistakable heat that elevates these cheese balls from simple snacks to zesty delights. Depending on your heat tolerance, you can adjust the number of jalapeños used or even opt for milder varieties for a subtler kick.
– Crunchy Texture from the Breadcrumbs: The exterior of the cheese balls is coated in breadcrumbs, creating a crispy finish that contrasts wonderfully with the soft, creamy filling. This combination of textures adds an exciting element to each bite, making them even more enjoyable.
The Cultural Significance of Jalapeño Poppers in American Cuisine
Jalapeño poppers have become a beloved staple in American cuisine, known for their bold flavors and versatility. Their origins can be traced back to the southwestern United States, where the jalapeño pepper thrives. Over the years, the classic jalapeño popper has evolved from a simple stuffed pepper into a variety of creative dishes, including our featured recipe: cheese balls.
The fusion of flavors in cheese balls is a testament to the adaptability and innovation that characterize American culinary traditions. By incorporating the essence of jalapeño poppers into cheese balls, we not only celebrate this beloved snack but also expand its possibilities, allowing it to shine at any gathering.
Ingredients Breakdown
Before diving into the preparation process, let’s take a closer look at the essential ingredients that make up our Spicy Jalapeño Popper Cheese Balls.
Overview of Essential Ingredients
1. Cream Cheese: The creamy foundation of our cheese balls, cream cheese provides the rich texture that binds all the flavors together. For the best results, it’s important to soften the cream cheese before mixing to ensure a smooth consistency.
2. Cheddar and Mozzarella: A blend of sharp cheddar and gooey mozzarella adds depth and flavor to the cheese mixture. Cheddar brings a bold, tangy taste, while mozzarella contributes to the overall creaminess and stretchiness of the filling.
3. Fresh Jalapeños: The star of the show, fresh jalapeños provide the signature spice that defines these cheese balls. When choosing jalapeños, look for firm, vibrant peppers to ensure optimal flavor and heat.
4. Bacon: For those who enjoy a smoky richness, crispy bacon is a fantastic addition. It enhances the flavor profile of the cheese balls while also adding a delightful crunch.
5. Green Onions: Chopped green onions introduce a fresh, crisp element that balances the richness of the cheese and bacon. Their mild onion flavor adds a layer of complexity to the dish.
Substitutions and Variations for Dietary Preferences
While this recipe is undeniably delicious as is, it can easily be adapted to accommodate various dietary preferences:
– Dairy-Free Alternatives: For those avoiding dairy, consider using plant-based cream cheese and vegan cheese shreds. These alternatives will still provide a creamy texture without compromising flavor.
– Gluten-Free Options: Substitute regular breadcrumbs with gluten-free breadcrumbs or crushed gluten-free crackers for a satisfying crunch without the gluten.
– Vegetarian Adaptations: To make the recipe vegetarian-friendly, simply omit the bacon and consider adding chopped bell peppers or additional veggies for extra flavor and texture.
Preparation Steps for Spicy Jalapeño Popper Cheese Balls
Now that we’ve covered the ingredients, it’s time to roll up our sleeves and start preparing these delicious cheese balls. The process is straightforward, but attention to detail will ensure the best results.
Step-by-Step Guide to Preparing the Cheese Mixture
1. Soften the Cream Cheese: The first step in making Spicy Jalapeño Popper Cheese Balls is to soften the cream cheese. You can do this by leaving it at room temperature for about 30 minutes or microwaving it for 10-15 seconds. The goal is to achieve a creamy, spreadable consistency that makes mixing easy.
2. Dice the Jalapeños: Next, you’ll need to prepare the jalapeños. Start by washing them thoroughly and removing the stems. Depending on your heat preference, you may choose to remove the seeds and membranes, as these parts contain most of the heat. Use a sharp knife to finely dice the jalapeños, ensuring they’re small enough to blend seamlessly into the cheese mixture.
3. Combine Ingredients: In a large mixing bowl, combine the softened cream cheese, shredded cheddar, shredded mozzarella, diced jalapeños, crumbled bacon (if using), and chopped green onions. Using a spatula or a fork, mix everything together until well combined. Make sure there are no clumps of cream cheese and that the ingredients are evenly distributed.
Chilling the Mixture
Once you’ve prepared the cheese mixture, it’s crucial to chill it before shaping the cheese balls.
– Why Chilling is Crucial for Shaping: Chilling the mixture allows it to firm up slightly, making it easier to scoop and shape into balls. If the mixture is too soft, it will be difficult to form cohesive balls that hold their shape during frying or baking.
– Tips for Optimal Refrigeration Time: Aim to chill the cheese mixture in the refrigerator for at least 30 minutes. If you have more time, chilling it for an hour or even longer will yield better results. Just be sure to cover the bowl with plastic wrap or a lid to prevent the mixture from drying out.
Rolling and Coating the Cheese Balls
After the mixture has chilled, you’re ready to roll out the cheese balls.
1. Shape the Cheese Balls: Use a small cookie scoop or your hands to portion out the cheese mixture. Roll each portion into a ball, about 1 inch in diameter, ensuring they are compact and well-formed.
2. Coat the Cheese Balls: To achieve that signature crunchy exterior, roll each cheese ball in breadcrumbs. For an added flavor boost, consider seasoning the breadcrumbs with garlic powder, paprika, or Italian seasoning before coating. This step not only enhances the taste but also creates a beautiful golden crust when cooked.
With these preparation steps complete, you’re well on your way to enjoying a plateful of Spicy Jalapeño Popper Cheese Balls that are sure to impress your guests. Stay tuned for the next part of this article, where we’ll delve into cooking methods and tips for serving these delightful bites, ensuring they are the highlight of your next gathering.
Techniques for Uniform Sizing
When making Spicy Jalapeño Popper Cheese Balls, achieving uniform sizing is essential for both cooking consistency and presentation. To create evenly sized cheese balls, use a cookie scoop or a small ice cream scoop. This tool allows you to measure out the same amount of cheese mixture each time, ensuring that all the balls will cook evenly. If you don’t have a scoop, you can also use your hands—just wet them slightly to prevent the cheese mixture from sticking. Aim for about 1 to 1.5 inches in diameter for each ball to ensure they cook through without burning.
Importance of the Dredging Process for Texture
Dredging the cheese balls is a crucial step that contributes to their delightful crispiness. The process involves coating the cheese balls in flour, dipping them in a beaten egg, and finally rolling them in breadcrumbs. Each layer plays a vital role in achieving the perfect texture:
1. Flour: This base layer helps the egg adhere to the cheese balls, providing a solid foundation for the breadcrumbs.
2. Egg: The egg wash not only adheres the breadcrumbs but also creates a light, crispy shell when fried.
3. Breadcrumbs: The final coating gives the cheese balls their crunch. For added flavor, consider using seasoned breadcrumbs or panko for an extra crispy finish.
Frying Techniques for Perfect Cheese Balls
The frying method you choose significantly impacts the final texture and flavor of your Spicy Jalapeño Popper Cheese Balls. Here’s a breakdown of how to achieve the best results.
Choosing the Right Oil and Frying Method
Best Oils for Frying Cheese Balls
When it comes to frying, the choice of oil is crucial. Oils with high smoke points are ideal as they can withstand the heat without burning. Some of the best oils for frying cheese balls include:
– Canola Oil: Neutral flavor and high smoke point.
– Vegetable Oil: Affordable and versatile.
– Peanut Oil: Offers a subtle nutty flavor and can withstand high temperatures.
Deep Frying vs. Pan Frying: Pros and Cons
Both frying methods have their advantages:
– Deep Frying: This method allows for even cooking and a consistently crispy exterior. However, it requires more oil and can be messier.
– Pan Frying: A more economical option, pan frying uses less oil but may require more attention to ensure even cooking. You’ll need to turn the cheese balls frequently to prevent uneven browning.
Maintaining the Right Frying Temperature
To achieve perfectly fried cheese balls, maintaining the right oil temperature is critical.
How to Achieve 350°F (175°C)
Using a thermometer is the best way to ensure your oil reaches the desired temperature. If you don’t have a thermometer, drop a small piece of bread into the oil; if it sizzles and turns golden brown within 60 seconds, the oil is ready.
Signs That the Oil Is Ready for Frying
Look for visual cues like small bubbles forming around the edges of your frying vessel. If the oil begins to smoke, it’s too hot, and you should reduce the heat immediately.
Frying Process and Tips
Avoiding Overcrowding the Pan
To achieve the perfect cheese ball, avoid overcrowding the frying pan. Fry in batches, allowing enough space between each cheese ball for heat to circulate. This ensures an even cook and prevents the temperature from dropping too much.
How to Achieve a Golden-Brown Crust
For a beautifully golden-brown crust, monitor the frying cheese balls closely. Turn them gently with a slotted spoon to ensure all sides cook evenly. Aim for about 3-4 minutes of frying time per batch, or until they reach your desired level of crispiness.
Serving Suggestions and Pairing Dipping Sauces
Spicy Jalapeño Popper Cheese Balls are not just delicious on their own; they can be part of an exciting appetizer spread.
Creative Serving Ideas
– Incorporating Cheese Balls into a Larger Appetizer Spread: Arrange the cheese balls on a platter with a variety of other appetizers such as stuffed mushrooms, mini sliders, and vegetable skewers. This not only creates a visually appealing display but also offers your guests a range of flavors to enjoy.
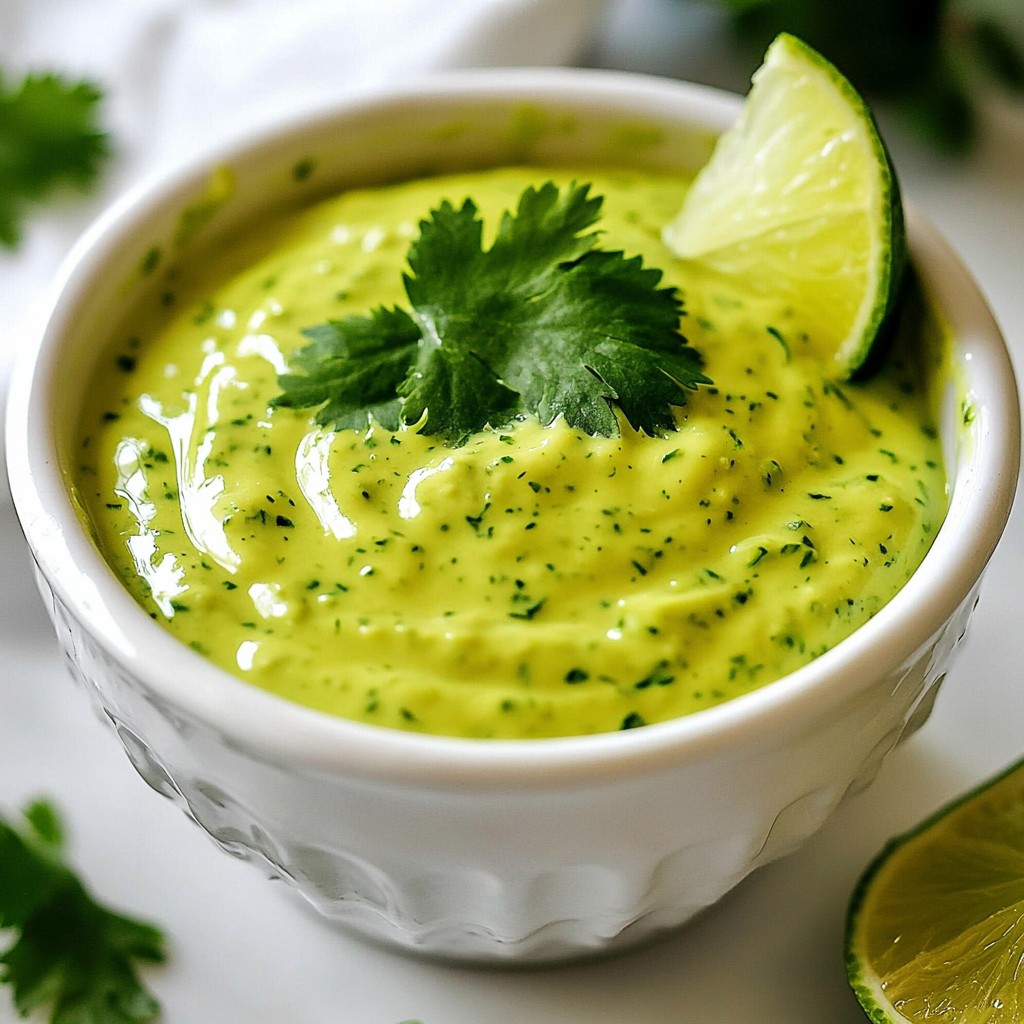
– Garnishing and Presentation Tips: Enhance the presentation by garnishing your platter with fresh herbs like parsley or cilantro. Serve with a colorful array of dipping sauces in small bowls for guests to choose from.
Dipping Sauce Options
The right dipping sauce can elevate your cheese balls to a whole new level. Here are some fantastic options:
– Classic Ranch Dressing: A creamy ranch pairs perfectly with the spiciness of the cheese balls, balancing flavors beautifully.
– Spicy Sriracha Mayo: For those who enjoy a bit of heat, mix mayonnaise with sriracha sauce for a zesty dip that complements the crunch of the cheese balls.
– Homemade Sauces for a Personal Touch: Consider whipping up a tangy yogurt-based dip with garlic, lemon, and fresh herbs, or a fiery chipotle sauce for a smoky kick.
Storage and Reheating Methods
If you happen to have leftover cheese balls, proper storage and reheating are essential to maintain their texture and flavor.
Storing Leftover Cheese Balls
Best Practices for Refrigeration
Allow the cheese balls to cool completely before storing them. Place them in an airtight container and refrigerate for up to three days. If you want to keep them longer, freezing is a better option.
Freezing Tips for Longer Storage
To freeze cheese balls, arrange them in a single layer on a baking sheet until frozen solid. Then, transfer them to a freezer-safe container or bag. They can last up to three months in the freezer. When you’re ready to enjoy them, there’s no need to thaw; simply fry them straight from the freezer.
Reheating Techniques for Optimal Taste
Oven vs. Microwave: What Works Best?
For the best results, reheat cheese balls in the oven rather than the microwave. Preheat your oven to 350°F (175°C) and place the cheese balls on a baking sheet. Bake for about 10-15 minutes or until heated through. This method helps maintain their crispy texture.
Ensuring the Cheese Balls Remain Crispy
To keep the cheese balls crispy when reheating, avoid covering them with foil, as this traps steam and can cause sogginess. Instead, place them directly on the baking sheet to allow air circulation.
Conclusion
Spicy Jalapeño Popper Cheese Balls are an exciting and flavorful addition to any gathering, showcasing a delightful mix of textures and tastes. By following the detailed preparation and cooking instructions provided, you can create a snack that is sure to become a favorite among friends and family. From their creamy interior to the crispy exterior, these cheese balls embody the essence of comfort food with a spicy twist. Whether enjoyed fresh from the fryer or reheated later, they promise to deliver satisfaction with every bite.
Whether you’re hosting a party or simply looking for a tasty snack, these cheese balls are the perfect choice. Their combination of flavors and textures will have everyone reaching for more. So gather your ingredients, follow these steps, and prepare to impress your guests with this deliciously spicy treat!