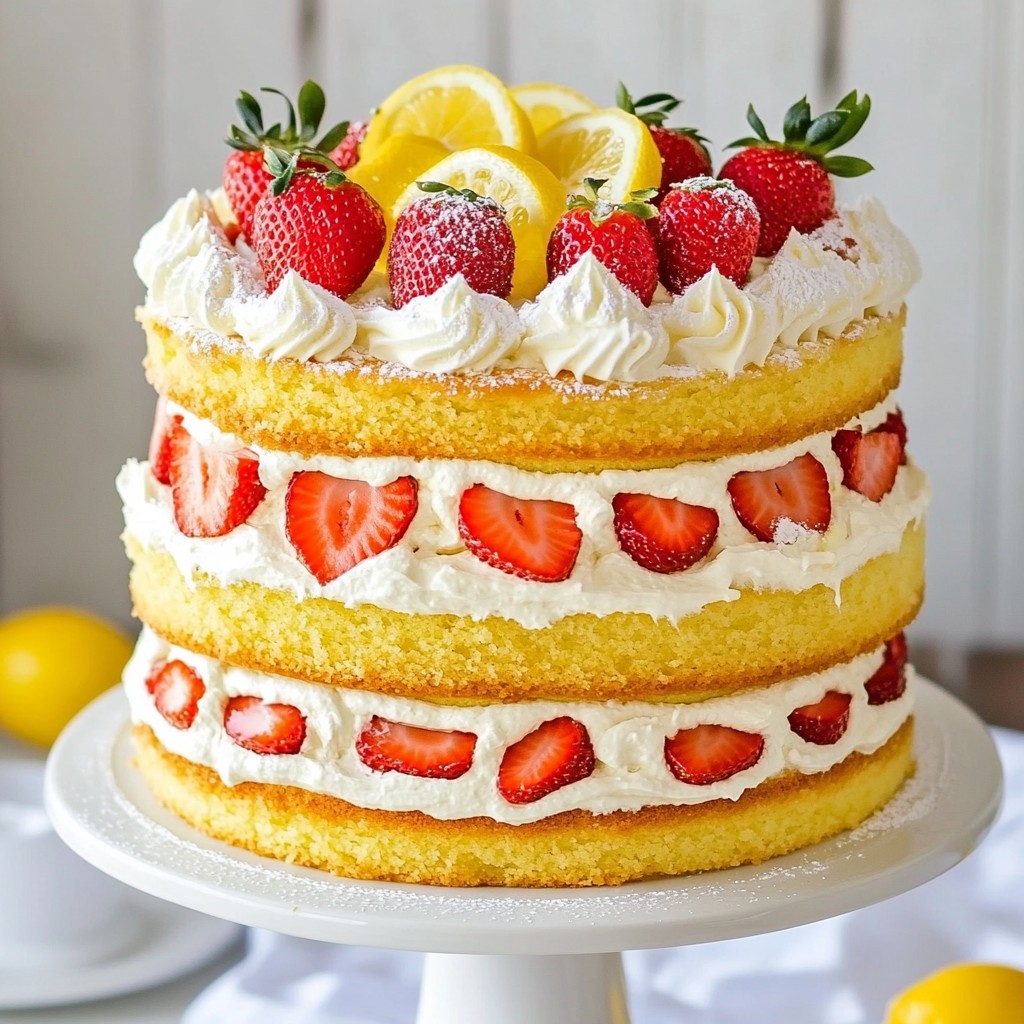
Summer is here, and what better way to celebrate than with a delightful Strawberry Lemonade Layer Cake? This recipe combines sweet strawberries and zesty lemon for the perfect balance of flavors. You'll impress your friends and family with a stunning dessert that's as fun to make as it is to eat. Ready to whip up a treat that captures the spirit of summer? Let’s dive into the ingredients and get baking!
Why I Love This Recipe
- Bright and Refreshing Flavor: This cake combines the sweetness of strawberries with the tartness of lemons, creating a delightful balance that’s perfect for summer.
- Beautiful Presentation: The layers of pink and yellow make for an eye-catching dessert that’s sure to impress at any gathering.
- Perfect for Celebrations: Whether it's a birthday, picnic, or any festive occasion, this cake adds a touch of joy to the table.
- Easy to Make: This recipe is straightforward, making it accessible for bakers of all skill levels to create a stunning cake.
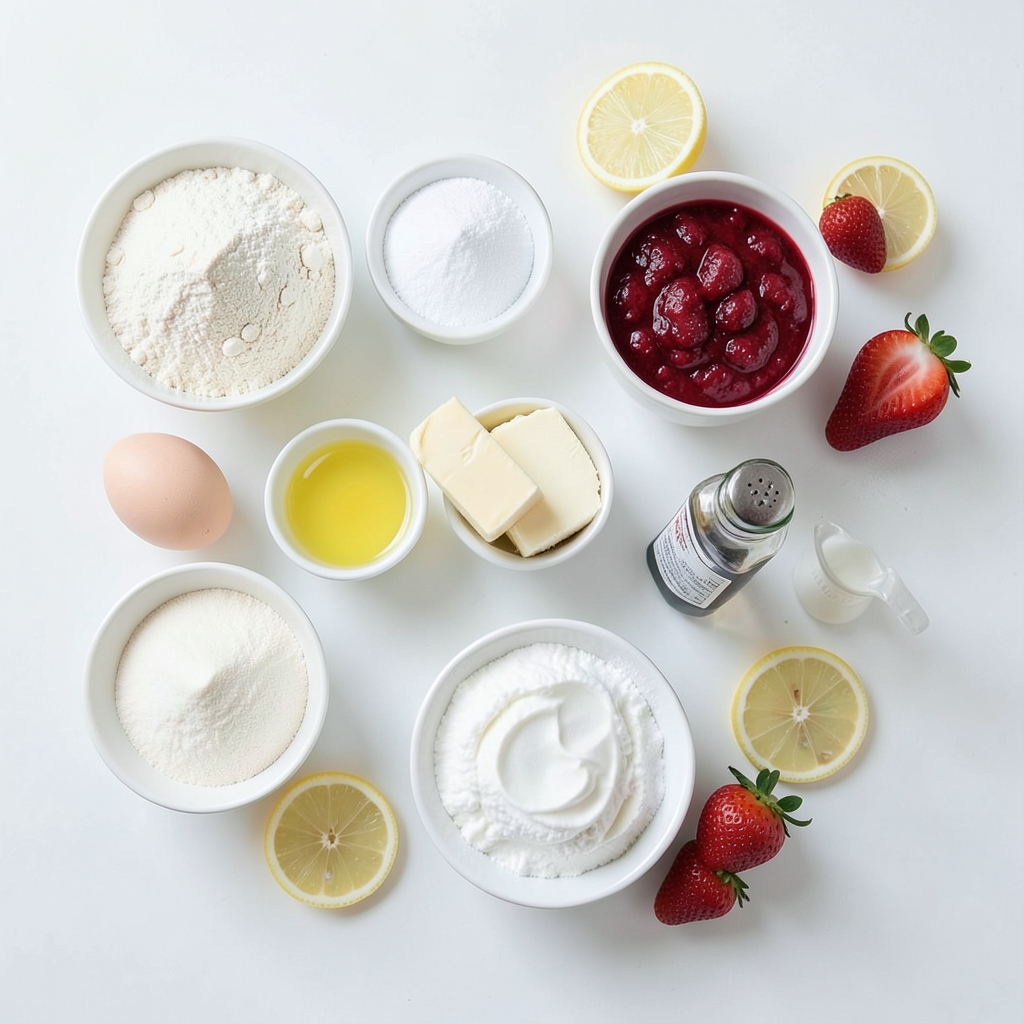
Ingredients
Dry Ingredients
- 2 ½ cups all-purpose flour
- 2 ½ teaspoons baking powder
- ½ teaspoon salt
Wet Ingredients
- 1 cup unsalted butter, softened
- 2 cups granulated sugar
- 4 large eggs
- ⅔ cup fresh lemon juice
- Zest of 2 lemons
- 1 teaspoon vanilla extract
- 1 cup milk
- 2 cups fresh strawberries, pureed
Frosting and Garnish
- 1 cup heavy cream
- ¼ cup powdered sugar
- Fresh strawberries and lemon slices for garnish
When making this cake, start with the right dry ingredients. Combine the flour, baking powder, and salt in a bowl. This mix gives the cake its structure.
Next, gather your wet ingredients. The butter and sugar need to be creamy and fluffy. This step is key to a light cake. Add the eggs one at a time. This helps them blend well. Then, mix in the fresh lemon juice, lemon zest, and vanilla extract. These flavors make the cake bright and fresh.
Now, add the milk and strawberry puree. This will make the cake moist and flavorful.
For the frosting, whip the heavy cream with powdered sugar until it forms soft peaks. This airy frosting adds a nice touch.
Use fresh strawberries and lemon slices for garnish. They not only look good but also add a burst of flavor.
Step-by-Step Instructions
Preparing the Oven and Cake Pans
- Preheat oven to 350°F (175°C).
- Grease and flour three 8-inch round cake pans.
First, I heat my oven. This step is key so the cake bakes evenly. Greasing and flouring the pans helps the cake come out easily. I like to use butter for greasing. It adds a nice flavor.
Mixing the Batter
- Whisk together dry ingredients.
- Cream butter and sugar.
- Incorporate eggs, lemon juice, lemon zest, and vanilla.
- Gradually add dry ingredients and milk.
- Fold in strawberry puree.
Next, I mix the dry ingredients in a bowl. This includes flour, baking powder, and salt. In another bowl, I cream the softened butter and sugar until it’s light. Then, I add eggs one by one. Mixing in fresh lemon juice, zest, and vanilla makes it tasty. I add dry ingredients and milk slowly. Finally, I fold in the fresh strawberry puree. This gives the cake a sweet and fruity flavor.
Baking the Layers
- Divide batter into prepared pans.
- Bake for 25-30 minutes.
- Cool cakes in pans and transfer to wire racks.
After mixing, I divide the batter into the three pans. I bake them for 25 to 30 minutes. To check if they are done, I insert a toothpick in the center. If it comes out clean, they are ready. Once baked, I let them cool for 10 minutes in the pans. Then, I carefully transfer them to wire racks to cool completely. This step is important for a nice texture.
Tips & Tricks
Achieving the Perfect Cake Texture
To get a soft and fluffy cake, start with room temperature ingredients. Cold butter or eggs can mess up the texture. Also, don’t overmix the batter. Mix just until combined for the best results.
Whipped Cream Frosting Secrets
Use a chilled mixing bowl and beaters when making your frosting. This helps the cream whip up nicely. Beat until soft peaks form. This stage gives your frosting just the right texture for spreading.
Decorating the Cake
For a stunning presentation, use a cake stand. It makes your cake look even more special. Before serving, dust the top with powdered sugar. This simple step adds a beautiful finish to your cake.
Pro Tips
- Use Fresh Ingredients: Always opt for fresh strawberries and lemons to enhance the flavor of your cake.
- Alternate Mixing: When adding the flour mixture and milk, alternate between them to achieve a smoother batter.
- Cool Completely: Ensure the cake layers are completely cool before frosting to prevent the whipped cream from melting.
- Decorative Touch: For a stunning presentation, consider adding edible flowers as an additional garnish along with strawberries and lemon slices.
Variations
Fruit Alternatives
You can switch out strawberries for raspberries or blueberries. These berries add a new flavor twist. They also bring a beautiful color to the cake. Adding lemon zest gives it an extra burst of citrus. It brightens the taste and makes each bite more refreshing.
Frosting Options
Instead of whipped cream, try cream cheese frosting. It adds a rich and tangy flavor. You can also layer lemon curd between the cake layers. This adds a creamy texture and zesty taste that pairs well with the strawberries.
Gluten-Free Option
If you need a gluten-free cake, use a gluten-free flour blend. Make sure to check the blend for best results. You might need to adjust the baking time. Keep an eye on the cake as it bakes to ensure it cooks perfectly.
Storage Info
Storing Leftovers
To keep your Strawberry Lemonade Layer Cake fresh, place it in an airtight container. This helps prevent the cake from drying out. If you do not eat it within two days, refrigerate it. This will help maintain its taste and texture.
Freezing Instructions
If you want to save some cake for later, wrap the slices tightly in plastic wrap. Then, add a layer of foil for extra protection. Store these wrapped slices in the freezer for up to two months. This way, you can enjoy your cake even after some time.
Thawing Tips
When you are ready to eat the frozen cake, thaw it overnight in the refrigerator. This gentle method keeps the cake moist. Before serving, let it come to room temperature for the best taste. Enjoy your delicious cake!
FAQs
How do I make the cake less sweet?
To reduce the sweetness of your cake, cut back on the sugar. Try using 1 ½ cups instead of 2 cups. You can also add more lemon juice for a tart flavor. This will balance the sweetness. Another trick is to use unsweetened strawberry puree. This adds fruitiness without extra sugar. You may also mix in some Greek yogurt. It gives moisture and a slight tang.
Can I use frozen strawberries?
Yes, you can use frozen strawberries! Just make sure to thaw them first. Drain any excess water after thawing. Puree the strawberries as you would with fresh ones. Frozen strawberries may be a bit softer. This will not affect the taste, just the texture. Use them in the same amount as fresh strawberries to keep the flavor strong.
What’s the best way to ensure even baking?
To ensure even baking, place the cake pans in the center of the oven. This allows for the best airflow. Make sure your oven is preheated to 350°F (175°C). Use an oven thermometer for accuracy. Prepare your pans by greasing and flouring them well. This helps the cake layers come out easily. Rotate the pans halfway through baking for uniform heat.
In this post, we explored how to make a delicious lemon strawberry cake. We discussed the key ingredients, both dry and wet, and shared clear steps for mixing and baking. You learned tips for achieving a great texture and delicious frosting. We also covered variations, storage, and answered common questions.
Now, you can create this delightful cake with ease. Enjoy making it and sharing it with others!


